Backup and Restore the vCenter Server Appliance by using its Management Interface
Backups are important, no matter the system, no matter the service, and VMware vCenter is no exception, because if it fails, your virtual infrastructure will be left with no management. The corporate environments are safe when it comes to backups, but the small ones are usually in trouble because most of them don’t have any. Since VMware deprecated vSphere Data Protection (VDP), the only option left is to either go with a third party software or use the vCenter Server built in backup feature starting with version 6.5. Since the last one does not comes with extra costs, it is a good candidate for our today’s lab and for those small environments. With the built-in backup feature, we can save the vCenter Server Appliance to an FTP, FTPS, HTTP, HTTPS, NFS, SMB or SCP server.
1. Building the destination backup location
In this section we are going to build an FTP server where the vCenter Server Appliance will be saved and for this I am going to use a Windows machine, but if you are a Linux type admin, this one works great also. There are dozens of FTP solutions out there, but for this lab I will use Microsoft’s FTP server that comes as an IIS role service. If you want to use something else, make sure it supports Active Directory integration because it will save you a lot of time not needing to manage multiple accounts and passwords in the future.
The installation of the FTP role service it’s easy and it takes just a few minutes. To start, all we need to do is open Server Manager and choose Manage > Add Roles and Features. Once we get to the Server Roles page we need to tick the Web Server (IIS) box then hit the Add Features button in the window that pops-up.

In the Role Services screen we need to tick the FTP Service box located at the bottom of the list.

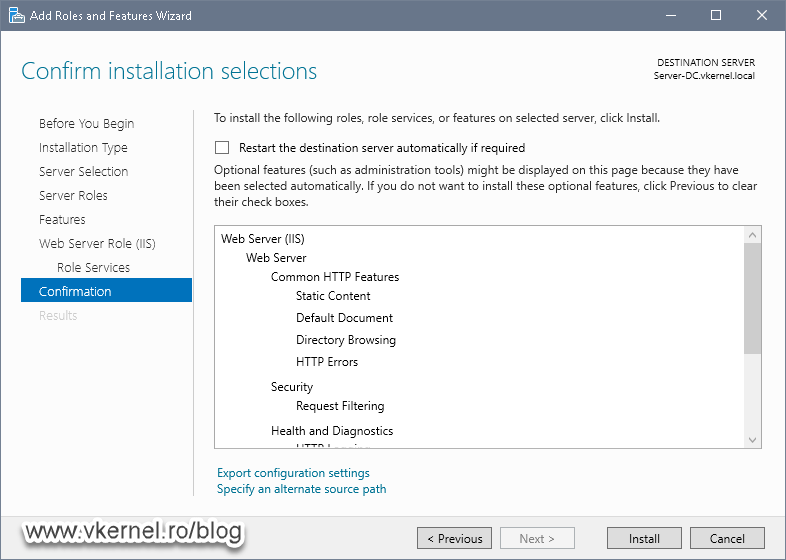
In the Confirmation screen, hit Install.
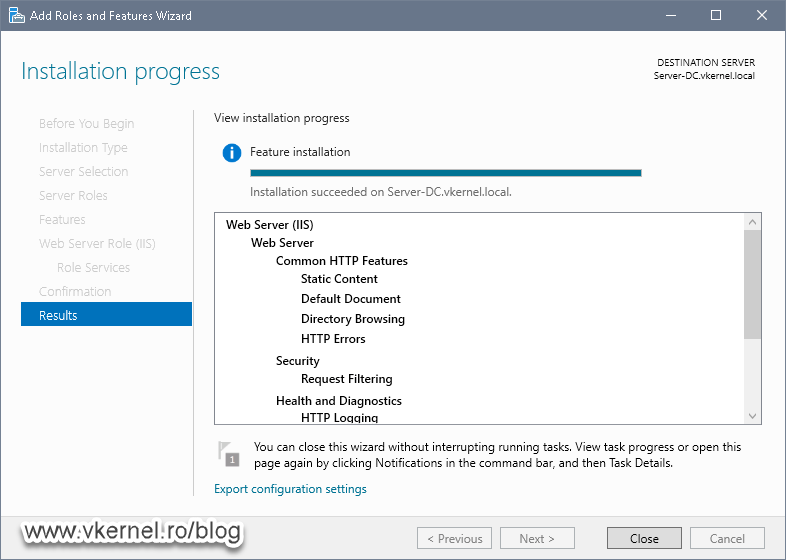
After a few minutes the IIS role and FTP role service will be installed but not ready to use yet.
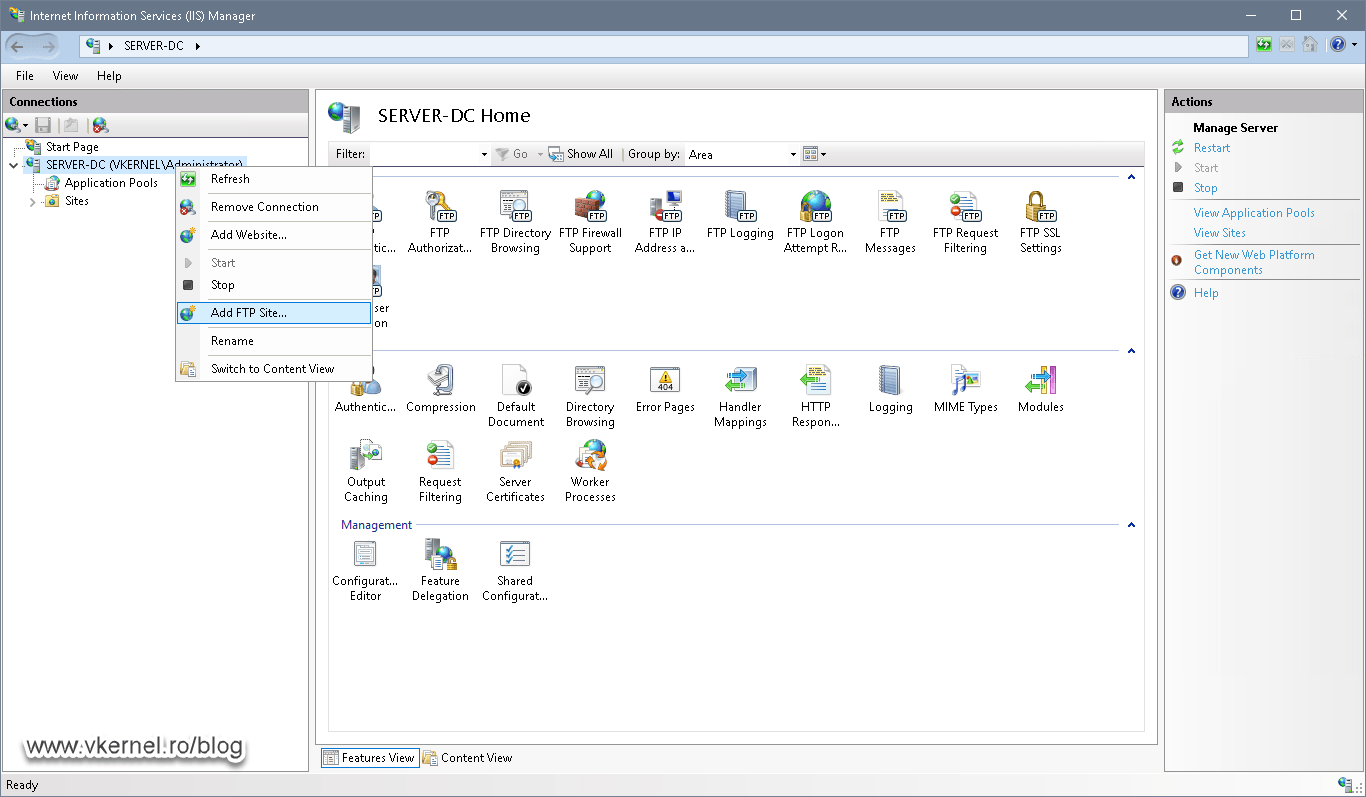
In order to be able to use the FTP server, we first have to create an FTP site, and this is done from the Internet Information Services (IIS) Manager console. Open up the console, right-click the server name and choose Add FTP Site.
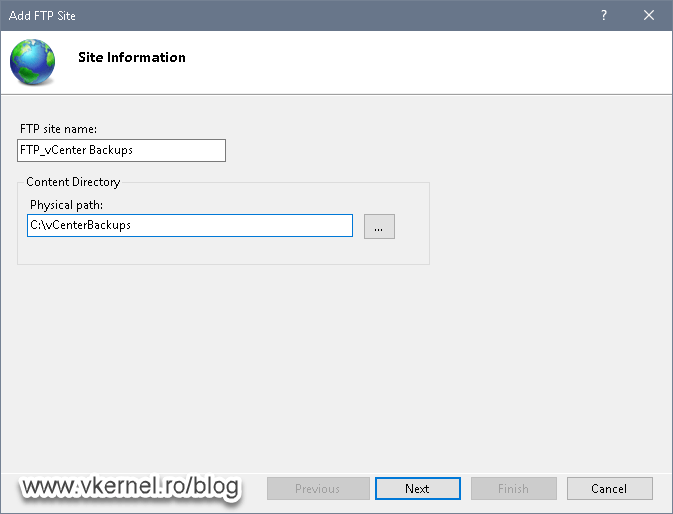
In the window that opens up, complete the FTP site name –which will be displayed in the IIS Manager console– then provide a location where the uploaded content –in our case it will be the vCenter Server Appliance backup files– will sit.
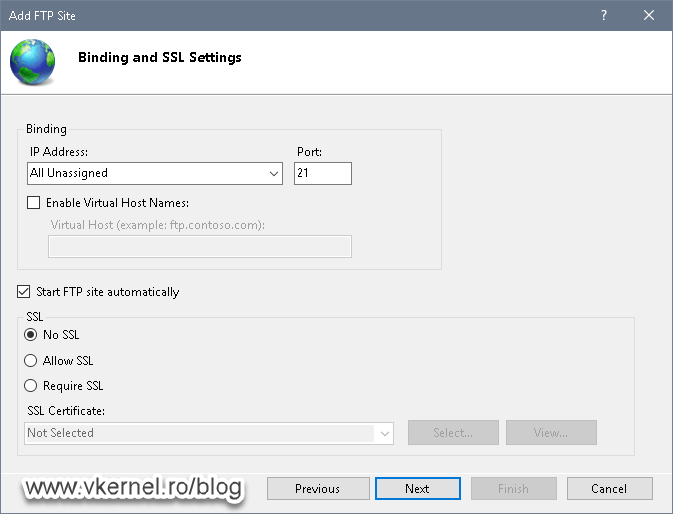
In the Binding and SSL Settings screen select if you want to use SSL for the FTP site or not. As you probably know, for a site to use an encrypted connection we need to install an SSL certificate either from an internal PKI or from a public Certification Authority. Also, if we want to change the port on which the clients connect to the FTP server, we can do that in the Port box.
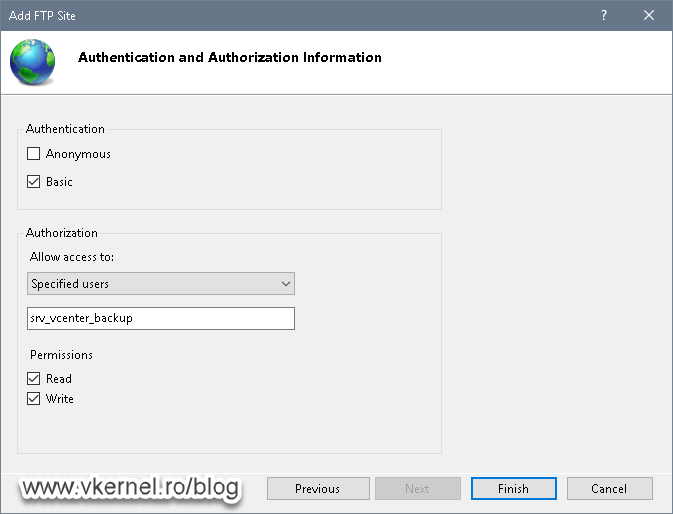
In the next screen we can configure who is allowed to access the FTP site and what rights should that person have. We will want to tick the Basic box so the user can be presented with the authentication screen, then provide the username or security group that can access the FTP site. I went ahead and created an Active Directory user account that I am going to use for authentication on the FTP site and on the vCenter Server for the backup process. The user or security group we put here will also be configured on the vCenter Server in order to authenticate to the FTP site and upload the backups, just make sure you give it Read and Write permissions.
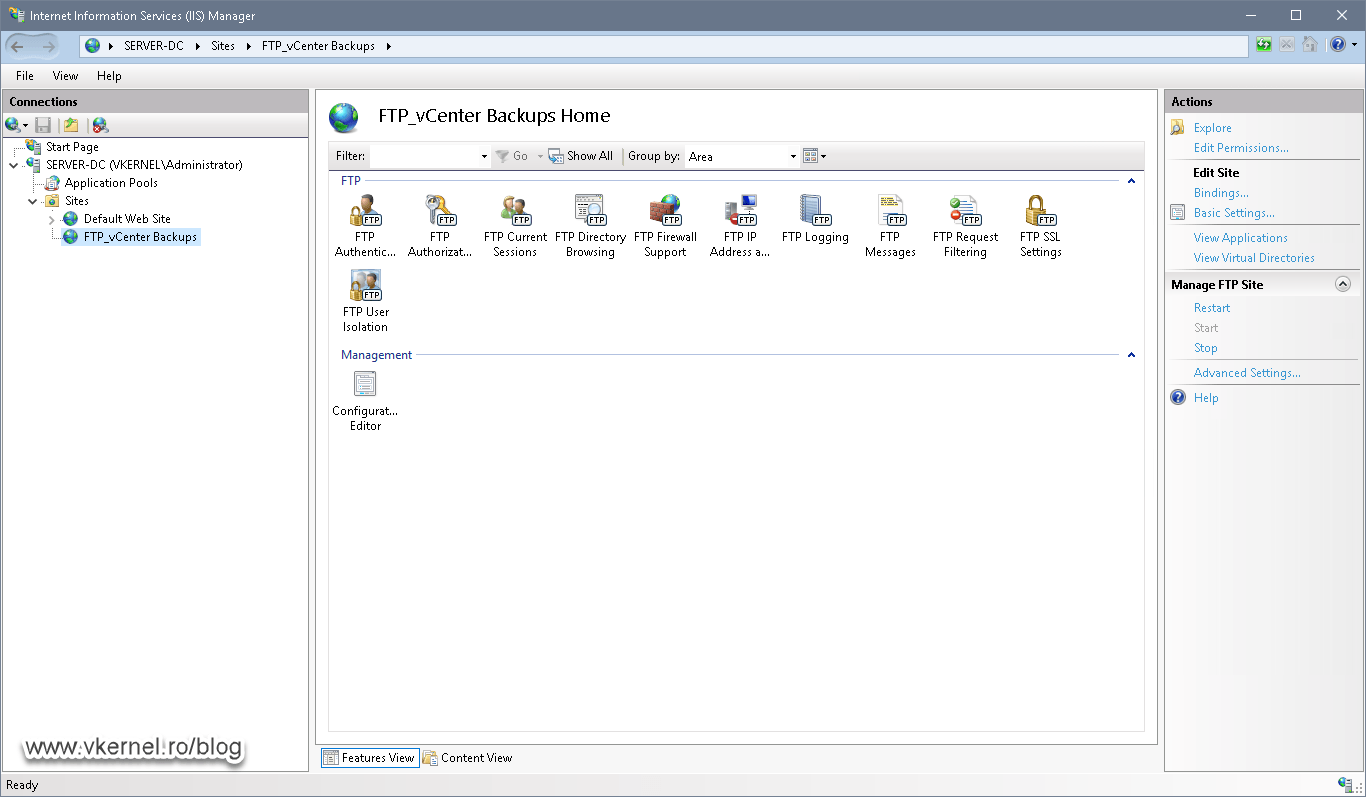
And that’s it! The FTP site was successfully created.
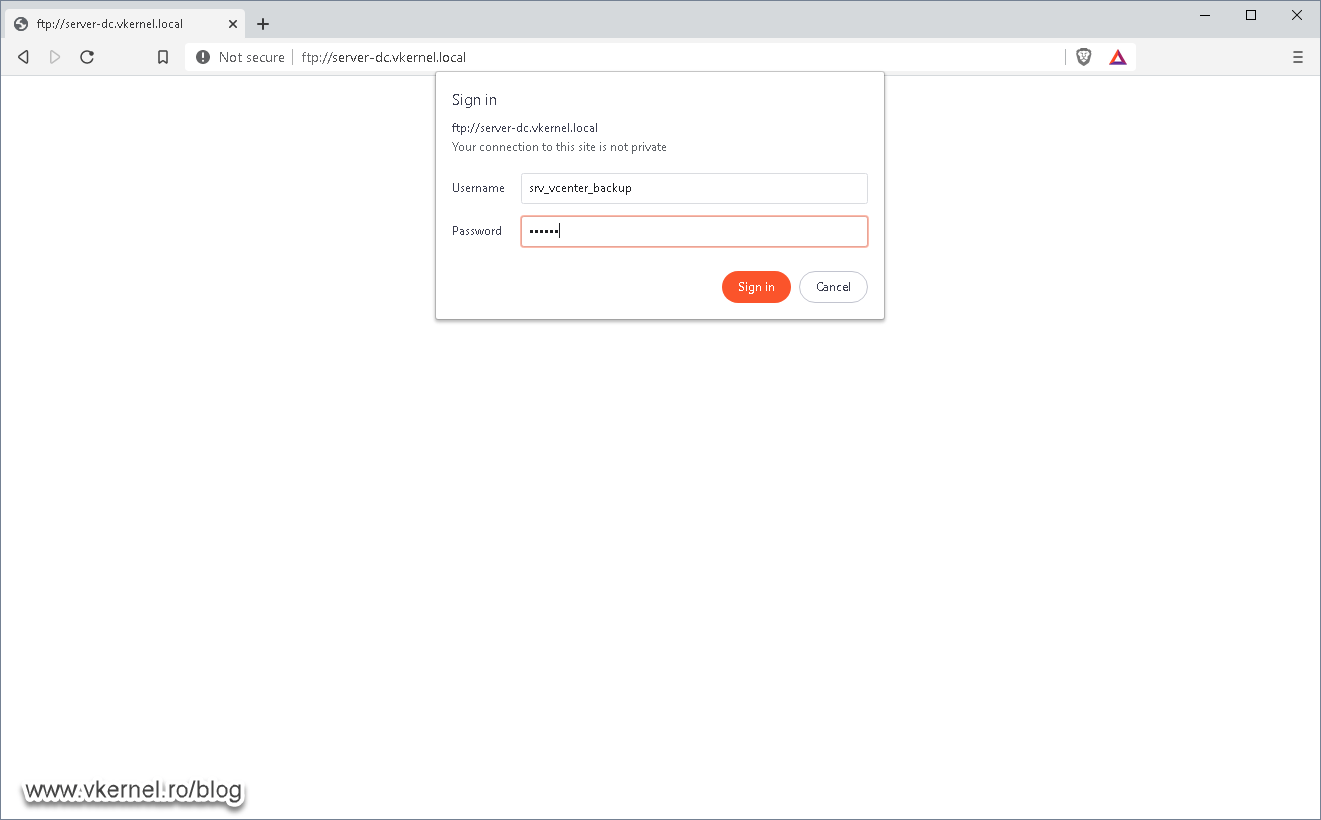
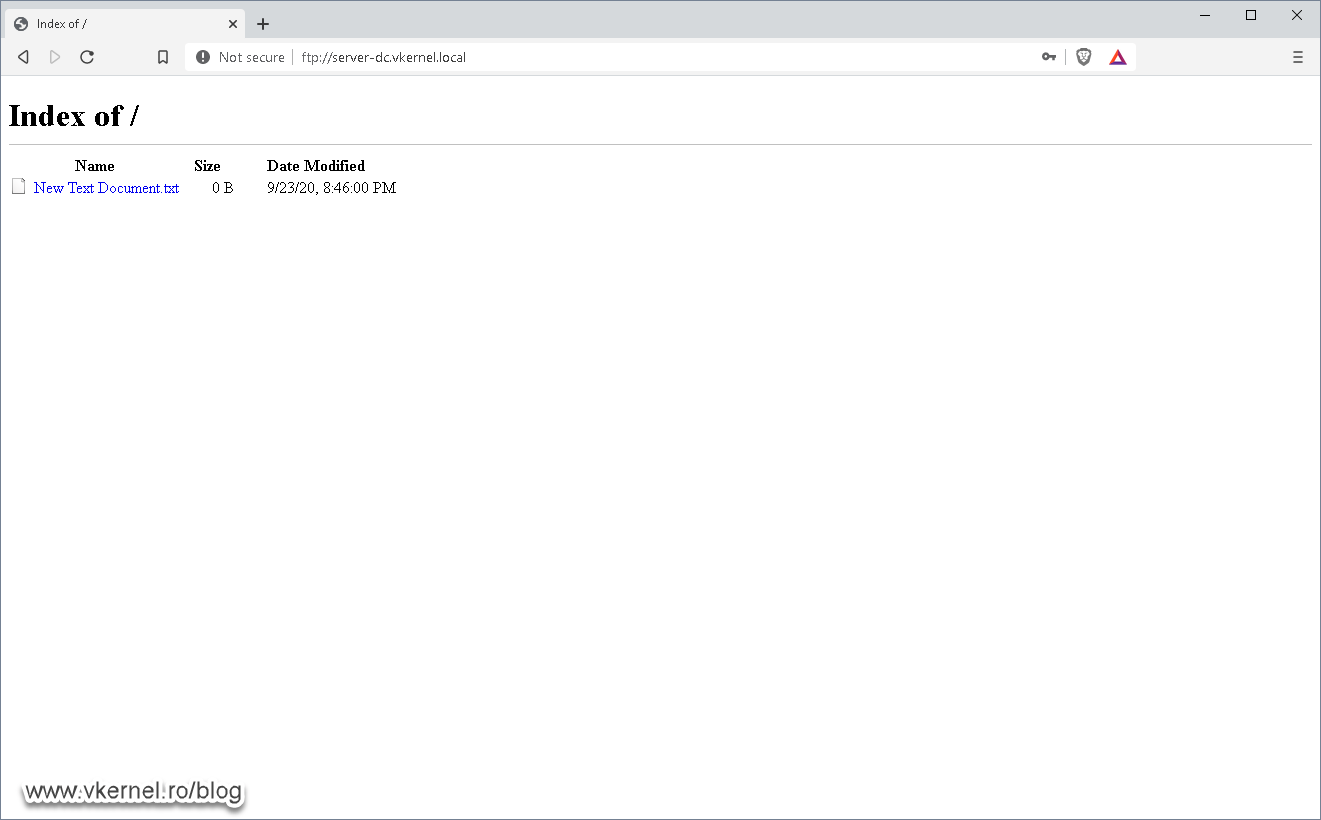
If we want to test it, we can open a browser to our FTP address, and see if we are presented with the root directory after the authentication process.
2. The VMware vCenter Server Appliance backup process
2.1. Creating a manual backup
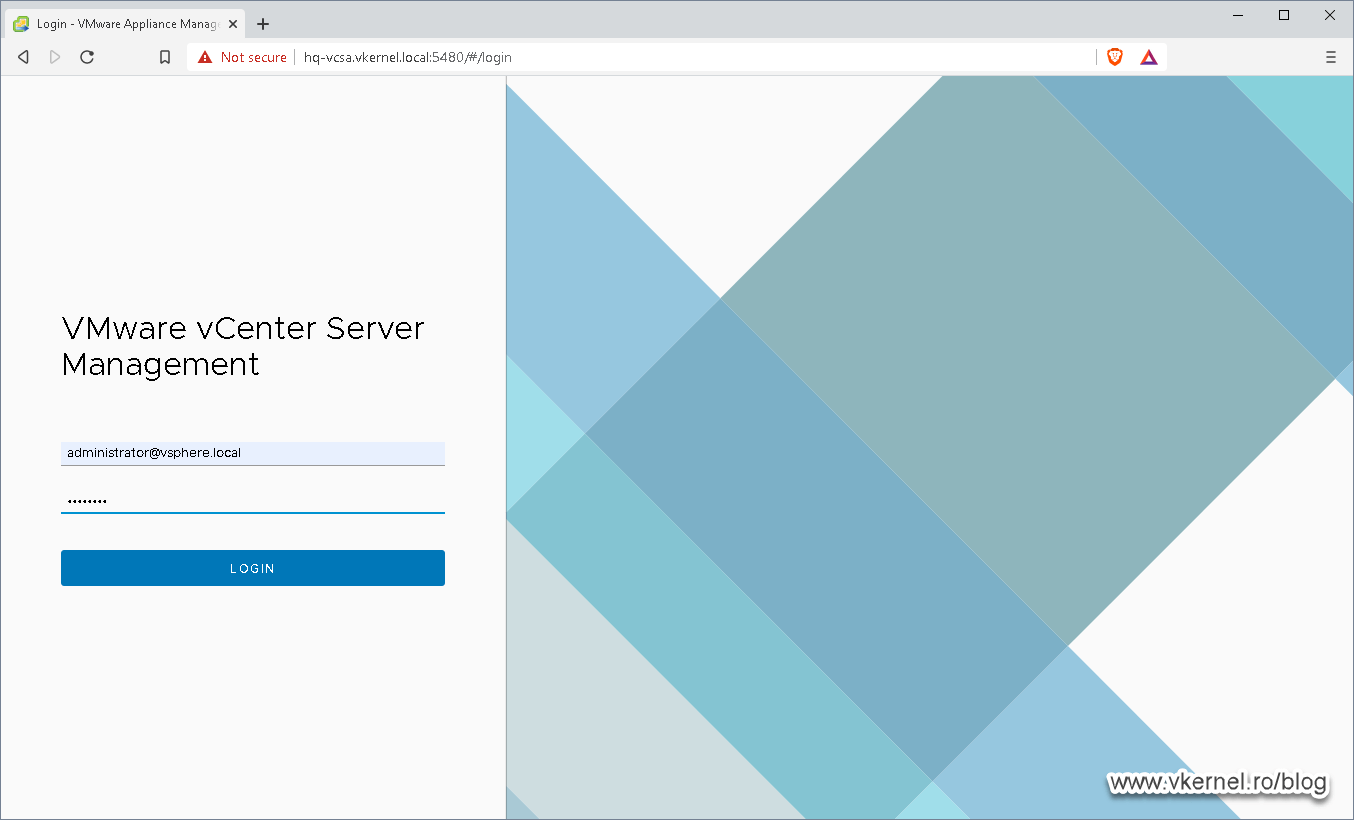
To create our first vCenter Appliance backup, open a browser and go to the vCenter Server Appliance Management Interface (https://<appliance-IP-address or FQDN>:5480) and log in as root. The credentials we are using here were set up during the vCenter Server deployment, so you will need to get them from your password vault.
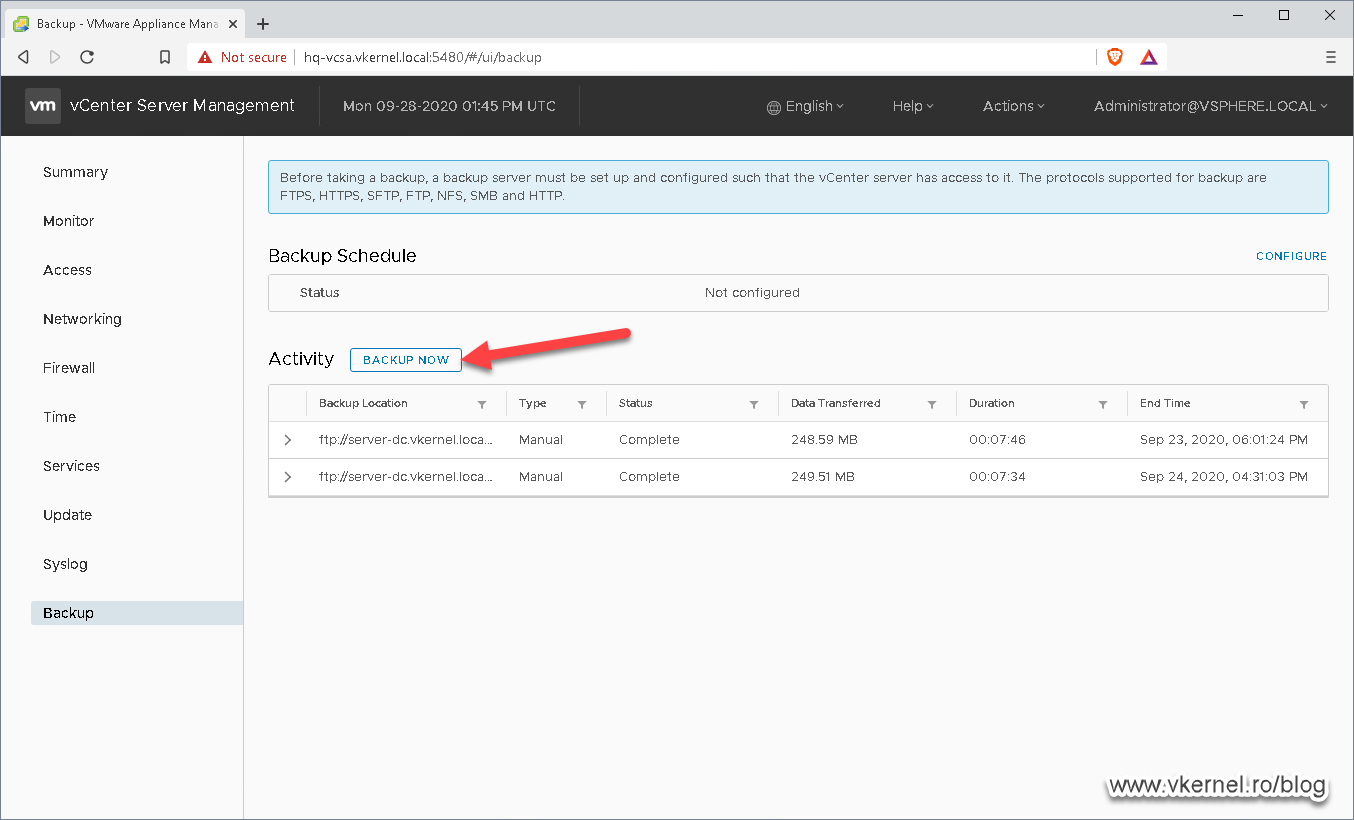
Once authenticated, click on the Backup item. On the right hand side we have the options to configure our VCSA backups and we can schedule them or start them manually. To initiate a manual backup all we have to do is click the BACKUP NOW button.
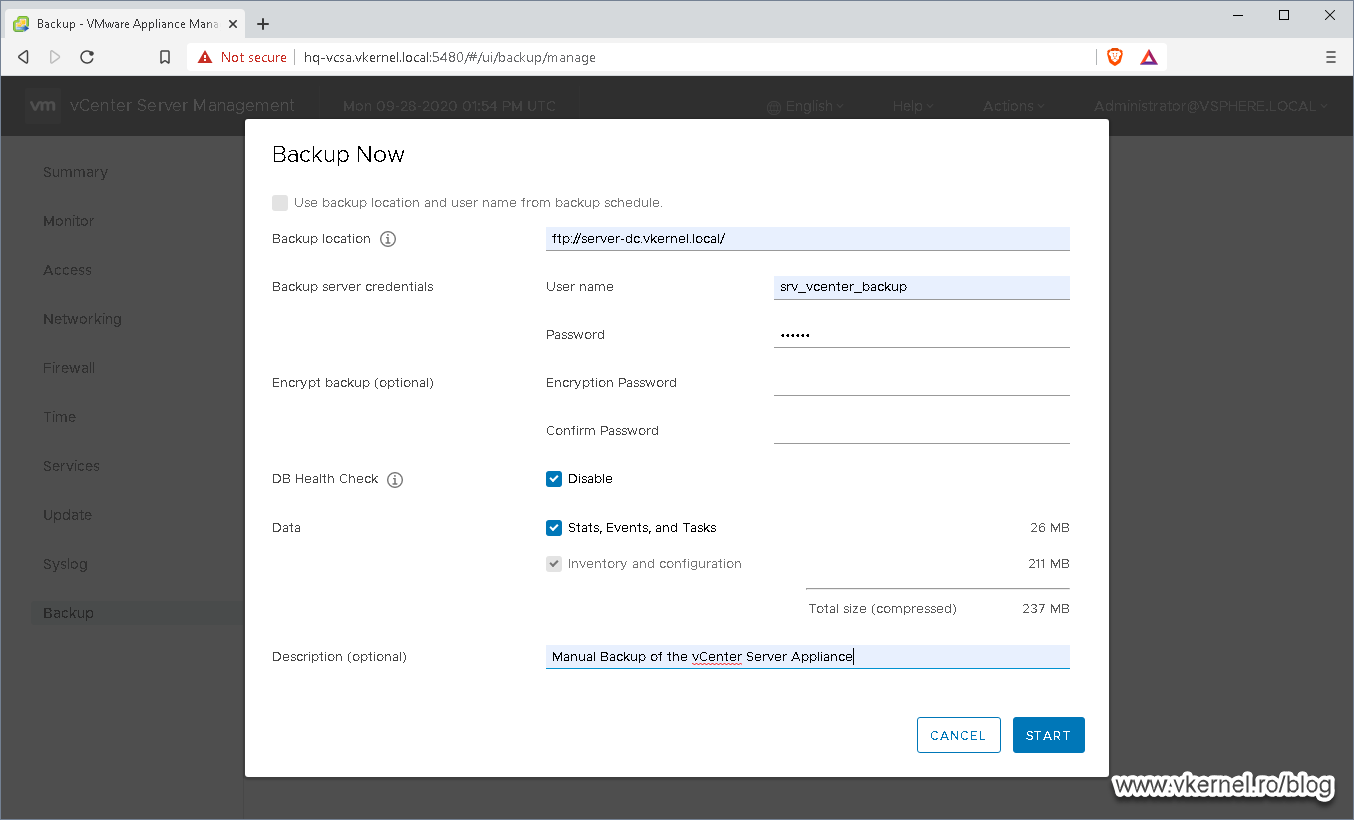
In the window that pops-up, complete the fields with the required information.
In the first one, the Backup location field, we need to type our FTP server FQDN address followed by the folder backup if we choose to have one. By default, the wizard will create a folder in the FTP server root directory named vCenter, so we can omit putting a folder in the FQDN path. If you have another type of service like HTTP, SCP, SMB you can use that, but in this example we are going to use the FTP server we built in the first section of the article.
Moving down to the authentication fields, we need to provide the service account that has read and write permissions on the FTP server, and that will be our Active Directory username. The other options that we have in the BACKUP NOW window are optional, but I recommend you use them, like backing up the stats, events and also doing a database check. We can also encrypt the database if we have a high secure environment, otherwise it will only complicate thing later on, especially if we loose the encryption password. Click START to begin the manual backup process.
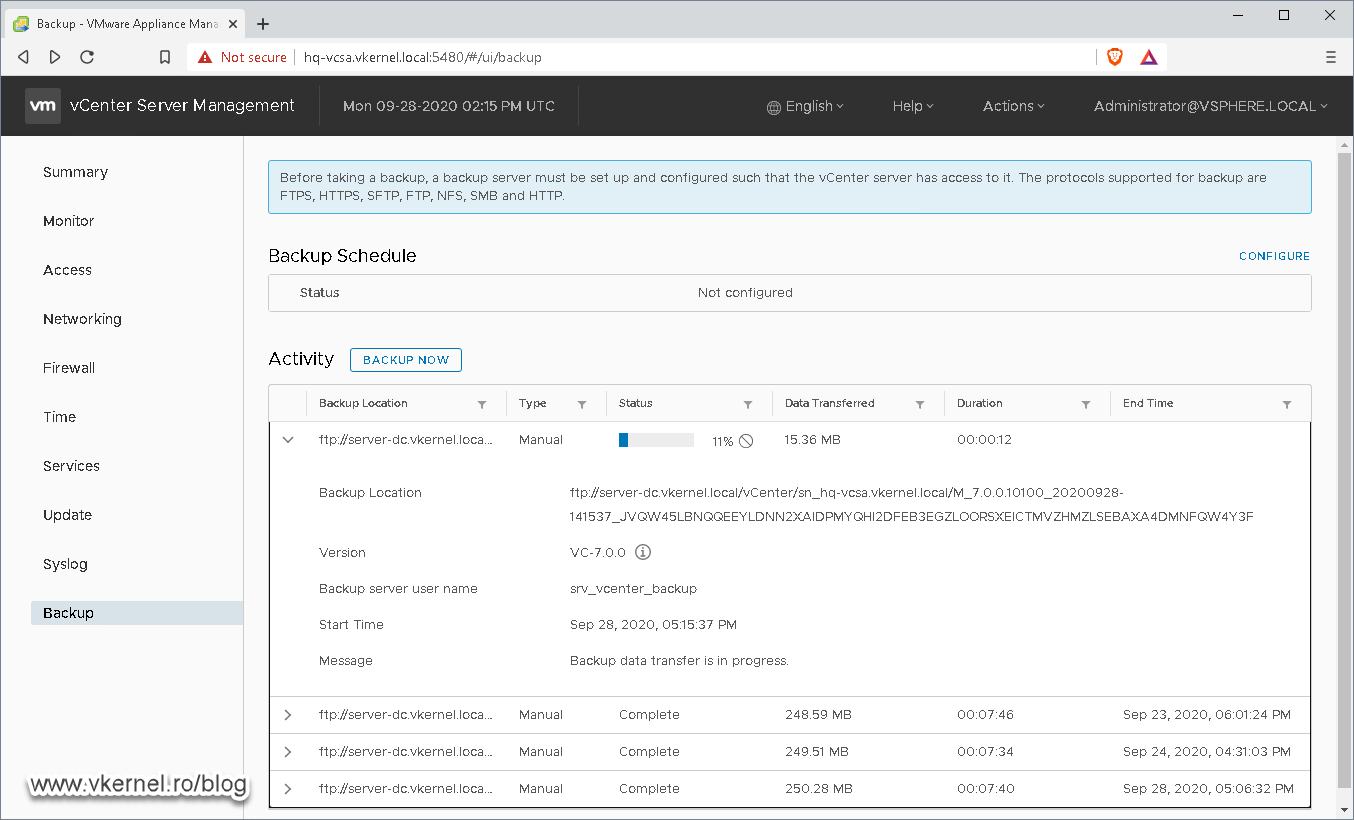
The backup is going to take some time and it all depends on the size of the vCenter Server Appliance and if we choose to do a database check. The nice thing is that we can watch the entire backup progress straight from the GUI.
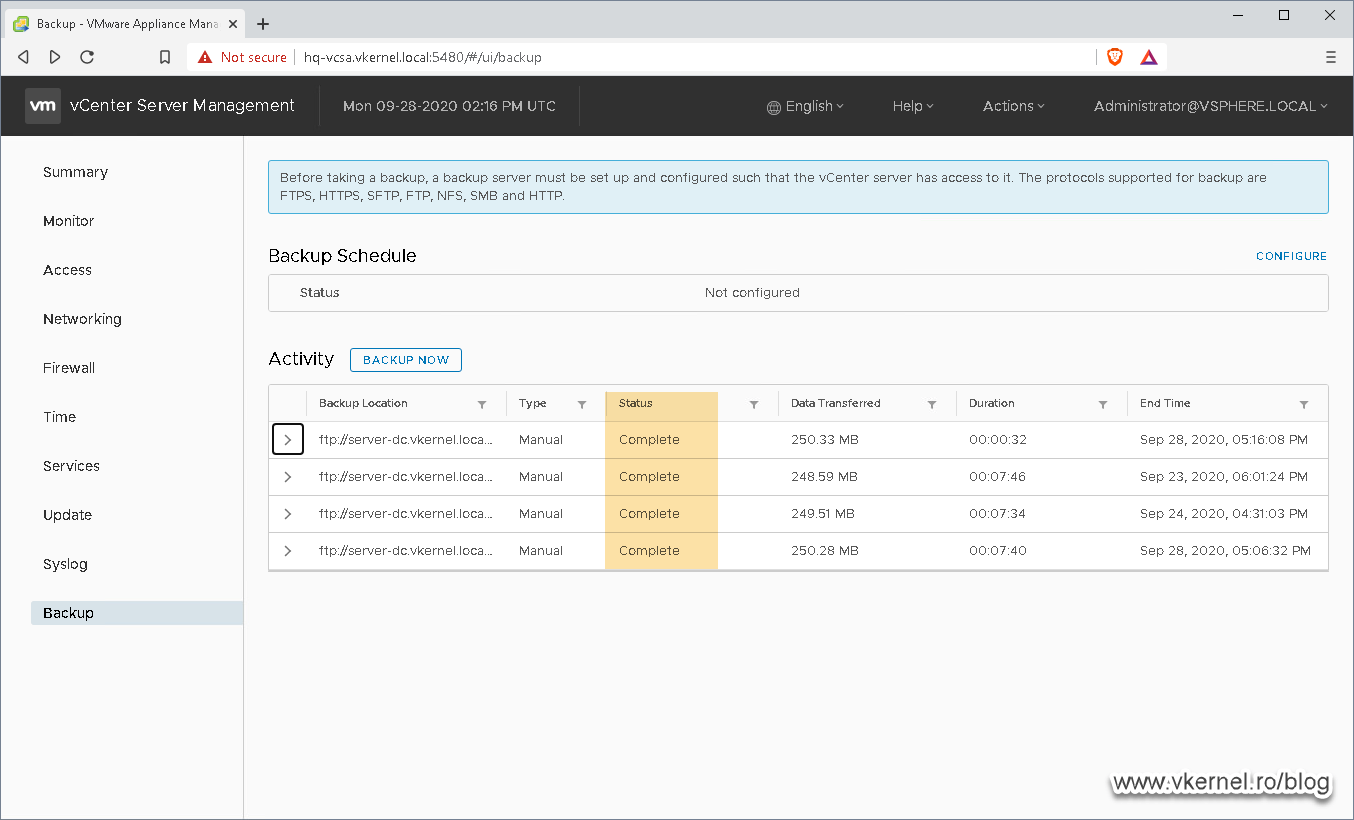
Once done, we get the Complete message on the backup job.
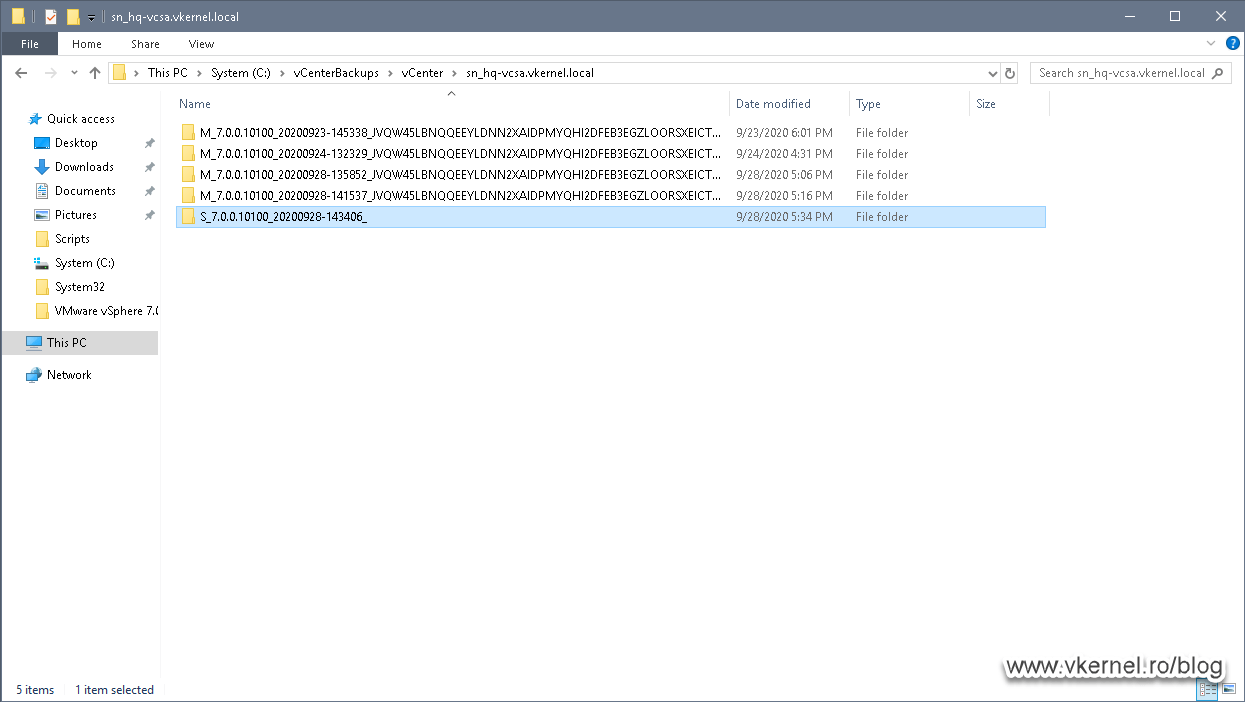
Also, looking on our FTP server in the backup location, we should have our backup files organized in a per directory. The ones that have the letter M at the beginning of the folder name are the manual backups and as you will see in the next section, the scheduled ones will have a letter S.

If we browse one of the backup folders, we will notice some .gz archives which are actually dumps from our vCenter Server database, events, logs etc.

2.2. Creating a schedule backup
Starting with vCenter Server 6.7, we have the option to configure a schedule backup of our virtual appliance, so if you are at this version or above, there is no need to manually push the backup button anymore. It is set it and forget it, more or less because it’s still missing the notification feature, but maybe in a future release.
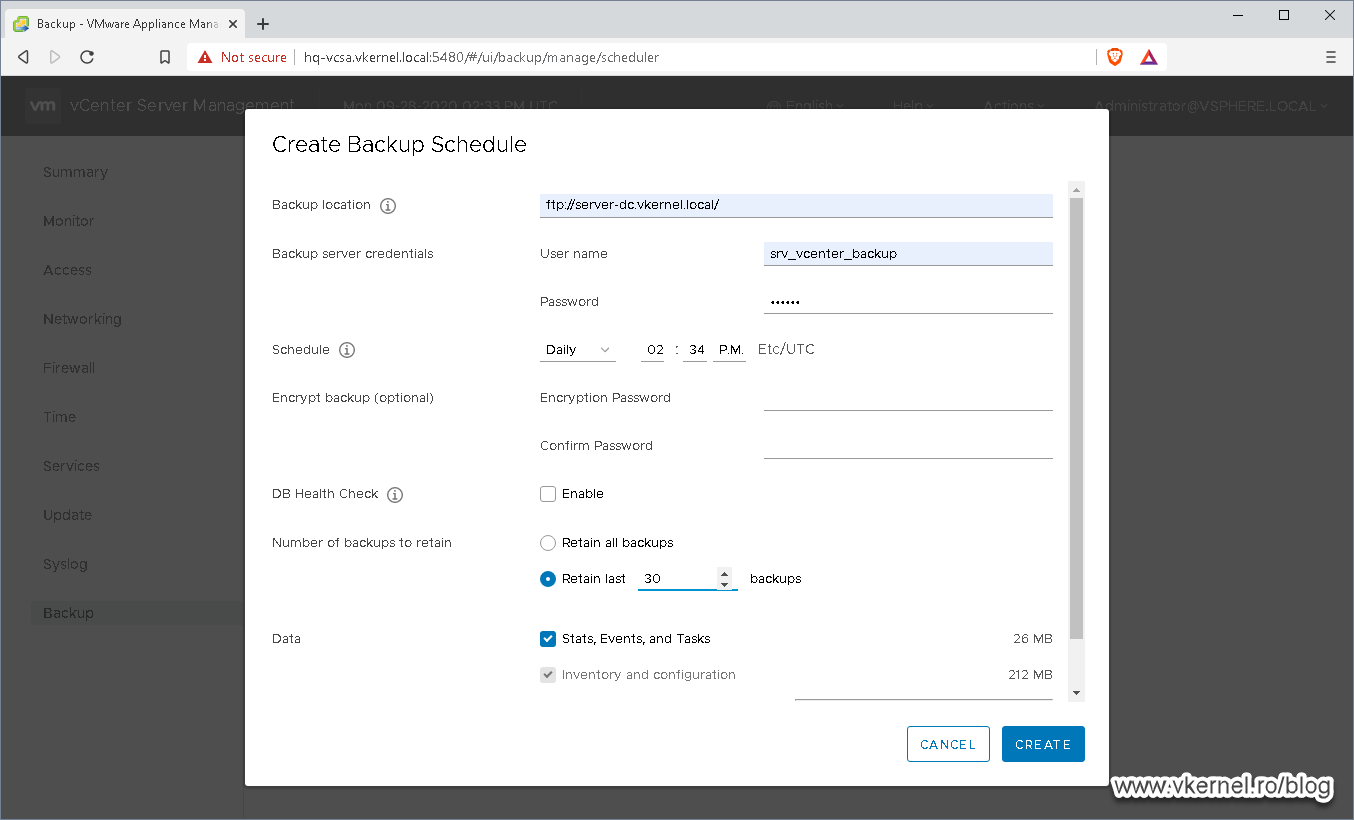
Creating a schedule backup it’s similar with the manual one, so the next screen it will be very familiar to us. To open the Create Backup Schedule window click CONFIGURE in the Backup section.

As before, complete the fields with the required information then set the schedule when the backups should occur. Make notice of the time zone because if you did not change it with your own, you will have to do some math and convert it to UTC in order for the scheduler to start the backup process at your configured time.
Another option that we have here is the retention policy where we can set how many scheduled backups should we keep. I will leave this up to you, since every environment out there has a different approach and policy on retaining backups, an it all depends on how often your vCenter Server configurations will change.
Once the backup schedule was set, we can see the details in the web portal by expanding the job.

When the schedule reaches its starting time, we can view the progress in the Activity section of the vCenter Appliance Management Portal.
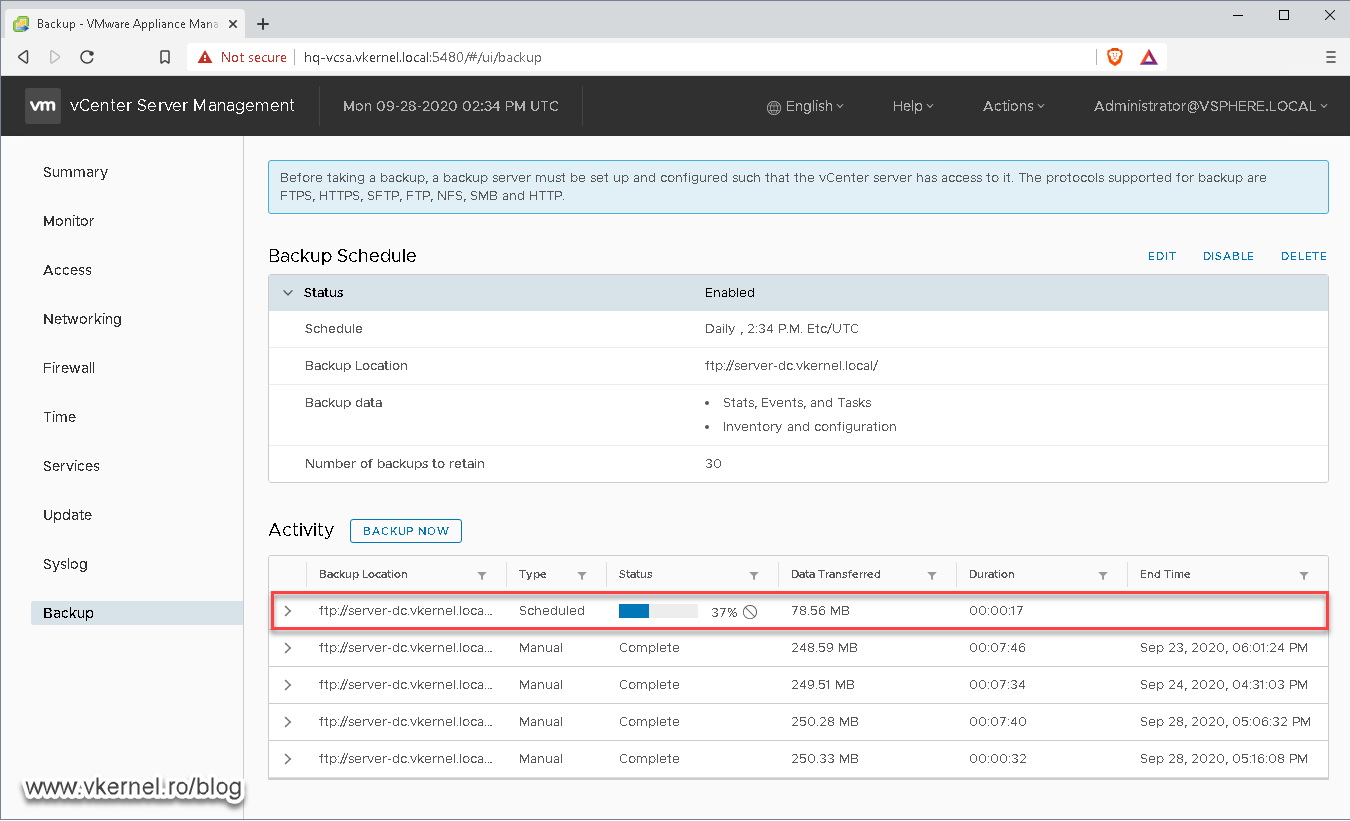
When it completes it will display the same message as the manual backup.

Looking on our FTP server after the backup job completes, we can see the backup directory created and with a letter S at the beginning. This tells us that it was created by a scheduled backup job.
3. The VMware vCenter Server Appliance recovery process
The recovery process is very easy, even tough it has two things that I don’t quit like. The first one is that we have to use the VCSA ISO in order to begin the recovery process and without it, we will not be able to restore our vCenter Server Appliance. The second one is that we need to have a standard Port Group on our destination ESXi host. The recovery wizard does not recognize a distributed Port Group.
3.1. Simulating a vCenter Server disaster
Whit the idea that we are OK with this limitations, let’s simulate a vCenter Server outage. First thing we need to do is log into the ESXi host where the vCenter Server Appliance is running.

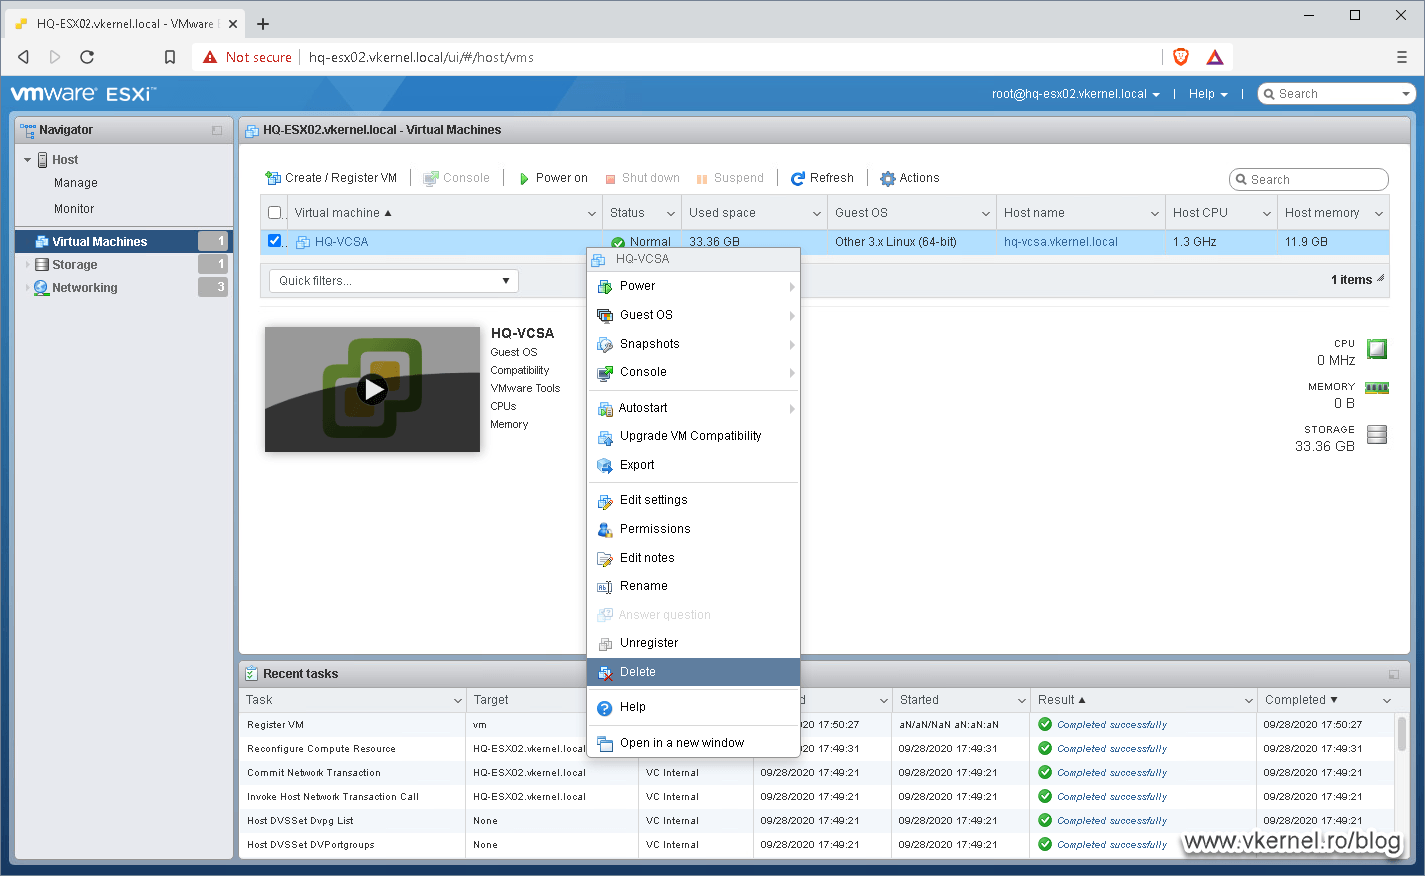
Right-click the VMware vCenter Server Appliance and choose Power > Power off.
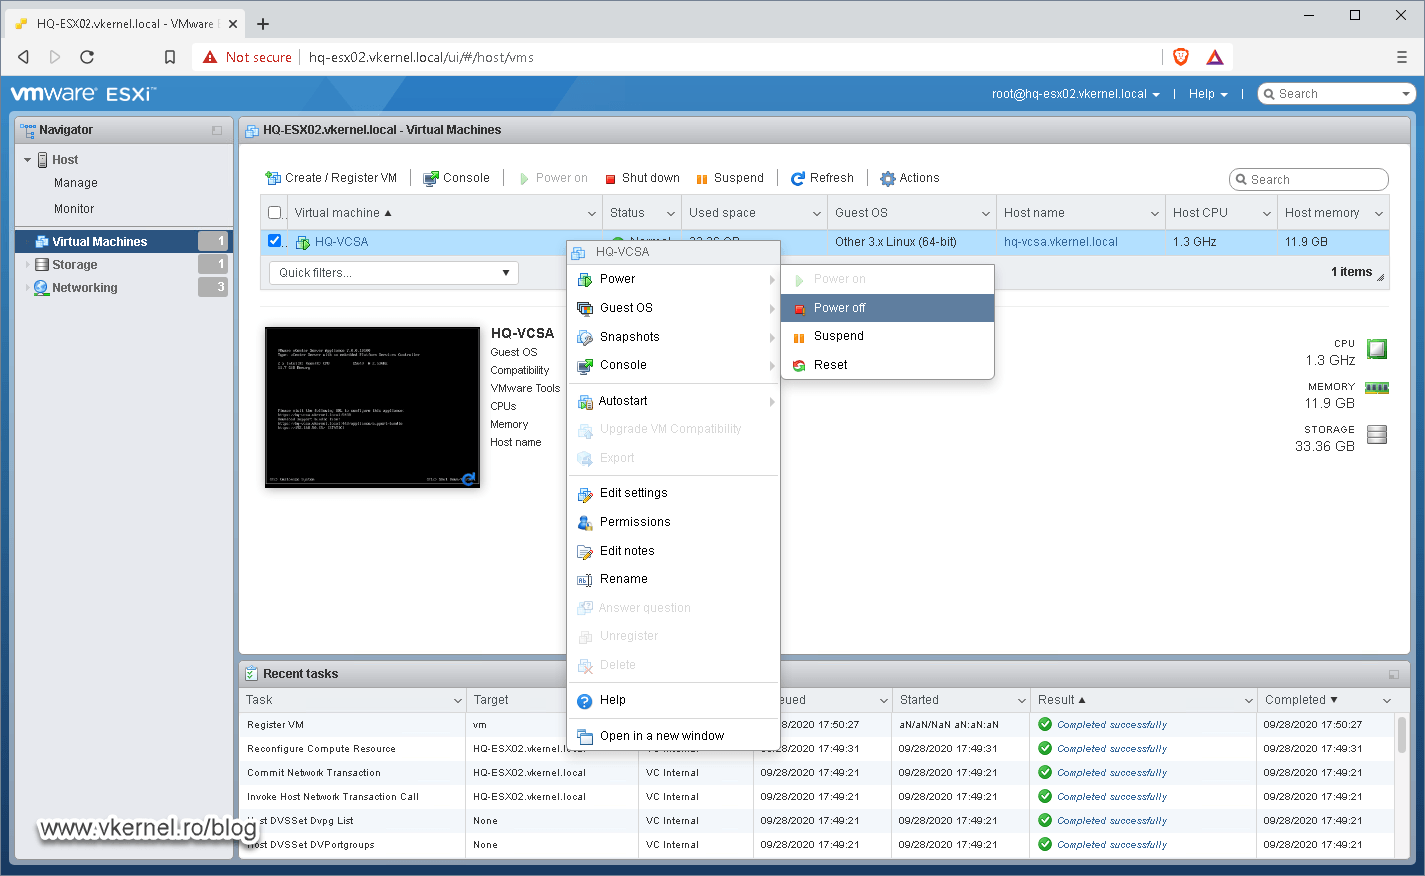
Right-click again and choose Delete. The VMs we have on our ESXi hosts are still running, but right now we are left with no central management, no DRS, no vMotion etc.
3.2. Restoring the vCenter Server Appliance
Since we have an outage on our VMware infrastructure and the only way to make it work as before is to restore our vCenter Server from a backup, the first thing to do is mount the VCSA ISO and launch the installer. I am using the Windows installer version, but the Mac and Linux ones work just the same.
We need to use the same version of the vCenter Server Installer as the appliance that failed. So if you have a vCenter Server 6.7 that needs to be restored, you will need to use the VCSA 6.7 ISO.
Once the vCenter Server Installer window pops-up, click on the Restore option.
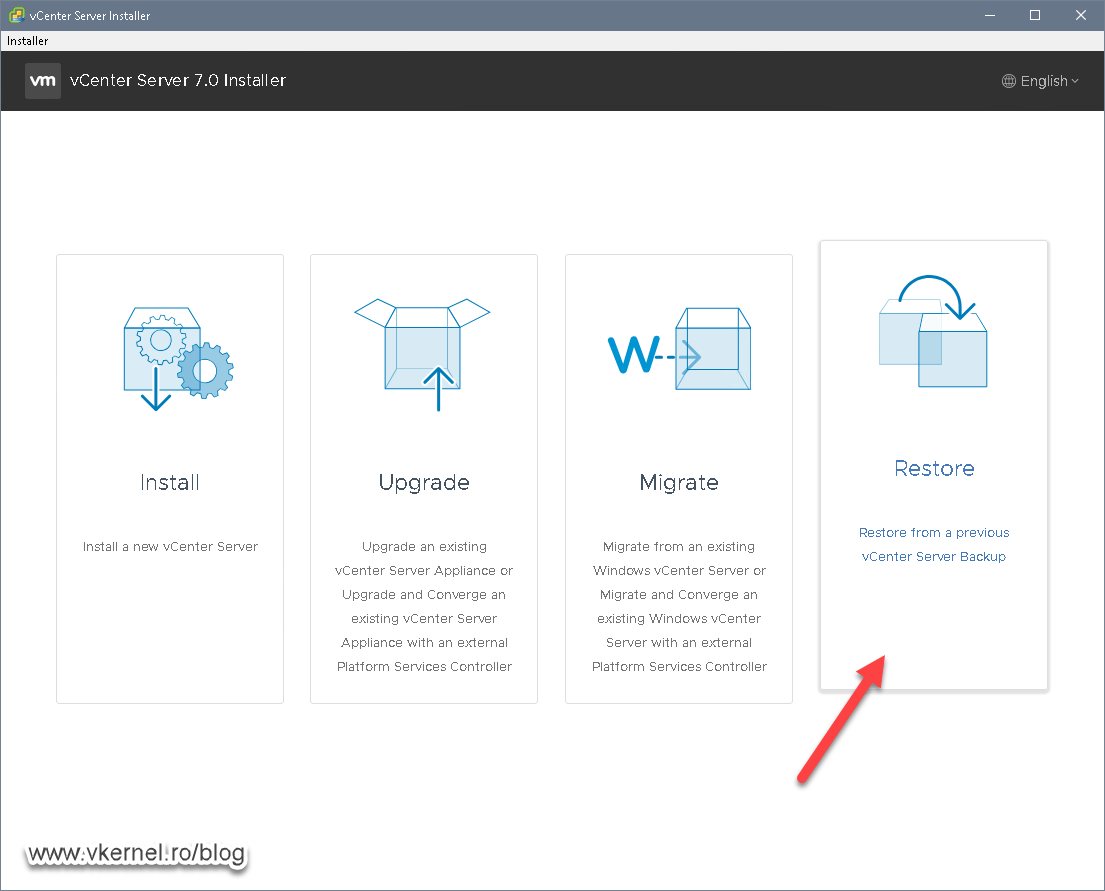
This is just a screen informing us that the restore from backup process has two stages. Click Next to continue.

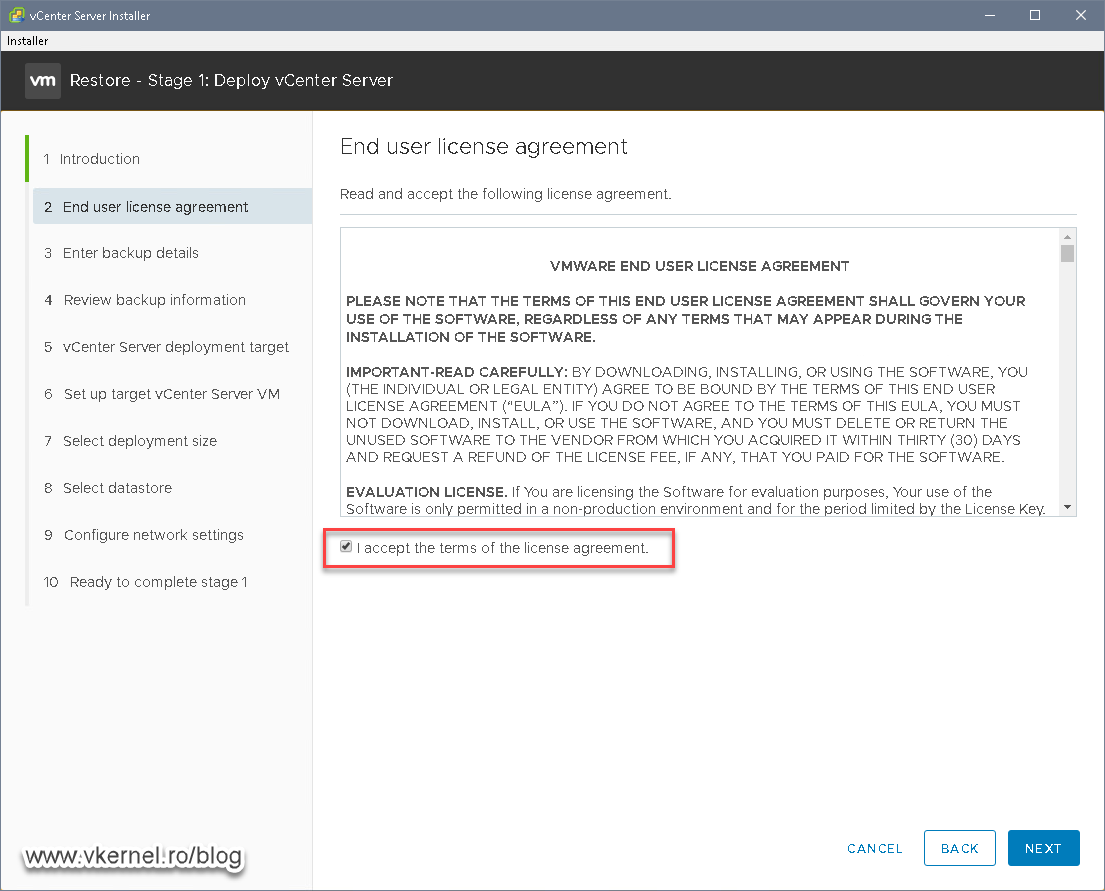
Accept the license agreement and continue the wizard.
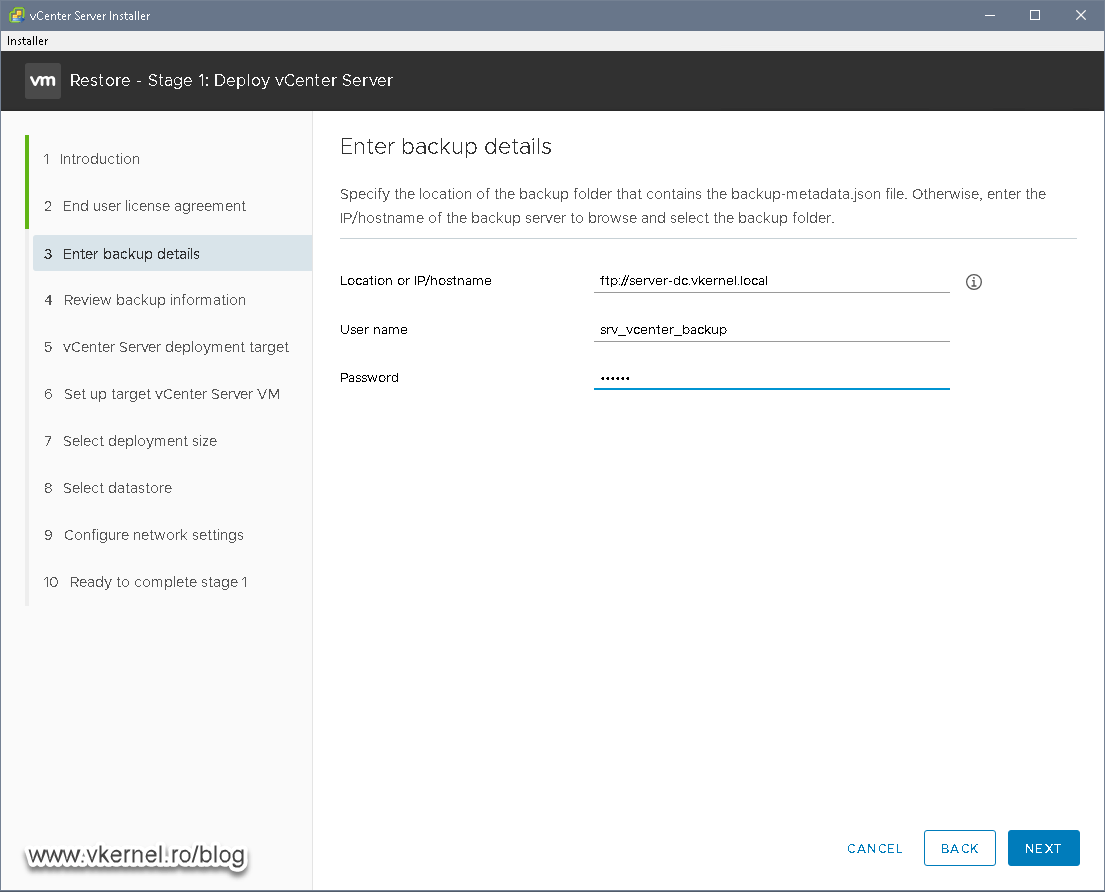
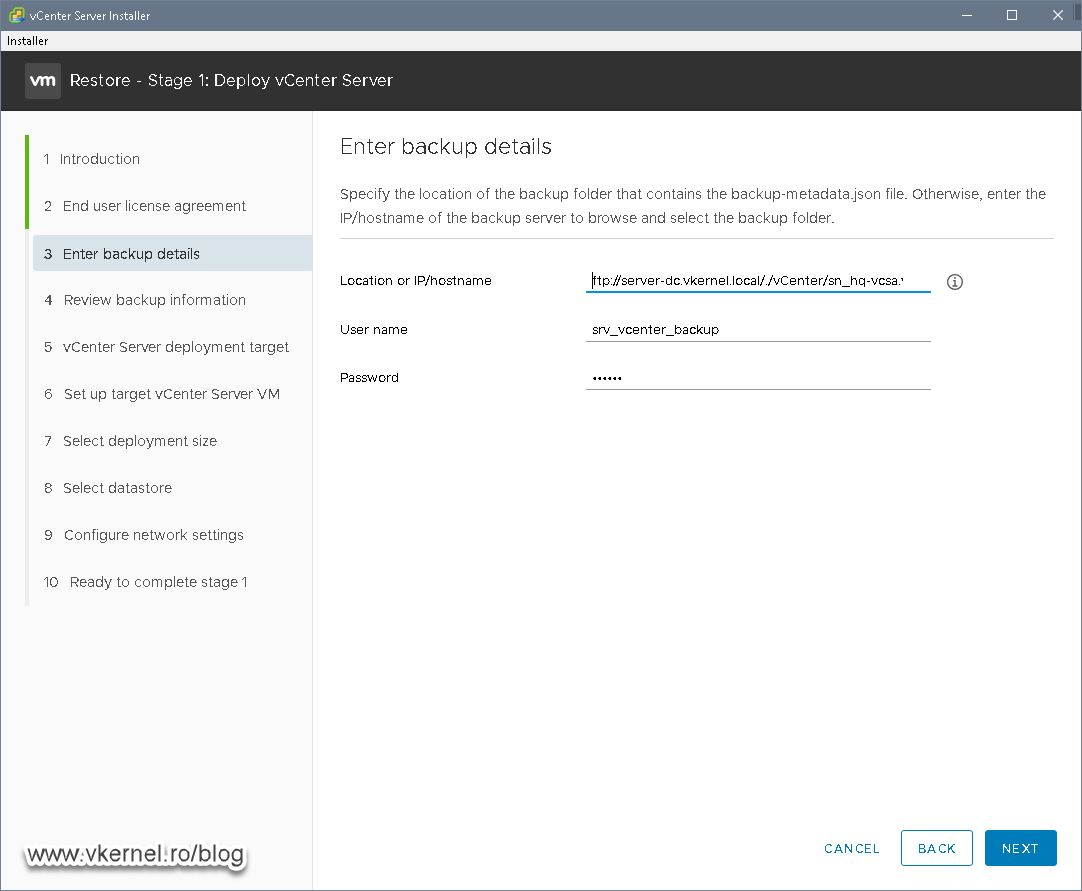
In the Enter backup details screen we need to provide the source address where our vCenter Server Appliance backups are located. Since we built and used the FTP server to store our vCenter Server backups, this is also going to be the source address for restoring.
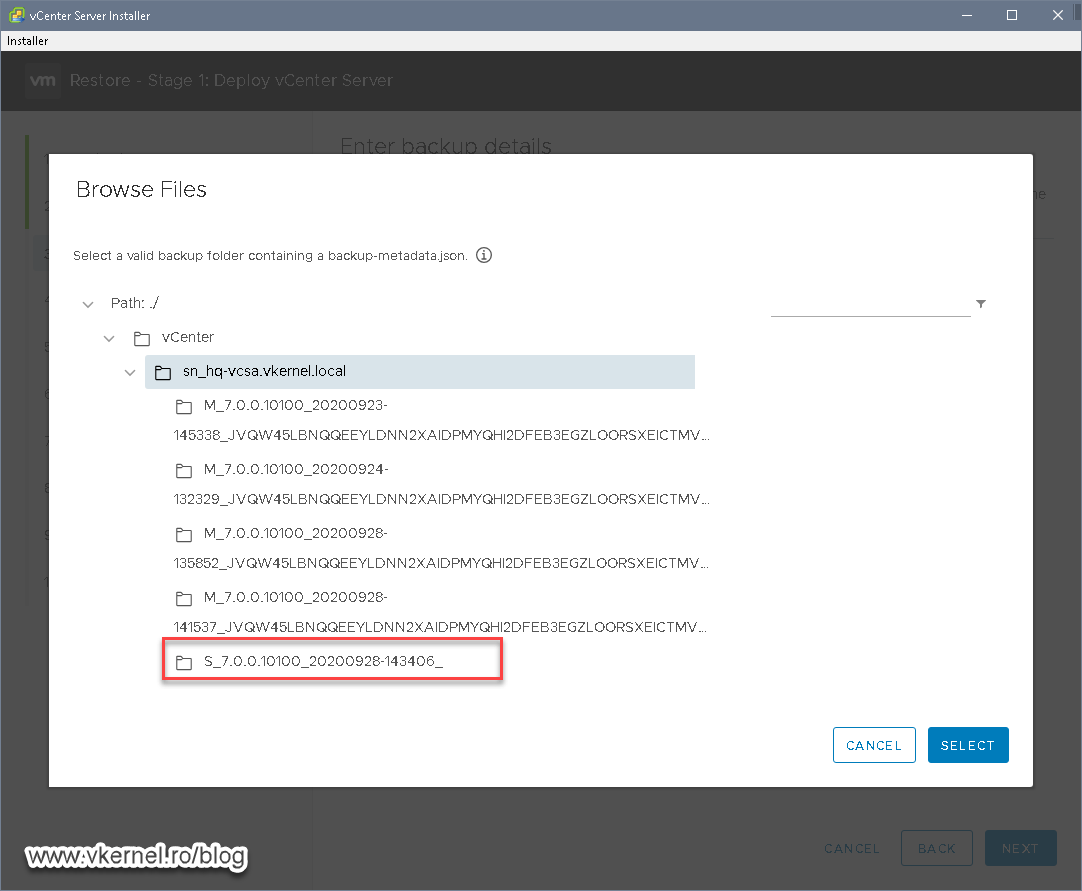
If the source address and credentials are correct, we will be presented with a new window listing all of our vCenter Server backups. The only thing left to do here is select the backup folder from which we want to restore. Click SELECT when done.
After clicking the SELECT button above, our FQDN changes in the Location or IP/hostname filed. The wizard automatically populates the full path to the backup folder. Click Next.
Here we have a review of our backup source. If everything looks good, just hit Next to continue the wizard.

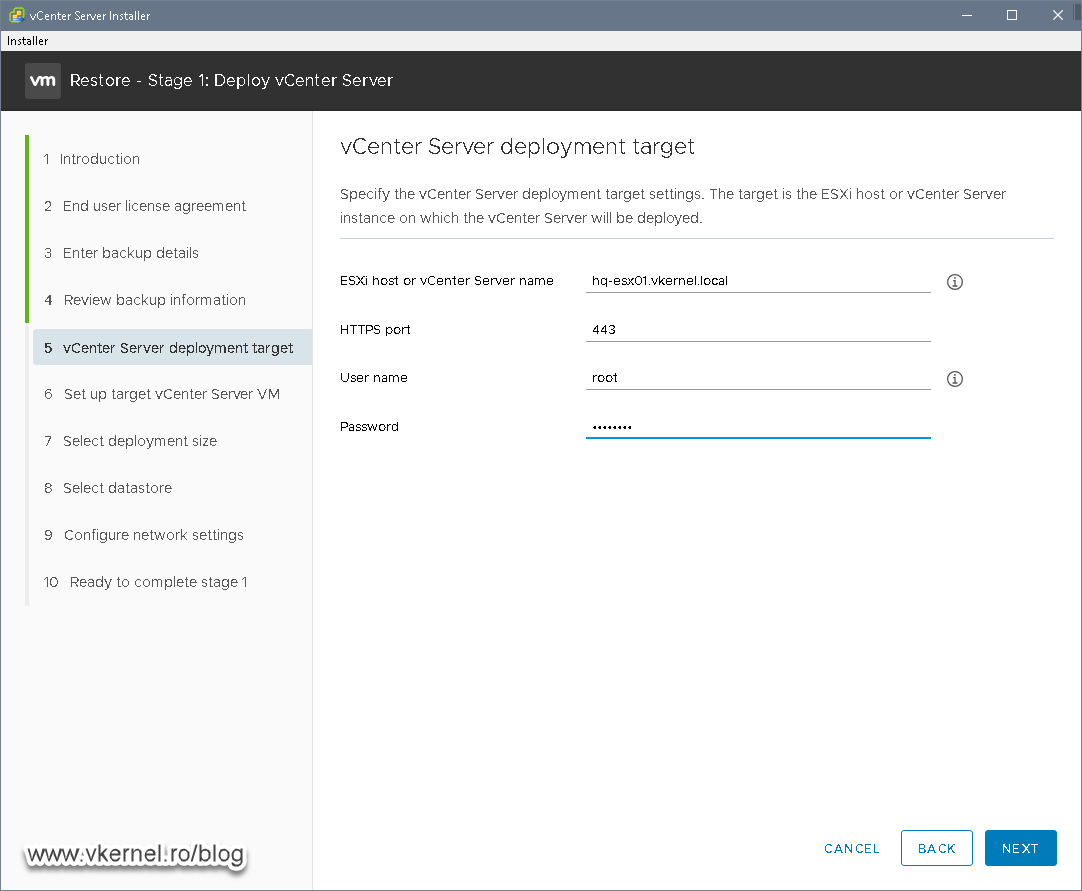
Now we need to provide the destination ESXi server where the virtual appliance will be deployed.
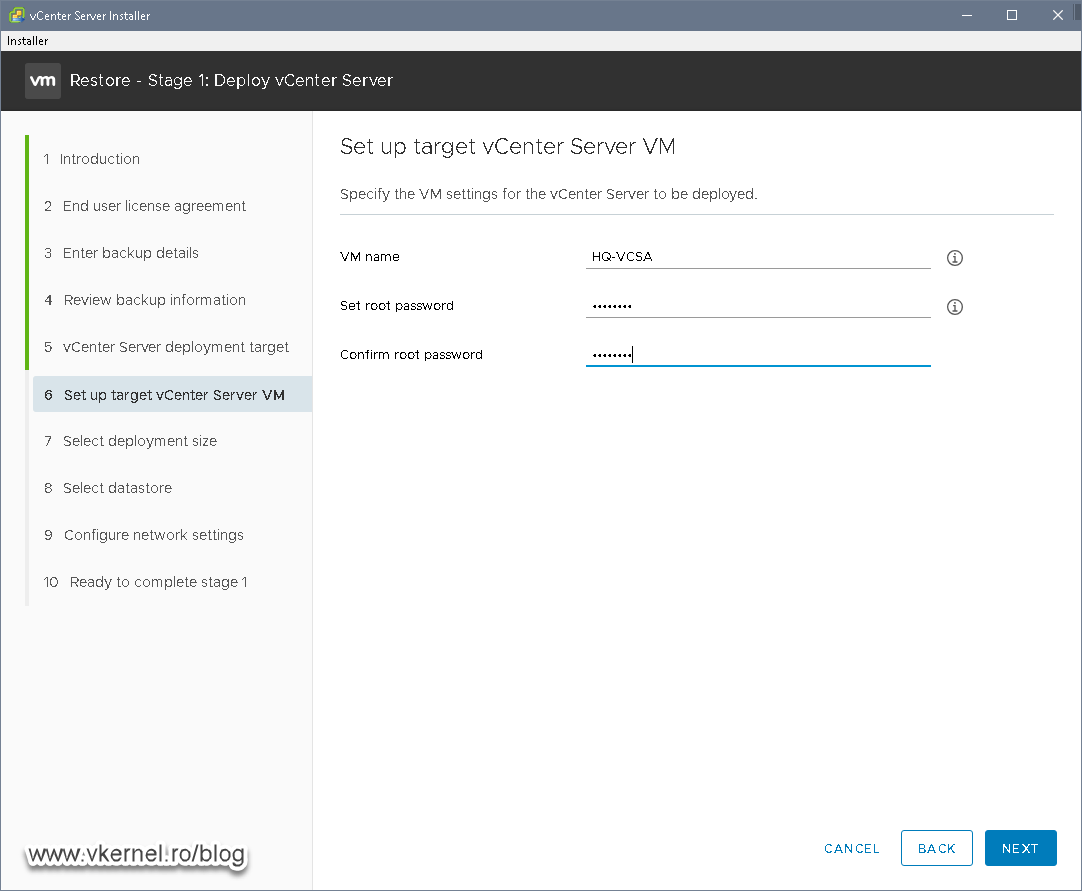
Type a name for the vCenter Server Appliance that will be displayed in the inventory after the deployment is done. As the password goes, make sure you provide a strong one and that you save it in your company’s password vault. This will save you a lot of time when troubleshooting the appliance or scheduling other backups.
Based on the number of VMs and ESXi hosts that this vCenter Server will manage in your environment, choose the appropriate appliance size then click Next.

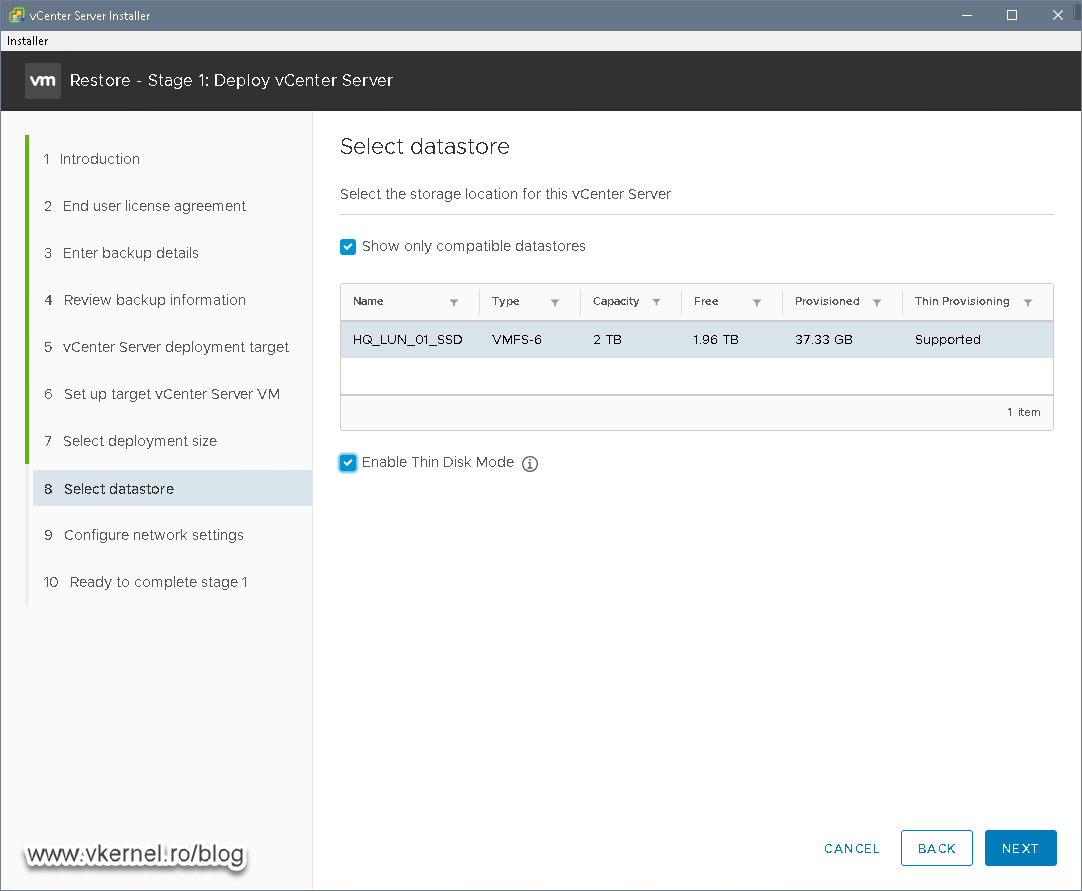
Select the datastore from the destination ESXi host where the vCenter Server Appliance will be deployed then continue the wizard.
The network settings fields will be automatically completed by the wizard with the same information as we had before on the vCenter Server Appliance, but the one we need to focus on is the Network one. As I have mentioned before, we need to have a standard switch/port group on the destination ESXi server or we cannot continue with the restoration. If that is not the case, unfortunately the only way around it is to reset the network on the ESXi host. Bear in mid that by doing this you will lose all your previous network configurations and the VMs running on the ESXi host will also lose connectivity with your network. This will create a bigger outage that by not having a vCenter Server up and running.
As a last resort, improvise. Deploy a temporary ESXi host on a spare server them migrate the vCenter Server Appliance to the production hosts once everything is done.

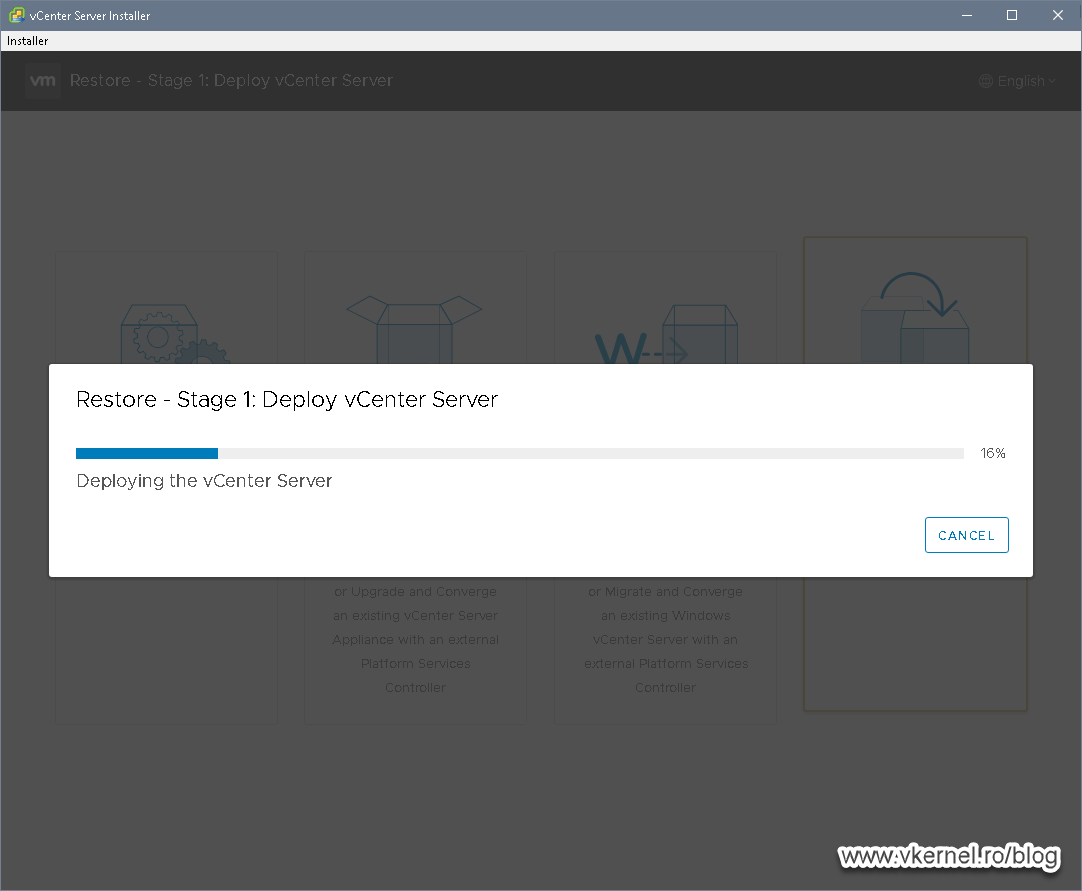
Click FINISH to begin the stage 1 of the deployment.

In this stage, the wizard will actually deploy a virtual machine on the destination ESXi host with the information we have provided.
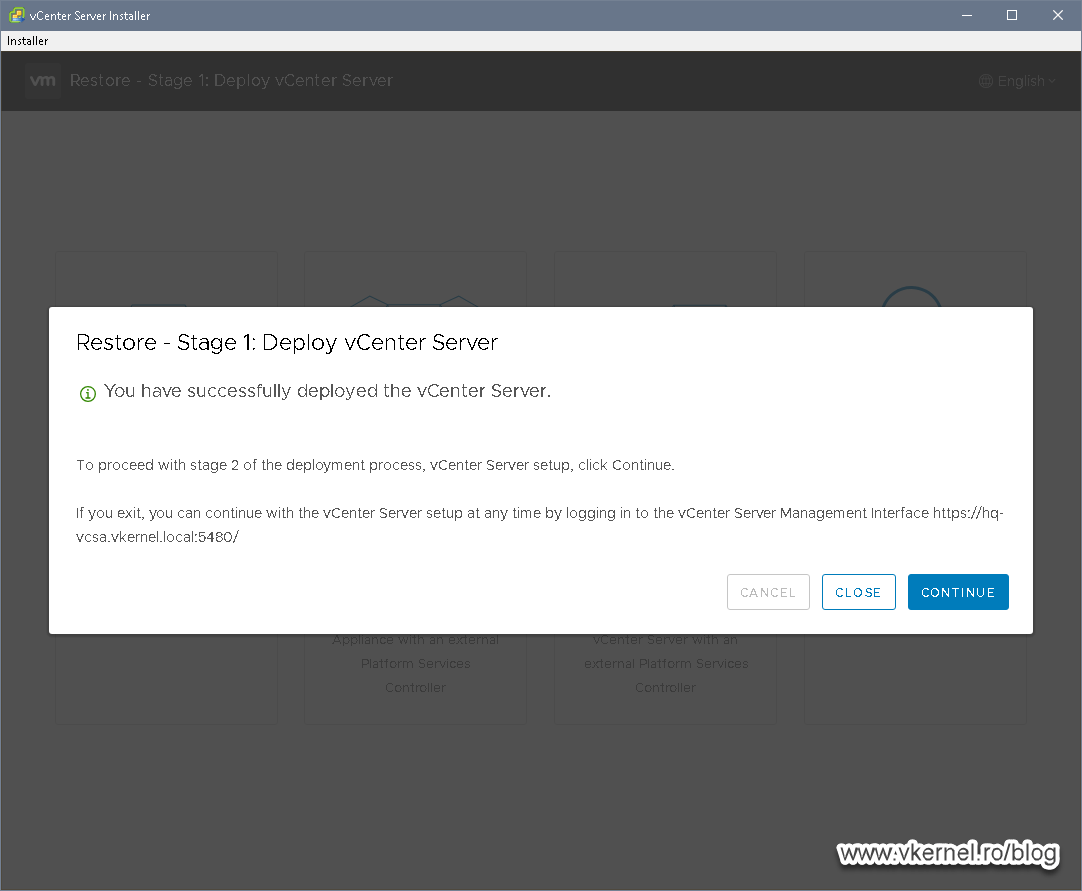
All this, is going to take quite some time, and once it is done we are presented with a successful message screen that also takes us to stage 2 of the deployment. Click on the CONTINUE button to do just that.
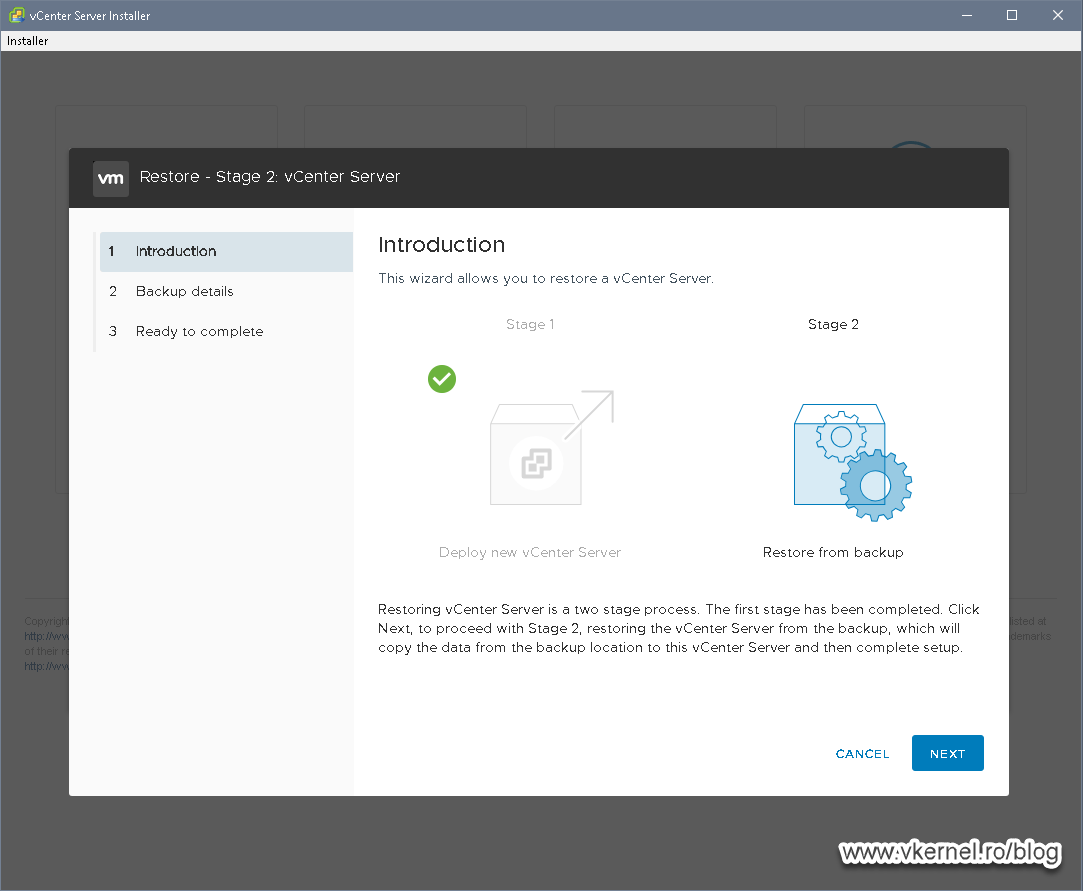
In the second stage of the deployment is where the actual restore takes place. The wizard will take all the data from the backup folder and overwrite the existing one from the appliance we just deployed. Right now our vCenter Server is not functional, all it has is the IP address and the name, but the database is empty. Click NEXT to begin stage 2 of the deployment.
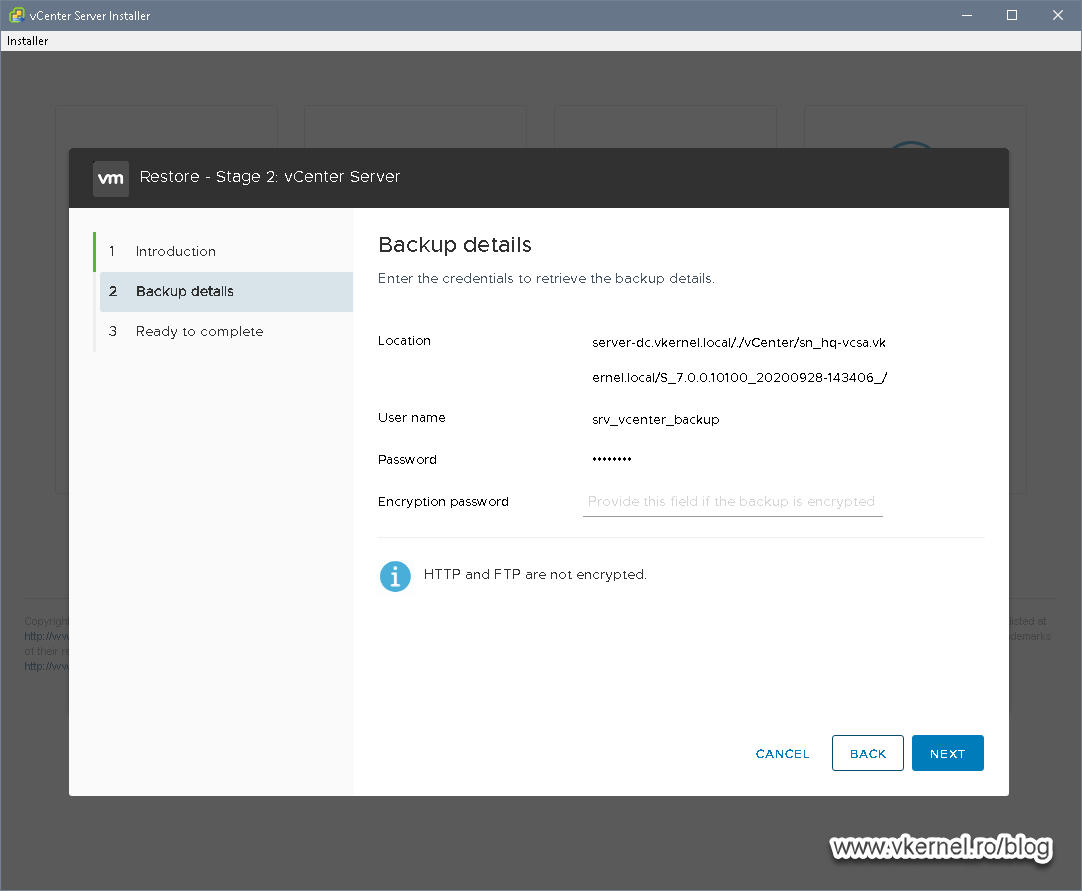
The wizard will use the same path to the backup folder as in the first stage. If you have an encrypted backup, type the password the click NEXT to continue.
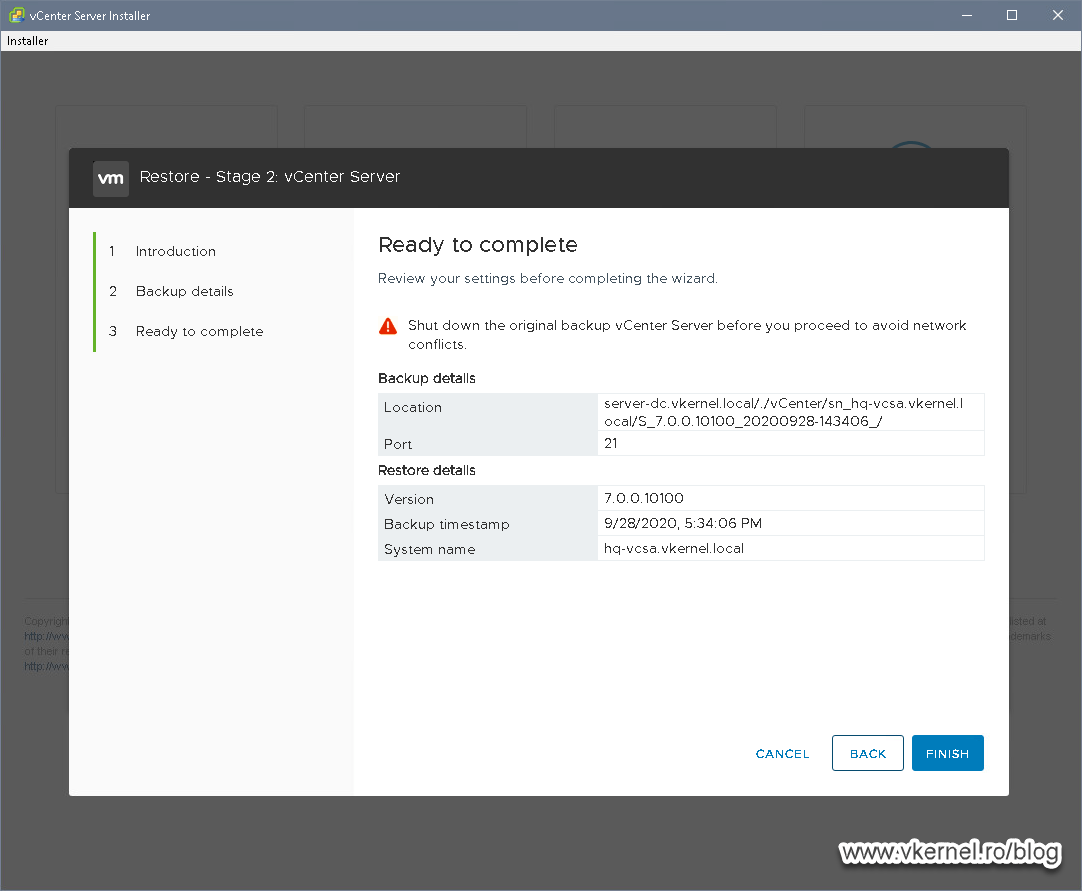
In the Ready to complete screen we get a message informing us that we need to shut down the original vCenter Server before continuing with stage 2 of this deployment. Since our vCenter outage simulation was to delete the appliance because we could not troubleshoot anymore, we are good to go here, so click FINISH to begin the last stage of the recovery.
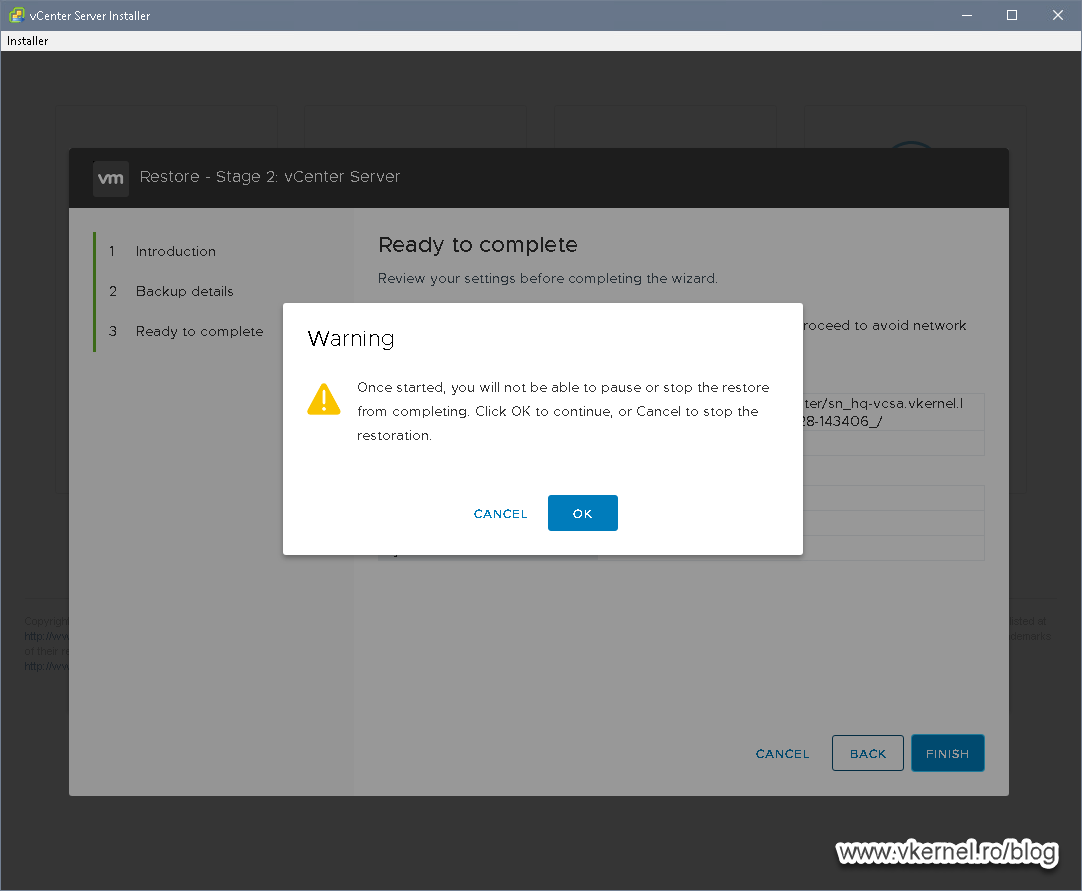
And we get the usual message that we cannot stop the deployment process once it is started. We don’t want to, so click OK to start.
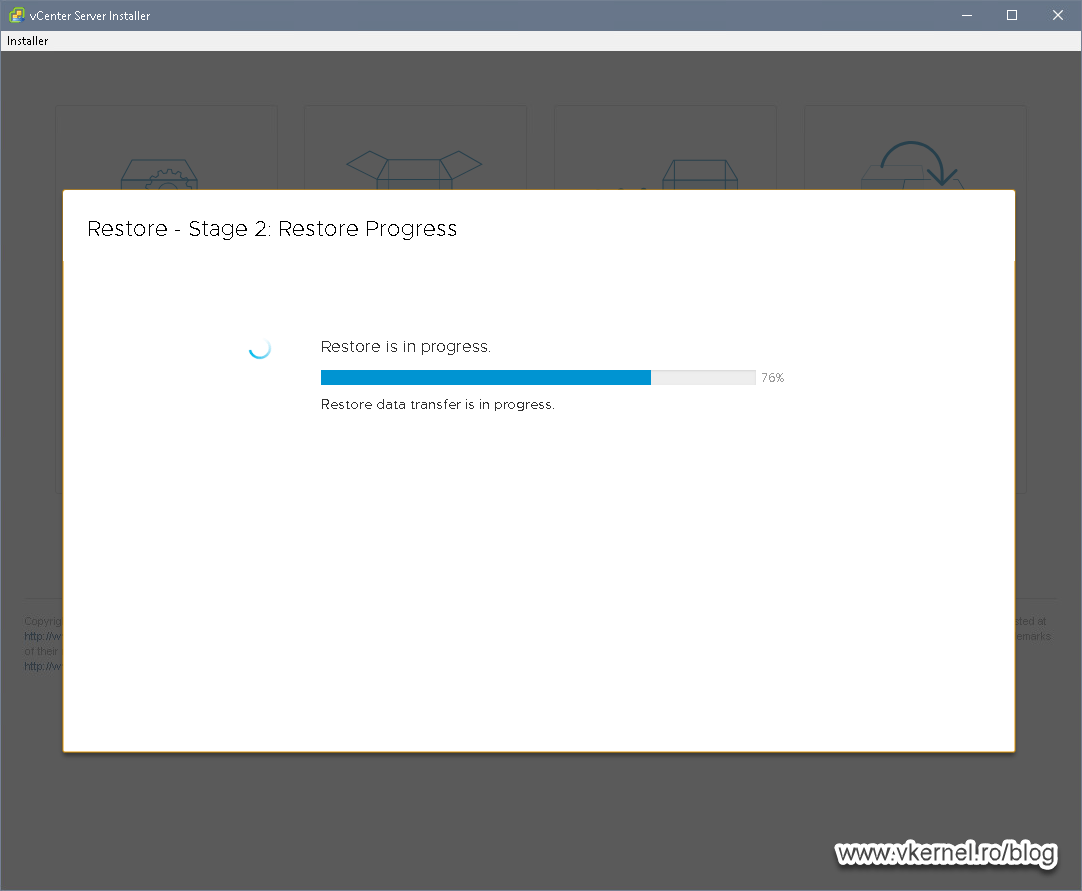
We can watch the entire restore process but this is also going to take some time.
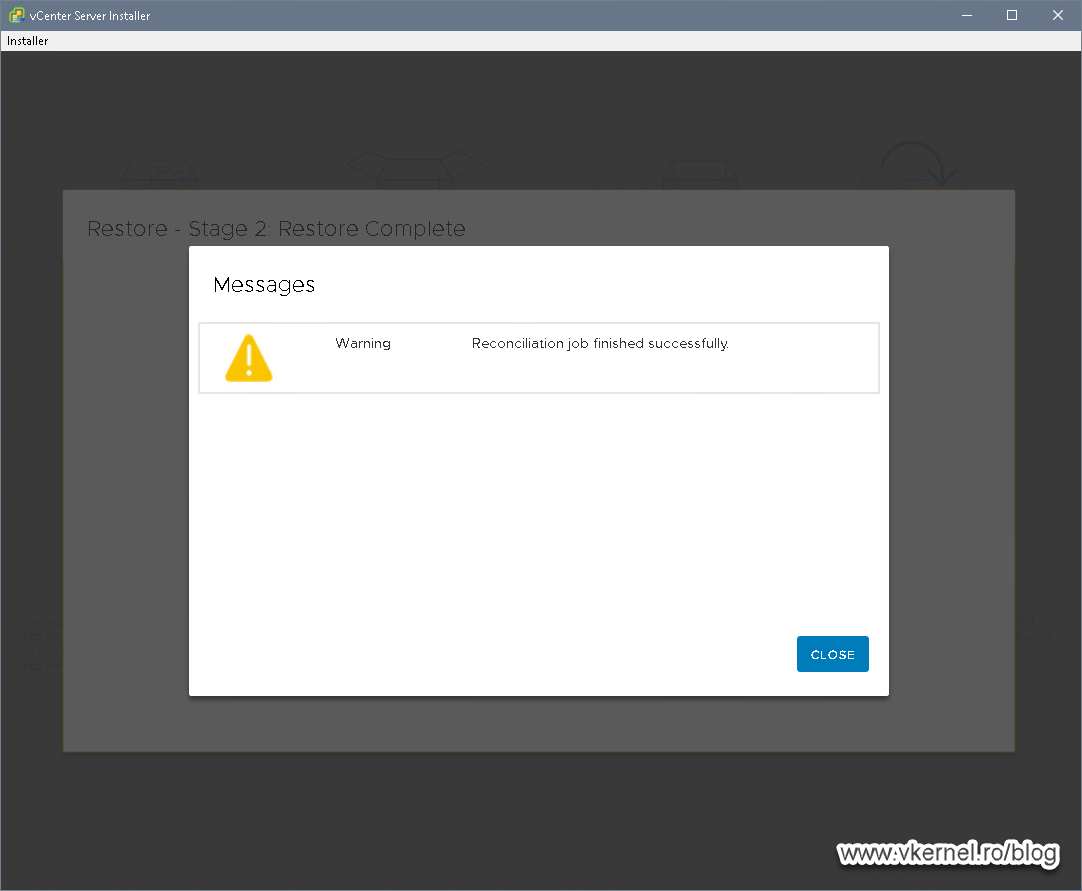
Once done, we get another message, Reconciliation job finished successfully. Don’t freak out by the warning, it is a successful one. Click the CLOSE button to make the warning window disappear.
And here we have a nice green check box that says our deployment was completed. Close the window and open the vCenter Server portal.

Everything should be like before, joined to the domain, clusters, datacenters etc. meaning the restoration has succeeded.

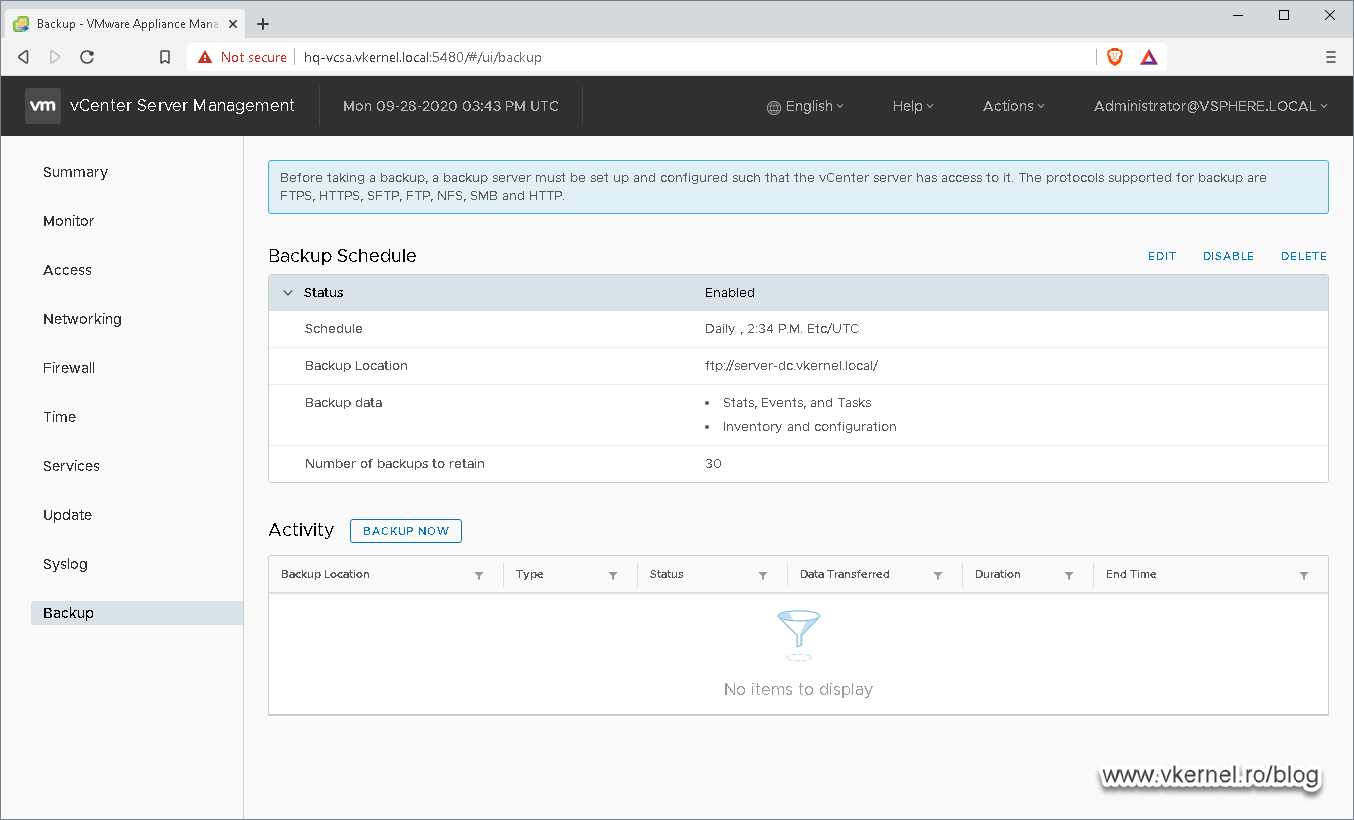
If we log into the Appliance Management Interface we also have our backup schedule(s) recovered. The manual ones will not be here since those run only once and all that is left after them are some activity events not included in the backup process.
Summary
This is a nice feature to have in the vCenter Server Appliance especially when you don’t want to invest in a super expensive third party backup software. And since VMware introduced the scheduler with version 6.7 it is even easier because you set it and forget it. The only thing that I like to see in a future release or build is some sort of notification option, so we can get an email when the backup succeeds or fails.
Want content like this delivered right to your
email inbox?
More similar articles
 Patching the vCenter Server and PSC Virtual Appliance
- Removing vCenter or PSC from Linked Mode configuration
- Repointing Embedded vCenter Server to existing SSO domain
- VMware vCenter Enhanced Linked Mode configuration
- Replace VMware VCSA 6.x Certificates with ADCS Certificates via the GUI
- Build and run Windows Failover Clusters on VMware ESXi