Deploying and Configuring VMware vCenter Server Appliance 5.x
VMware vCenter Server Appliance or vCSA for short, has greatly improved compared to previous versions, and in version 5.5 which I’ll discuss in this article some most wanted limitations were lifted. Now it can support up to 100 vSphere/ESXi hosts and 3.000 virtual machines with the integrated vPostgress database, which is more than enough for most of the environments out there. However, if you need more hosts and VMs, there is an option to use a dedicated Oracle database. With this one you can go up to1.000 ESXi hosts and 10.000 VMs per appliance. These are great stuff, but not so great compared to the Windows version, because vCSA has some limitations:
– it supports only its embeded database and Oracle. Microsoft SQL Server it’s currently not supported, but who knows, maybe in the future.
– VMware vCenter Linked Mode is not supported.
– VMware vCenter Heartbeat is not supported.
– VMware vCenter Update Manager is supported only if installed on a separate machine, and this needs to be a Windows box.
– there may be problems with some plugins.
Before the appliance gets deployed, the DNS records for the vCSA need to be set in place. First, a Reverse Lookup Zone is needed, so if you don’t have one, go ahead and create it. Once that was taking care of, go in your Forward Lookup Zone and create an A record that points to the IP that you are going to set for the vCSA later on. Also check the Create associated pointer (PTR) record check box. Click Add Host.

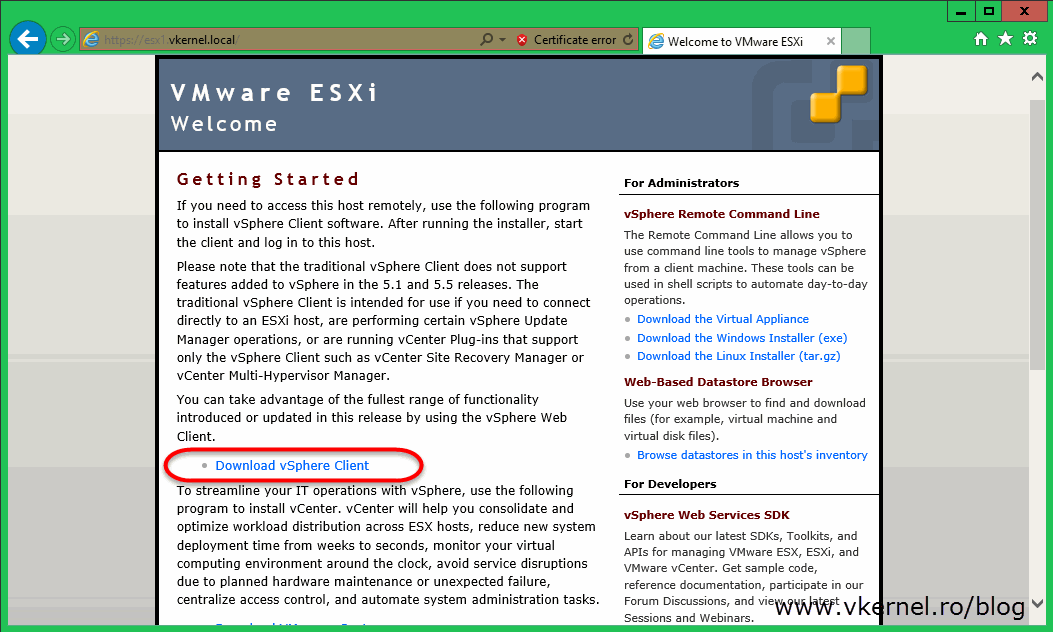
Now go ahead and download the appliance because the next step is to import it in the vSphere Client inventory. Since there is no vCenter infrastructure build yet, to only way to import the virtual appliance right now is by using the vSphere Client. Open a browser and type the IP address or FQDN of one of your ESXi servers then click the Download vSphere Client link (internet connection is needed).
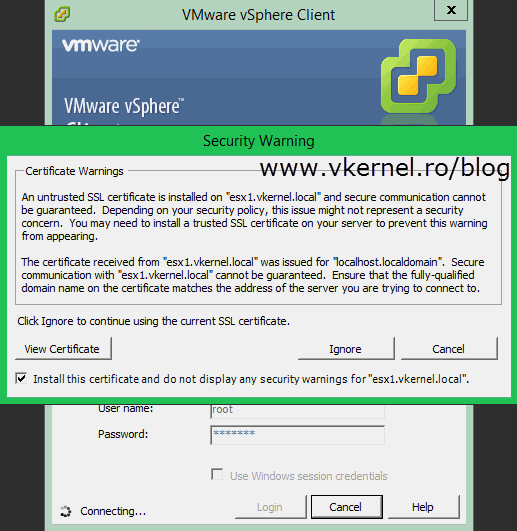
After the download completes, install the vSphere Client console package then launch it. Connect to the ESXi server where you want to put the VMware vCenter Server Virtual Appliance.

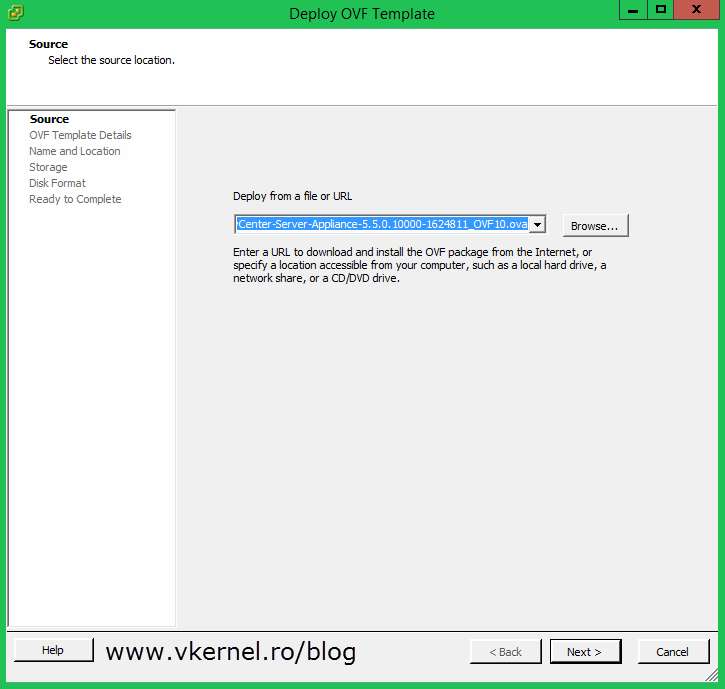
Once the console opens click the File menu and choose Deploy OVF Template.

On the first page on the Deploy OVF Template wizard click the Browse button and provide de .OVF or .OVA file. It all depends on which format you downloaded the appliance. Click Next.

Here you can name or change the name of the VM you are deploying. This is the name that will appear in the vSphere Client inventory console.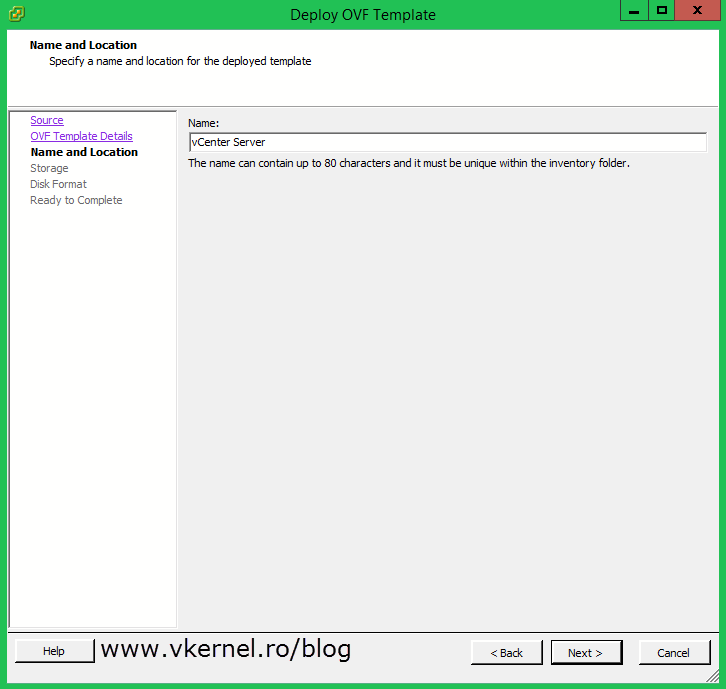
Select a datastore where the VM will sit then continue the wizard.

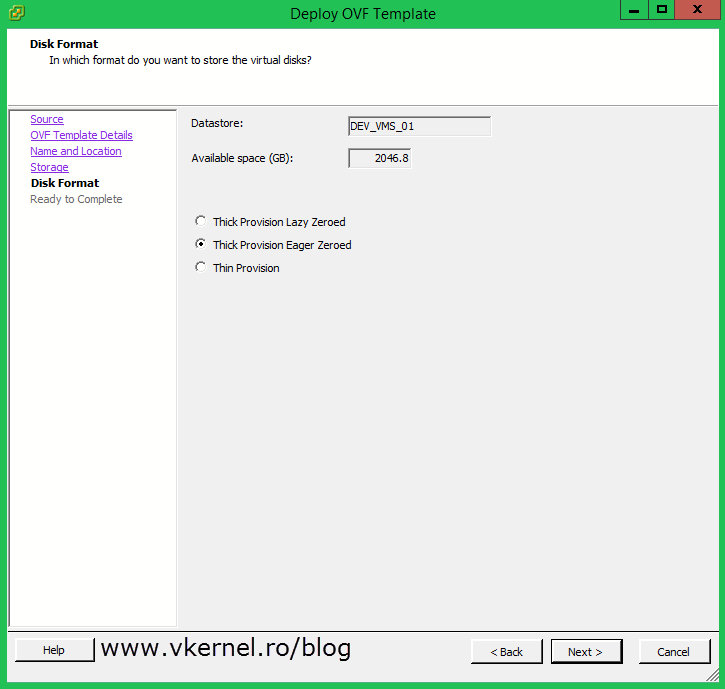
On the Disk Format page choose in which format you want to store the VM virtual disks. Since vCenter is a resource intensive application it is not recommended to use a thin provision format in a production environment. Performance may be impacted.
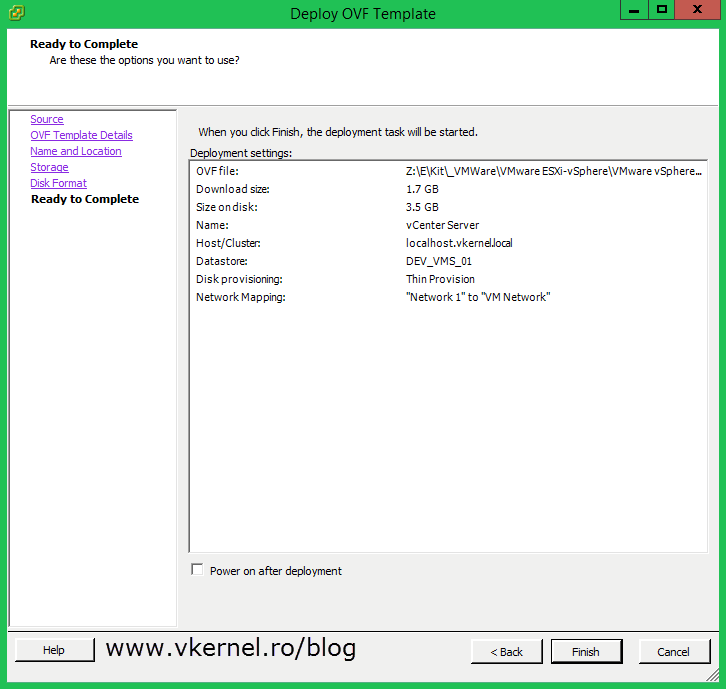
Click Finish to deploy the template.
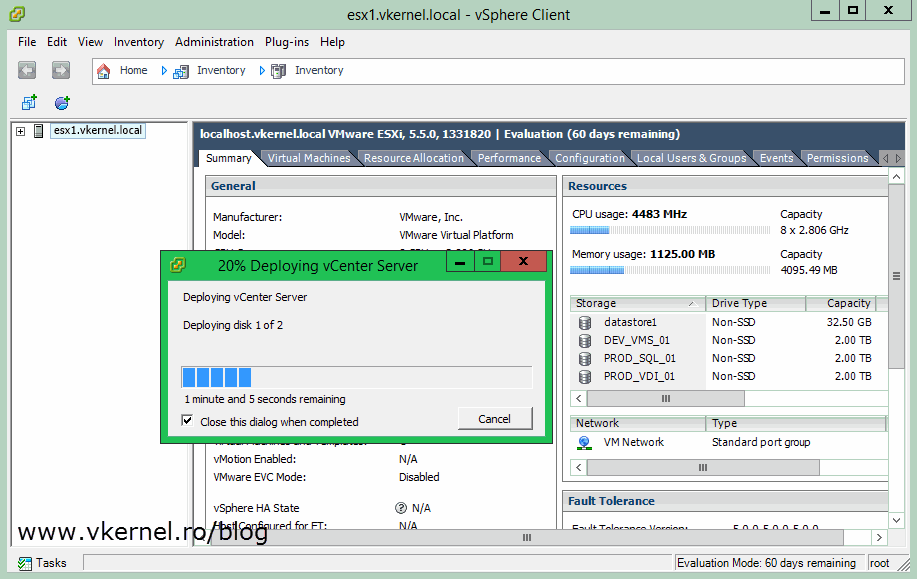
After a few minutes you should have the VM present in the vSphere Client inventory.
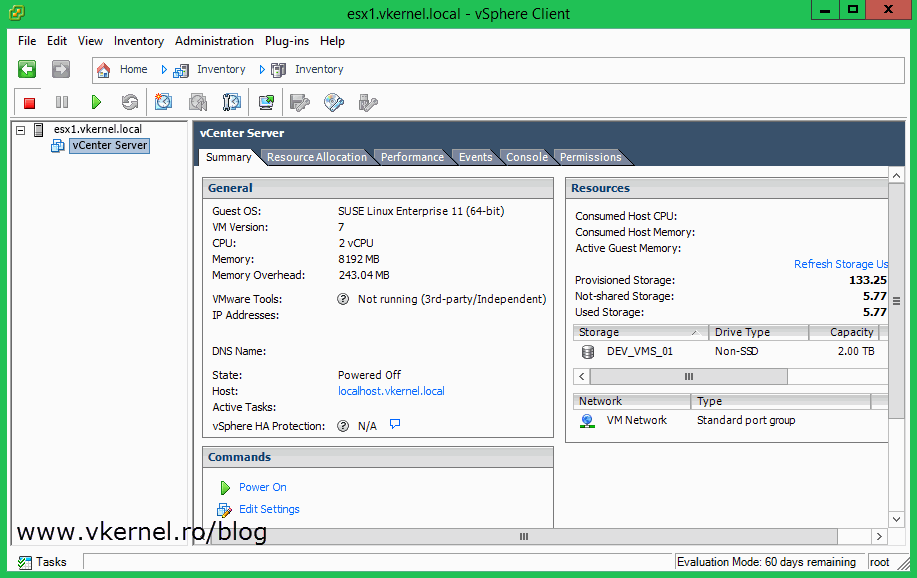
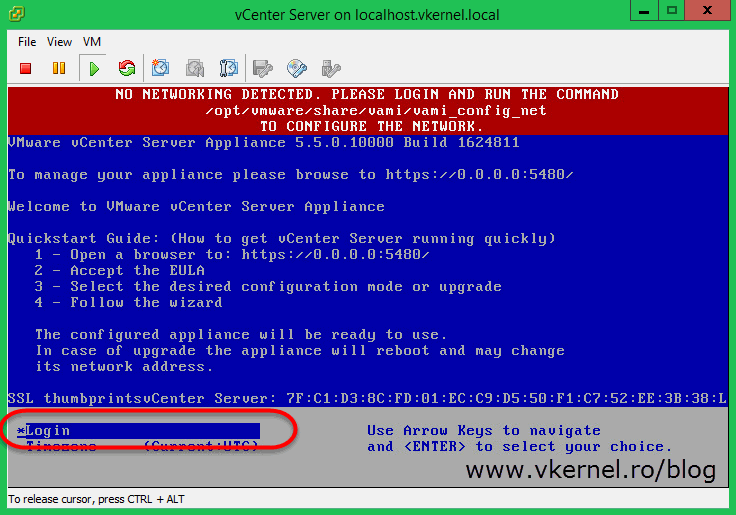
Now power on the machine to start setting it up. It will be great to have a DHCP server running on the same network as the vCSA is, because it will make the configuration easier and more intuitive since you can use a GUI. If the VM can’t find a DHCP server a big red error message will be displayed on top of the screen saying that no network was detected. To make the message go away and the vCSA available in the network hit Enter on the Login option.
[important]If your appliance has an IP address from a DHCP server you can skip this part and go directly to the web configuration section.[/important]
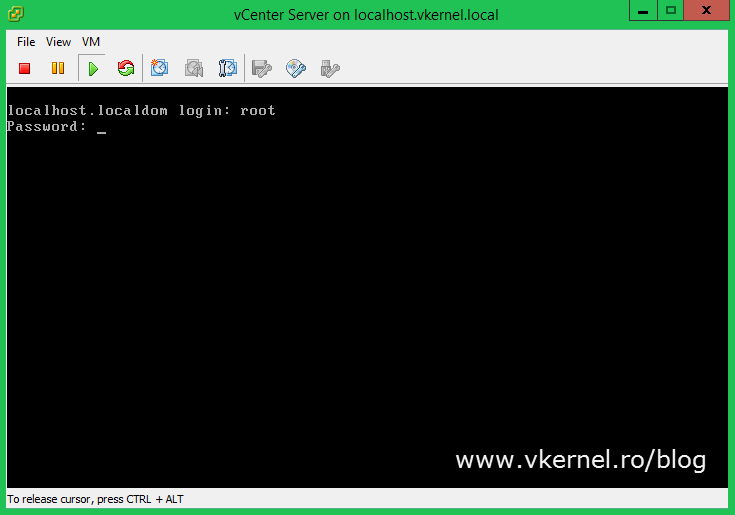
Log in with user root and password vmware.
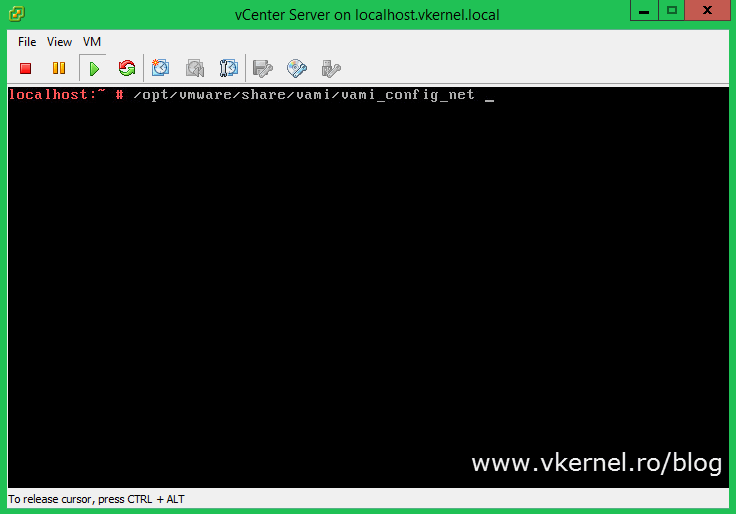
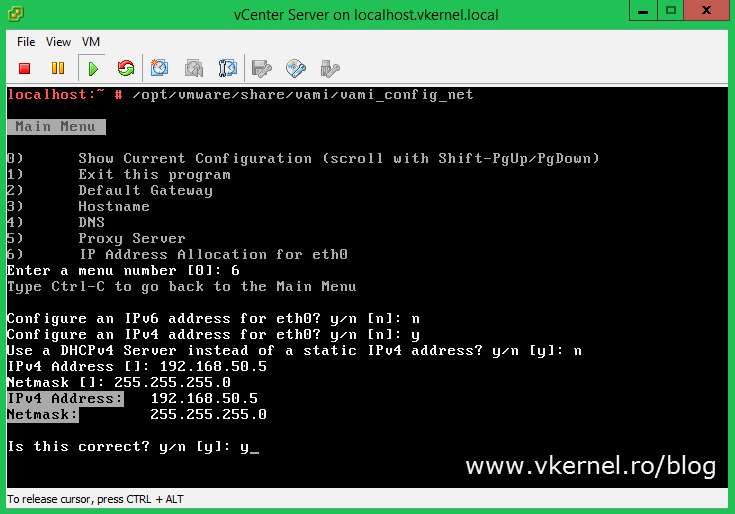
Type the following line and press Enter:
opt/vmware/share/vami/vami_config_net
To configure an IP address on the vCSA press 6 and follow the on-screen messages.
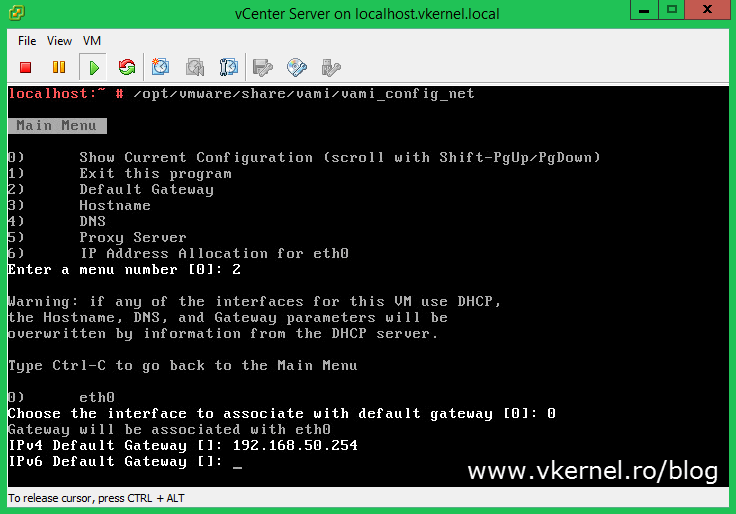
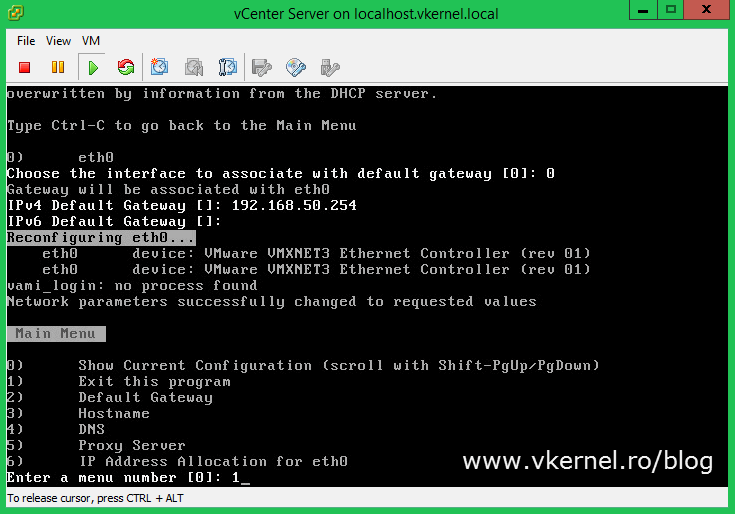
The next option that needs to be configured is the gateway IP address, so press 2 and follow the on-screen messages again.
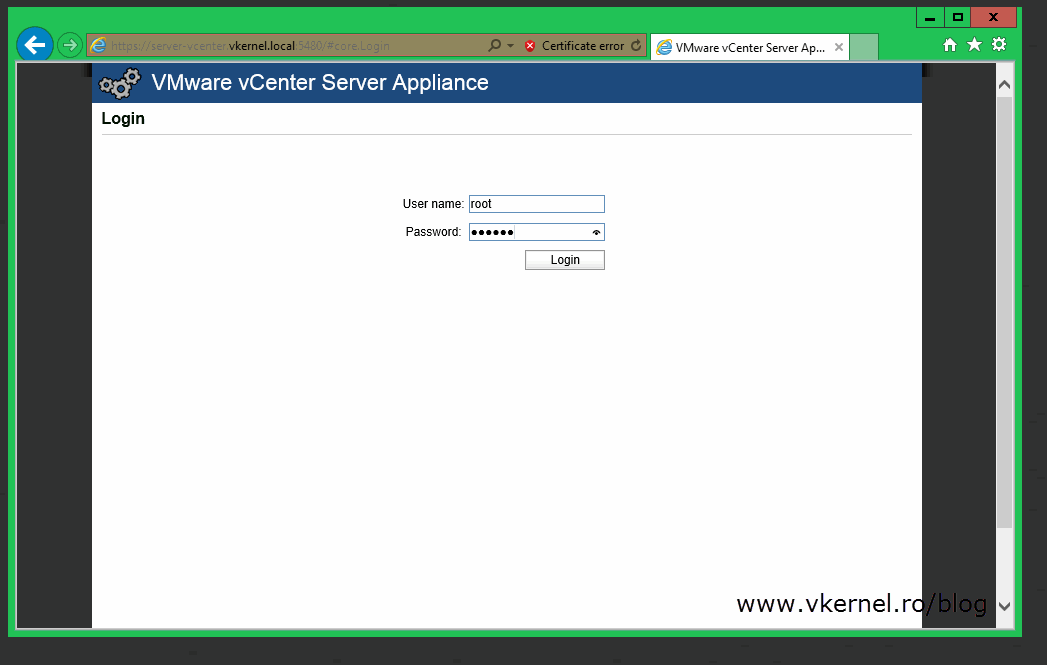
Now the vCSA should be accessible from the network. Open a browser and type it’s IP address or the FQDN followed by port 5480 (https://vCSA IP ADDRESSS:5480) to continue the rest of the configurations. Log in with user root and password vmware.
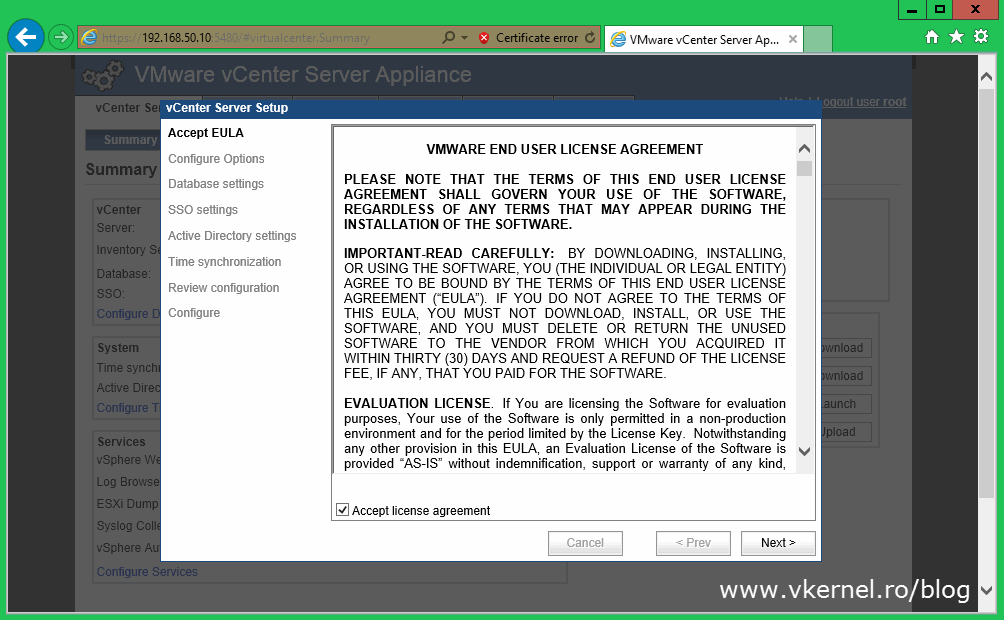
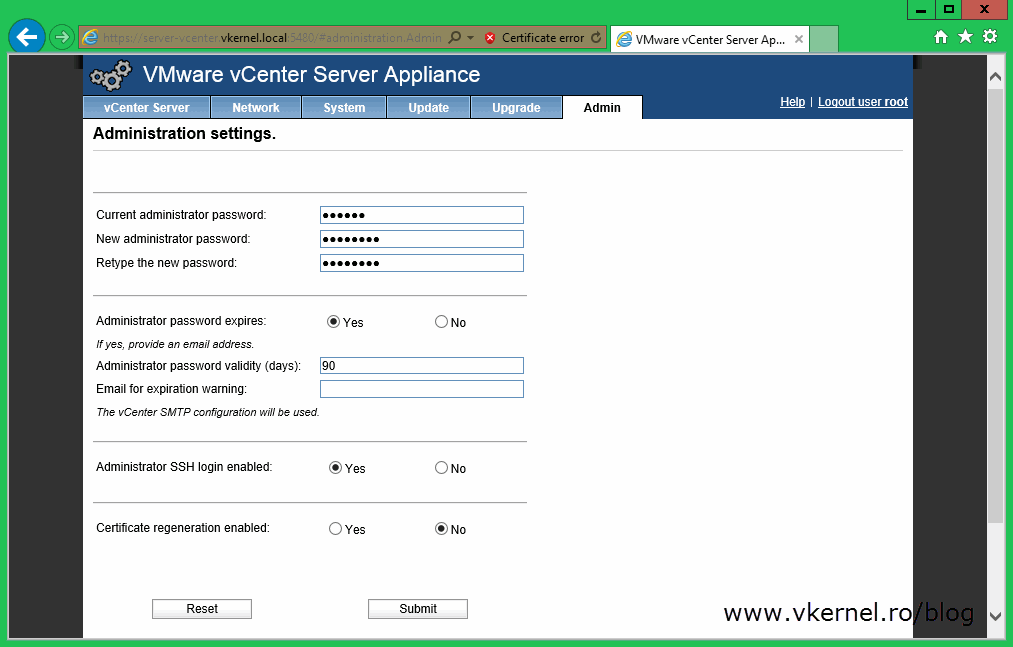
As soon as you log in, a configuration wizard will pop-up. Accept the EULA then click Cancel because there are other settings that need to be done before continuing the wizard, and the first one is to change the default appliance password. This is can be changed from the Admin page. Once the new password was provided click the Submit button to save the changes, then log out and log back in to verify that the new password works.
[notice]You will need to either disable the password expiration setting or provide an email address to be able to save the changes, or an error message will be displayed, and the password change will fail.[/notice]
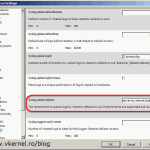
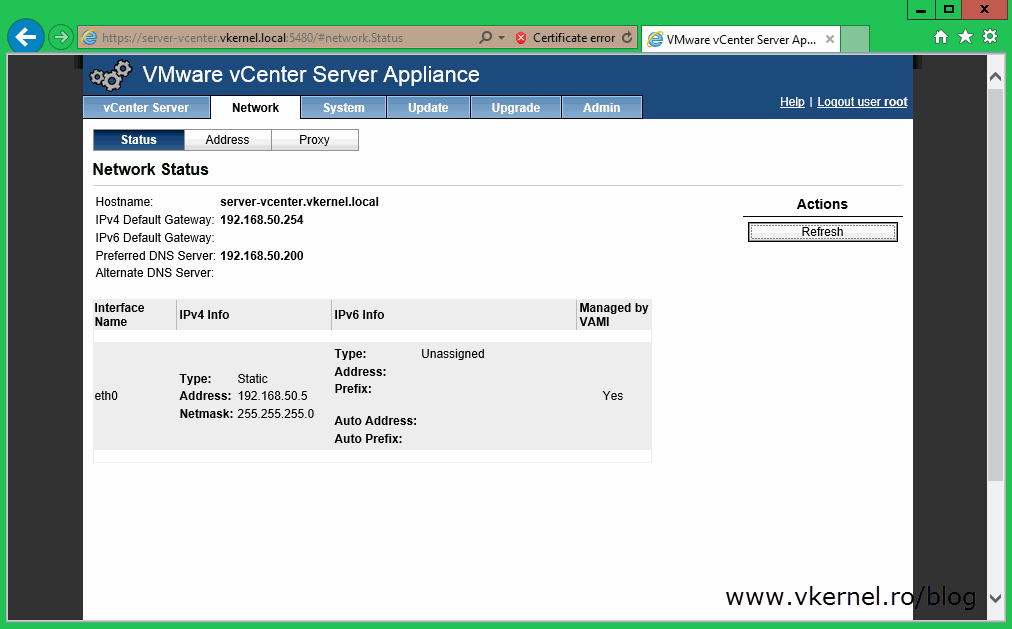
Now click the Network tab then the Address button to set the hostname and a static IP address, if you booted the appliance using DHCP. In the Hostname box type the FQDN of this guest machine, the name that you put in the A record in your DNS zone.
[notice]Make sure you put the FQDN not just the NETBIOS name, or there will be problems when trying to join the appliance to an Active Directory domain.[/notice]
In the DNS boxes type your DNS servers IP addresses then move down to the network adapter info. Since a static IP address is recommended, one should be set up. If the above steps were followed, the appliance should already be configured with a static IP address, but if DHCP was used click the IPv4 Address Type drop-down menu and choose Static. Type the network information in the bellow boxes and when you’re done click Save Settings and restart the appliance. The changes should be visible on the Status page from the Network tab after the appliance is up and running again.

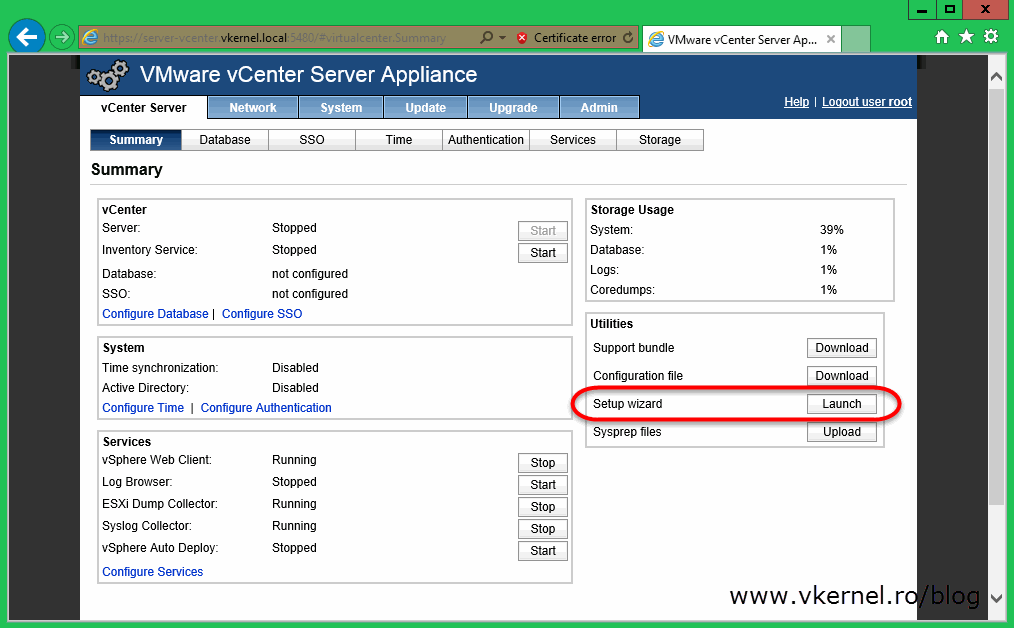
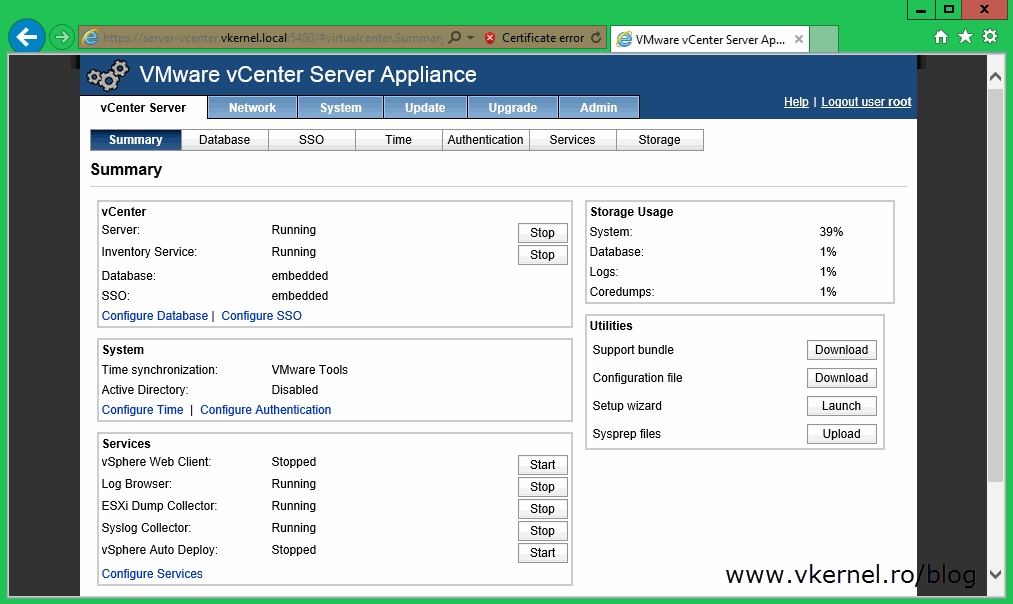
Now that the IP address, hostname and DNS are configured, go to the vCenter Server tab and launch the Setup wizard to start setting up the vCSA database, SSO, and other mandatory settings in order for vCenter to start working.
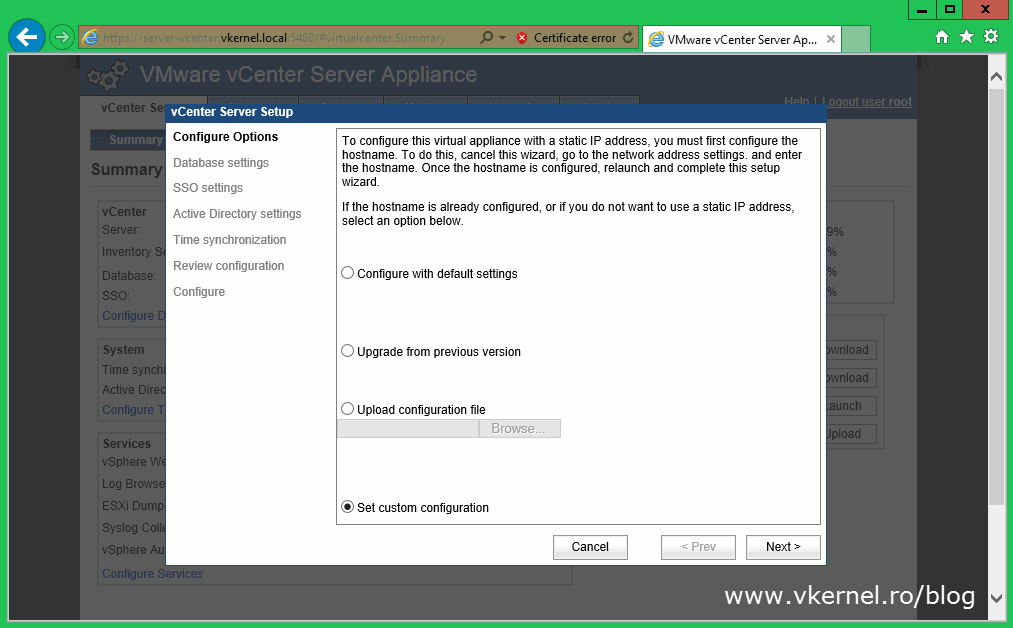
On the first page of the wizard, choose Set custom configuration and click Next.
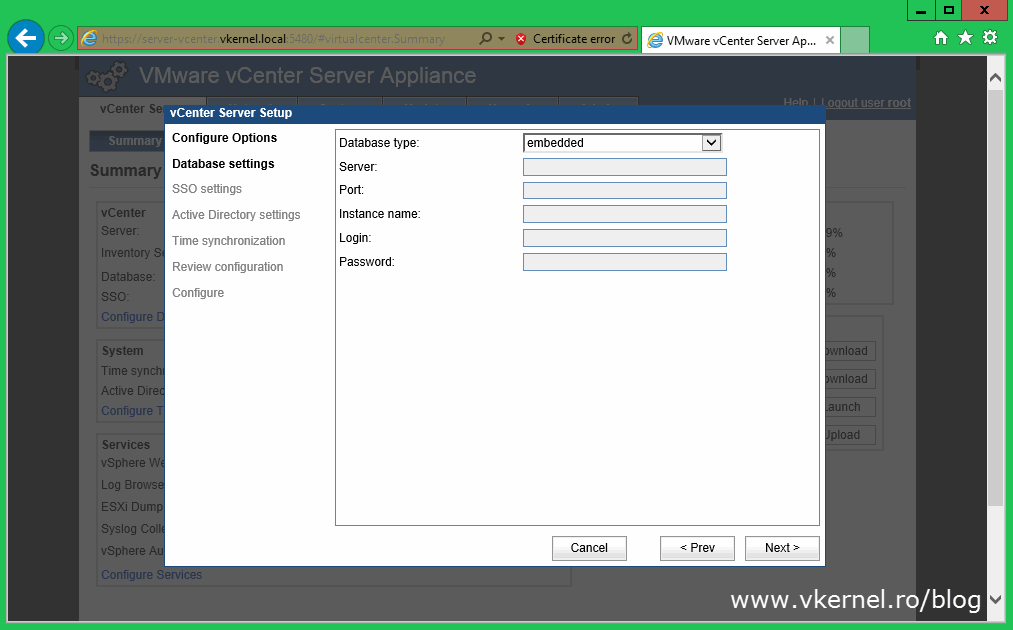
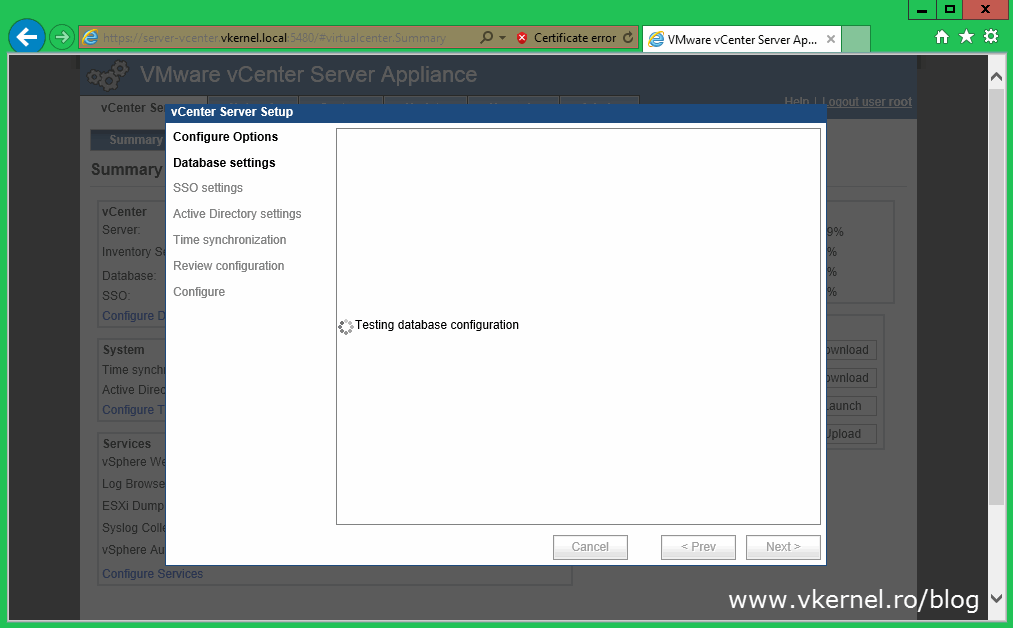
As mentioned at the beginning of the article, the appliance can be configured with an embedded database or using an external one (Oracle). For now choose embedded and click Next.
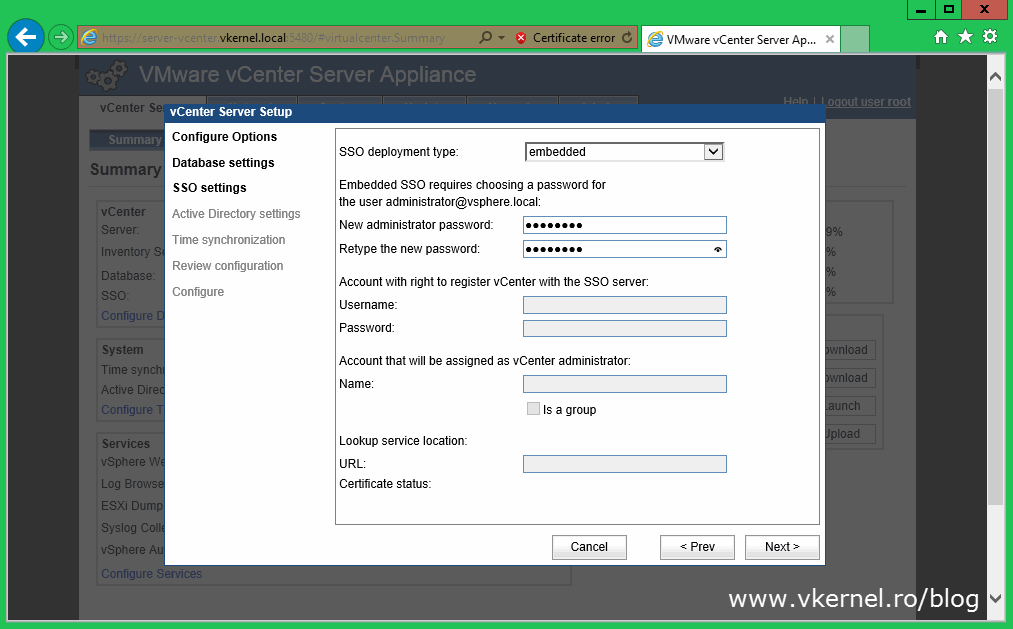
Provide a password for the SSO administrator then continue the wizard. Make sure you type a complex password.
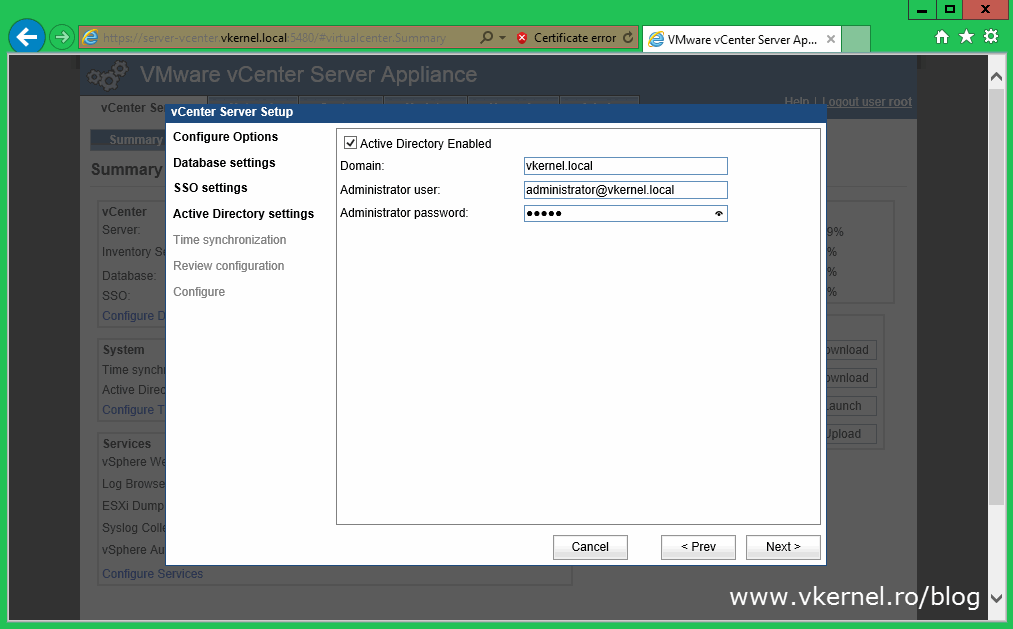
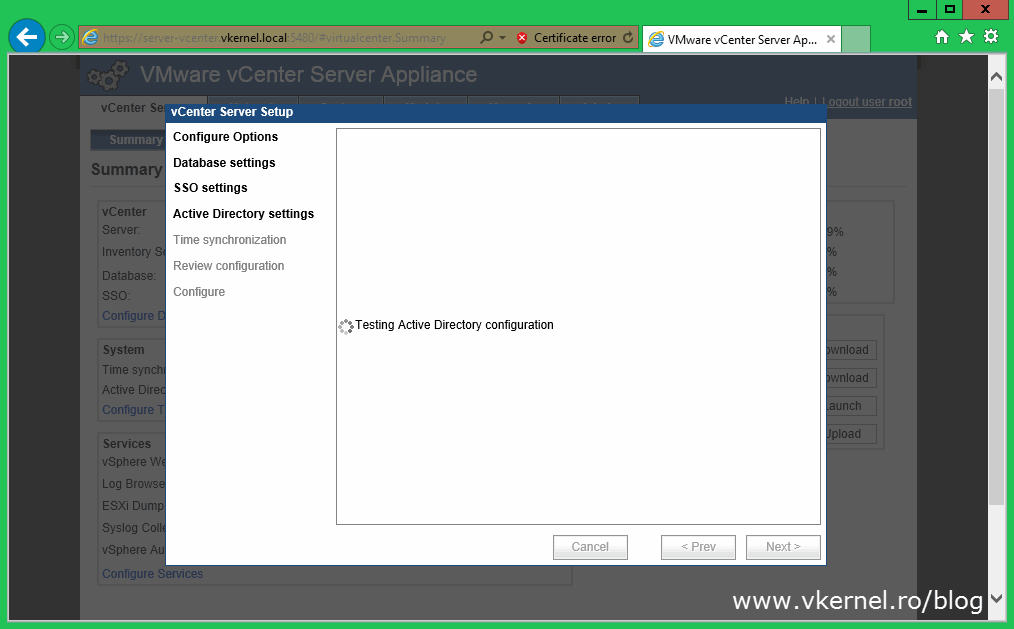
If you plan on integrating the appliance with Active Directory check the Active Directory Enabled box and provide the proper credentials to authenticate with your domain controllers.
[important]During my testing I notice that trying to join the appliance to an Active Directory domain using the wizard it sometimes work and most of the time it doesn’t. I always skip this part and use the settings from the Authentication page after the wizard completes.[/important]
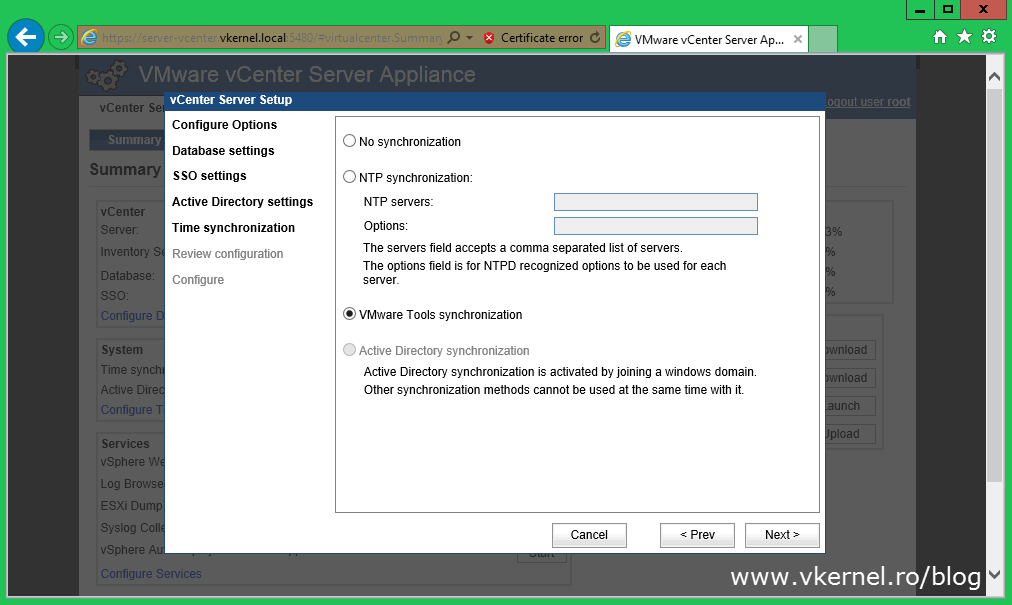
Choose how you prefer to synchronize the appliance clock. The VMware Tools synchronization option is the best and simple way, since your ESXi servers are already configured with the right time.
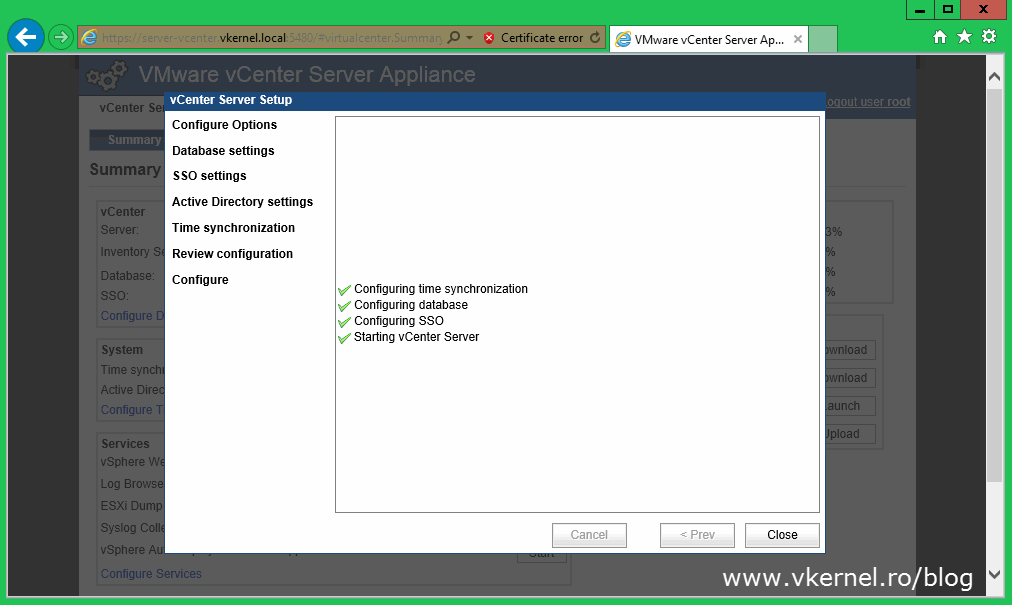
On the Review Configuration page of the wizard click the Start button to save the changes and start the services;

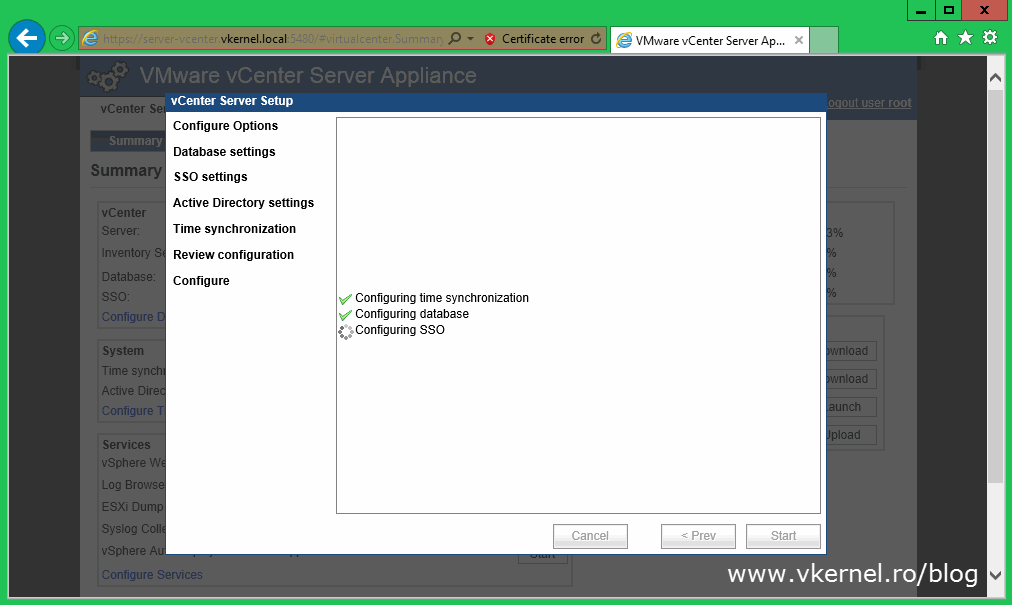
and after a few good couple of minutes vCenter is ready for action.
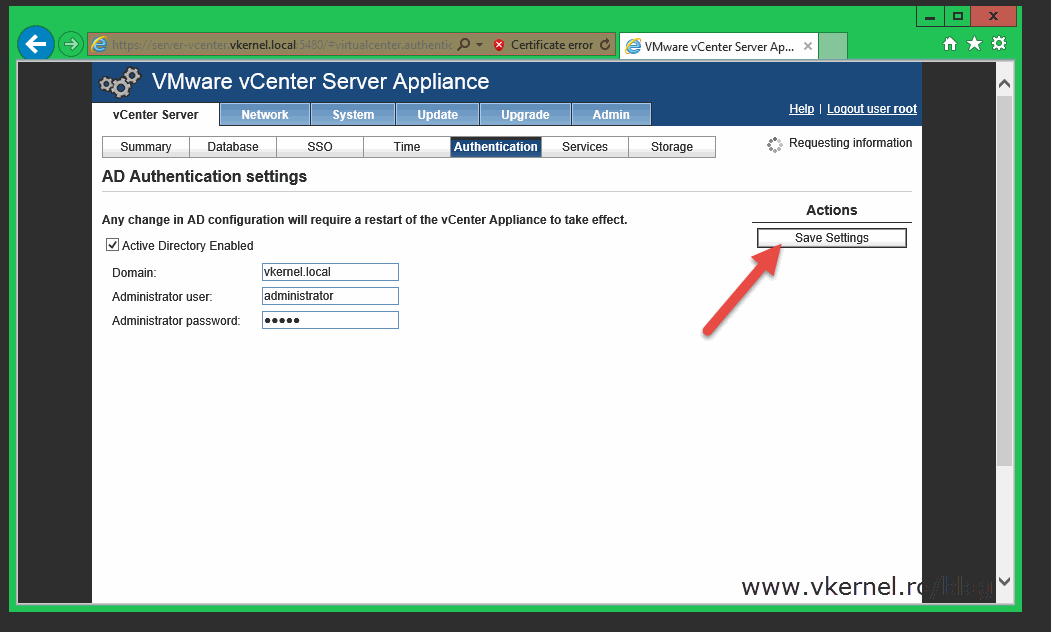
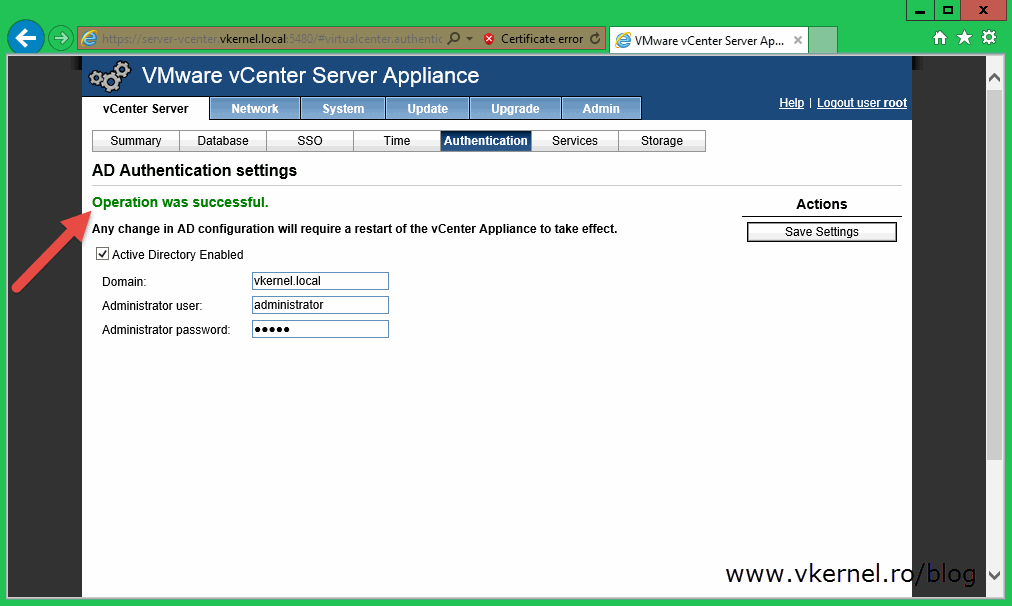
If you did not joined the appliance to your Active Directory domain during the wizard, all you have to do right now is click the vCenter Server tab then Authentication. Here check the Active Directory Enabled box, provide the name of your domain, provide the credentials to connect to the domain then click Save Settings to authenticate and save the changes.
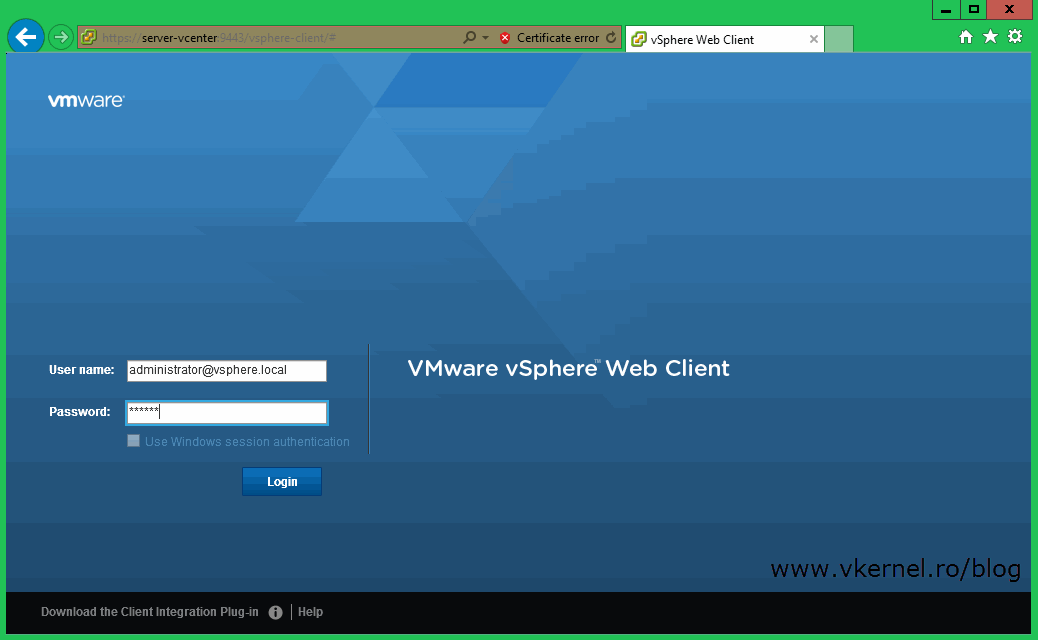
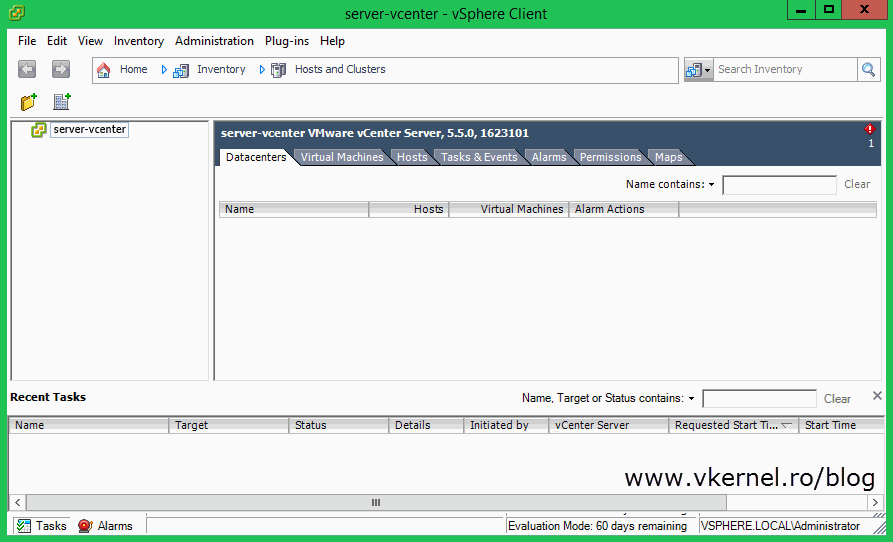
Now go ahead and connect to your vCenter Server. It can be accessed using a browser ( https://vCenter FQDN:9443/vsphere-client ) or using the VMware vSphere Client. Log in using administrator@vsphere.local and provide the password you set up during the appliance configuration wizard. Off course, you will not want to share this account and use it in your production environment, instead you will want to use your domain account credentials. To be able to do that an Identity Source needs to be set up.
As you saw, implementing the vCSA is easy and it doesn’t take long, plus by running it you can cut some Windows licensing costs. Also, if the appliance limitations are not a problem, then you should definitely give it a shot.
Want content like this delivered right to your
email inbox?
More similar articles
 Build and run Windows Failover Clusters on VMware ESXi
- Upgrading from VCSA 5.x to VCSA 6.0 with an Embedded Platform Service Controller (PSC)
- Deploying the VMware vCenter 6.0 Appliance (VCSA) with an Embedded Platform Service Controller (PSC)
- Adding a Raw Device Mapping (RDM) to a Virtual Machine
- Configure Syslog on ESXi 5.x Hosts
- Configuring VMware High Availability (VMHA)