Add a vCenter Single Sign On (SSO) Active Directory (AD) Identity Source
Starting with version 5.1 VMware introduced a new service in the vCenter Infrastructure suite called vCenter Single Sign On (SSO). The addition of this new service greatly improved the security of VMware’s cloud services by allowing them to communicate to each other trough a secure token exchange mechanism. The other benefit is that users will only need to log on once to access all the services by using the same credentials. Now in vCenter 5.5, which is the latest version at the time of this writing, the authentication with the domain just got a lot easier as you’ll see later in the article.
SSO has a component, a quite important one called Identity Sources. This is where all your domains are added so vCenter can authenticate users in those domains. During a simple VMware vCenter installation the SSO service is automatically installed, but the domain is not added as an Identity Source and this needs to be done manually.
[notice]In vCenter 5.1 you can see the domain already in the list if the server was added to the domain before the vCenter installation.[/notice]
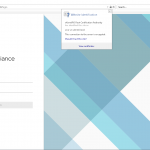
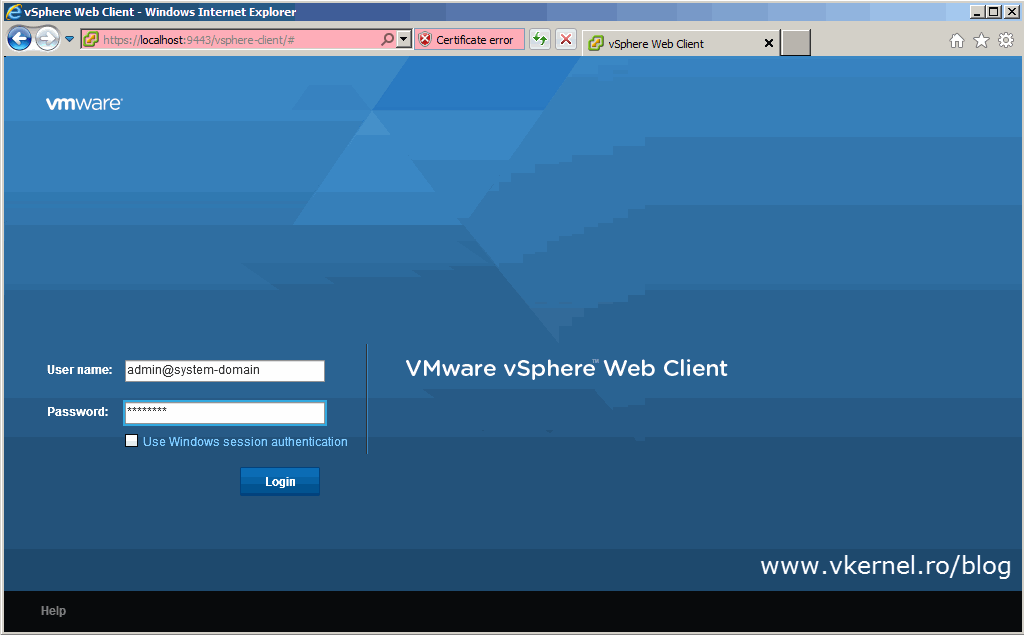
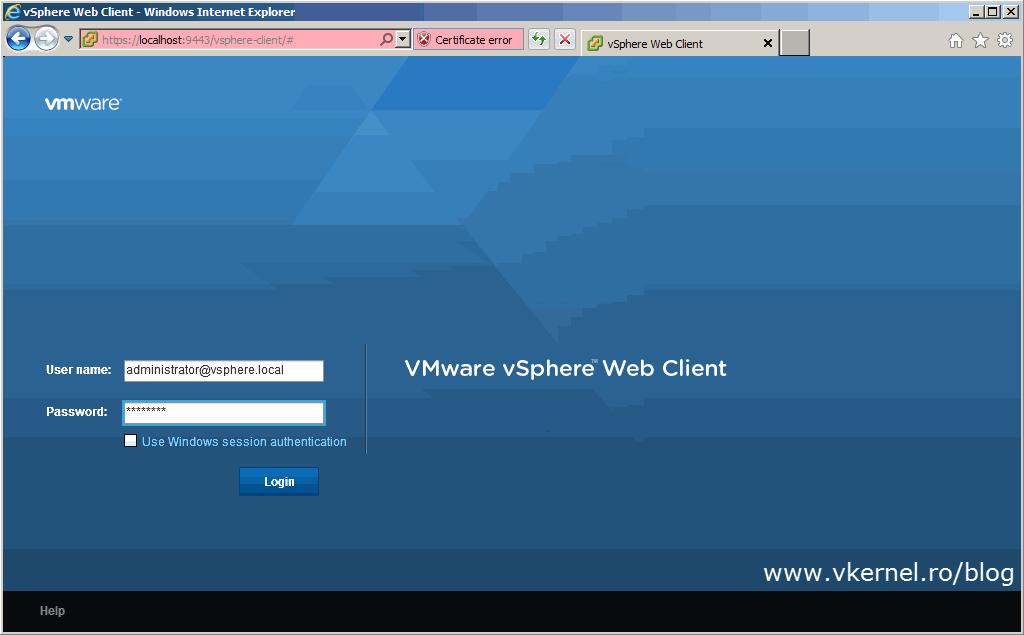
To add an Identity Source, simply open a web browser and navigate to your vCenter Server address. If you are using vCenter 5.1 you need to log in using admin@system-domain, and if you are using vCenter 5.5, log in using administrator@vsphere.local. Next comes the part where you need to remember the SSO password that was typed during the vCenter installation wizard.
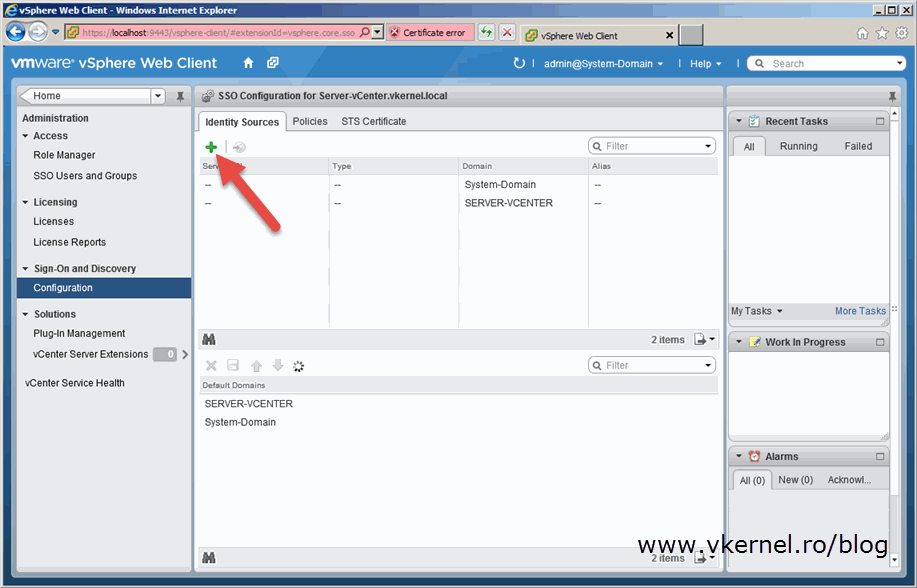
Click Administration in the left-hand pane.

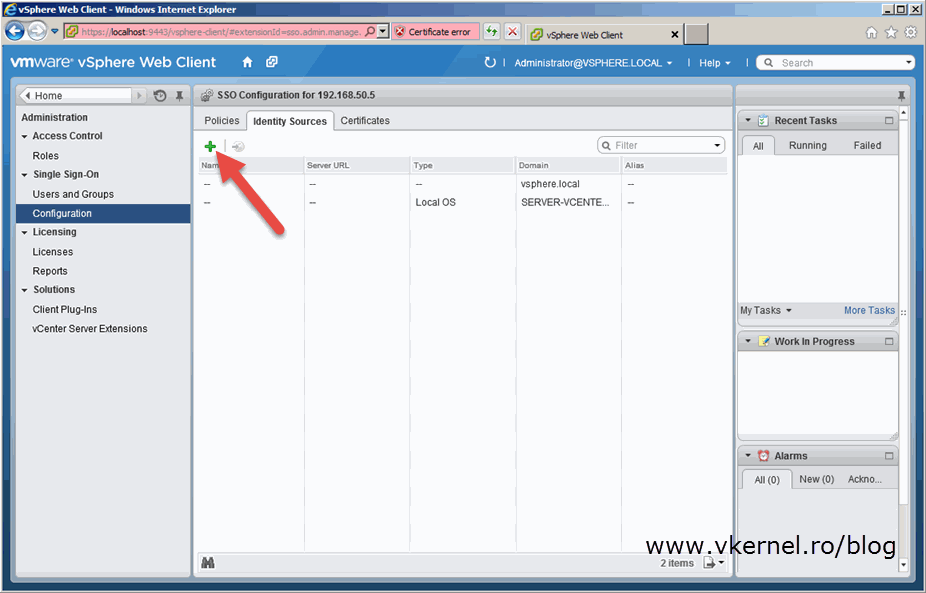
Under Sign-On and Discovery click Configuration. The menus are a bit different between vCenter 5.x versions, and in 5.5 you will have to actually click the Identity Sources tab in order to configure it’s settings. Click the green plus (+) icon to open the Add identity source configuration window.
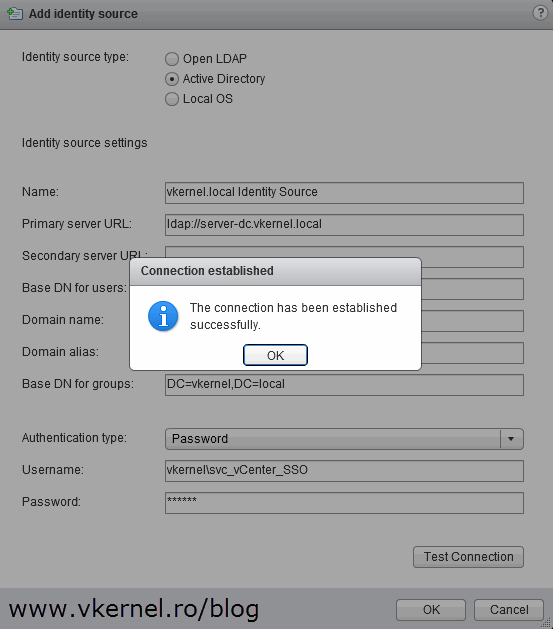
If you still have vCenter 5.1 in your infrastructure there a a few boxes to complete in order for this work. First, click the Active Directory radio button then move on to the Identity source settings section and fill in the required information:
Name – the name of the identity. This is usually kept as the same name as the domain.
Primary Server URL – the FQDN of your domain controller in the form “ldap://YOUR DC.DOMAIN.LOCAL”.
Secondary Server URL – the FQDN of your second domain controller, if you have another one in the site (optional).
Base DN for users – The base domain name for users. This is used by vCenter to query the domain controllers for users (optional).
Domain name – the name of the domain “eg: domain.local”
Domain alias – the NetBIOS name of the domain “eg: DOMAIN” (optional).
Base DN for groups – The base domain name for groups. This is used by vCenter to query your domain controllers for groups (optional).
From the Authentication type drop-down box choose Password then provide the credentials to connect to your domain controller. The user must have minimum read-only rights to the base DN for users and groups. I usually make this a normal AD user and add it to the local Administrators groups on the vCenter server. Click Test Connection. If successful hit OK to save the settings and close the Add identity source window.

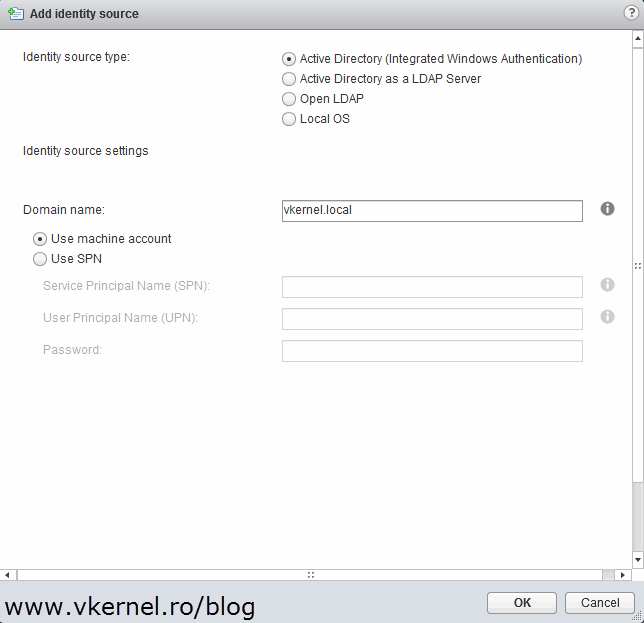
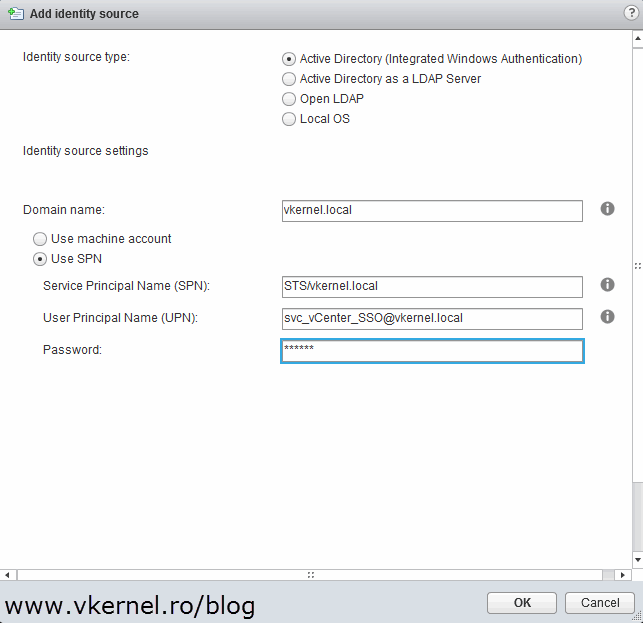
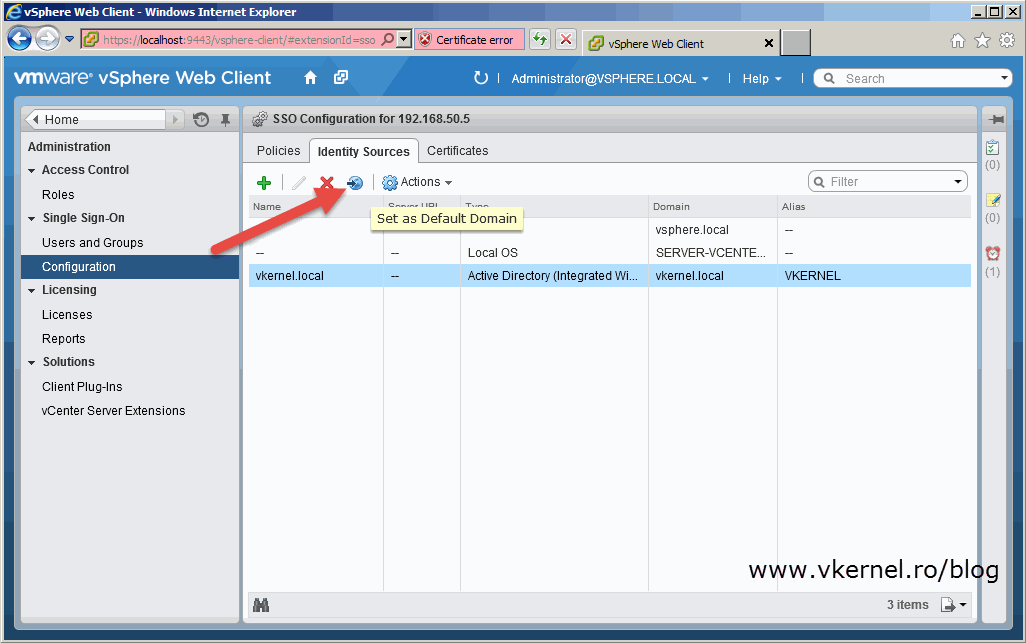
Setting up an Identity Source in vCenter 5.5 got a lot easier. All you have to do is select Active Directory (Integrated Windows Authentication), type your domain name then choose how to authenticate to the domain; using the vCenter computer account or using a Service Principal Name (SPN).
Once your domain appears in the Identity Sources list, select it, then click the Add to Default Domains button in vCenter 5.1 and Set as Default Domain in vCenter 5.5.
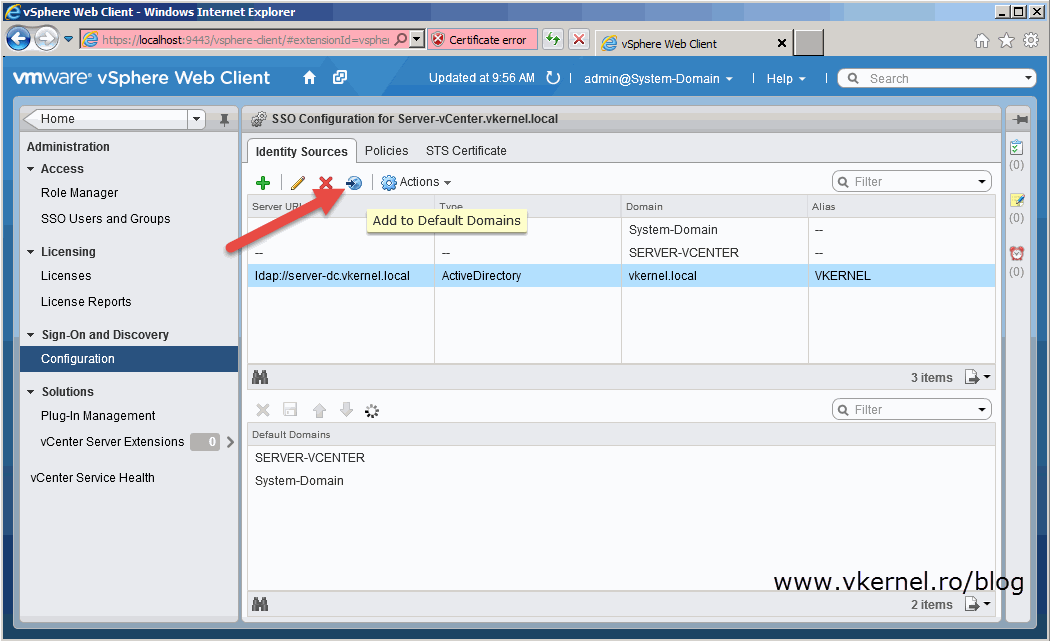
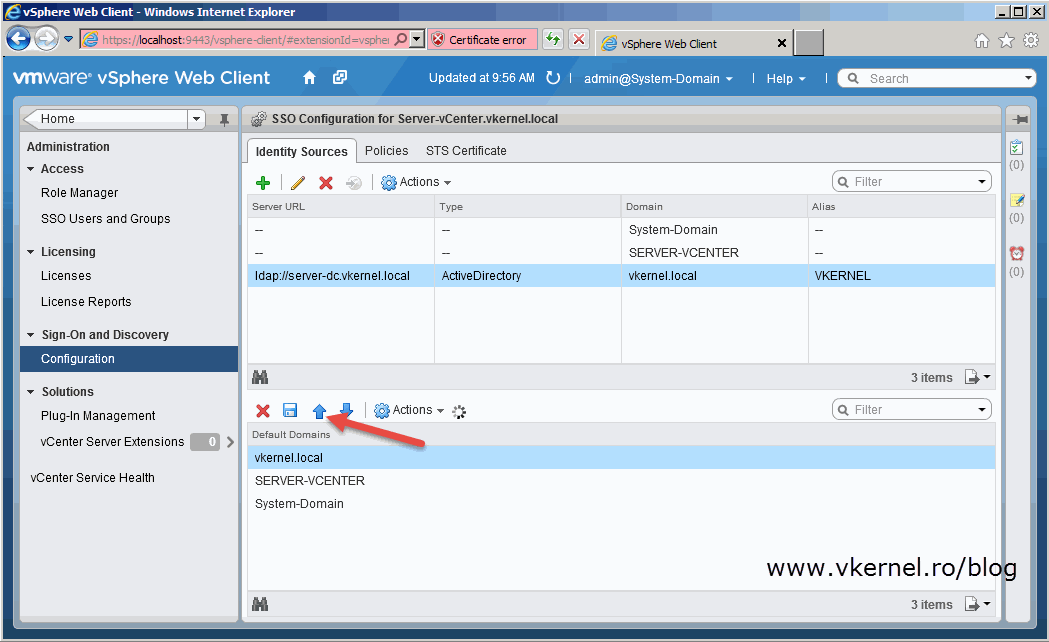
In vCenter 5.1 there is still one more step to be done, and that’s making the new domain the default log in domain. Still on the Identity Sources page, select your domain from the Default Domains list and click the up arrow to move it to the top of the list. Once this is done click the Save button to save the configuration.
Now you can go ahead and delegate or give rights to other VMware admins or users from your domain.


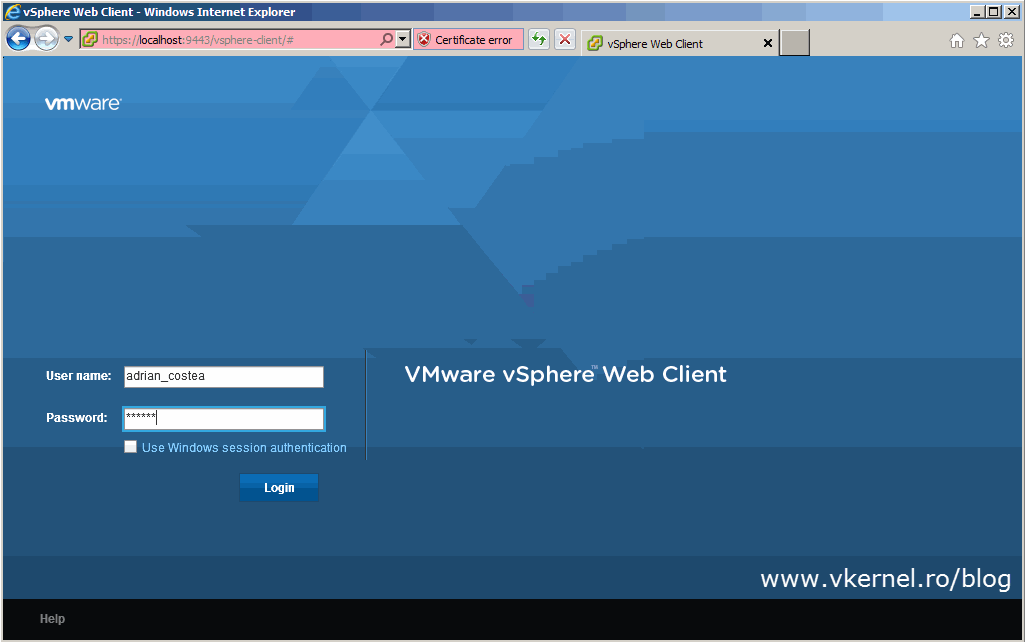
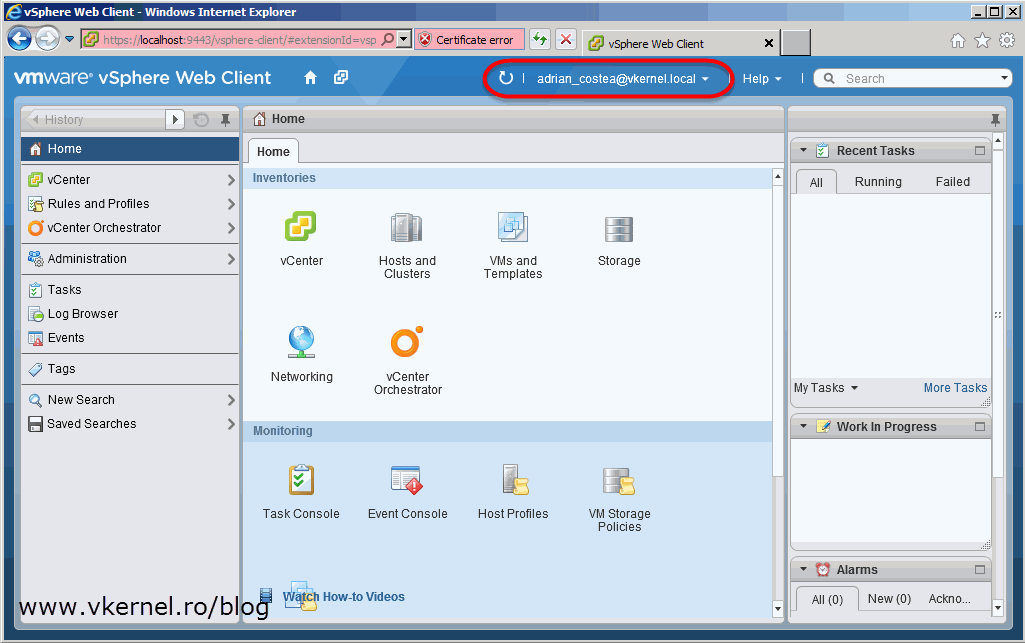
You should now be able to use domain accounts to access the vCenter infrastructure. To test this, log out then log back in using your domain account. Depending on what rights the user has, he can see parts of the infrastructure or all of it.
Adding an Identity Source is not that difficult, but is common to many environment. It is also recommended because of the ease of administration and delegation since is not a best practice and an intelligent move to have a shared account for your vCenter infrastructure.
Want content like this delivered right to your
email inbox?
More similar articles
 Patching the vCenter Server and PSC Virtual Appliance
- Removing vCenter or PSC from Linked Mode configuration
- Repointing Embedded vCenter Server to existing SSO domain
- VMware vCenter Enhanced Linked Mode configuration
- Replace VMware VCSA 6.x Certificates with ADCS Certificates via the GUI
- Build and run Windows Failover Clusters on VMware ESXi