Step-by-step Hyper-V Storage Live Migration
In our day-to-day work, we will encounter situations where we need to migrate our Hyper-V VMs to a different storage, preferably without downtime. Starting with Windows Server 2012, Microsoft improved the technology and now we can do storage migrations on our VM’s while they are still running. A process that is called storage live migration. Anything bellow this version will need a maintenance window to shutdown the VMs in order to migrate their disks and configuration files to a different storage. Hyper-V storage live migration is supported between independent disks, central storage or a shared folder, but it is not supported between Hyper-V hosts, not yet anyway. Storage migration it’s also not supported when any of the virtual machine’s storage is directly attached to a physical disk. If you are running SCVMM, all this is very easy, but if don’t have the license, the procedure is still simple using the Hyper-V Manager console, the Failover Cluster Manager, or even better, using PowerShell.
There are a few situations when we want to migrate our Hyper-V VMs to a different storage:
- Storage starts to run low on space. Usually this is the most common situation.
- Storage needs to be put into maintenance mode because of a hardware issue, upgrade, replace.
- Some VMs started to do a lot of I/O operations and are ruining the storage performance affecting the rest of the VMs sitting on the same storage. Migration is needed in order to balance the load.
- VMs are running on individual disks and hosts and need to be consolidated into a Hyper-V Cluster.
1. Hyper-V Storage Live Migration using Hyper-V Manager
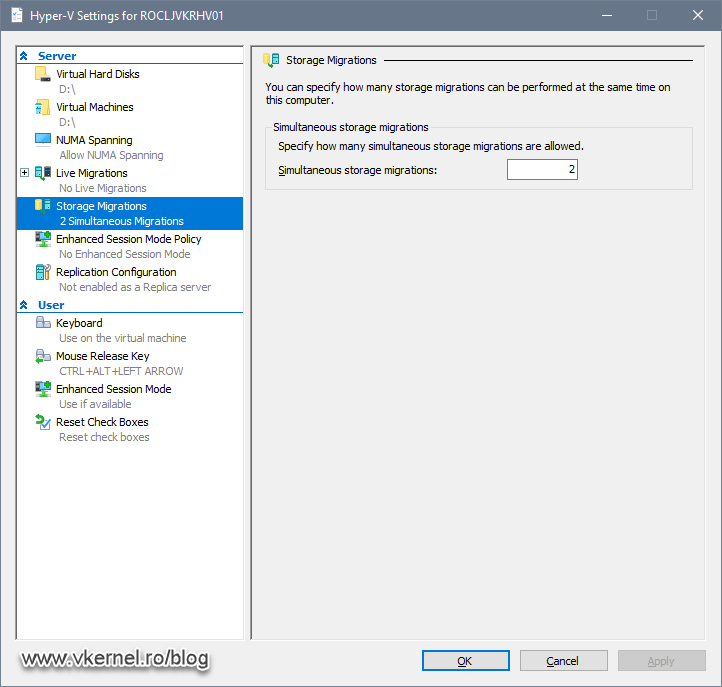
Depending on how many storage migrations we need to do simultaneously, we can either increase or decrease the Simultaneous storage migrations number from the Hyper-V Settings, and by default we can do two simultaneous migrations.
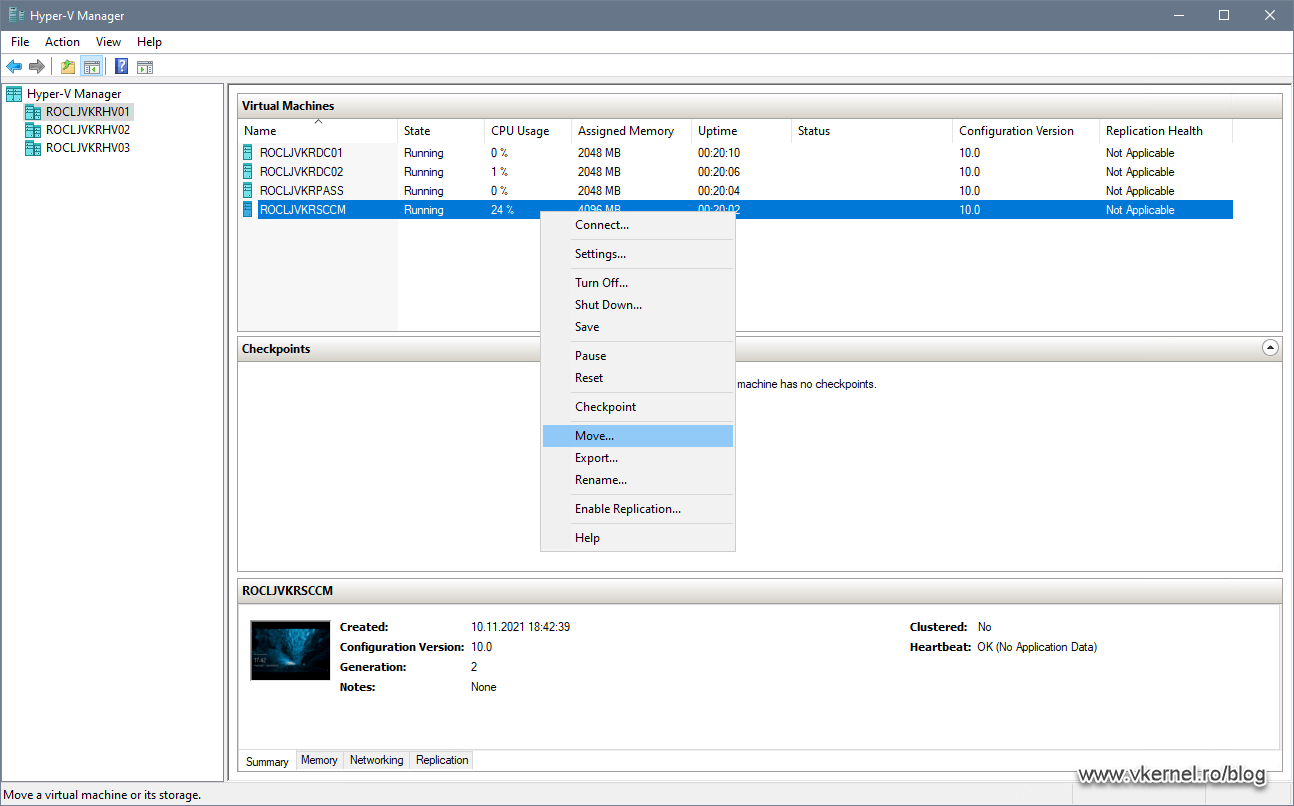
Once we set that up, all we need to do is right-click the VM for which we are going to migrate its storage and choose Move from the menu that opens up.
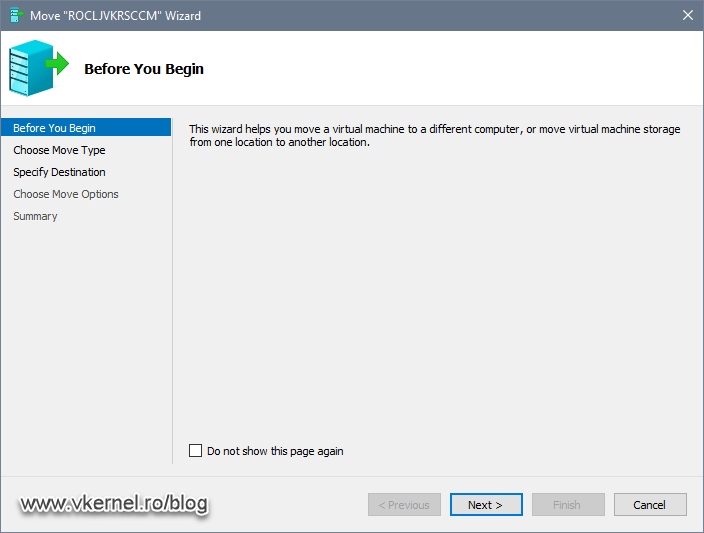
This will launch the Move Wizard, and on the first screen just hit Next to continue.
On the second screen of the wizard, the Choose Move Type screen, we have two options:
- Move the virtual machine – This will allow us to move not just the virtual disks and config files, but also the VM itself.
- Move the virtual machine’s storage – This will give us the options to migrate the virtual machine’s virtual disks and config files.
The first option requires a few more configurations in order to work and it’s out of the scope for this article, so let’s click on the second one and continue the wizard.

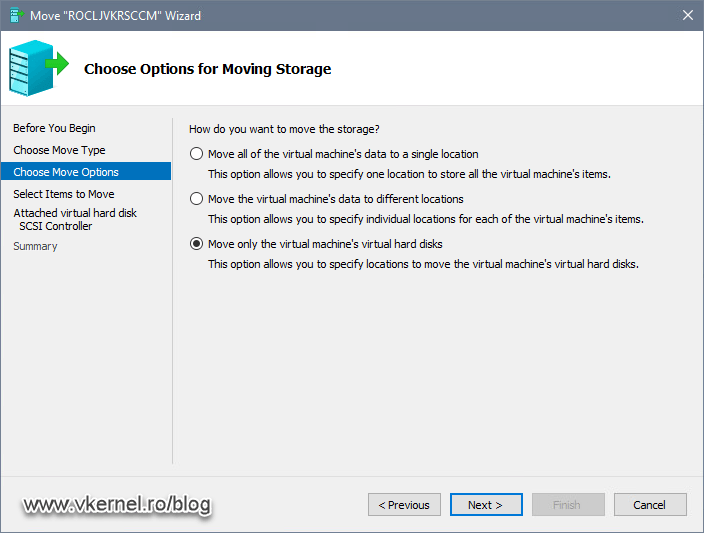
On this next screen we also have a few more options to choose from:
- Move all of the virtual machine’s data to a single location – This will move all of the virtual machine’s files like virtual disks (VHDs), snapshot files, config files into a single location.
- Move the virtual machine’s data to different locations – We will get the option to select the location for each component (VHD/X, snapshots, config files) in case we need to separate them.
- Move only the virtual machine’s hard disks – This will move/migrate only the virtual disks ignoring the other components.
In most of the cases, only the VHD/X disks will need to be migrated, but there are situations where the rest of the files will also be needed. For the purpose of this article we will go with the latest option, Move only the virtual machine’s virtual hard disks.
In my example here, I will migrate only one of the virtual machine’s disk to a different/faster storage because of the high I/O leaving the OS virtual disk untouched and unmoved. As you can see we have the option to migrate all of the virtual disks or just some of them.
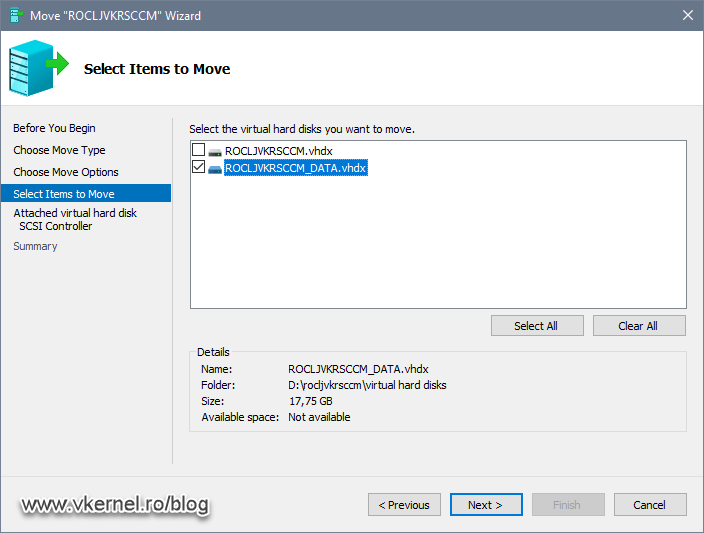
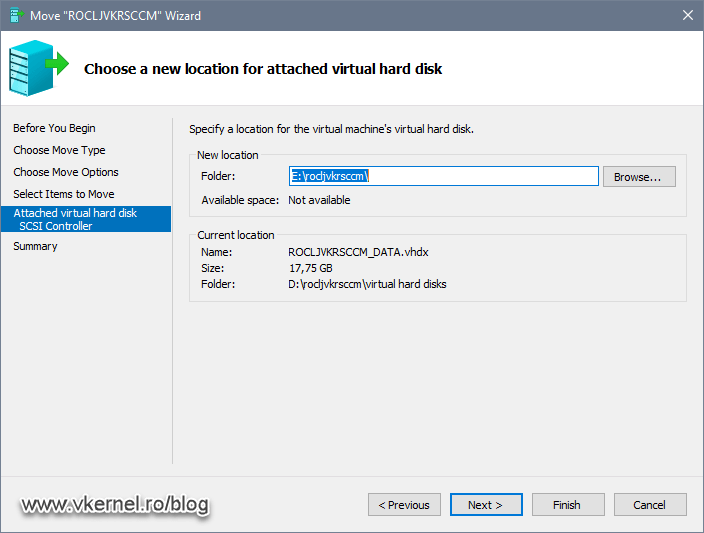
Select the virtual disk(s) new location on the Hyper-V host by clicking the Browse button and when you are done, hit Next.
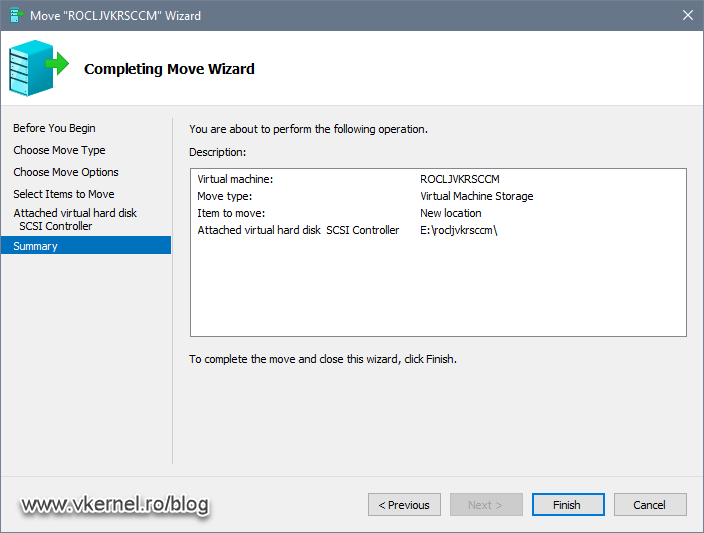
On the Summary screen we have a short description of the operations that are going to happen once we click the Finish button. If everything looks good, hit Finish to begin the migration.
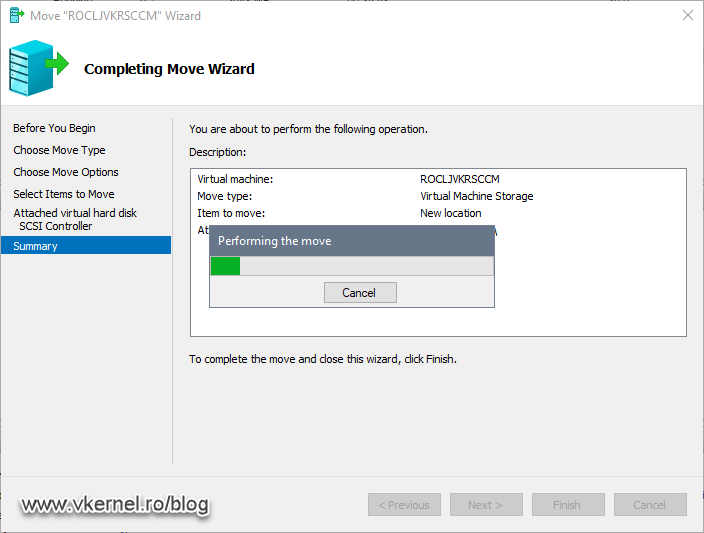
Depending on the size of the virtual disk(s), the operation can take quite some time. This is not a problem since the migration is happening while the virtual machine is running. The only inconvenient that can sometimes occur is a bit of lag inside the guest OS.
And sure enough, our virtual disk was migrated successfully on the new storage.

The OS virtual disk is still in the same place since we choose during the Migrate Wizard not to migrate it.

2. Hyper-V Storage Live Migration using Failover Cluster Manager
Now that we have seen how easy it is to migrate a virtual machine’s files to a new location, let’s see how it works and how it is done using the Failover Cluster Manager. Just in case you don’t have a Hyper-V Cluster yet, you can read this article on how to build one.
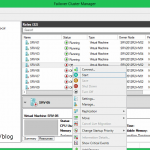
The process is pretty much the same. Open the Failover Cluster Manager, right-click the VM and choose Move > Virtual Machine Storage.

The Move Storage Virtual Machine window will pop-up which allows us to migrate the virtual machine’s files. Now, for some strange reason, Microsoft thought that we don’t need a New Folder button in this window, you know…so we can keep the files organized. If we need a new folder, we will have go on the Hypervisor itself and create one. As you can see, I have already created one inside the Cluster Shared Volume in which I am going to migrate all the virtual machine’s files.
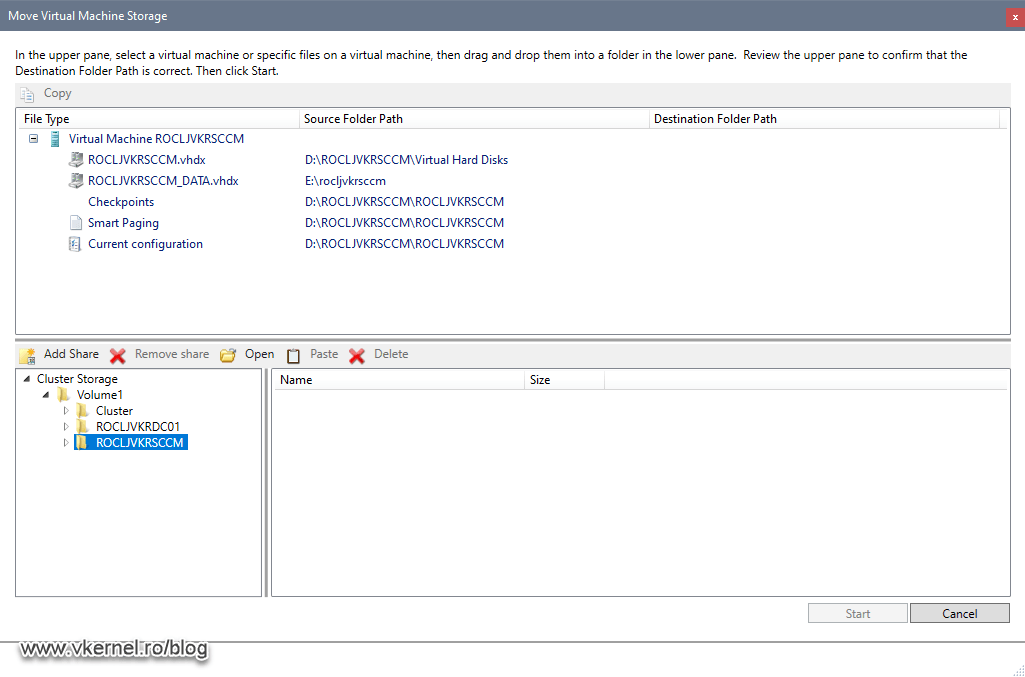
All we have to do is just drag the files we need to migrate into the bottom side of the window. In this example here, I am continuing from the previous section where the VM has one disk in the default location and the second one on a different storage. During the live migration, both virtual disks will be moved inside the folder sitting in the Cluster Shared Volume. We can also migrate from a Cluster Shared Volume into a different one, depending on the needs.

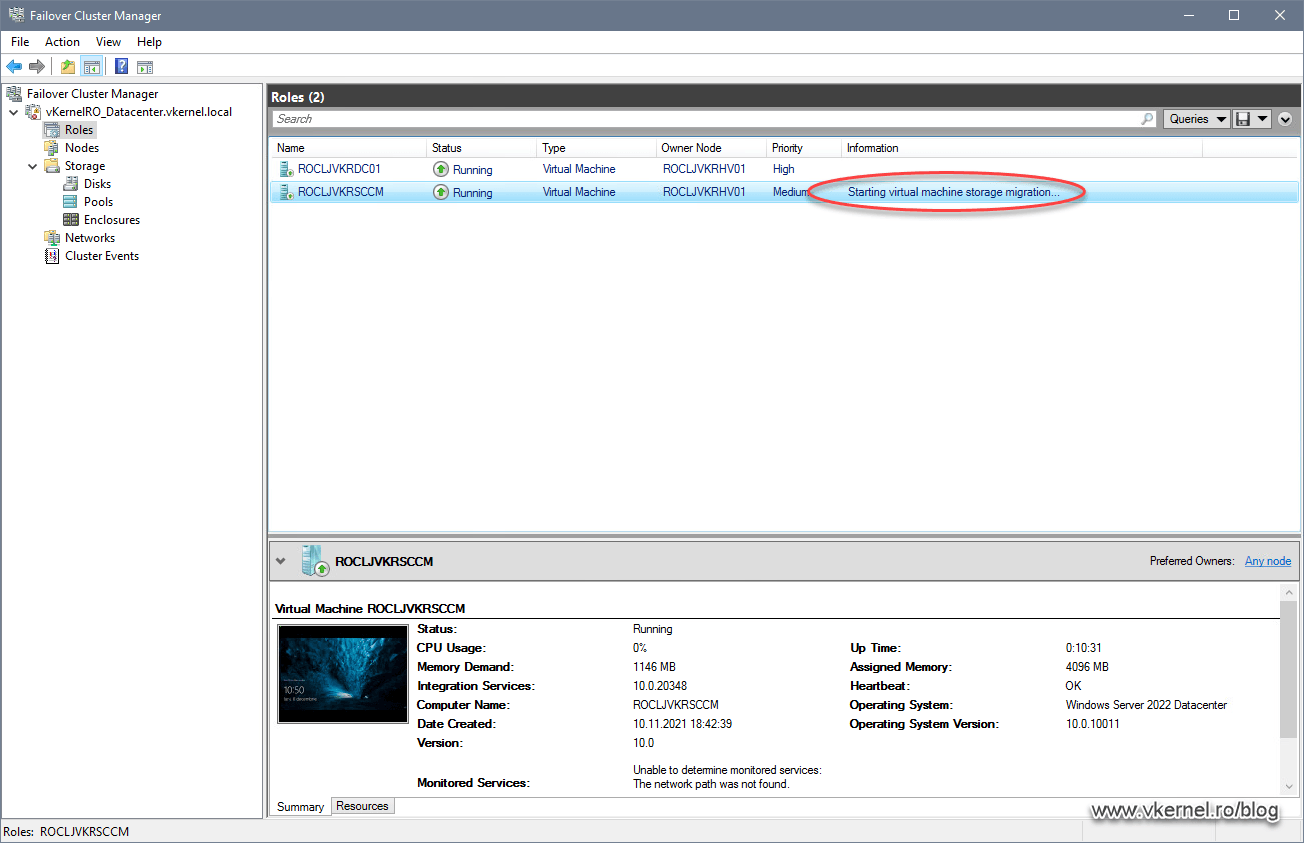
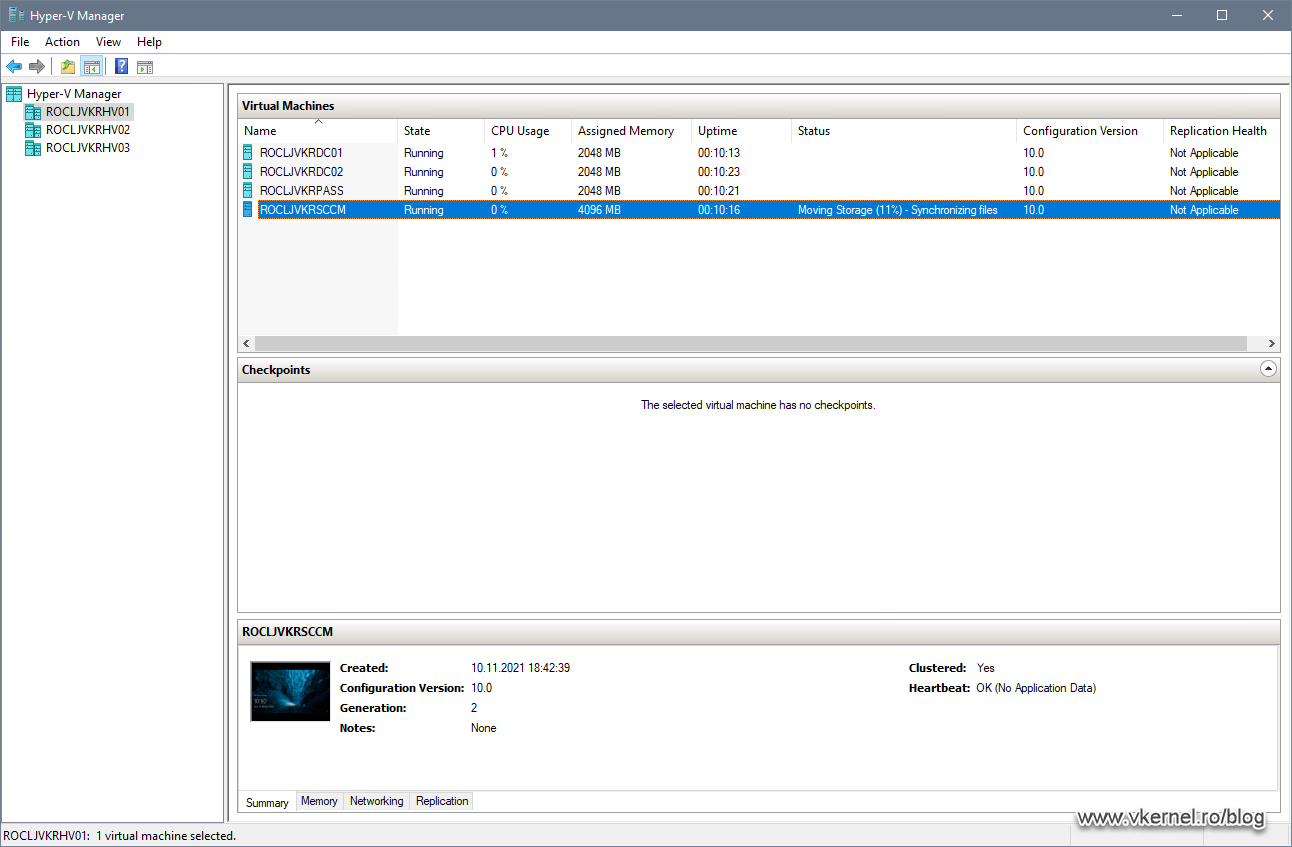
Once we click the Start button, the live migration begins and we can see that in the Information column in the Failover Cluster Manager console.
And once again, Microsoft messed this up. For a more detailed view about the migration we have to open another console, the Hyper-V Manager console where we can see the progress of the migration.
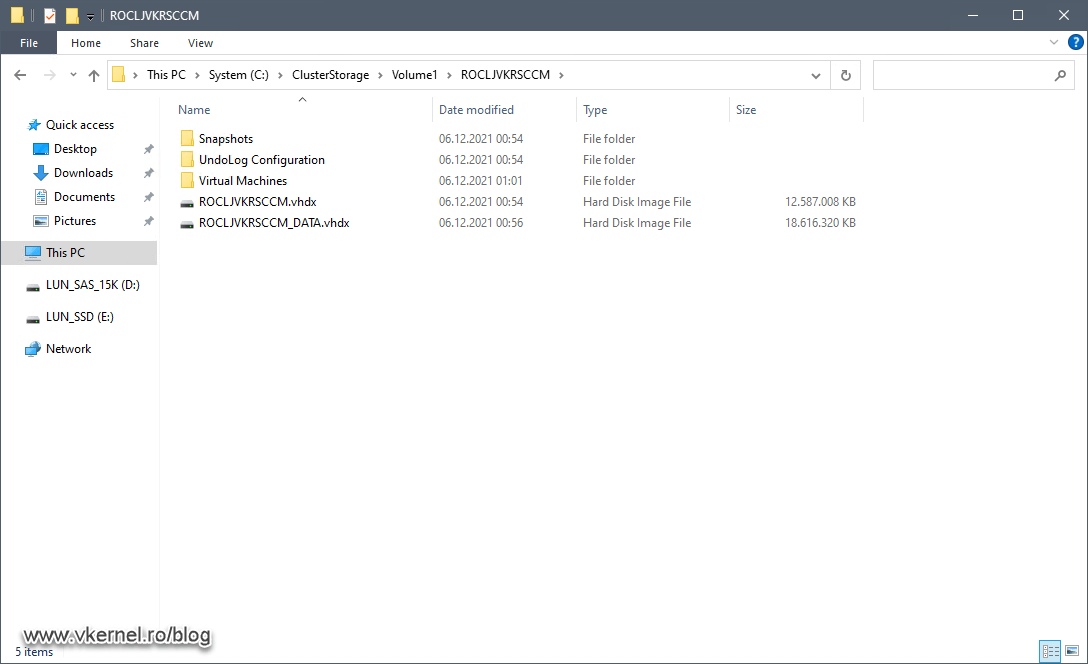
Depending on the size of the virtual disks and the storage speed, this might take a while, but once it is done we should have all the file in the chosen destination.
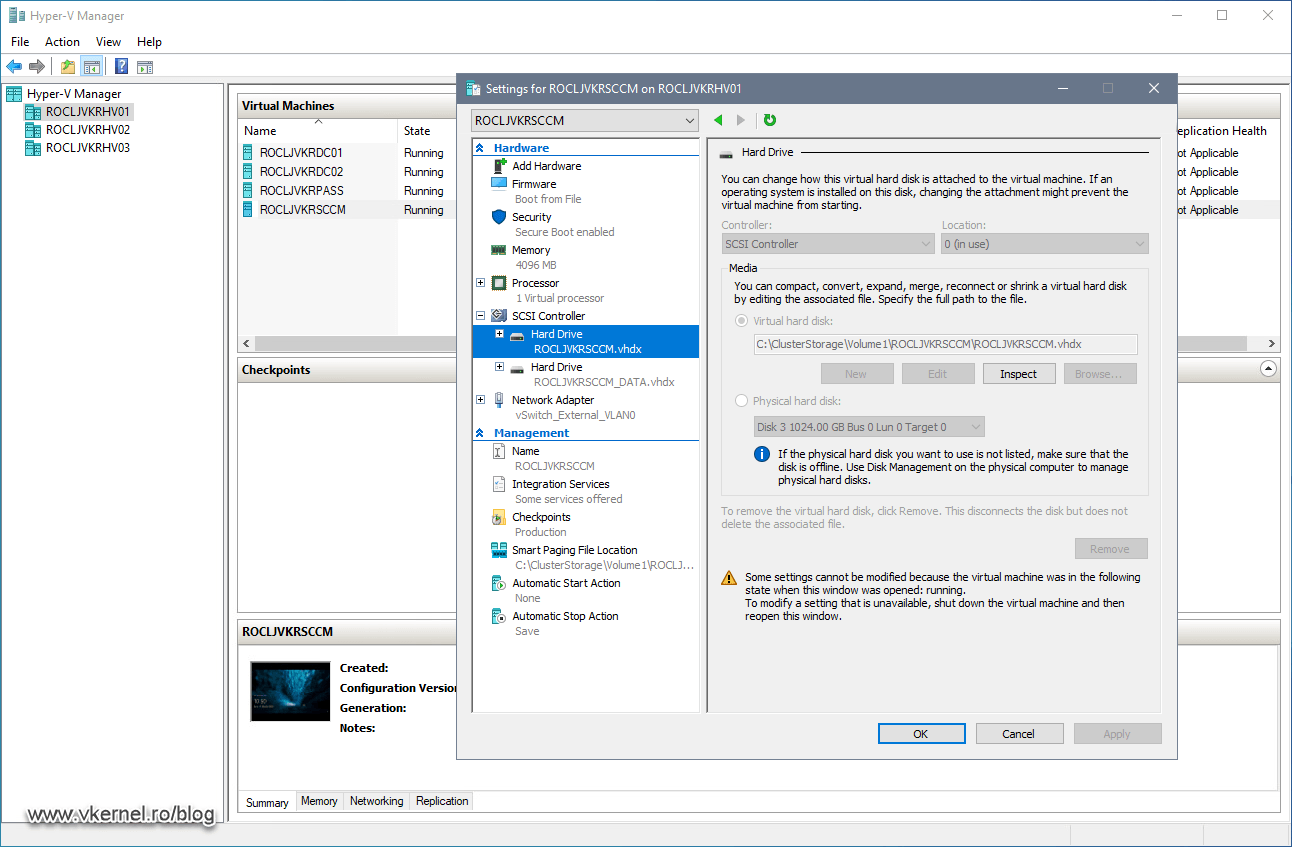
Another way to verify if the migration was a success, is by opening the virtual machine’s settings. As you can see, the virtual disks resides on the Cluster Shared Volume now.
3. Hyper-V Storage Live Migration using SCVMM
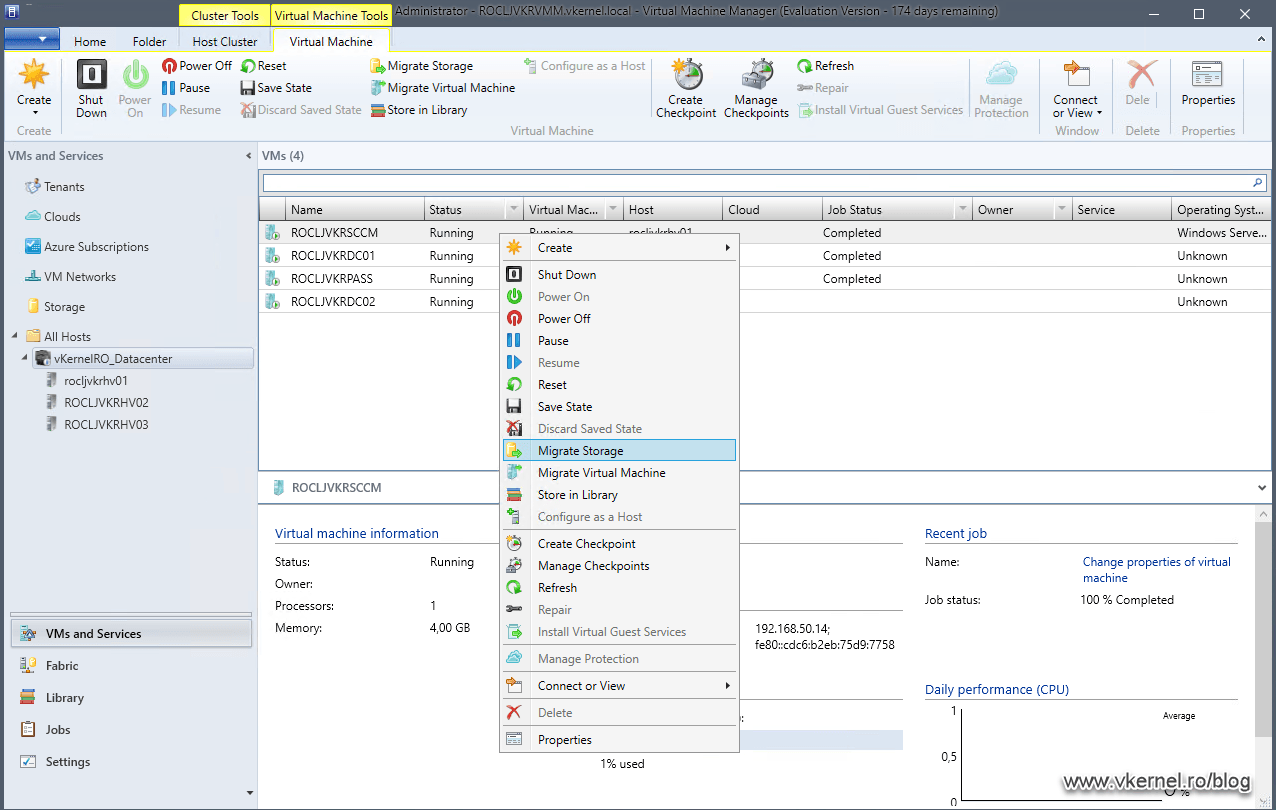
Migrating virtual machine’s storage using SCVMM is not much of a difference compared to the other options we just discussed. Now off course, you will need to have System Center Virtual Machine Manager (SCVMM) already installed and configured, and once this was taken care of, all we need to do is right-click the VM and choose Migrate Storage.
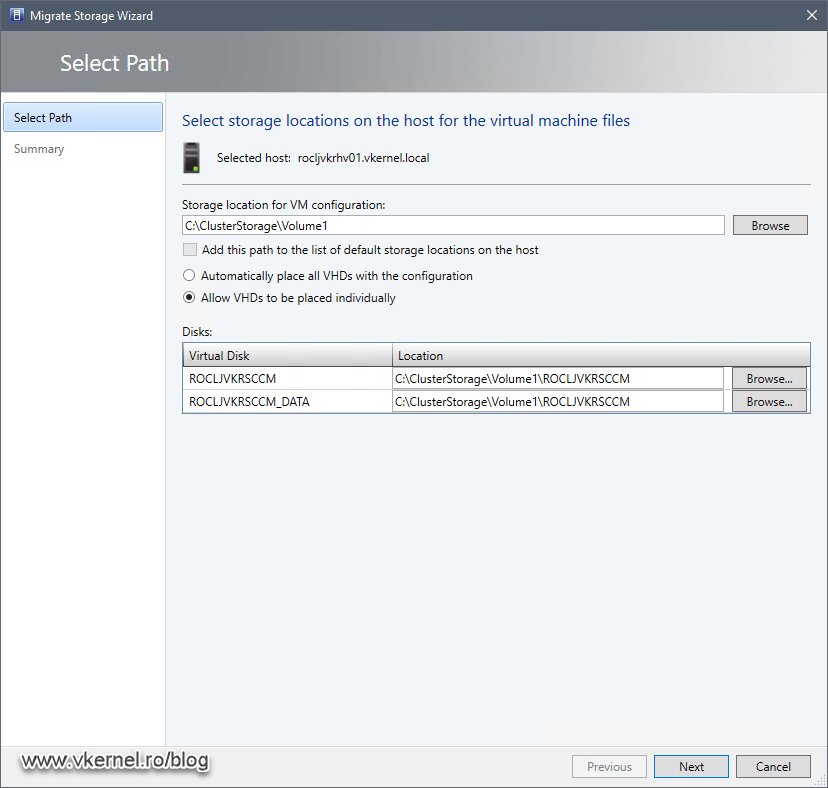
This will open the Migrate Storage Wizard, which will give us the option to either migrate all the virtual machine(s) files or just the VHDs.
If we want to migrate the configuration files of our VM(s), all we have to do is hit the Browse button from the Storage Location for VM configuration box. If the VM has multiple virtual disks, we get the option to choose which one to migrate to a different storage and we can do that by selecting the option Allow VHDs to be placed individually.
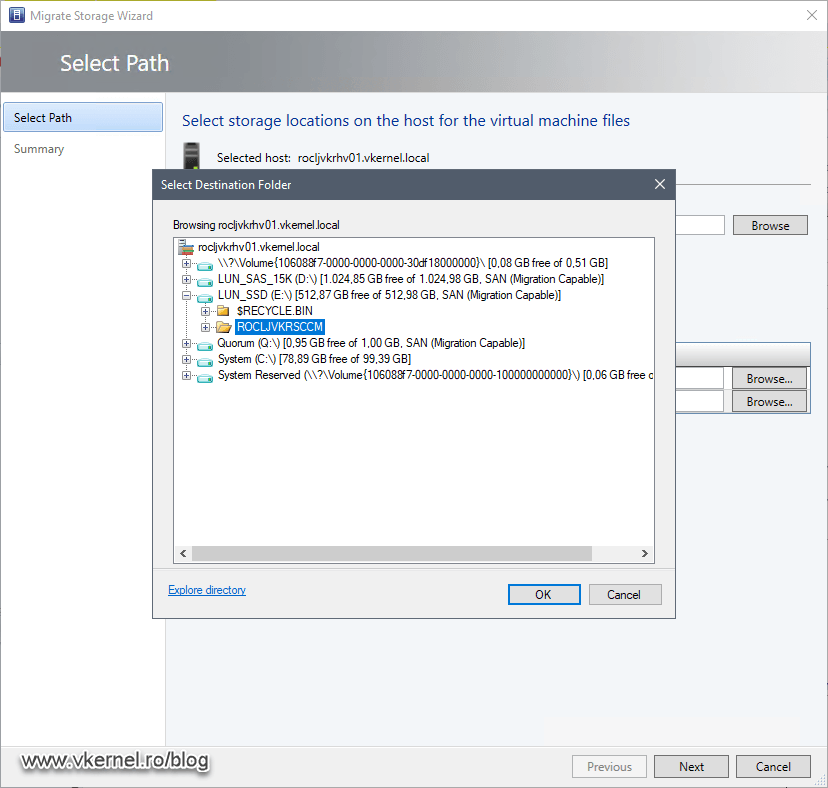
By clicking the Browse button in the Disks section we get the option to select the destination storage for our VM disk(s). What I really like about this window is that it gives us the option to open the destination location in Explorer so we can create folders for better organizing our VM files/disks. Just click the Explore directory link in the bottom left corner to see it in action.
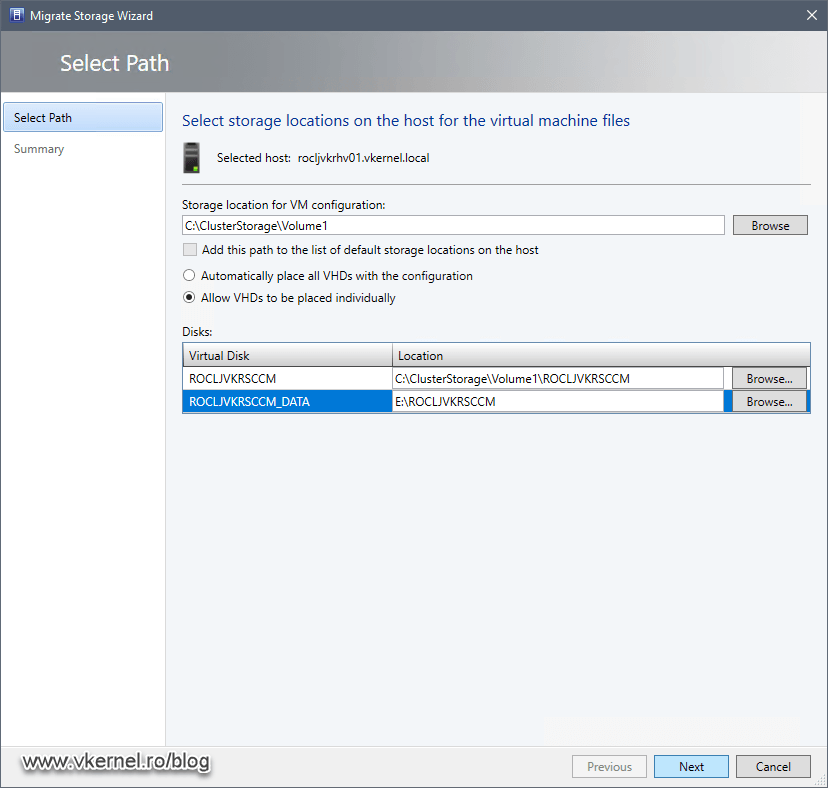
Once we selected the destination storage for our disk(s) just hit Next to continue.
And we get to the Summary screen where we can either see the actual PowerShell script that is used by the wizard for this operation, or we can just click the Move button to start the storage live migration for the selected VM.

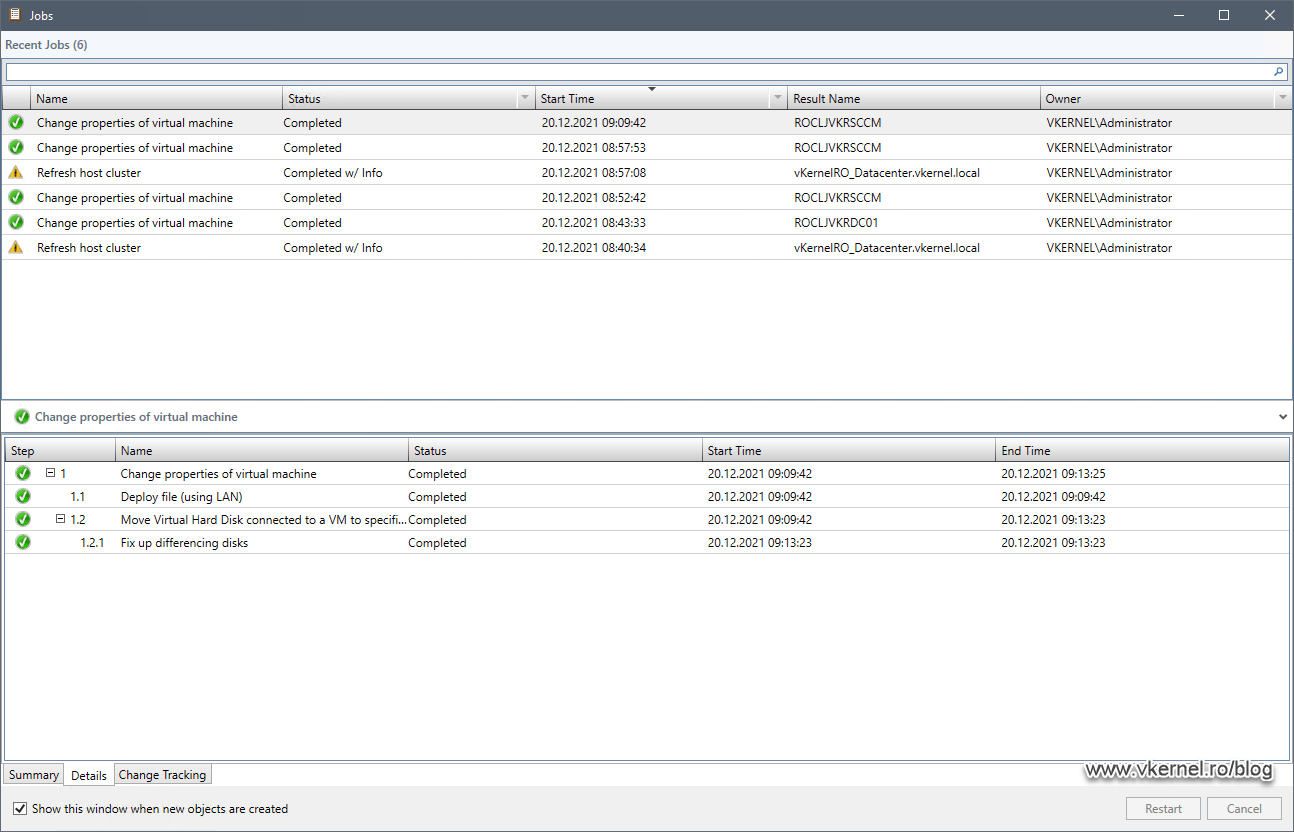
If your Job window is not disabled, it will pop-up and show the actual move progress and the steps it takes for the this operation.
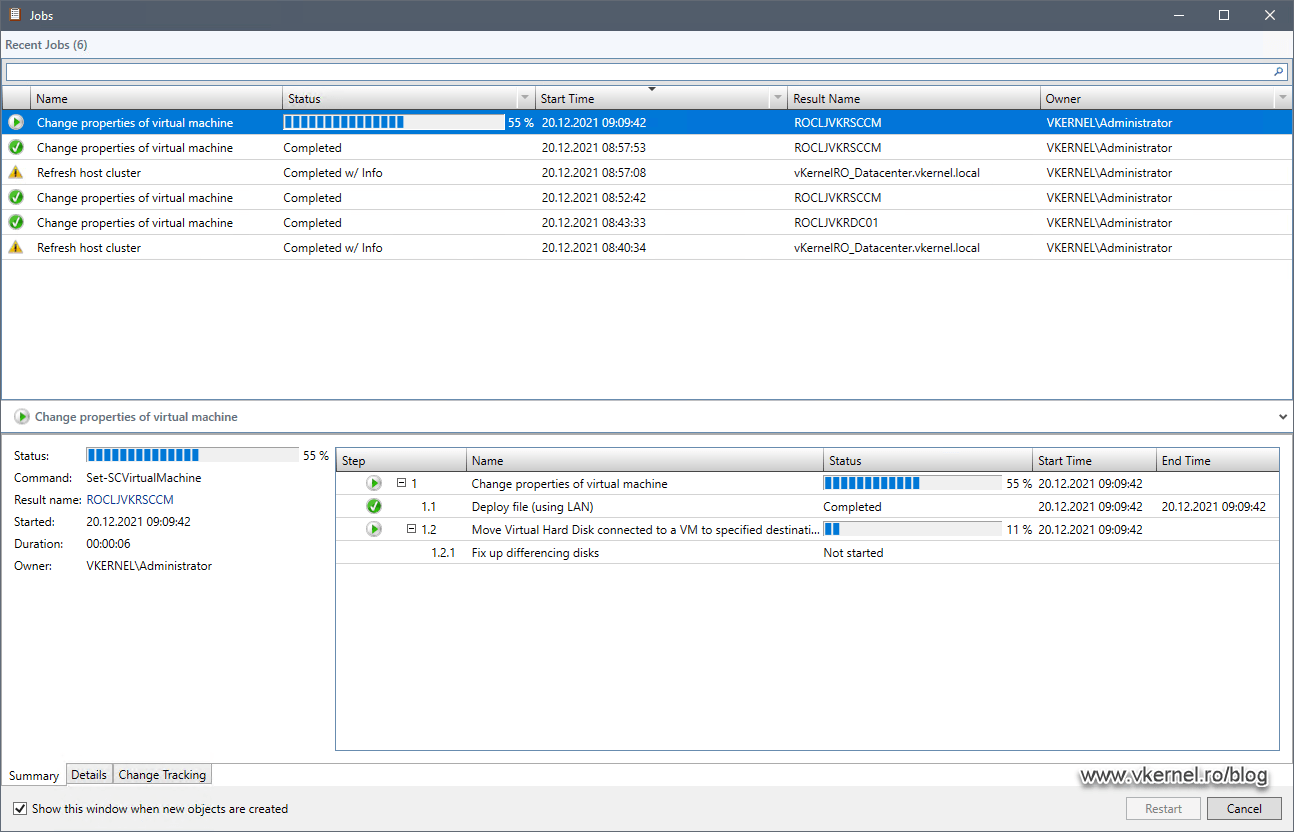
If everything worked out great, we will only see green check marks with a Completed message.
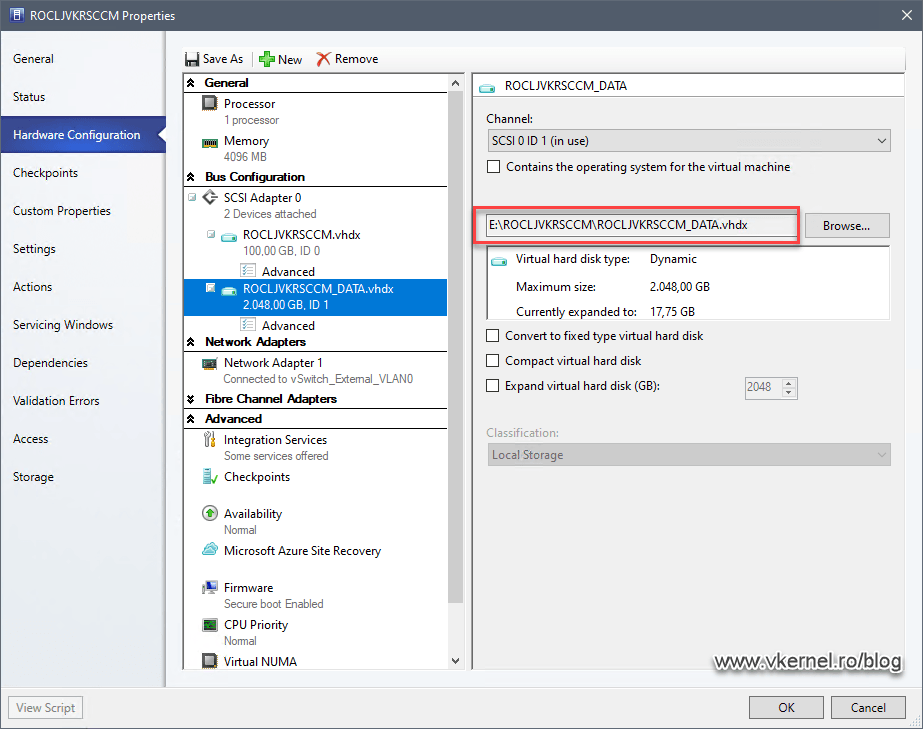
To verify it actually worked, we can open the properties of the VM and look where the disk is located. And sure enough, the migration did indeed succeeded.
4. Hyper-V Storage Live Migration using PowerShell
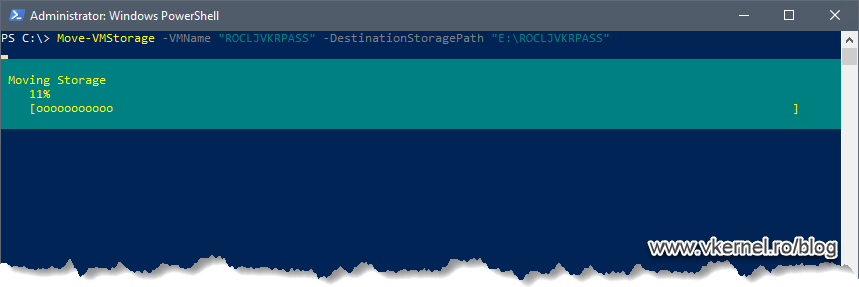
If we want to automate all this, we can do storage live migrations using PowerShell. A simple command line to move all the VM files (snapshots, VHDs, config files) to a different datastore will be:
Move-VMStorage -VMName "VM NAME" -DestinationStoragePath "DESTINATION DATASTORE"
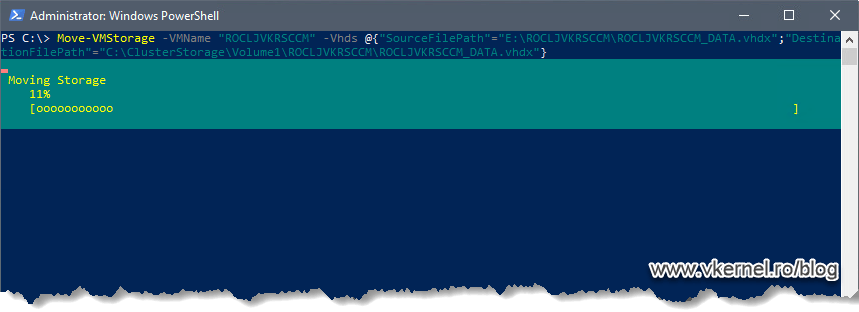
In case we want to move just the disks, the command line becomes a bit more complicated. We have to explicitly type the source and the destination path of the VHD(s).
Move-VMStorage -VMName "VM NAME" -Vhds @{"SourceFilePath"="E:>ROCLJVKRSCCM > ROCLJVKRSCCM_DATA.vhdx";"DestinationFilePath"="C:> ClusterStorageVolume1 > ROCLJVKRSCCM > ROCLJVKRSCCM_DATA.vhdx"}
Off course, we can get more complicated then this, especially if we enter the automation world, but I just wanted to give you a simple example of how it works.
Summary
Having the option to migrate virtual machines resources while running was a must. Not every time we can schedule for a downtime when our storage get’s full or get’s into trouble, but even if we do, it is disrupting the live environment. As you saw in the article, the newer versions of Microsoft server OS have no issues doing migrations while the virtual machines are online. Use it and let me know your experience with it.
Want content like this delivered right to your
email inbox?
More similar articles
 Build and run Windows Failover Clusters on VMware ESXi
- Deploying VDI using Windows Server 2012/R2
- Migrating a Hyper-V Cluster to Windows Server 2012 R2
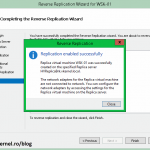
- Configuring Hyper-V Replica in Windows Server 2012/R2
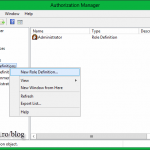
- Delegate Access Control and Management in Hyper-V
- Adding Hyper-V hosts to System Center Virtual Machine Manager (SCVMM) 2012