Register virtual machines in vCenter inventory
After reinstalling or upgrading one or more of your ESX server(s) you need to register the virtual machines that you preserve in the Datastore back in to the vCenter inventory. If you have just a few machines to register in inventory you can user the graphical interface to do that, but if you have hundreds of VMs you will need a script to do that, or you will die slowly. In this guide I’m going to show both ways, using the graphical interface and using a script in PowerCLI; because you are using PowerCLI, right ? If not you should start using it, and believe me your work will be so much easier.
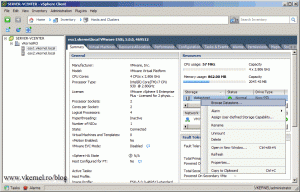
To use the graphical interface all you need to do is right-click the datastore where the VMs are located and choose Browse Datastore.
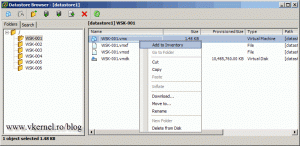
Here click one of the folders, and on the right side right-click the .vmx file and choose Add to Inventory.
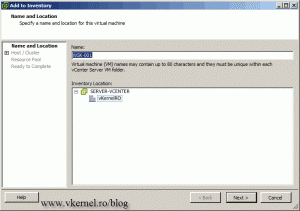
If you want to rename your VM you can do this on the Name box.
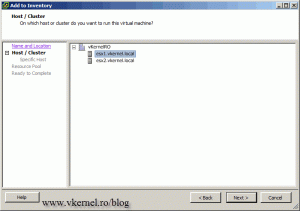
Select the ESXi host where you want this VM to run and click Next to continue.
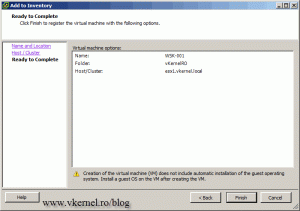
On the Ready to Complete page just click Finish to register the VM.
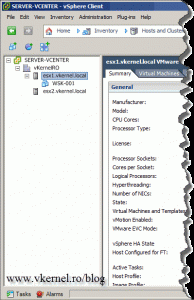
Your VM should be now available in the vCenter console, ready to run.
This is an easy job, but what if you have hundreds of VMs ? It won’t a fun job any more to go trough that wizard for all of them; too much clicking. PowerCLI come to the rescue. Here I will provide a small script on how to register your VMs using PowerCLI, just to get you started. More advance and detailed scripting in a future guide.
$esxhost = Get-VMHost
dir 'vmstores:\MyvCenterServer@443\MyDatacenter\MyStorage\*\*.vmx' | % {New-VM -Host $esxhost -VMFilePath $_.DatastoreFullPath}
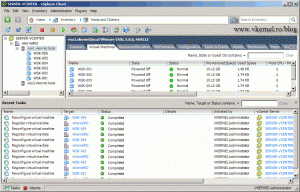
Now take a look in vCenter. Pretty cool, I might say.
Want content like this delivered right to your
email inbox?
