In-place upgrade from VMware ESX 4.1 to ESXi 5
For those small businesses that don’t afford buying VMware vCenter and want to upgrade from ESX 4.1 to ESXi 5, an in-place upgrade is the only way to go. In this guide I’m going to show you the steps involved in the upgrade process. For this lab I have an ESX 4.1 server with some virtual machines located on the local datastore, so no iSCSI or Fiber Channel Storage is connected to the server. Even if they were connected the process will be the same.
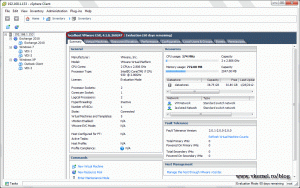
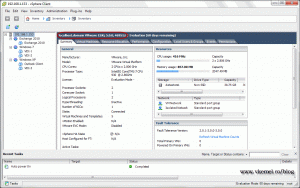
To give you an idea of how my ESX 4.1 server looks, I attached a picture. After the upgrade process every virtual machine, pool, settings should be the same.
Before you start the upgrade process backup your virtual machines, just in case something goes wrong.
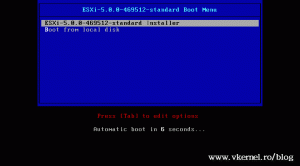
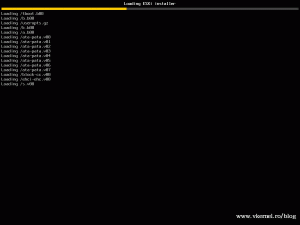
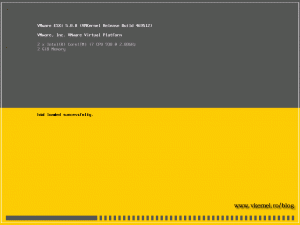
Now we can start the upgrade process, so reboot or power on the server and boot from the ESXi 5 installation media.
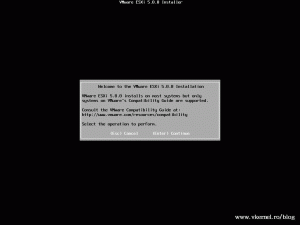
The first screen is telling us to check the hardware compatibility guide to see if ESXi 5 is supported on this server. To see if your hardware is compatible with this version of ESX server click here. Now press ENTER to continue.
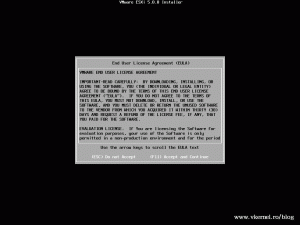
Read and accept the EULA then continue by pressing F11.
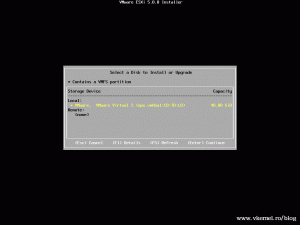
The installer will scan the hardware for a few seconds, then will display the storage devices present (recognized) on the server. If you have more than one drive connected choose the one where ESX 4.1 is installed, then press ENTER to continue.
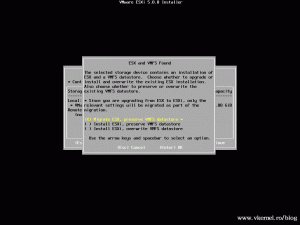
This one is a very important screen. If you make the wrong decision here you can erase your old ESX server and your VMFS datastore.
Migrate ESX, preserve VMFS datastore – will upgrade the version of ESX server, and all our virtual machines and settings will be preserved.
Install ESXi, preserve VMFS datastore – will erase the old ESX server, and it will preserve the virtual machines but not the server settings. After the upgrade is finished you have to add all your virtual machines to the inventory, by hand or by using a script (PowerCLI).
Install ESXi, overwrite VMFS datastore – will erase everything and install ESXi 5.
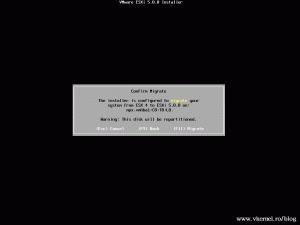
For our example here, choose the first option and press ENTER to continue.
On the confirmation screen press F11.
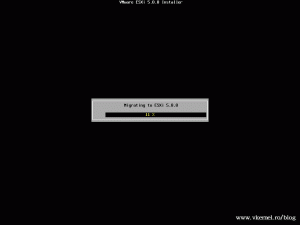
The installer starts the upgrade process, which will take a few minutes.
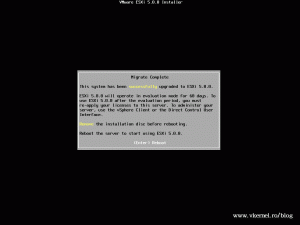
After is done, you need to press ENTER to reboot the server.
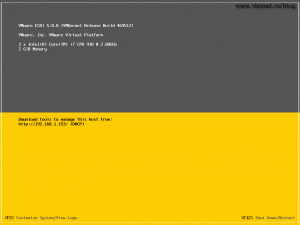
And here is our new ESXi 5 host, successfully upgraded,
with our virtual machines and settings preserved.
Want content like this delivered right to your
email inbox?
To be clear you did this successfully from ESX 4.1 – not ESXi 4.1?
VMware states the inplace upgrade is not supported from ESX 4.1 to 5.0
Yes, this guide if upgrading from ESX 4.1 (NOT ESXi) to ESXi5. If you have ESXi 4 servers in your environment, you can upgrade with no problems, it works; I’ve done it and tested it.