Installing and Configuring MDT with Windows 10 ADK
I was browsing my blog, and during this time I noticed I have a series of articles on how to install and configure MDT so you can successfully deploy your chosen OS in your company, but they are outdated. Don’t get me wrong, they will still work, but a few things have changed since I wrote those articles, especially on the MDT installation and configuration part. Now I want to “push” a small update for those that are just starting using MDT so they can successfully install it and deploy their choose Windows OS, which is Windows 10 nowadays.
First things first, prerequisites. MDT does not have much of these, actually if I think about it there are just three of them. The first one off course, is to have an OS where we can install it, and MDT supports a variety of Microsoft’s operating systems like Windows 8, Windows 10, Windows Server 2012, Windows Server 2016, but for this article I am going to use a Windows Server 2019 edition, which is the latest at the time of this writing. The second prerequisite is to have .NET Framework 4.x. The third prerequisite, which is also the largest one in terms of space is Windows Assessment and Deployment Kit (ADK) for Windows 10.
Downloading and Installing MDT prerequisites
Download and install .NET Framework
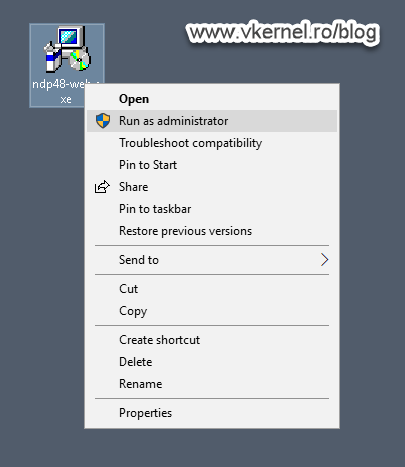
I presume you already have your Windows Server installed, so let’s move on at the .NET Framework part. Go to Microsoft’s web site, download it, then run the program.
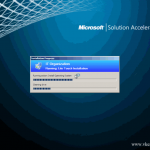
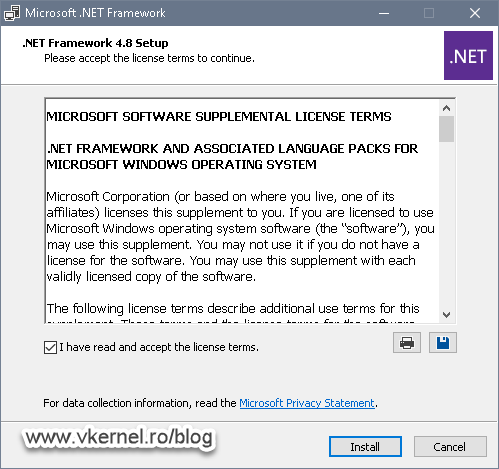
Accept the license terms then hit the Install button to begin the .NET Framework installation.
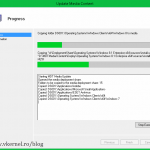
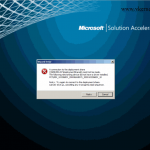
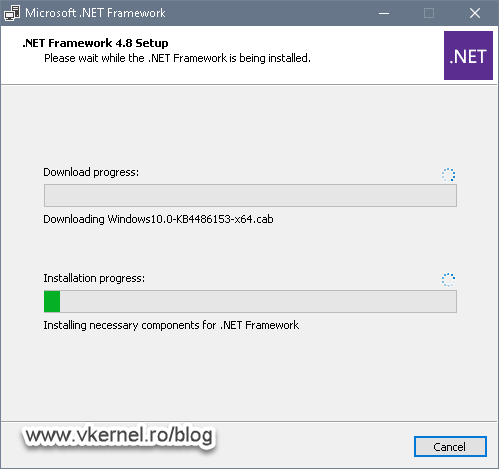
It will take a while because the wizard will need to download the complete installation package from Microsoft, but if you have a large internet pipe, the installation should complete in a few minutes.
Download and install the Windows Assessment and Deployment Kit (ADK)
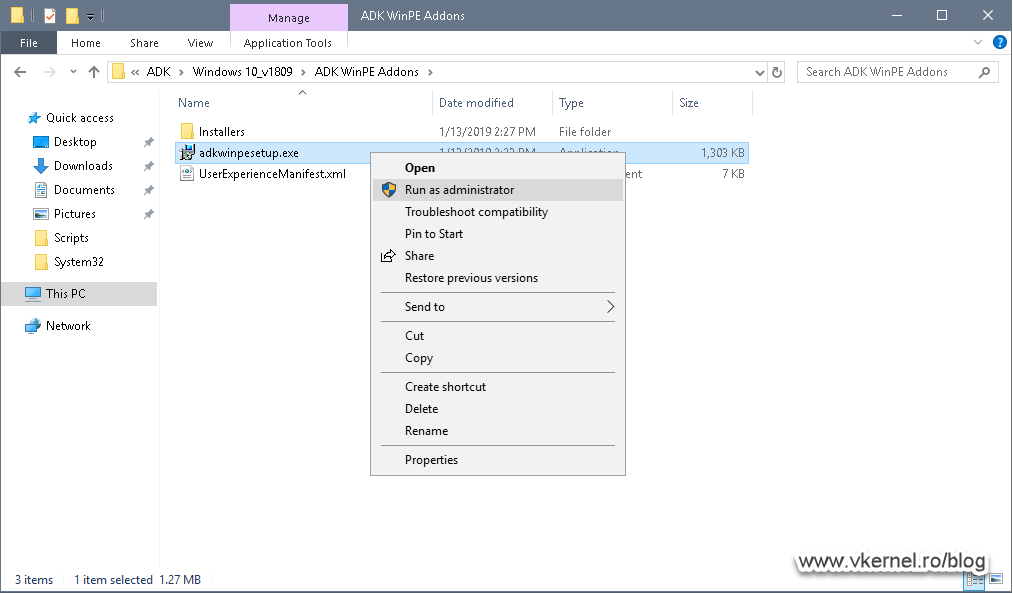
Now let’s take care of the last prerequisite needed for MDT, the Windows Assessment and Deployment Kit (ADK) for Windows 10. Up until version 1803 this was just one package containing everything we needed, but now Microsoft split this in two for whatever reason. Make sure you download both packages from the web page, the Windows ADK for Windows 10 and the Windows PE add-on for ADK.

Install the packages, first the ADK then the Windows PE add-on.
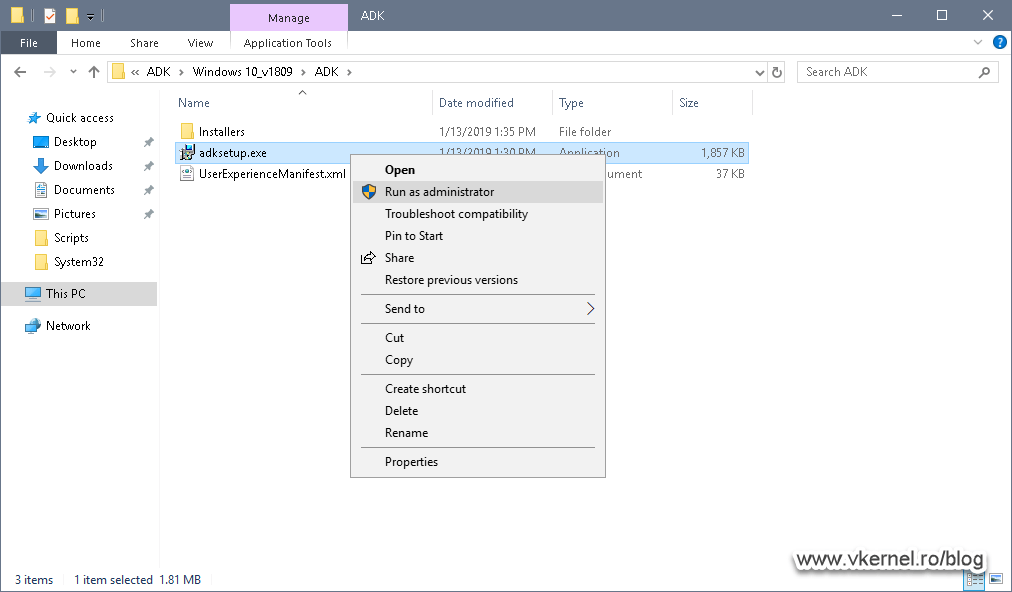
On the the ADK installation wizard we can remove some of the features since they are not needed by MDT just by clicking the box next to them.

And that’s it, we can now move to the actual installation of MDT.
Installing Microsoft Deployment Toolkit (MDT)
Go ahead, download the version that matches your platform then run the executable. Click Next to skip the Welcome screen.

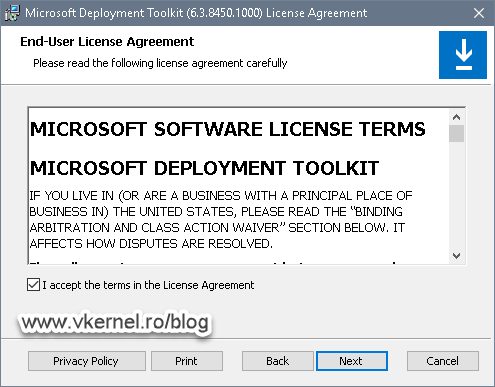
Accept the EULA and continue the wizard.
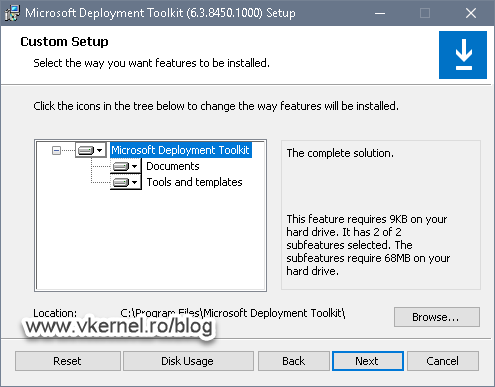
Keep the default features that come with MDT since they don’t take much space and hit Next.
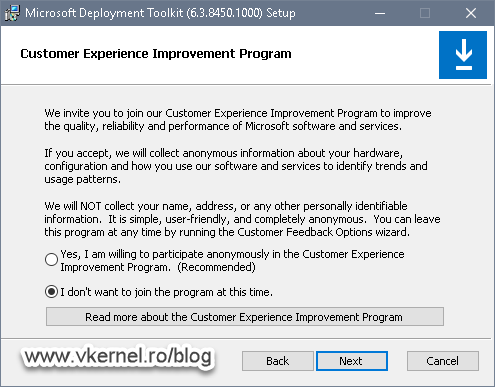
This is up to you, join or not joint the Customer Experience Improvement Program. Choose by clicking one of the radio buttons then hit Next.
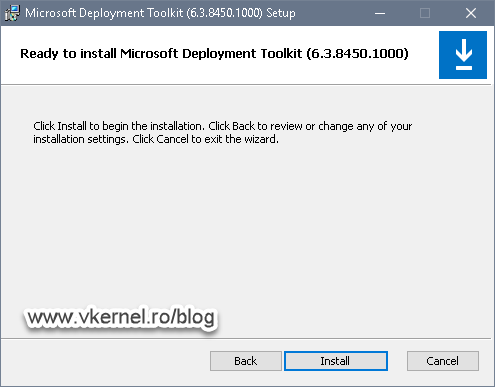
And now click Install to begin the installation of MDT.
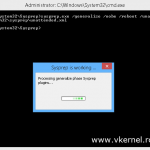
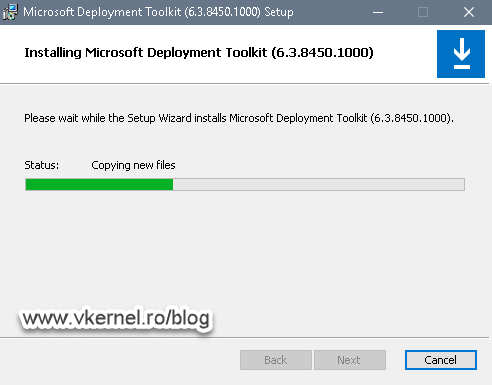
It will take just a few seconds, and I’m not kidding here, the installation of MDT it actually takes a few seconds to complete. If you followed along and have all the prerequisites in order everything will complete with no errors or interruptions whatsoever.
Creating the first MDT Deployment Share
Now that we have our MDT installed, in order to make it work we have to create a so called Deployment Share, which is exactly what it sounds like…a share. This is where all the boot and install images are kept, the automation scripts, rules, everything.
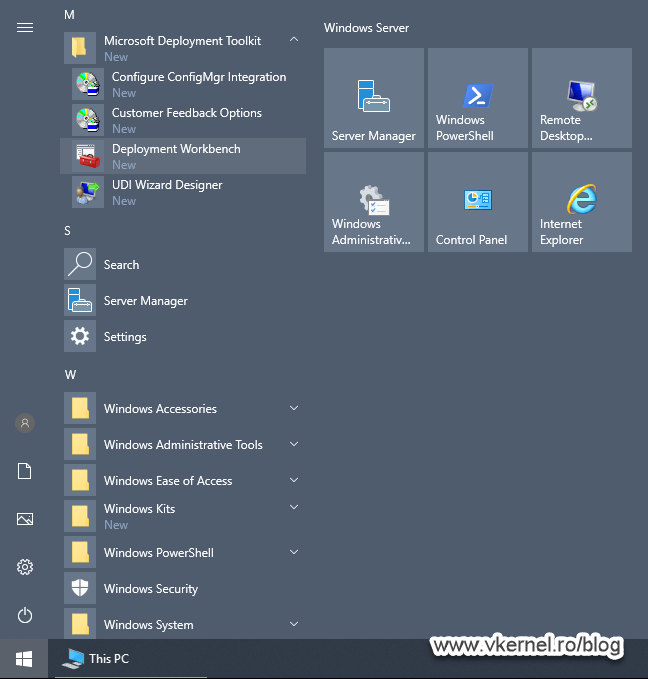
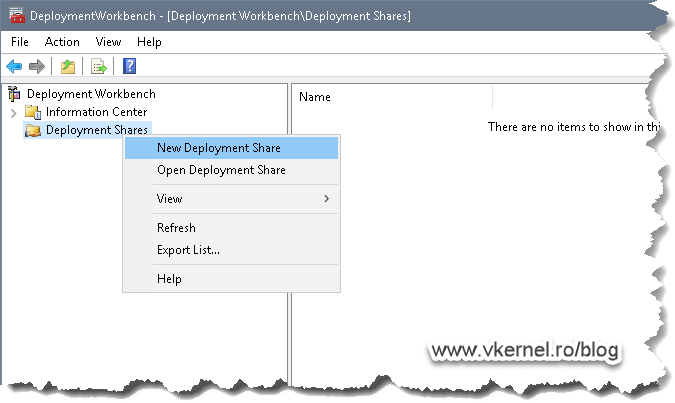
From the Start menu open the MDT console which is called Deployment Workbench.
As you can see, we have a Deployment Shares folder, but it’s empty. This is where we will create our deployment shares, because we can have more then one. Right-click this folder and choose New Deployment Share.
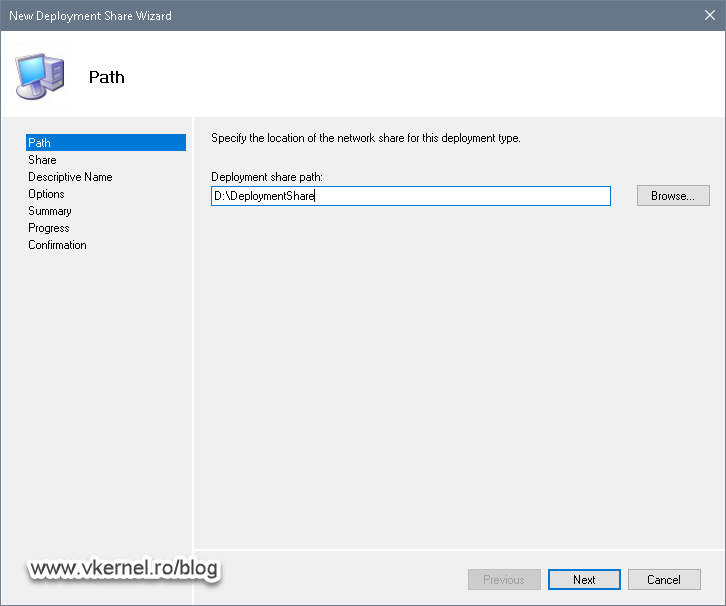
In the first screen of the New Deployment Share Wizard we get the option to choose where to create this shared folder and what to call it. It is not recommended to go with the default option and create the shared folder on the C drive since this is the system drive, instead try to use a different volume. As the name goes…I don’t mind using the default one.
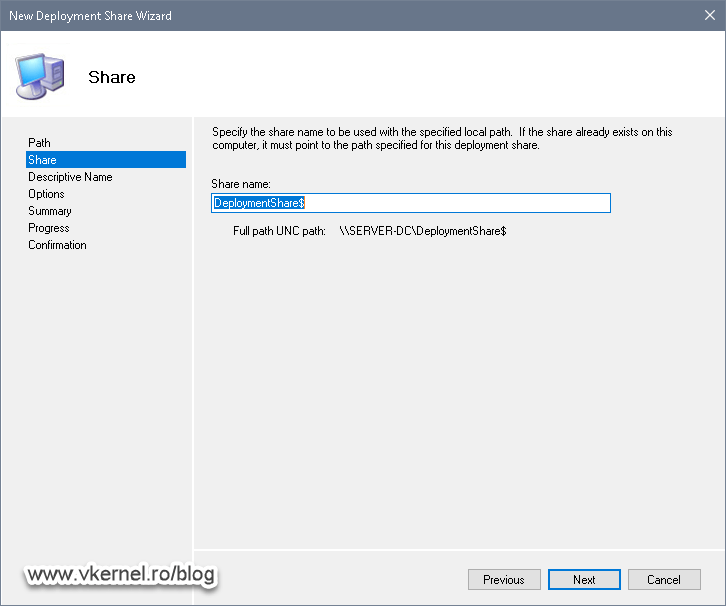
Here we can choose what name to give to the actual share, the name we will use to access the folder trough the network using a UNC path. As you can see, by default it is the folder name followed by and dollar sign, meaning it is hidden from network browsing. Again, we can change this or leave the default share name.
Here we have the Descriptive Name screen, which it will be the actual folder name that we see in the Deployment Workbench console.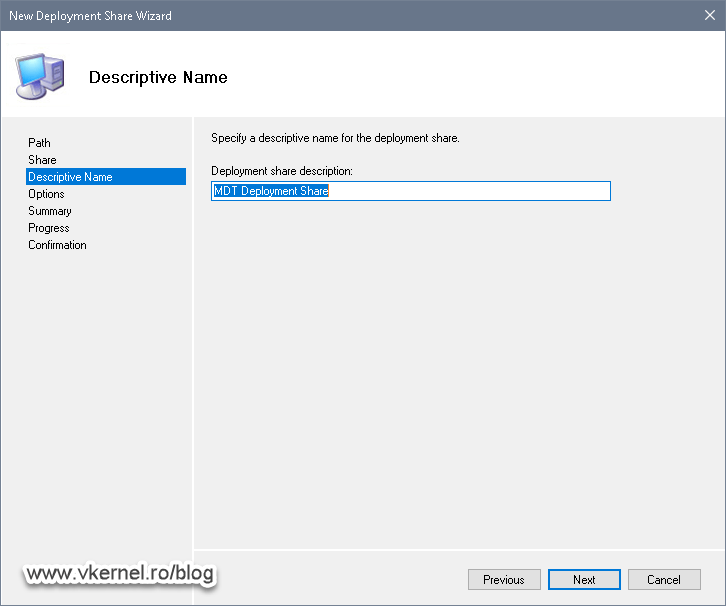
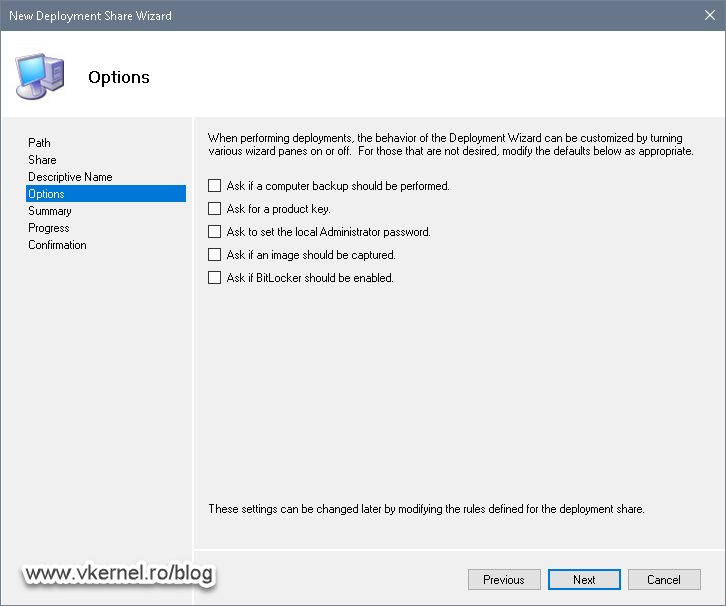
These are just a very small number of options, also called rules, that help us automate some of the operations done with MDT. Don’t worry about them to much here because they will be changed later one, and with an army of them.
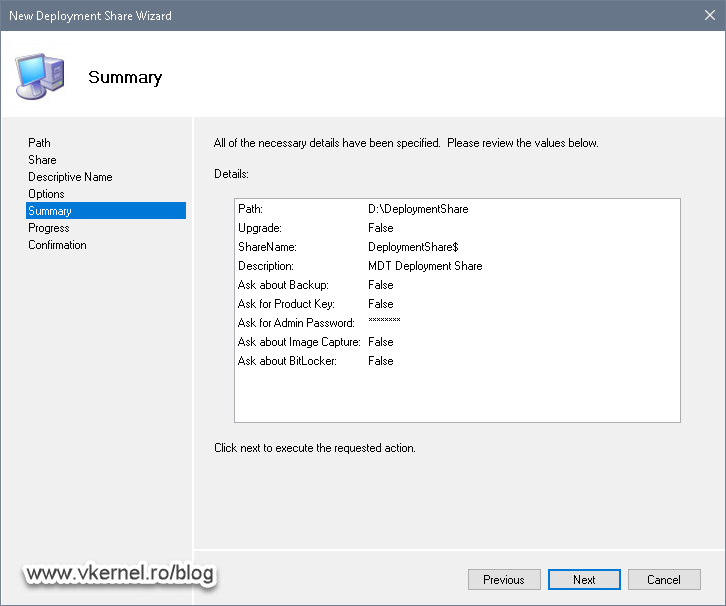
Once you get to the Summary screen, hit the Next button to create the deployment share.
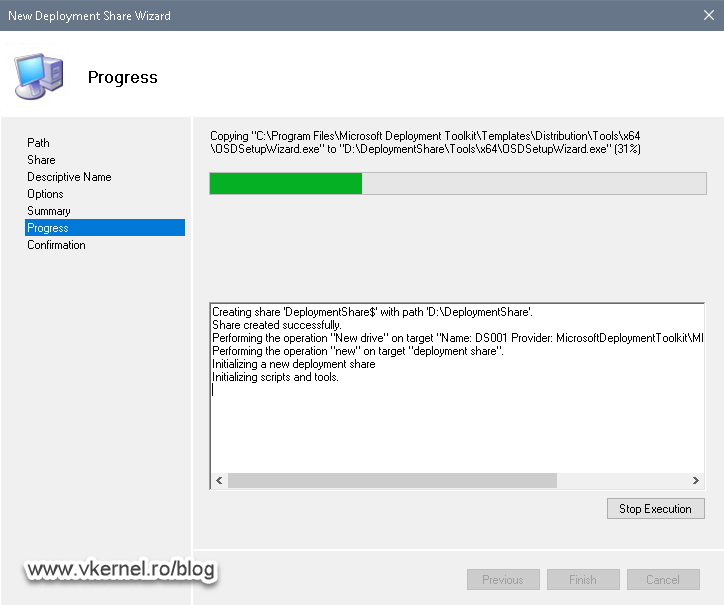
The operation will take just a few seconds, and once it’s done, we will get a successful message on the Confirmation screen.
And here we have it, our first MDT deployment share! Off course, we can’t do anything with it right now because it’s empty, but the next steps will be to add at least one operating system, add applications, patches, drives if needed, create a task sequence and configure the systems to boot from network. Once we have these, deploying, upgrading or doing an OS refresh will be a piece of cake.

Summary
The installation of MDT as you just saw it’s easy and it does not take long, but don’t let this full you, because the hard part comes after. The more you want to automate your OS deployments, the more time you will spend configuring the task sequences rules and scripts, and there will be times when you don’t find it enjoyable. Until next time, I wish you all the best.
Want content like this delivered right to your
email inbox?
More similar articles
 Customizing the Default Local User Profile before imaging
- Integrating DaRT (8.x) with MDT (2013) and enable DaRT Remote Control
- Creating an Offline MDT Deployment Media
- Migrating from Windows XP to Windows 7 using MDT
- Adding drivers to WinPE boot image in MDT 2010/2012
- Sysprep and Capture a Windows Image with MDT 2012