Promoting Domain Controllers using Install From Media (IFM)
I have never taught that I will ever use the IFM (Install From Media) option when promoting a Domain Controller until I actually need to, and funny enough, not to long ago I need to. I had a site where a domain controller was needed, so I went with the normal process of adding an additional domain controller to an existing domain. All went well, no errors, no nothing, but when checking the health of the AD and DNS I noticed that not even half of the AD database was replicated, and it was a big one, around 18 GB in size. You might think now, well…Adrian, why didn’t you let it finish replicate? I did, until the next day, but the database was still the same, not fully replicated. Checking the Sysvol and Netlogon shares using this domain controller name (<domain controller>\sysvol) were also failing, and checking the logs, everything was OK.
I knew that it was something tight to the wizard initial replication, and the problem was the internet pipe. Not that it was a slow one, but it kept interrupting, so the Active Directory Domain Services Configuration Wizard just gave up and not telling me. In that moment I taught I will give IFM a try to see if it really worth it, and if you read this until the end, you will convince yourself. The steps are pretty easy, export the AD database, copy it on the “future” domain controller then promote.
Exporting the Active Directory (AD) database using ntdsutil
As a first step in exporting the AD database, log in on one of the working domain controllers and open a command prompt window then type the bellow commands:
It does not matter if the domain controller is not one of the FSMO roles holder, you can use the one you like, or the one closest to the site where the future domain controller is needed.
ntdsutil
activate instance ntds
ifm
create full <folder path for the export>
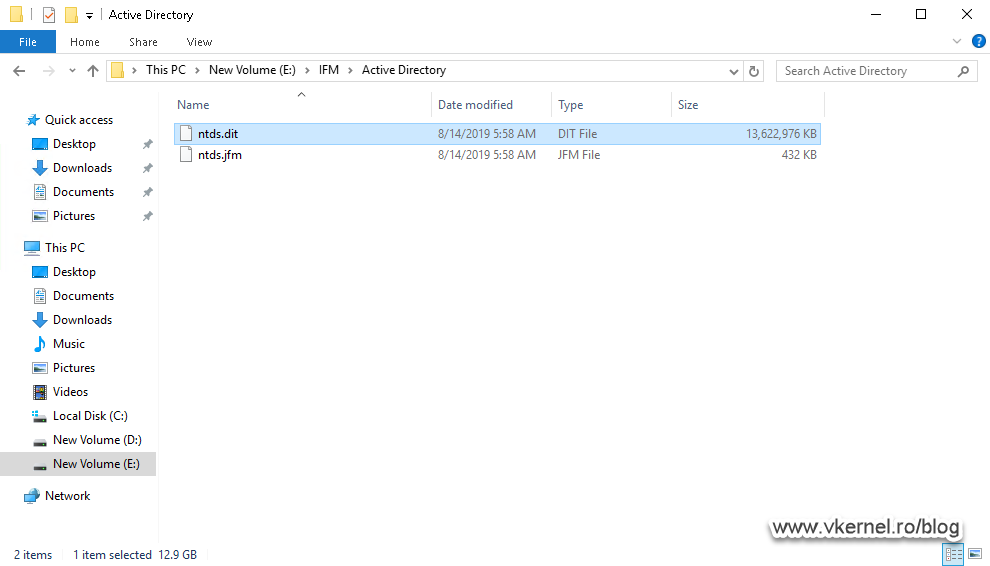
This will export the AD database to the folder provided in the command line, which in my case is E:\IFM. You can type whatever path you want, just make sure you have enough space on the drive especially if you have a large AD database.
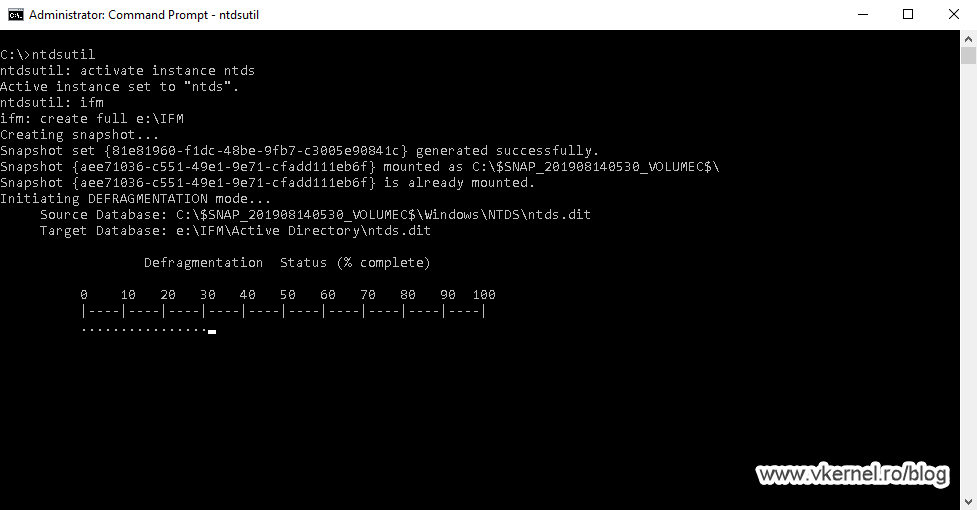
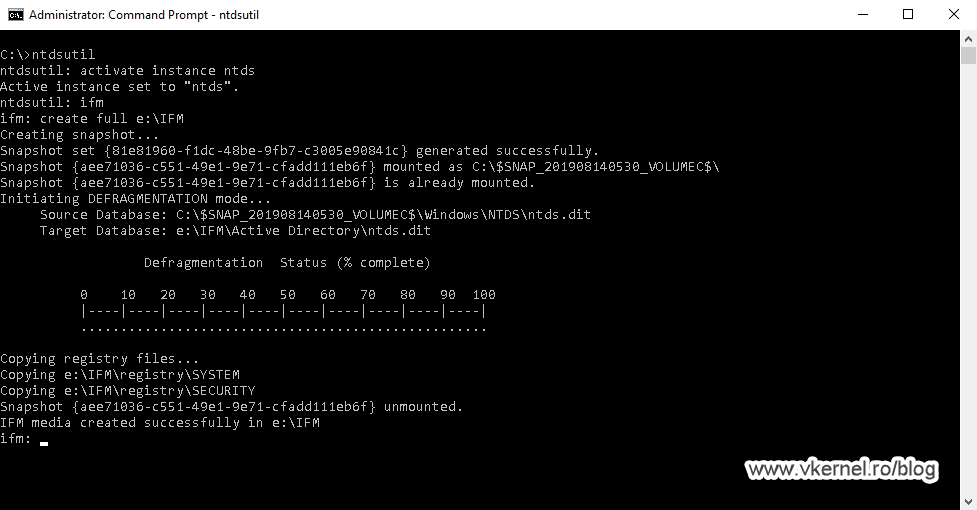
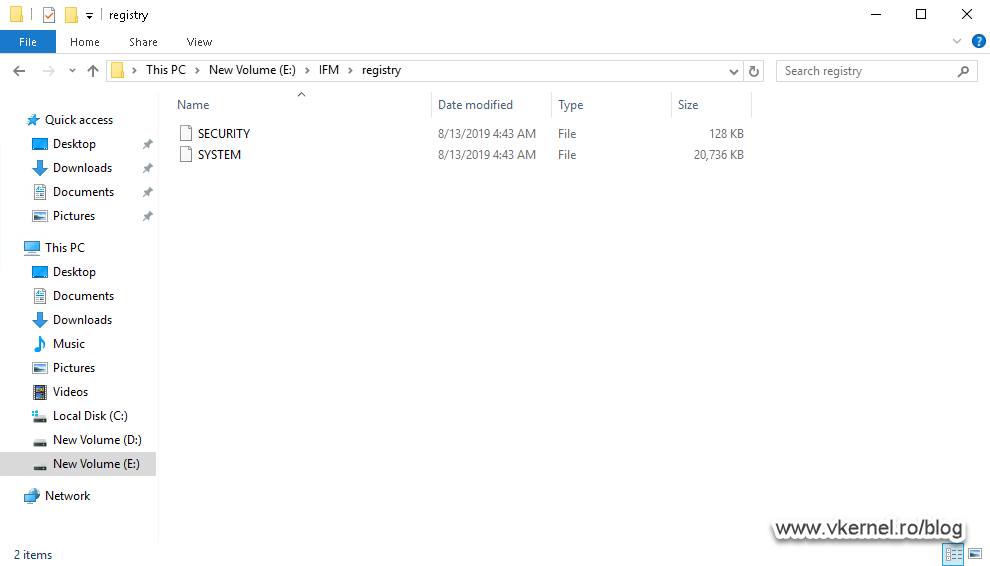
The export could take a while, but once is finished we can see all the exported files in the path that we provided above.
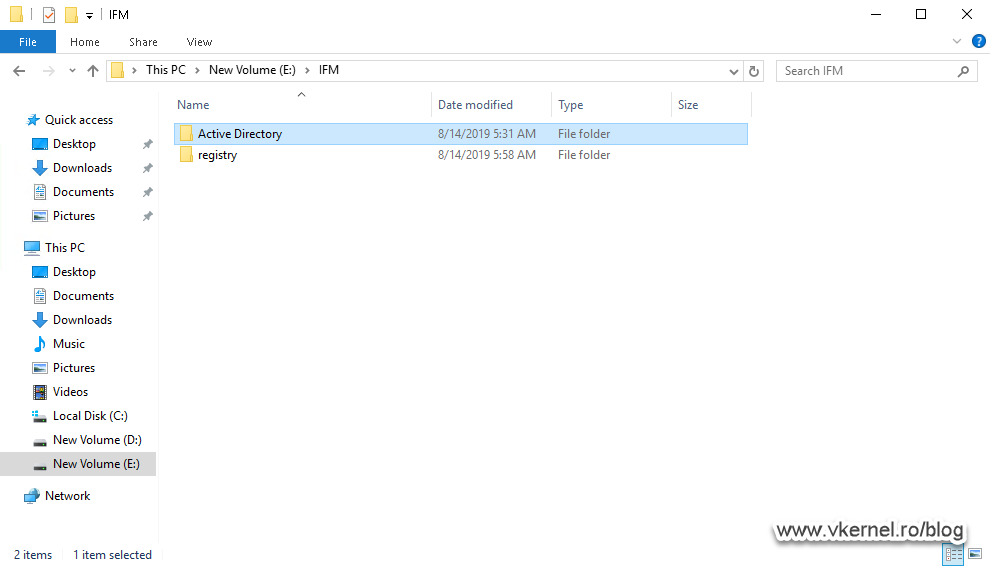
All that is left now is to copy this entire directory to the server that we plan to promote as a domain controller. We can either use a UNC path or a cloud service like OneDrive.
Since the internet line kept interrupting in this site, a UNC path did not worked for me, but OneDrive did a pretty good job, especially because I did not had to baby sit.
Promoting a server as a Domain Controller using Install From Media (IFM)
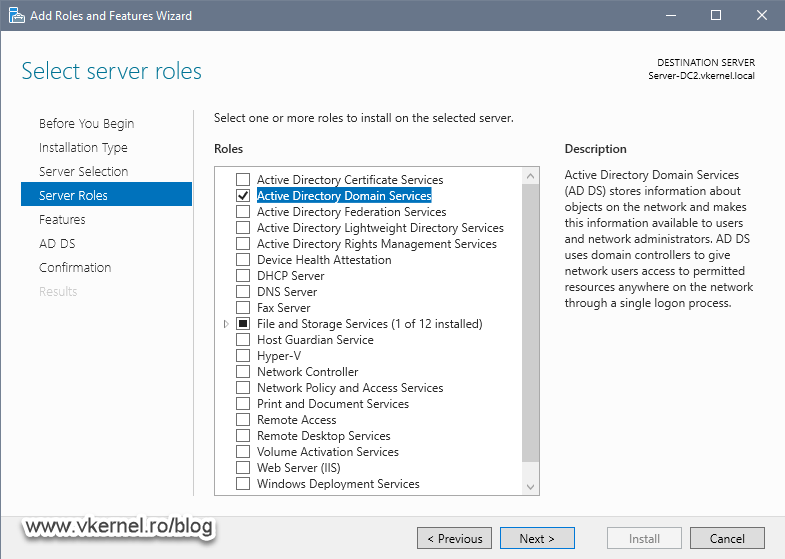
On the server that you plan to promote as a domain controller, open Server Manager and go to Manage > Add Roles and Features. Follow the wizard, and once you reached the Select Server Roles screen, check the box next to Active Directory Domain Services. On the window that pops-up just hit the Add Features button.
To be able to promote the server as a Domain Controller you need to be logged in with a Domain Admin account or the wizard will give you an error about it and you will not be able to continue.

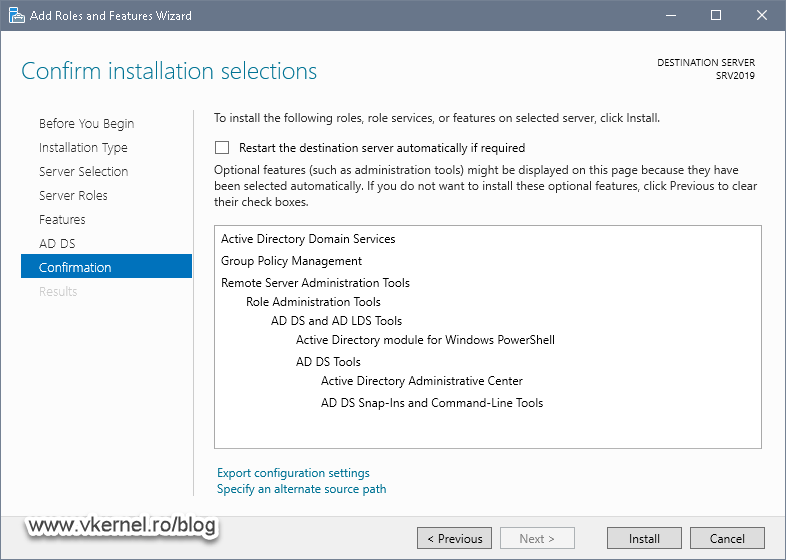
Continue the wizard using the default settings then hit Install to begin the installation of the required files for Active Directory Domain Services (ADDS).
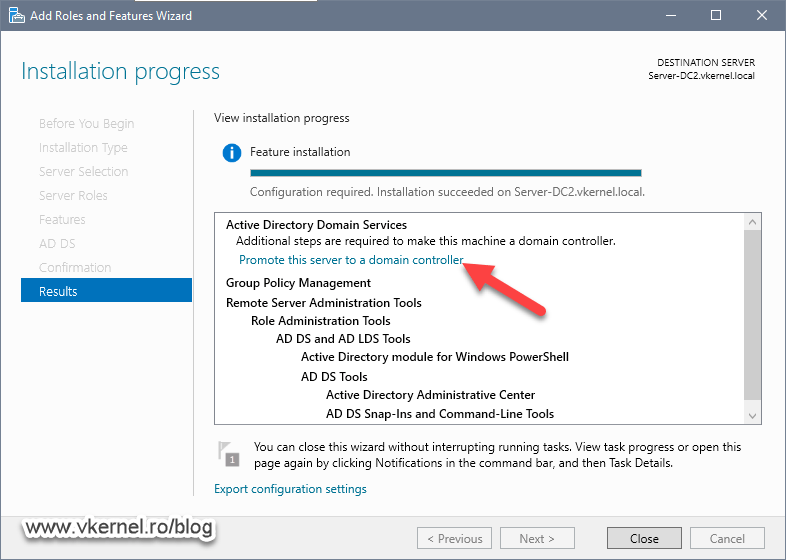
Everything normal until now, nothing that you didn’t see in a previous article of mine on how to promote a server as an additional domain controller. Once the wizard is done installing the files and preparing the server, click the Promote this server to a domain controller link.
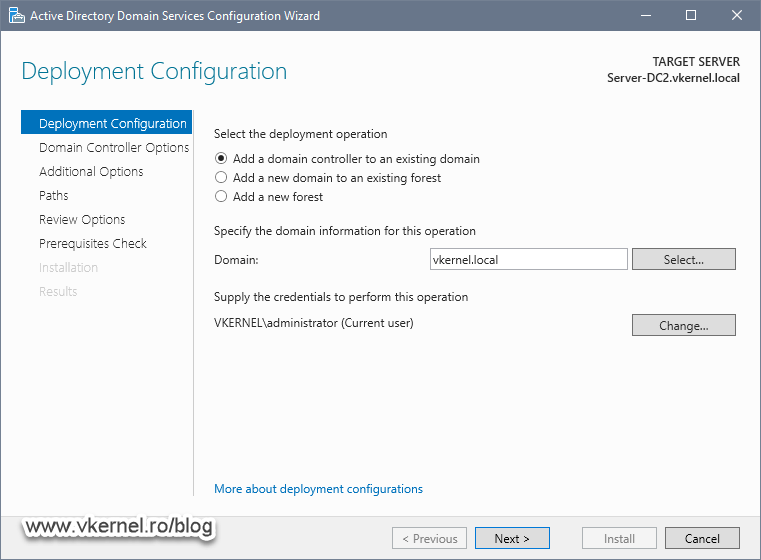
Since we are adding this as an additional domain controller to an existing domain, just hit Next to continue the wizard.
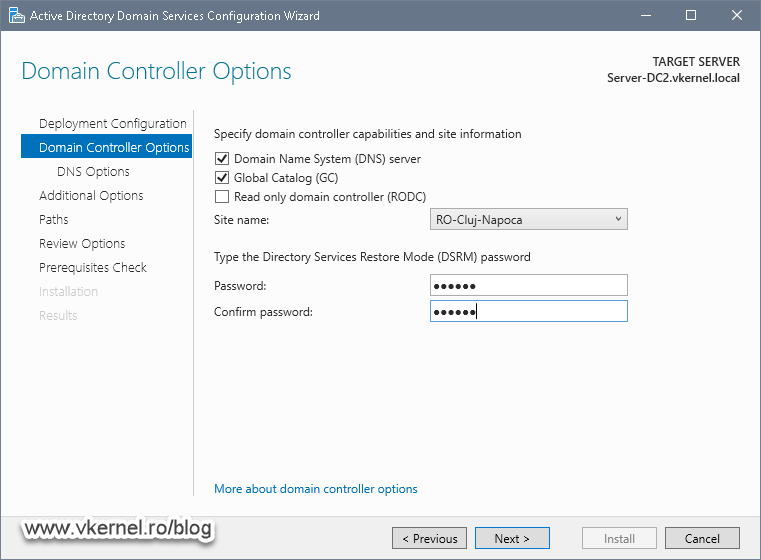
If your sites and subnets are correctly configure in your Sites and Services console, the server should automatically place itself in the correct site, if not, you will have to correct this or choose the site manually from the Site name drop-down box. Provide a Directory Service Restore Mode (DSRM) password, then click Next.
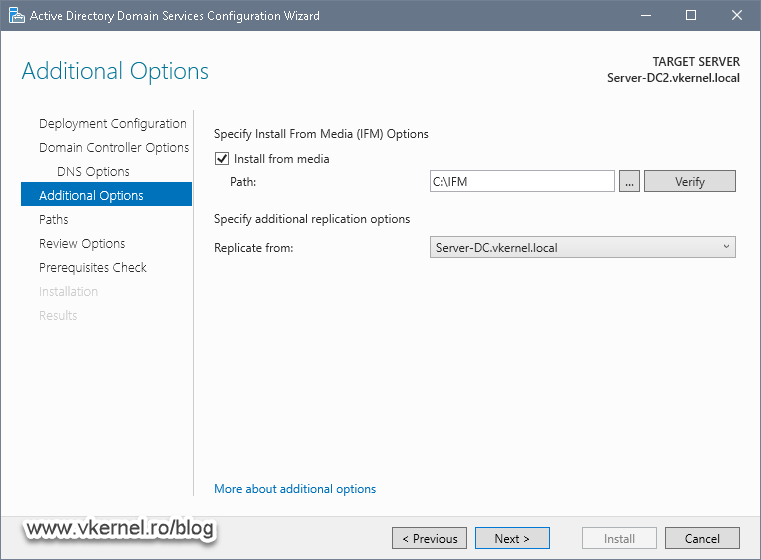
When we reach the Additional Options screen, we can see a check box in case we want to use the IFM option, and we do. Click the Install from media box then provide the path to the AD database export folder that we copied from the working domain controller. After a preliminary check of the files in this folder, if we get no error or warning message, we are good-to-go. One other thing that might be important is to choose from what domain controller should this one replicate the delta changes. This are the changes done in the AD infrastructure from the time we exported the AD database until present. I usually go with the one that has a fast internet pipe and low latency.
Continue the wizard using either the default settings or customize them. For more information about the settings in this wizard please see my previous article on how to create an additional Domain Controller in an existing domain.
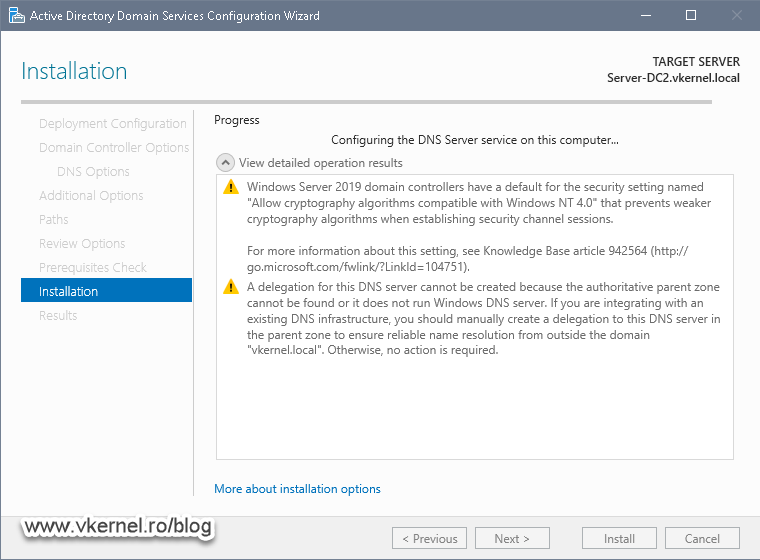
Once the wizard checks that all the prerequisites are in place, and we get a green light, hit the Install button to promote this server as an additional domain controller using IFM.

The promotion will be fast since the AD database is copied from a disk or USB drive. At the end we should get a successful message. Don’t worry if the server automatically reboots, that’s normal, just wait for it to come back online then you can use this domain controller on your day-to-day activities.
If you have a large AD database you might have to wait about half an hour or so util everything is replicated and the DNS zone is fully loaded.

Summary
I have to say that I was impressed by this feature, especially because I could finish the job without to much headache. If you are in the same type of situation, it is a live saver, and I recommend you try it out. Also, a very handy tool to have if an FTP site that has a resume feature. This way if the internet goes down, the download does not start from the begging, it just resumes.
If you promoted or still promoting domain controllers using IFM in your environment, you can share your findings and experiences with it in the comments area. I know the community will appreciate you for it.
Want content like this delivered right to your
email inbox?
More similar articles
 Enable computer and user accounts to be trusted for delegation
- Steps to check if Domain Controller was properly promoted
- Domain Controller promotion fails with “Access is denied”
- How to Publish the CRL and AIA on a Separate Web Server
- Configure Certification Authority Distinguished Name
- Configure DC to synchronize time with external NTP server