Creating an Offline MDT Deployment Media
Everything is working fine in your main office, you capture, you deploy, you migrate, but you have a bunch of small branch offices (10-20 PC’s) with limited bandwidth where you need to do the same thing. Well…you could just tell the people in those offices to leave their desktops and laptops on and deploy or migrate those over night, but still there are a lot of GB to transfer. The second thing is that not all of those workers can leave their laptops at the office, or they just don’t want to, who knows… An investment in a server is out of the question, maybe later. So how can you deploy using MDT those PC’s in those branch offices ? The answer is:
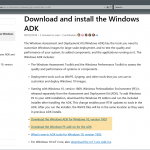
create a deployment media where you put all the operating systems, drivers, applications you need for those PC’s and use this DVD to deploy those systems. Now let me show you how to create this MDT media. I will use MDT 2013 for this demo.
I presume you have your applications,

your OS’s,

and your drivers imported in MDT. I recommend to be very granular and create a folder for every platform, OS type, OS version, because it will help you so much later on.

Besides those, I also presume you have your Task Sequences created and ready to rule.

Now expand Advance Configuration, right-click Selection Profiles and choose New Selection Profile. By creating a Selection Profile you control what’s included in the deployment media and what’s injected in the OS during the task sequence.

Give the Selection Profile a name and hit Next.

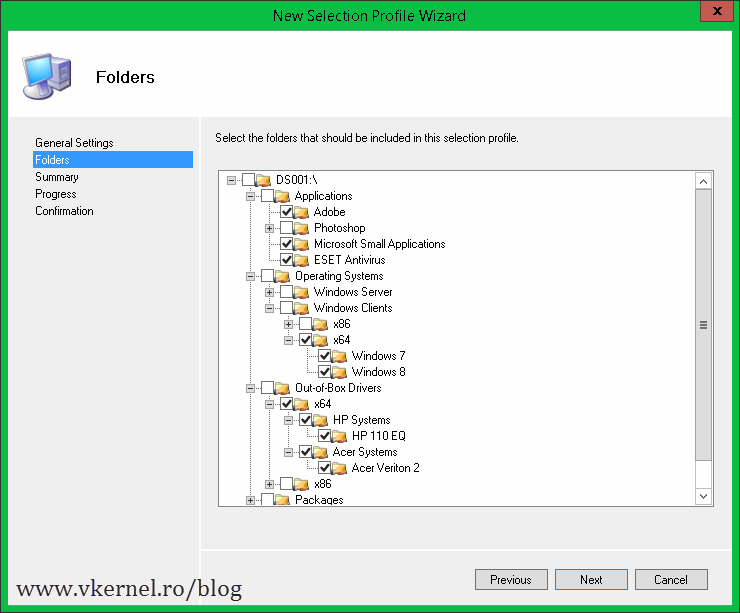
Here is the screen where you select what to include in the media. Now you see why I told you earlier to be granular with the folders. Since I want to deploy only Windows 7 and Windows 8 in those branch offices I will select only these OS’s and task sequences. If you select a root of the folder here and later on you create another folder under it in the Deployment Workbench and import OS’s, application, drivers or what have you, this folder (or subfolder we may cal it) will be automatically included in the selection profile.

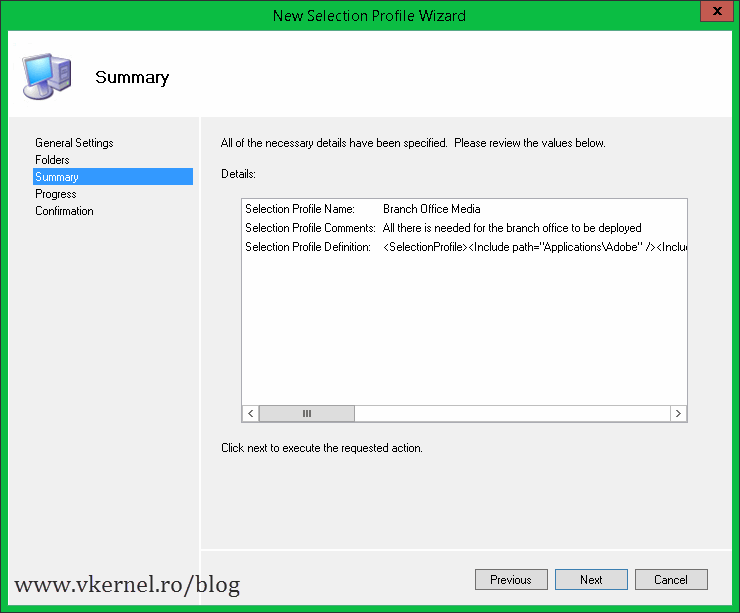
At the Summary screen click Next to save the changes, then hit Finish to close the wizard.
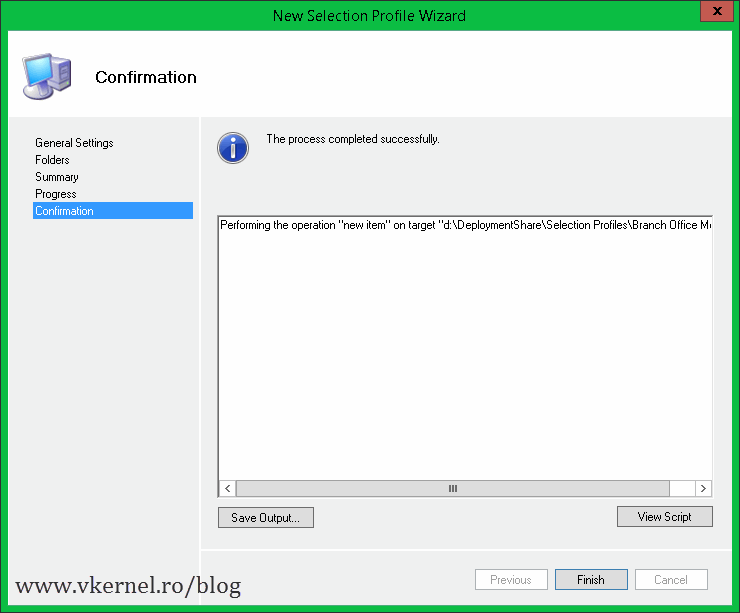
And a new Selection Profile is created.

If you forgot or you need to add a new task sequence later on, you can modify this Selection Profile by opening its properties.

Now that we have a selection profile for our branch offices computers it is time to create a deployment media. Right-click the Media folder and choose New Media.

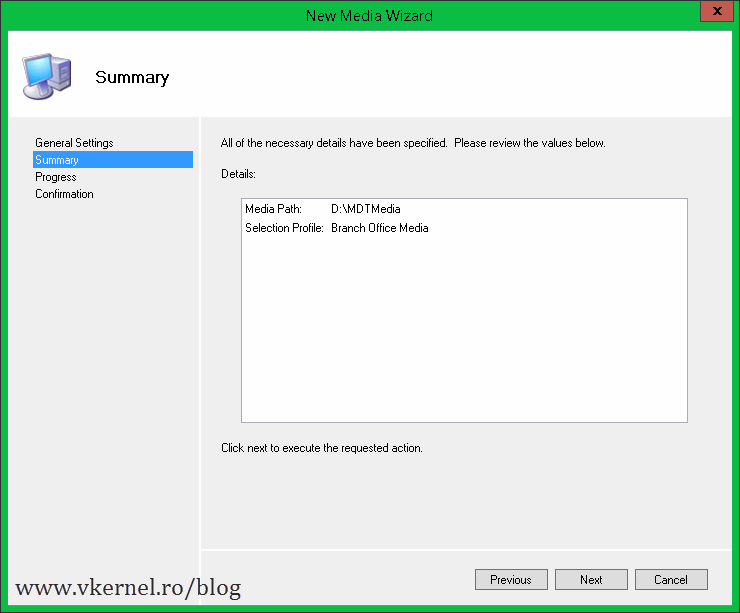
Give it a path where to save the media content but, do NOT, I repeat do NOT save it in your deployment share. The Selection profile drop-down-box is the important part here. If you click it, you should see the Selection Profile created earlier. Choose that and click Next.

On the Summary screen click Next and wait a few seconds for the wizard to finish

then close it.

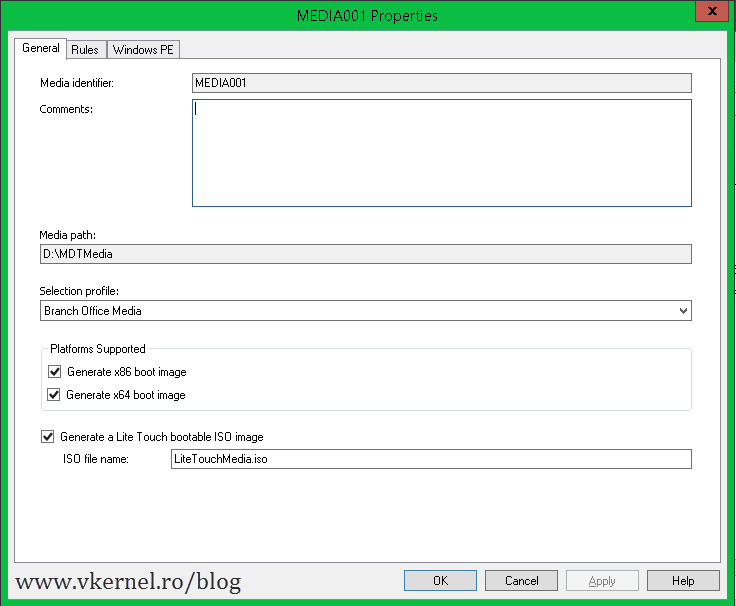
Now you should see the new media created, and if you right-click it and choose Properties, a window similar to the one from the DeploymentShare should pop-up.

The Rules tab is the more interesting one. Here you can use the rules just like in the DeploymentShare, to automate the OS installation.
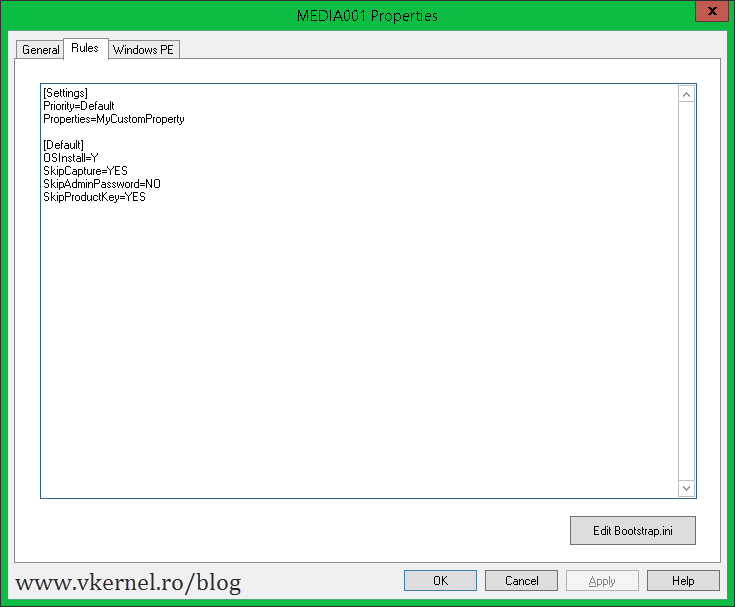
If you open Bootstrap.ini you can see that there is no root path specified, or credentials to connect to a deployment share. This is because WinPE has all the OS’s, drivers, applications on this media, so no deployment share is needed.

The folder specified during the wizard has the exact same structure as the DeploymentShare but if you take a closer look most of the folders are empty (operating systems, drivers, applications etc).

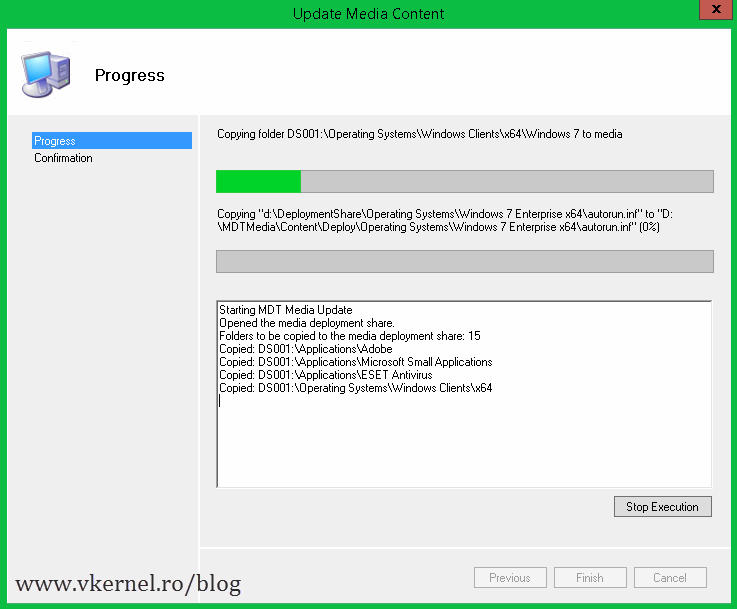
When you are done editing the rules and options click OK to close the media properties window than right-click the media from the Workbench and choose Update Media Content.

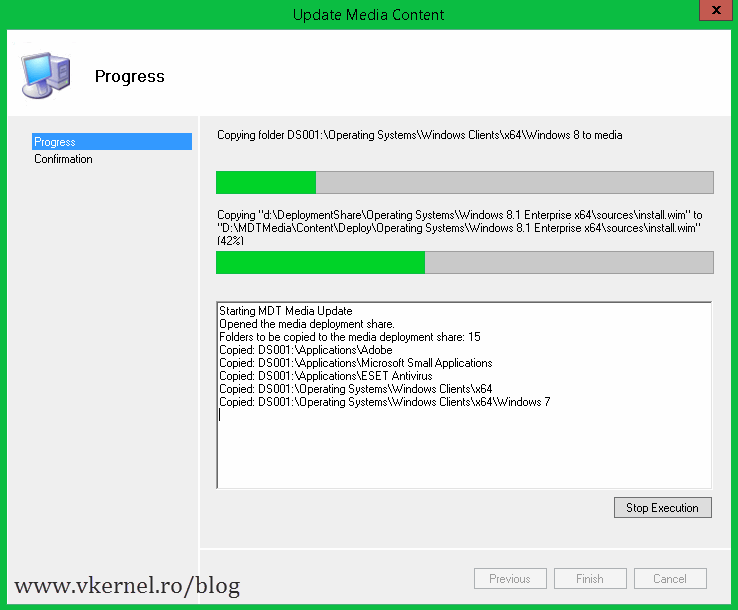
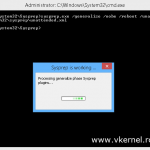
This will create an ISO image with all the OS’s, drivers, applications that you specified in the Selection Profile wizard. Depending on how many operating systems, applications, drivers you selected, the wizard can take a from a few minutes to a few dozen minutes to complete.
At the end hit Finish to close the window.

Now take a look in the root of the folder you specified during the media creation wizard (mine was D:\MDTMedia). You should see an ISO image created that has a few GB in size.

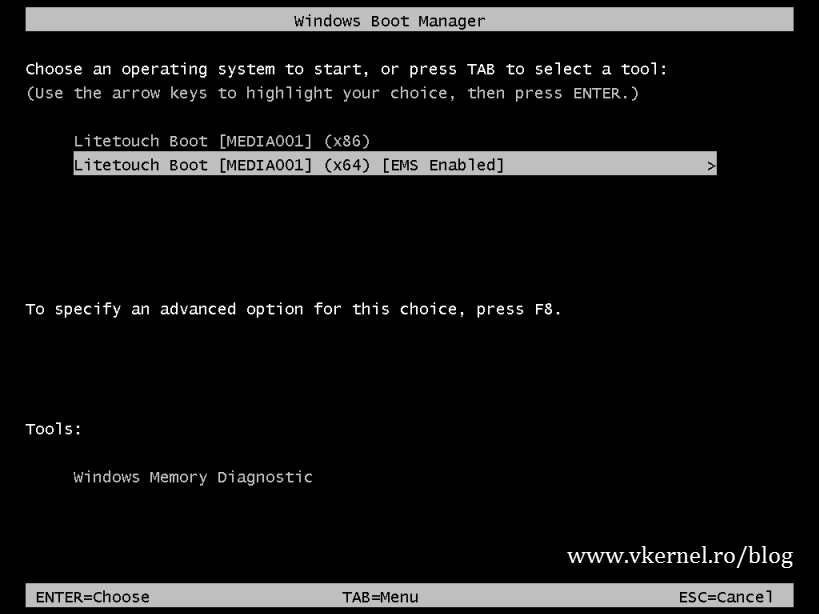
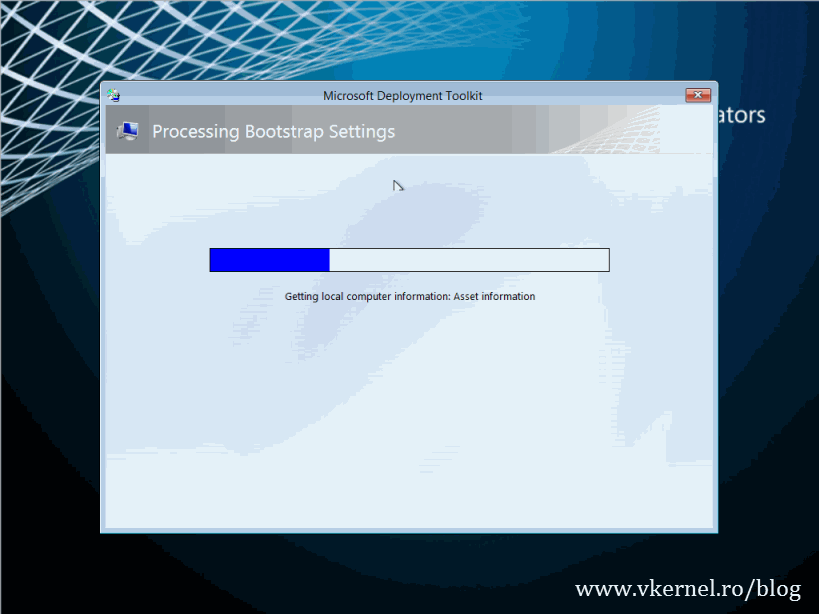
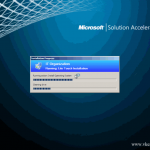
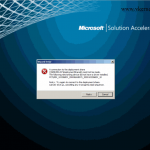
All you have to do now is burn this image to a DVD or Blue Ray media and boot the computers you want to deploy from this media. Select the type of platform and let it load the WinPE environment.
If you did not specified in the Bootstrap.ini to skip this part you will have to do it manually by clicking Run the Deployment Wizard to install a new Operating System.

Select your Task Sequence

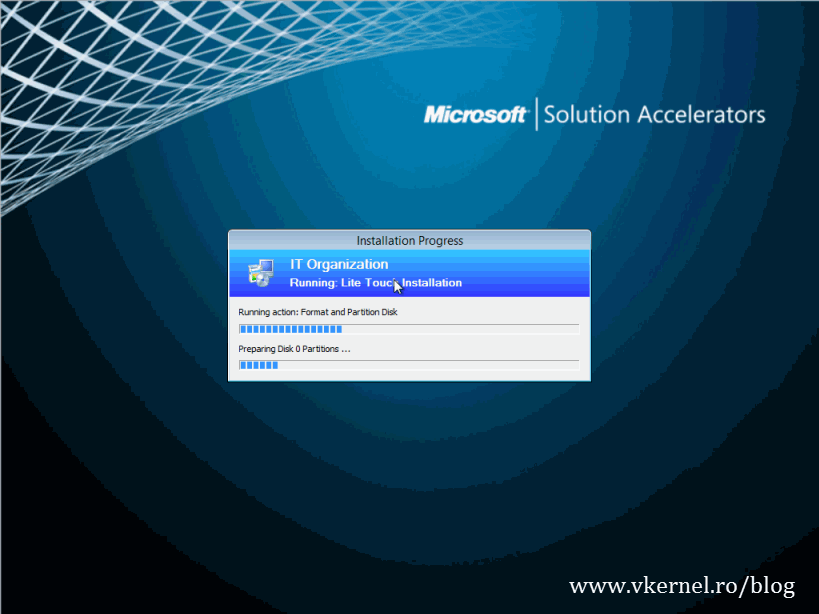
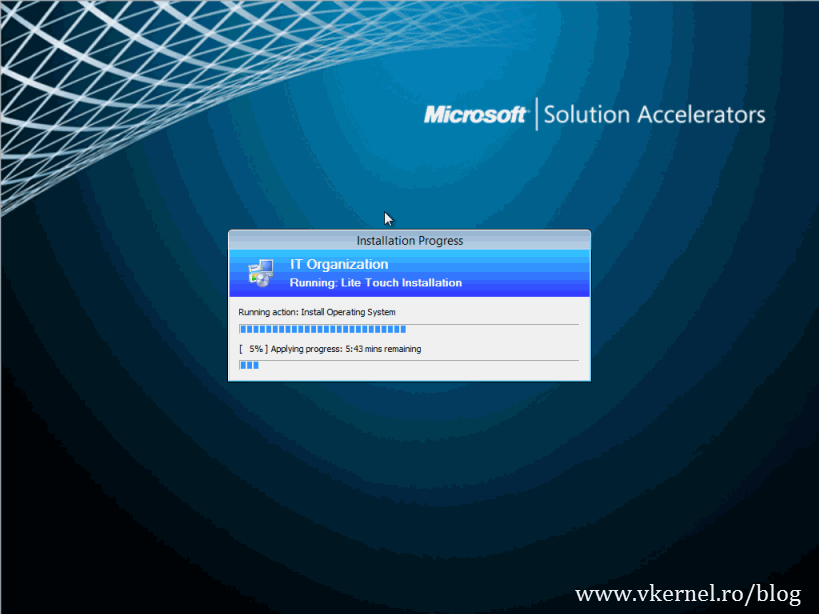
and hit Next to begin the deployment.
This is a neat feature of MDT and is heavily used in environments where booting from the network is not an option. Give it a try and see if it works for you.
Want content like this delivered right to your
email inbox?
More similar articles
 Installing and Configuring MDT with Windows 10 ADK
- Customizing the Default Local User Profile before imaging
- Integrating DaRT (8.x) with MDT (2013) and enable DaRT Remote Control
- Migrating from Windows XP to Windows 7 using MDT
- Adding drivers to WinPE boot image in MDT 2010/2012
- Sysprep and Capture a Windows Image with MDT 2012

Thanks for the blog it was very usefull.
can i use offline media with database?
Means: i boot from the meida iso created.
then configuration setting like computer name etc can be pulled from MDT database.
Hi,
Sorry for the late response, but NO, offline MDT media can’t use the SQL database. MDT needs to be in a connected state when using the SQL server, and the offline deployment it’s the reverse. If the rules are not enough for you try using some XML files or scripts for automation.
Hello
What if the deployment share is connected to a DB?
How can I make the USB to connect to my DB from a remote location over the network?
Thanks
DB you mean database?
Anyway… you don’t connect over the network to a remote location and deploy that way; exception if you have a high speed between (100Mb) sites.
Hello
Thank you for the detailed instruction.
How is it going to work with having SQL server liked into MDT ?
Hi,
It works just fine. I usually deploy MDT with the SQL express edition and it does a good job.
Does anyone know, why “UpdateExit.vbs” is NOT executed, if you update a Media?
As far as I know, the “LiteTouchPE.xml” Template should be used for it… or?
Hi,
Great tutorial! Thanks! How do you get the USB key/deployment bundle to show you what version of PE to load? Mine doesn’t show that screen and just loads automatically. I think it is loading an x86 version of PE, which may be problematic. The deployment share and tasks work great if I connect to them over the LAN and choose the x64 version of PE. With the USB key and its auto-default selection, the image process applies but fails at the first reboot. All I get is a black screen with a mouse pointer, which will stay there until I power-off the computer.
Thanks again!
Hi,
If you open the properties of the media and go to the Rules tab you will see two check boxes there; Generate x86 boot image and Generate x64 boot image. Check them both and you will get the screen is shown in the article when booting from media.
Thanks for this guide, it’s the best I’ve found!
Unfortunately after booting from the USB and selecting deployment, it asks me for a deployment share on a server?? It doesn’t even get to the part where you choose a Task Sequence.
I was using a 64GB USB stick – it didn’t seem to be a fan. I ended up burning to a DVD with much better results.
Hi,
All you have to do is copy all the files and folder from the Content folder to the USB drive and you’re done, it should work.
Cheers, I definitely had everything copied to the folder… but it was strange, I couldn’t see the USB’s filesystem (I looked in diskpart etc) in WinPE. I only had one model to test with so it may have been a bit temperamental, especially since the ISO on a DVD worked fine.
First i would like to say that this is a great guide. You are a savior. I do have a question for you or someone else who may be reading this though.
Unfortunately our MDT guy is no longer with the company and I need to move the imaging to USB from the deploymentshare.
I have done this, but he has some tasks in the sequence which require running a .bat file from the network share. Since i am trying to do this strictly from the USB without using a network share, i am trying to run these batch files from the USB directly, but am not able to figure out the syntax.
For example, one entry would have been setting up a Proxy. so it would just be \\USxxxxx\yyyyy\proxy.bat which would be calling the batch file from the deploymentshare
However, i have now placed the batch file into the root of the USB, and it maps as the F drive, and just cant figure out how to call the batch file from there.
Through some googling i decided to do change the entry to
cmd.exe /f %systemroot%\proxy.bat in the Control/ts.xml file for that entry, but it just sits at that task without knowing what to do.
I appreciate your help in this matter.
Thanks, Paul
Hi,
All your scripts need to sit in the Scripts folder. You can create other sub-directories here if you want to, but under the Scripts folder. Then you can call the scripts using a Task Sequence command line or PowerShell:.\Scripts\YOUR FOLDER SCRIPTS\YOUR SCRIPT FILE.
Hi Great walkthrough.
I have done all of the above steps.
I can boot from the usb device or USB hard drive it goes through the usual Microsoft solution accelerators screens.
Unfortunately it boots to the command line windows with x drive the usual base winpe start but does not start the deployment wizard so there is no choice to go forward from the command line.
I have tried to find the script folder and tried to run bdd_autorun.wsf but that just gives and error saying that feature set is not supported.
I have tried so many different selection profiles and changed the os choice and the task sequences, I have tried choosing everything.
I have included the drivers and packages done it without drivers or packages but always get the same outcome.
I am running MDT 2013 from a 2008 R2 Server.
Any Ideas?
Cheers
Hi,
Your USB drive needs to be bootable. Test this on a VM by mounting the ISO, and after you see it deploys well go and take care of the USB part.
Thanks for that.
I don’t have a problem with the bootable usb part that works fine.
The problem is the MDT ISO.
The problem is it does not start the Deployment wizard menu so it boots like mdt normally would but instead of getting to the menu where you choose “Run the Deployment wizard to install and operating system”
You get the small command line window with X:\windows\system32> command prompt.
For some reason I can not get these boot iso’s to work no matter what I try.
My normal MDT deployment works like a dream just cant get the offline one to work.
Any Ideas?
Thanks
Sorry for the late response but I had to test this and for me is working without errors. What I’ve done is created the MDT ISO then copy all the files and folders from the Content folder to the USB drive. Plugged it in and just worked.
Thanks again.
I finally found the cause of this particular problem which might help your readers if they encounter the same issue.
What stopped it from generating the image correctly was the Mcafee antivirus on the MDT Server.
You need to disable it for the image to generate correctly otherwise you will end up with the same problem I encountered.
It will boot but will not run the deployment wizard it will just go to the x:windows command prompt window and go no further.
Cheers
Sy
Thanks for sharing back, really appreciate it.
Hi,
We are trying to install MDT image into one our VM machines. We struck with “command prompt” X:\windows screen. We have disabled McAFee in the Deployment share server and updated media but still we are encountering the problem. Is there any other way to come off from this. We are struck and don’t know the what is the exact cause. Much appreciated if you can help us.
Thanks!
Hi,
Usually in this situations I read the log files and if I still can’t work it out I start using a new clean image and add the software I need one by one. It’s a lot of work but you know from where the problem comes from. Can you please post an error from the log files ?
Also, start from scratch just to see if it works. Let me know
Hi
We have to deploy incremental updates with a pre-existing image file(Build) with MDT. Here is the scenario :
We have a Build created with MDT, now we have to deploy this build to the machines globally, for this we had uploaded the build to onedrive share,from where our technicians will download the build and then deploy the machines using USB devices.
Now when we are having some incremental updates, we are creating a new build with these updates,In this case how can we deploy this Build.
* Is there any way by which we can merge the new build with the older one in such a way that only the changes of the new build get merge with the older build.
* Is there any other method other than onedrive which we can use for availability of new build to our technicians of different locations,so that we can merge new build with older and then able to deploy using the USB device in a effective way.
please Help
Hi,
All you can do is slipstream updates into the image, you can’t combine the images. For this you can use the dism command. I don’t think you can update apps like Winamp for example, and to be honest I never tried it, never had to. I always put in the images the minimum number of applications as possible. I don’t know if this answers your question, but if not let me know and I will try a different approach.
Hello
I am can deploy a new OS Offline, but i am lookink for a solution to run also the Capture Task without a Network Share. Have you any expirence with this?
Andreas
Hi,
You can always use WDS, but I can’t see a reason why not use the capture over the network.