Creating an Offline MDT Deployment Media
Everything is working fine in your main office, you capture, you deploy, you migrate, but you have a bunch of small branch offices (10-20 PC’s) with limited bandwidth where you need to do the same thing. Well…you could just tell the people in those offices to leave their desktops and laptops on and deploy or migrate those over night, but still there are a lot of GB to transfer. The second thing is that not all of those workers can leave their laptops at the office, or they just don’t want to, who knows… An investment in a server is out of the question, maybe later. So how can you deploy using MDT those PC’s in those branch offices ? The answer is:
create a deployment media where you put all the operating systems, drivers, applications you need for those PC’s and use this DVD to deploy those systems. Now let me show you how to create this MDT media. I will use MDT 2013 for this demo.
I presume you have your applications,

your OS’s,

and your drivers imported in MDT. I recommend to be very granular and create a folder for every platform, OS type, OS version, because it will help you so much later on.

Besides those, I also presume you have your Task Sequences created and ready to rule.

Now expand Advance Configuration, right-click Selection Profiles and choose New Selection Profile. By creating a Selection Profile you control what’s included in the deployment media and what’s injected in the OS during the task sequence.

Give the Selection Profile a name and hit Next.

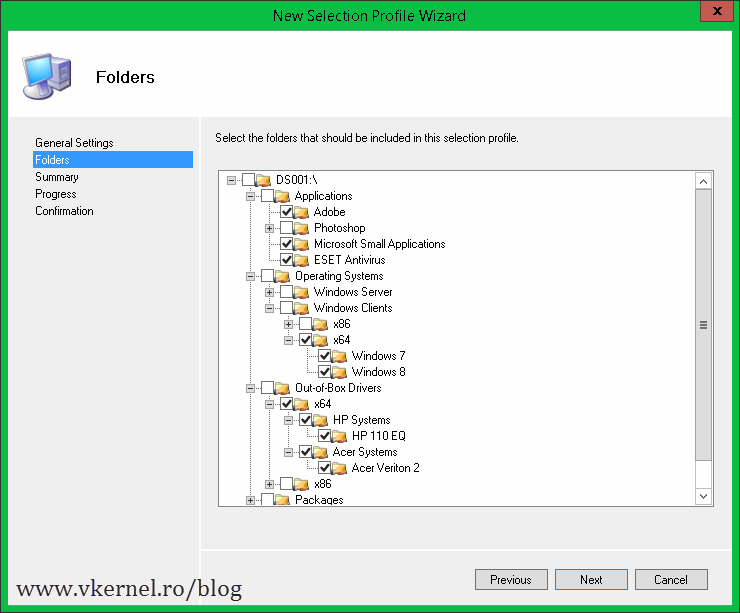
Here is the screen where you select what to include in the media. Now you see why I told you earlier to be granular with the folders. Since I want to deploy only Windows 7 and Windows 8 in those branch offices I will select only these OS’s and task sequences. If you select a root of the folder here and later on you create another folder under it in the Deployment Workbench and import OS’s, application, drivers or what have you, this folder (or subfolder we may cal it) will be automatically included in the selection profile.

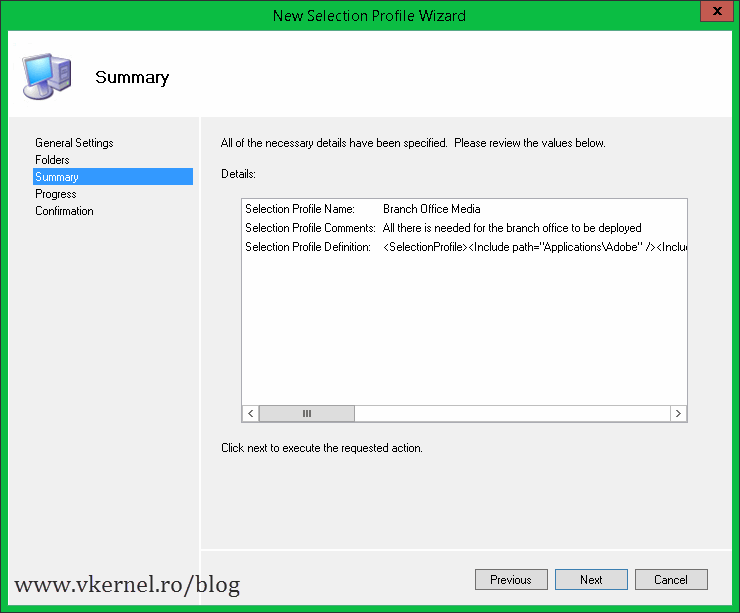
At the Summary screen click Next to save the changes, then hit Finish to close the wizard.
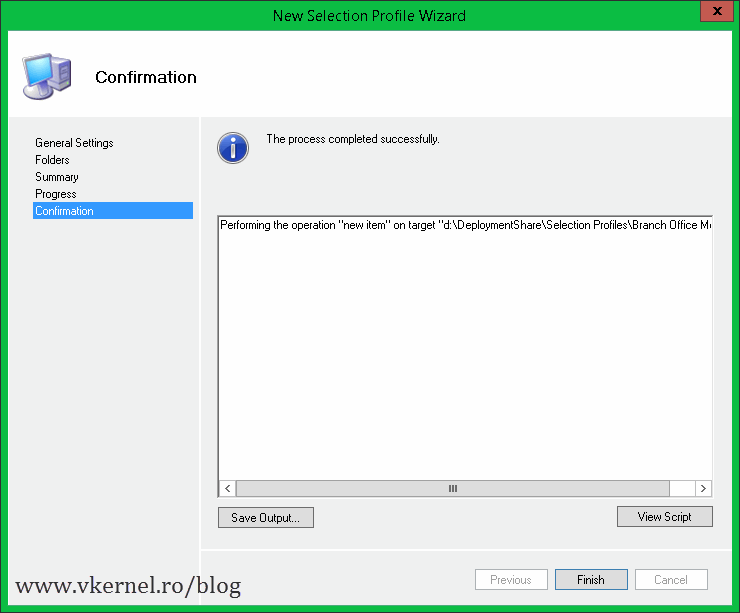
And a new Selection Profile is created.

If you forgot or you need to add a new task sequence later on, you can modify this Selection Profile by opening its properties.

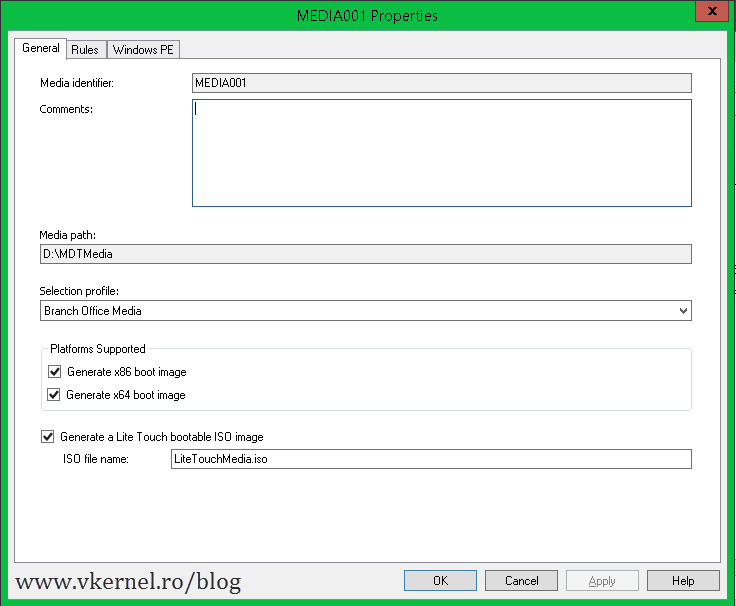
Now that we have a selection profile for our branch offices computers it is time to create a deployment media. Right-click the Media folder and choose New Media.

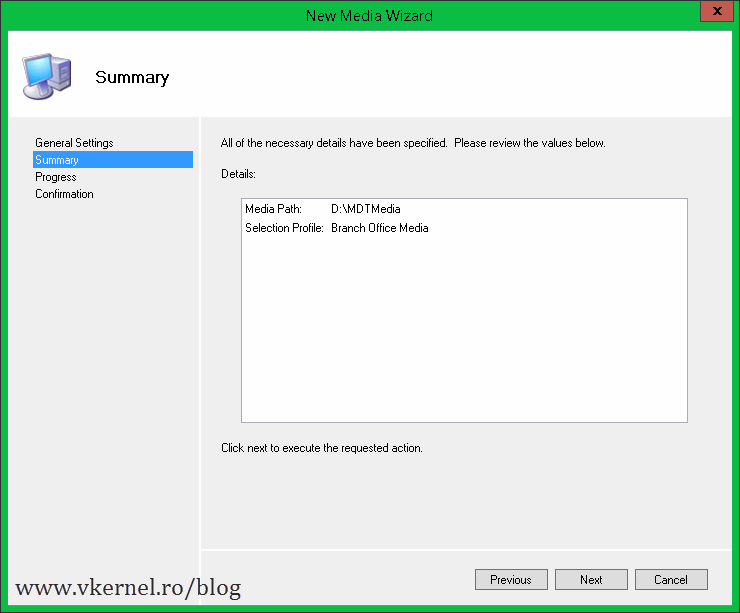
Give it a path where to save the media content but, do NOT, I repeat do NOT save it in your deployment share. The Selection profile drop-down-box is the important part here. If you click it, you should see the Selection Profile created earlier. Choose that and click Next.

On the Summary screen click Next and wait a few seconds for the wizard to finish

then close it.

Now you should see the new media created, and if you right-click it and choose Properties, a window similar to the one from the DeploymentShare should pop-up.

The Rules tab is the more interesting one. Here you can use the rules just like in the DeploymentShare, to automate the OS installation.
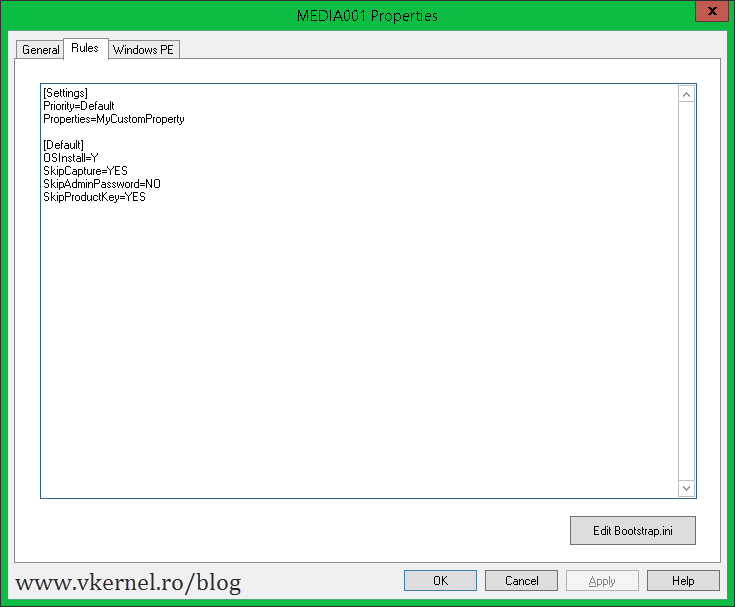
If you open Bootstrap.ini you can see that there is no root path specified, or credentials to connect to a deployment share. This is because WinPE has all the OS’s, drivers, applications on this media, so no deployment share is needed.

The folder specified during the wizard has the exact same structure as the DeploymentShare but if you take a closer look most of the folders are empty (operating systems, drivers, applications etc).

When you are done editing the rules and options click OK to close the media properties window than right-click the media from the Workbench and choose Update Media Content.

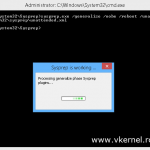
This will create an ISO image with all the OS’s, drivers, applications that you specified in the Selection Profile wizard. Depending on how many operating systems, applications, drivers you selected, the wizard can take a from a few minutes to a few dozen minutes to complete.
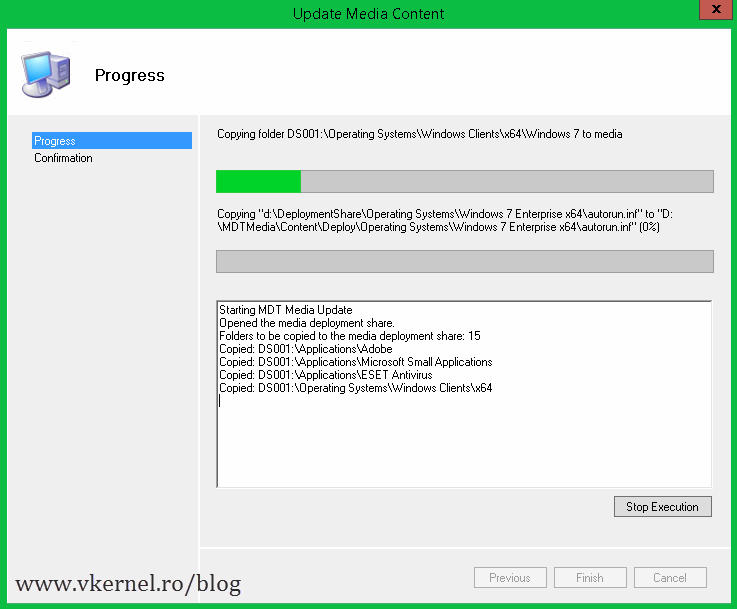
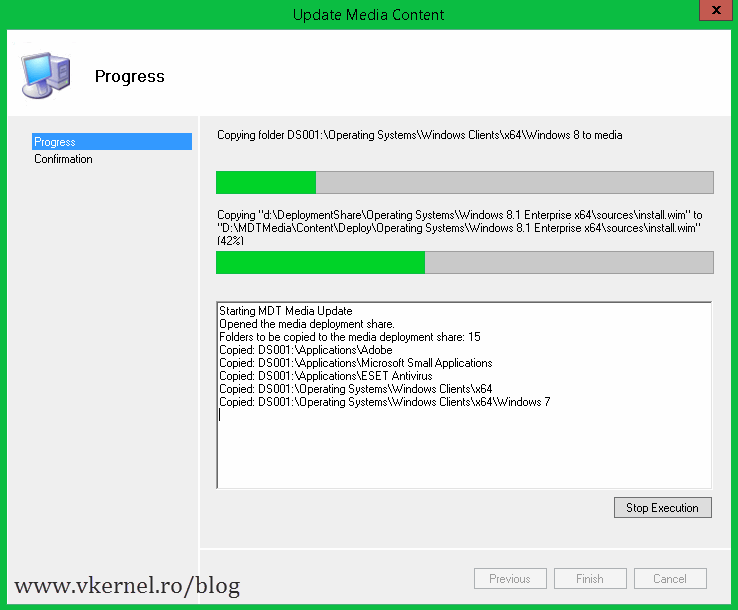
At the end hit Finish to close the window.

Now take a look in the root of the folder you specified during the media creation wizard (mine was D:\MDTMedia). You should see an ISO image created that has a few GB in size.

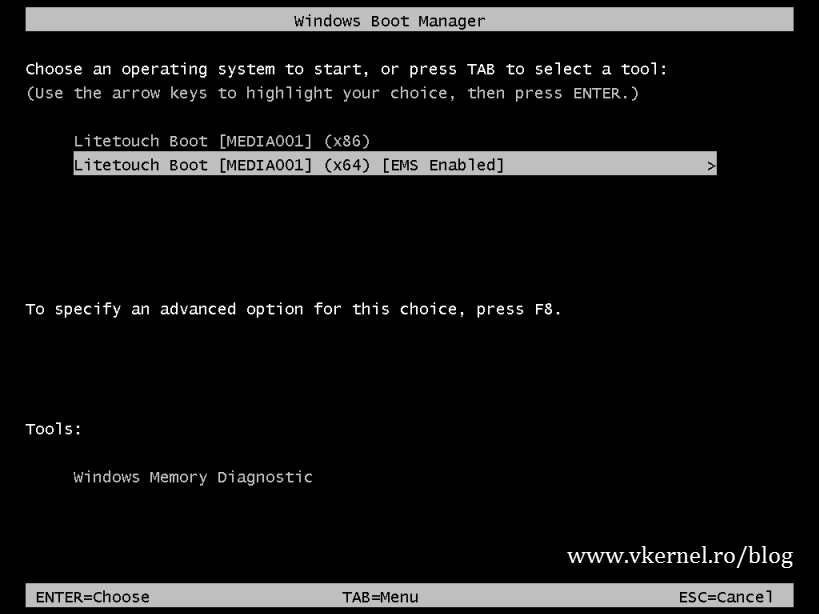
All you have to do now is burn this image to a DVD or Blue Ray media and boot the computers you want to deploy from this media. Select the type of platform and let it load the WinPE environment.
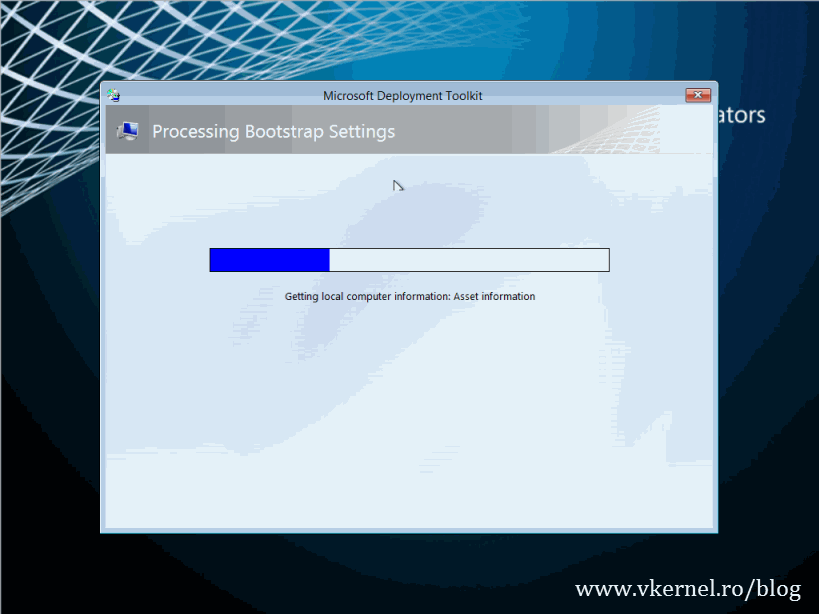
If you did not specified in the Bootstrap.ini to skip this part you will have to do it manually by clicking Run the Deployment Wizard to install a new Operating System.

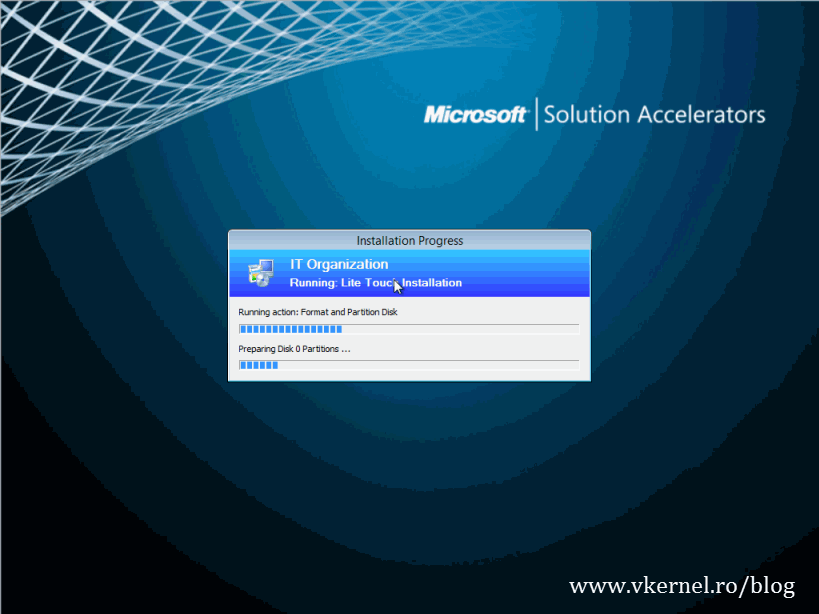
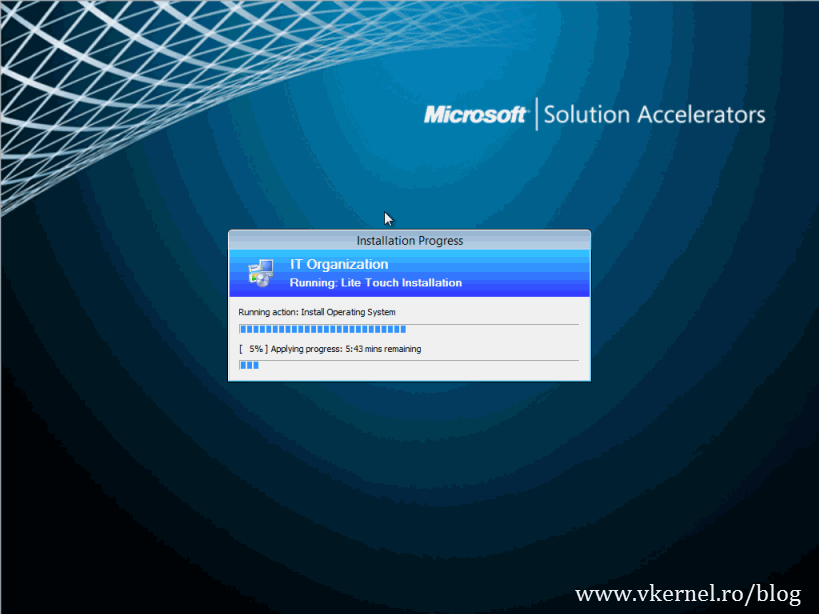
Select your Task Sequence

and hit Next to begin the deployment.
This is a neat feature of MDT and is heavily used in environments where booting from the network is not an option. Give it a try and see if it works for you.
Want content like this delivered right to your
email inbox?
More similar articles
 Installing and Configuring MDT with Windows 10 ADK
- Customizing the Default Local User Profile before imaging
- Integrating DaRT (8.x) with MDT (2013) and enable DaRT Remote Control
- Migrating from Windows XP to Windows 7 using MDT
- Adding drivers to WinPE boot image in MDT 2010/2012
- Sysprep and Capture a Windows Image with MDT 2012

Hi Adrian,
I have created offline media successfully and able to deploy my image too on the system. But the Mandatory applications do not get installed and I get an error at the end stating Application not found. If the image is deployed through network the task gets completed without any errors.
Hi,
Did you included the Applications folder in the ISO when you build it ?
You should get an award for “How to cut through Microsoft’s BS, and create something usefull” Thanks
Your walk through was the only reason I’ve been successful with this task. I do have one question though. I’m trying to make an offline media that works for two different systems. I have the two Task Sequences, but one machine has a single drive and the other has two. This makes is so that the drive letter assigned to the USB media changes between the two.
Is it possible to have two DeployRoot statements in the bootstrap.ini file?
Hi,
You can’t. If you want to have two ISO images that perform differently you need to create another deployment share, but you can work with one in your case. It all depends what kind of rules are you putting in the customsettings.ini file. Let me give you an example: I have a deployment share for servers, but that I needed to create an offline media for domain controllers to. The rules and software for domain controllers were different (partitioning, feature etc). I created another deployment share just for domain controllers. It was easier. Let me know if I can provide you with more info.
Nice walkthrough! Is it possible that the media is able to pull from a remote server? We have our main site with WDS and MDT, and there are remote sites that do not have that. I was thinking of making a bootable disc that will basically copy from the server at the remote sites instead of dragging gigs of data across the country. But I don’t know how to pull that off.
Hi,
To make this pull from a server all you have to do is boot the servers/workstations from an MDT boot image. Just follow this guide.
I complete all step .when I boot media it go to page select task sequence but noting to show. But when use pxe boot it show task sequence normal.
Hi,
You need to update the media. Every time you make a change, and you want that change to be reflected in the media you need to update it.
Excellent, great info
should of said, from a dos windows do:
>>>>> diskpart.
>>>>> list disk
>>>>> select disk
>>>>> clean
>>>>> create part pri
>>>>> select part 1
>>>>> format fs=fat32 quick
>>>>> active
>>>>> exit
make sure to select the correct disk, or you could wipe your data
Thanks Adrian , tried the above steps that works.
I also tried using the Windows 7 USB DVD download tool but in that below files were missing which i manually added from the content folder and then it worked.
bootmgr
bootmgr.efi
autorun.inf
Hi Adrian,
DId teh same, i.e mount the iso file and copied the content to a usb drive. But when i boot the machine and select USB option from the Boot Menu it throws an error that Operating SYstem missing.
Try this Building a LiteTouch Bootable USB Image
Hi Adrian,
What if we are using USB, how do we burn the iso image into this or can we copy the content folder directly
Hi,
There are tons of programs that can create bootable USB drives, but you can try by just copying the content on the drive. I know it works with Windows 7,8.
I used Rufus – http://rufus.akeo.ie/ – no other tools could see my 64GB USB stick.