Installing VMware Update Manager 5 with a remote SQL database
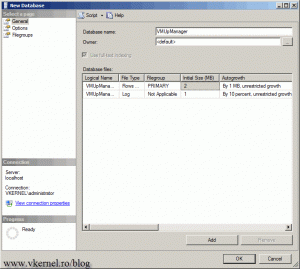
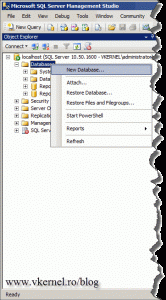
Since ESX/ESXi hosts are still software, they need to be patched so errors and compatibility problems can be fixed. To be able to patch those hosts you need vCenter along with VMware Update Manager. Because I don’t want to bore you with theoretical stuff, you can read more about Update Manager here. On this guide I will install Update Manager 5 on a Windows Server 2008 R2 host, which is a separate clean machine joined to a Windows domain. For the database I will use a remote SQL 2008 R2 instance. Now let’s create the database that VMware Update Manager will use. Log in to your SQL server, open the SQL Management Studio, right-click Databases and choose New Database.
 On the Database Name box type a name of the database.
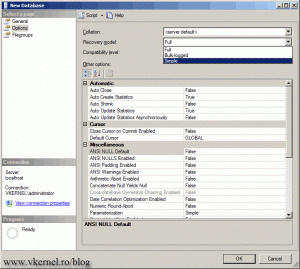
Click the Options page and from the Recovery model drop-down box select Simple. Click OK to create the database.
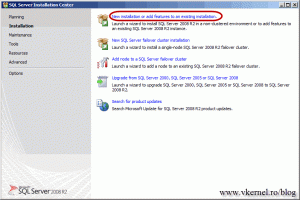
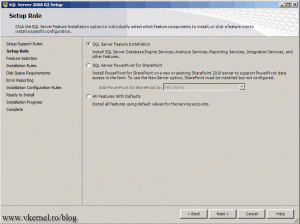
Before we start with the actual Update Manager installation we need to create a System DSN and before creating a System DSN the SQL Management Tools needs to be installed first. On the machine we are going to install Update Manager, mount the SQL DVD that matches your SQL server instance (in this case SQL 2008 R2). From the SQL splash screen click the Install link from the left, then New installation or add features to an existing installation.
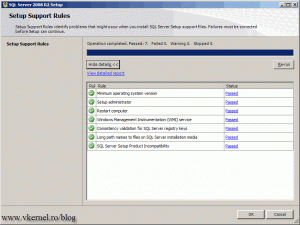
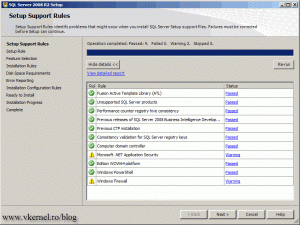
After the Setup Support Rules wizard finishes with the checking, click the OK button to continue.
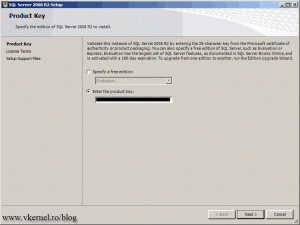
Specify the SQL server product key and click Next.
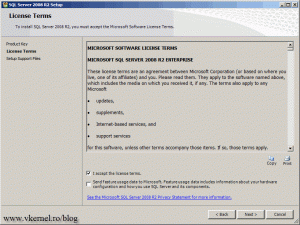
Accept the EULA then continue the wizard.
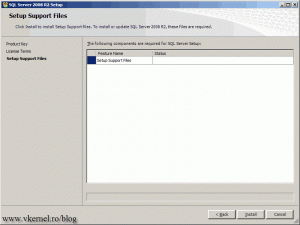
Before the installation can continue some support files need to be installed on the system; click the Install button to install those support files.
After the support files are done installing, click the Next button to continue the wizard.
Leave the default selection here and continue.
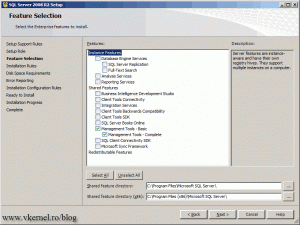
On the Feature Selection page check the Management Tools – Basic box then finish the wizard using the default settings.
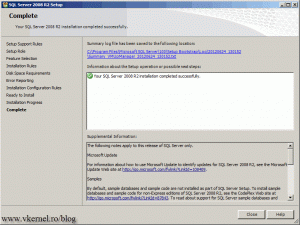
At the end, click the Close button to close the SQL server wizard.
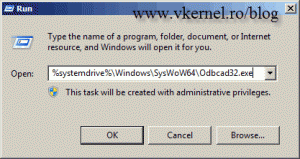
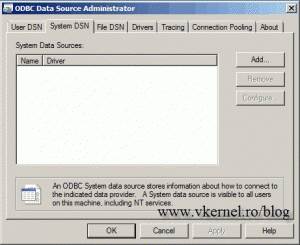
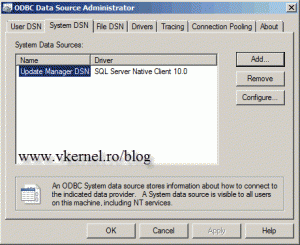
Still on the Update Manager server, well…the future Update Manager server open Run and type %systemdrive%\Windows\SysWoW64\Odbcad32.exe, then hit OK. This will open the ODBC Data Source Administrator; the 32 bit version. Do not open it from the Administrative Tools because that’s the 64 bit ODBC, and Update Manager needs the 32 bit one, even if its installed on a 64 bit OS.
Go to the System DSN tab and click the Add button.
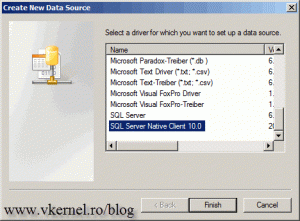
On the Create New Data Source windows scrool down the list and select the SQL Server Native Client 10.0 then click Finish.
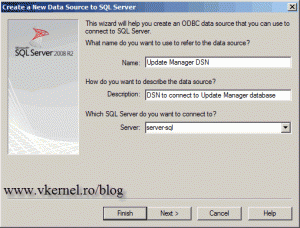
On the new windows that just popped-up complete the boxes with the required information. In the Server box you will need to type the name of your remote SQL server.
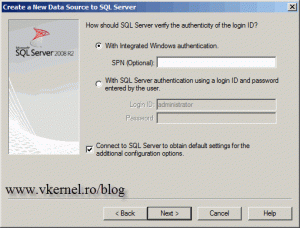
For this demonstration we will use Windows Authentication, so leave the default selection here and continue the wizard. Make sure your SQL services are running under domain credentials.
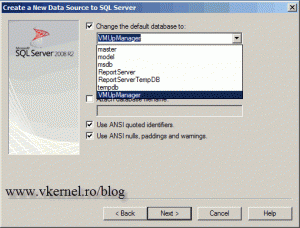
Check the Change the default database to: check box and select the Update Manager database we created earlier on the SQL server. If you can’t see the database is because the SQL Native Client can’t connect to the SQL server.
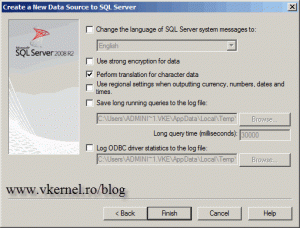
On the last screen of the wizard click the Finish button.
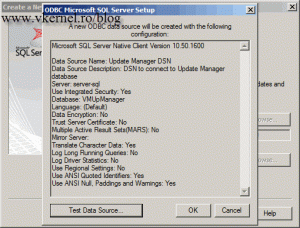
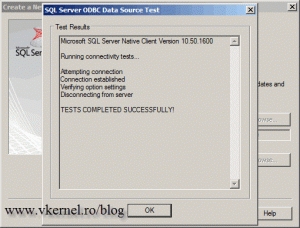
Before the DSN is created the wizard needs to test connectivity with the SQL server. Click the Test Data Source button to verify connectivity with the database.
If succeeded click OK twice to close the wizard and create the DSN.
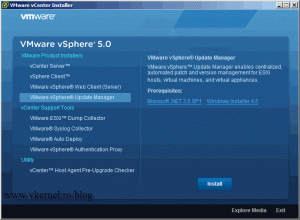
Mount the vCenter 5 DVD, and from the splash screen click VMware vSphere Update Manager, then hit the Install button.
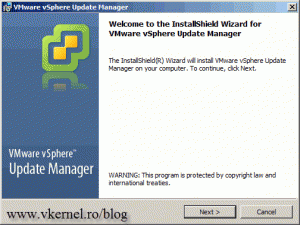
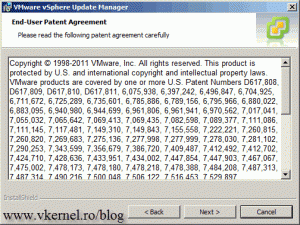
Click Next twice to skip the Welcome and Patent Agreement screen.
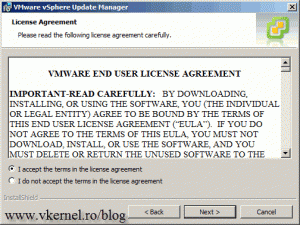
Accept the EULA and continue.
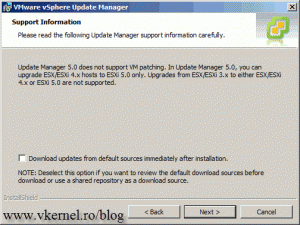
Usually I clear the box Download updates from default sources immediately after installation, because I don’t want Update Manager to download all the updates as soon as the installation finishes. I like to be in control of what needs to be downloaded. Make your choice then click Next.
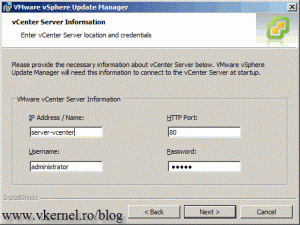
Provide the wizard the necessary information to connect to the vCenter server. Since I like to use names instead of IP addresses I typed my vCenter server name in the IP Address/Name box. The user name needs to have admin rights so Updates Manager can register itself with the vCenter server.
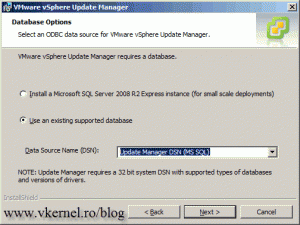
Select Use an existing supported database and from the drop-down box select the DSN we created earlier.
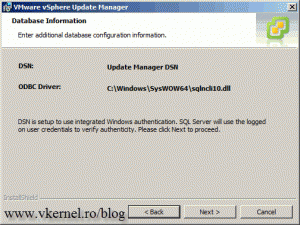
Since we use Integrated Windows Authentication the wizard notifies us that is going to use the logged on user credentials to verify authenticity. Just click Next to continue.
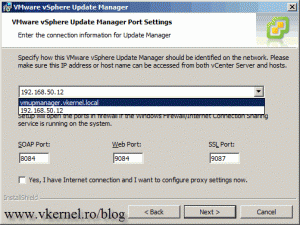
From the drop down box select how Update Manager is identified on the network. Like I told you, I like to use names, not IPs, so from the drop-down box select the FQDN and leave the rest to their default settings.
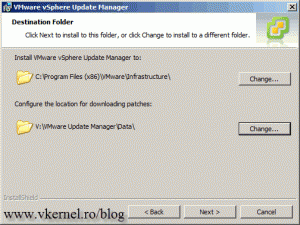
Specify the installation and patch directories, if the default ones does not suits you. I recommend you choose a separate disk for the updates location, or your drive C will fill up very fast and “eat” system I/O resources.
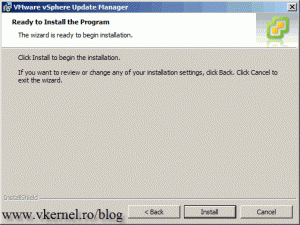
Click the Install button to start the Update Manager installation.
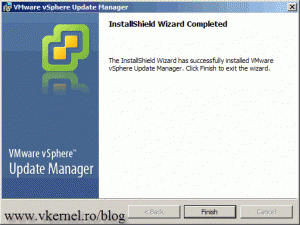
The installation will take only a few minutes. At the end click Finish to close the wizard.
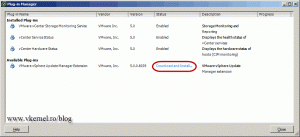
Now if you open the vSphere console and connect to your vCenter server you may ask yourself where is the Update Manager option or tab. To make it visible you need to go and install the Update Manager plugin from the Plug-ins menu.
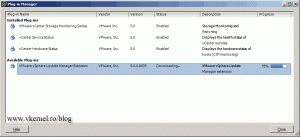
On the Plug-ins Manager windows click the Download and Install link from the VMware vSphere Update Manager Extension. The plug-in will start downloading the Update Manager Client from the Update Manager server.
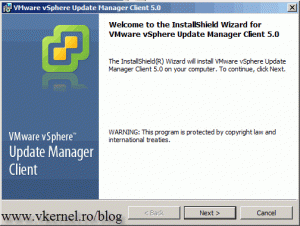
As soon as the download finish, the Update Manager Client installation wizard begins. Click Next to skip the Welcome screen.
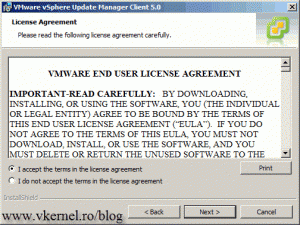
Accept the EULA and continue.
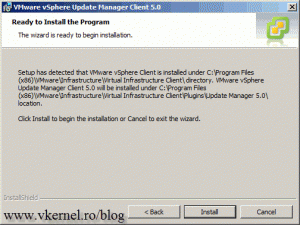
Click the Install button to start the client installation.
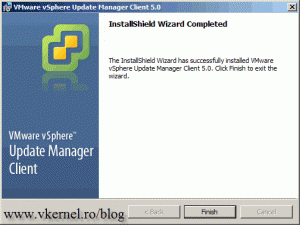
If all went well, click Finish to close the installation wizard.
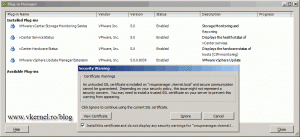
Now the plug-in moved up to the Installed Plug-ins in the manager window. On the certificate warning check the box “Install this certificate and do not display any security warnings for…” the click the Ignore button.
If you’ve get the error “There was an error connecting to the VMware vSphere Update Manager…Database temporary unavailable or has network problems.” is because your VMware vSphere Update Manager Service service is not running under domain credentials. This is a must if you set the DSN to use Integrated Windows Authentication, like we did in this example.
For that open the Services console on the Update Manager server and set the service to run under domain credentials.
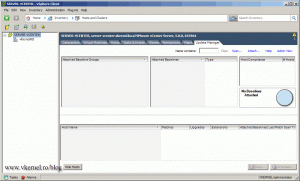
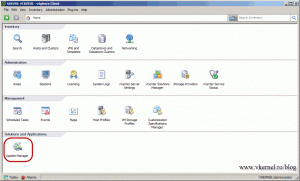
If all is good you should now see the Update Manager tab in the vSphere console and also the Update Manager icon in the Inventory screen.
Want content like this delivered right to your
email inbox?
