Installing VMware ThinApp 4.x
I guess you had or you still have problems with old software on your new systems. Let’s say that a specific software in your company is running only on Windows XP, but you need to deploy Windows 7 x64 to all the systems in the network. Now you have a problem, or to correct this you had a problem, because you can virtualize the application(s) and let the users run it on their Windows 7 x64 systems. Users will only get the shortcut for the application (you can send that through email) they launch it, but the application is actually running on a Windows XP system somewhere in a closet. Application virtualization is not only because of software incompatibilities, but for rapid deployment, ease of management and security. Thing about it, you package Office and you can give permissions or restrict users to launch the application by using NTFS permissions. If you want to know more, and I encourage you to do so you can go to this VMware website and start reading. There are applications that can’t be virtualized (antivirus, in-house applications etc) and systems that are not supported. The following was taken from the VMware ThinApp Deployment guide:
Non-supported Applications and Operating Systems
Some application types are not suitable for virtualization with VMware ThinApp. Some applications that have kernel mode components can be virtualized but the kernel mode components must remain in the native operating system.
•64-bit applications
•16-bit or non-Intel OS platforms such as Windows CE
•16-bit applications running on 64-bit Windows operating systems
•Applications requiring installation of kernel-mode device drivers such as scanner and print drivers (ODBC drivers work because they are user-mode)
•Applications making use of kernel mode components such as anti-virus, personal firewalls, and VPN clients
•Applications that utilize remote network based DCOM services
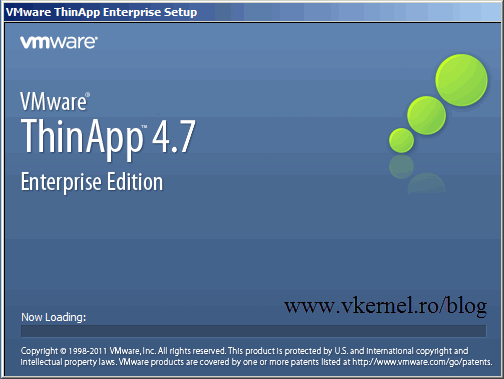
The installation is simple and straight forward and plus it requires no agent on the client machines. For this guide I am using VMware ThinApp 4.7 witch is the last version at the time of this writing, on a Windows 2008 R2 server. To start just double-click the installer and wait a few seconds ’till it loads. Click Next to continue.
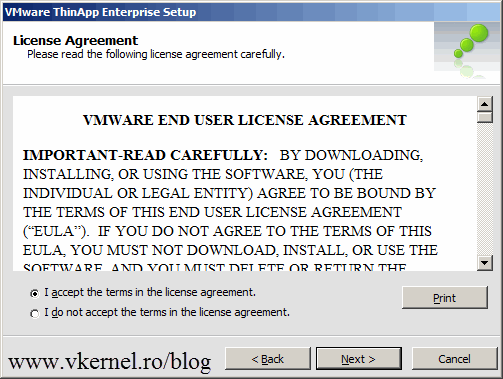
Accept the EULA and continue the wizard.
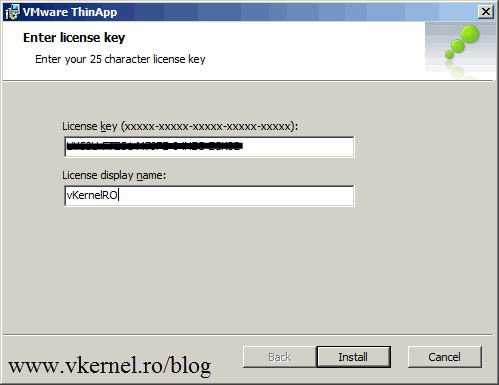
Type your product key and display name. The display name that you put here will appear on a small pop-up (down right corner) when clients are launching applications. Click the Install button.
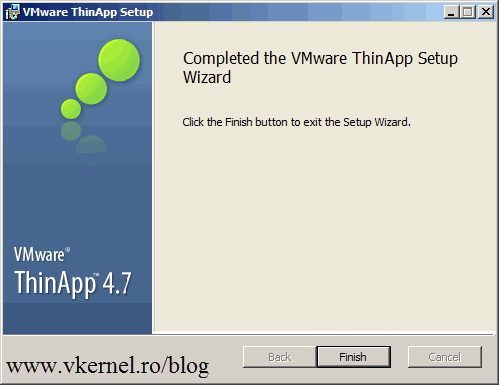
The installation will take just a minute. Click the Finish button to close the wizard.
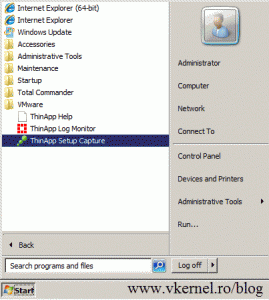
If you take a look at the Start Menu you will see the shortcuts there to launch the application.
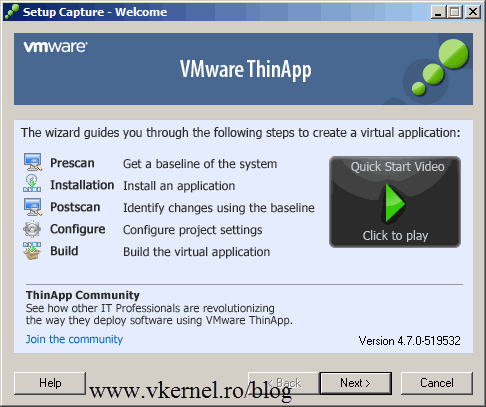
If you launch it, you are presented with a Welcome screen. For how to virtualize applications using VMware ThinApp you can read this guide.
Want content like this delivered right to your
email inbox?
