How to virtualize applications using VMware ThinApp
You installed VMware ThinApp and now it’s time to us it, it’s time to virtualize your applications. Usually you install ThinApp on the same system you install the application(s), and it works, but I don’t like that. The way I’m doing it is: install ThinApp on a VM (I usually use 2008 R2, but you can use any compatible OS you want), share the ThinApp directory (C:\Program Files (x86)\VMware\VMware ThinApp), and on a clean VM I install the software that I need to virtualize, then run ThinApp from the share. You might ask why. Because the system used to install applications needs to be clean, no other software installed. Plus on this system I have a snapshot before I install any application(s). After the application is virtualized and working I can safety revert the system to a clean state so I can start virtualizing another one.
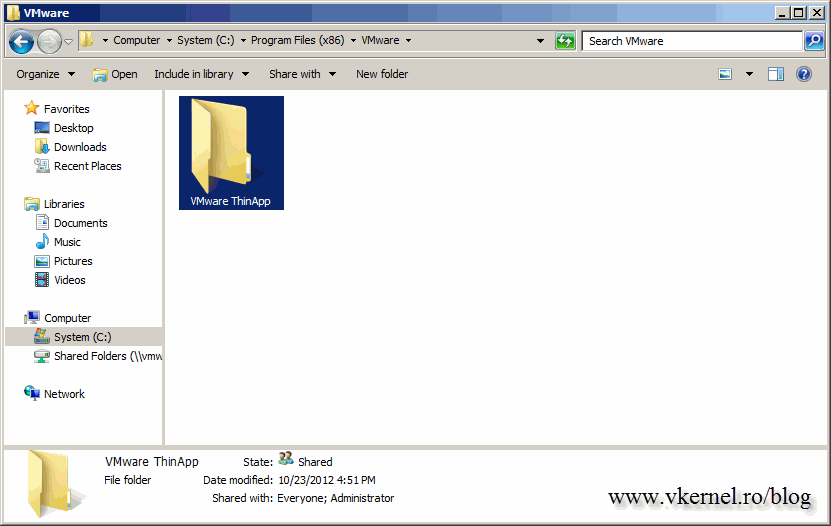
Before starting, share the VMware Thinapp directory.
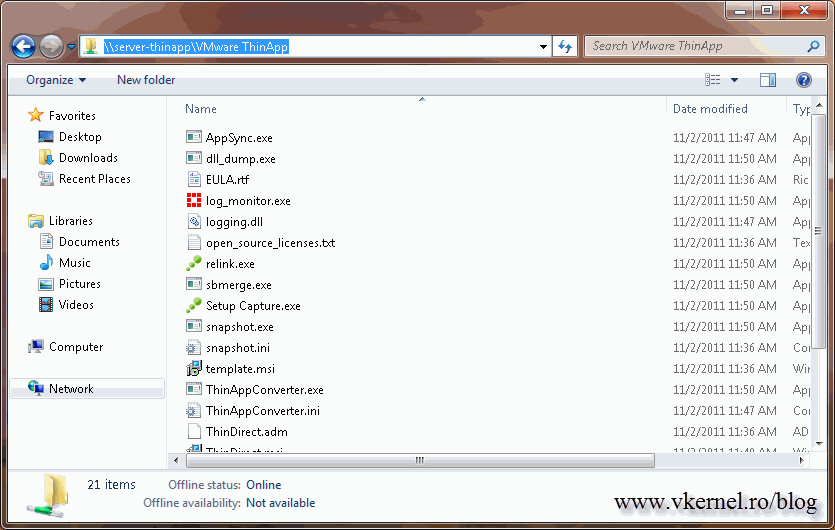
Now go to the VM where you will install the application and access the shared folder. I will use a Windows 7 Enterprise x64 system for the application installation. On this window run the Setup Capture.exe file.
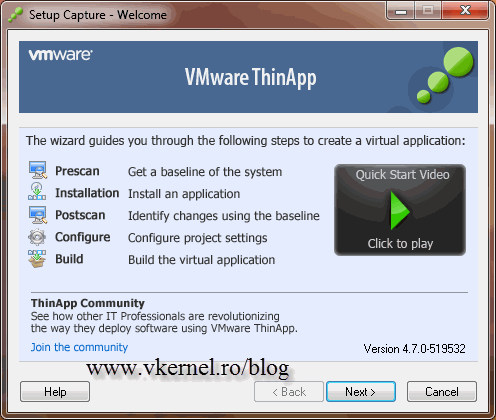
The first screen of the wizard is the Welcome screen. Click Next to move forward with the wizard.
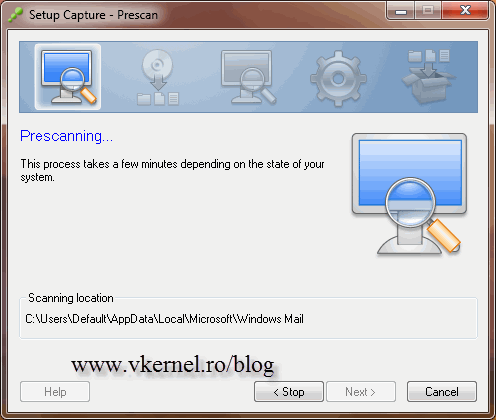
This is the Prescan page. The wizard will scan the system as it is right now, then after the application is installed it will do a second scan, and compare the two. If you install the application on another drive make use of the Advanced Scan Locations button and select the drive. Right now we are installing the application on the default path on the C drive. Click the Pescan button.
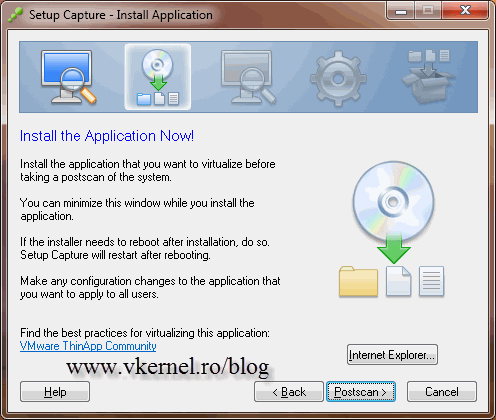
The scan will take a few minutes to complete. When is done scanning you can start installing the application you want to virtualize. Just minimize this window and start the application installation.
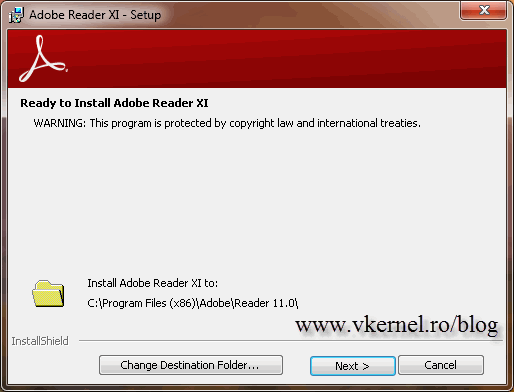
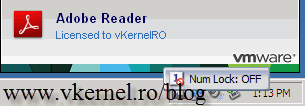
I will test this with Adobe Reader 11.
After Adobe Reader is installed you can click the Postscan button on the VMware ThinApp wizard. When you click the button, a message appears telling you to make sure the application is configured. Click OK when you’re ready.
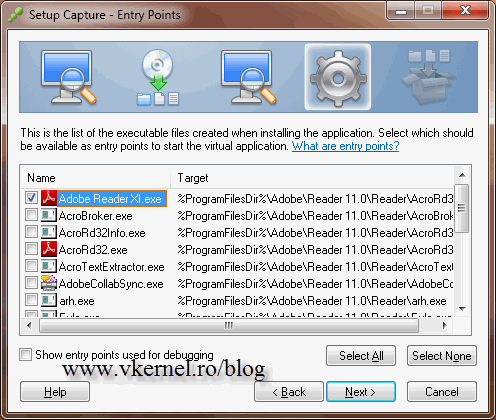
On the Entry Points page select from the list which will be the executable to start the application. In this case I will leave only Adobe Reader XI.exe.
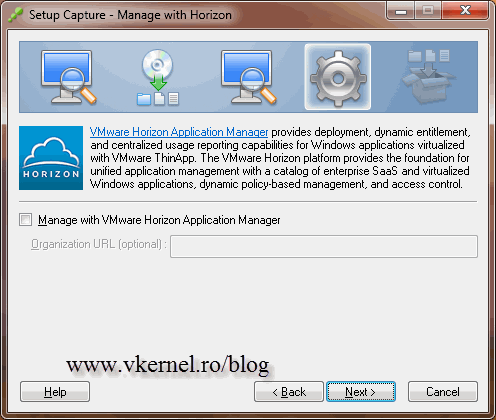
This is a cool feature that presents applications to the user via a web browser. The admin has centralize access for this and can set permissions as he likes for the applications. We are not going to look into it right now, but if you want to know more about it, access this page. Click Next to continue.
Here you can set who has the permission to run this package. I will leave this to Everyone, because you can mix and match permissions later, using NTFS.
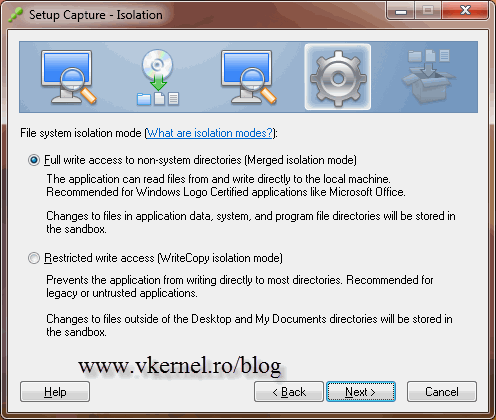
You configure here, where the application has write access.
Full write access to non-system directories – can read and modify elements on the physical file system outside of the virtual package
Restricted write access – all the write operations will be redirected to the sandbox.
For more information, you can go here. Right now we are going with the defaults.
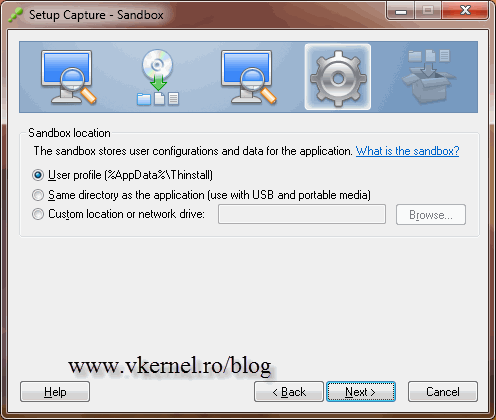
You need to decide where the application configurations are saved. If users start customizing the application those changes need to be saved somewhere. For now I will leave this on the user profile.
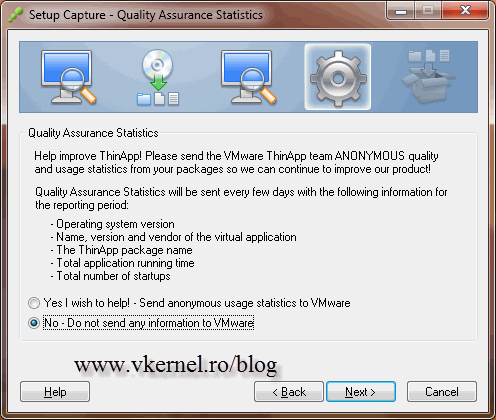
This window is if you want to send statistics information about the application, OS version etc to VMware. I will choose not to, since I’m in a lab environment.
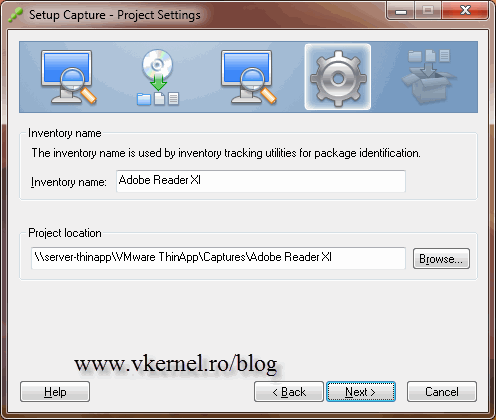
Type an inventory name if the default one is not good for you, the provide a path where the project will be saved. This is the path where VMware ThinApp is installed, and I will leave it this way.
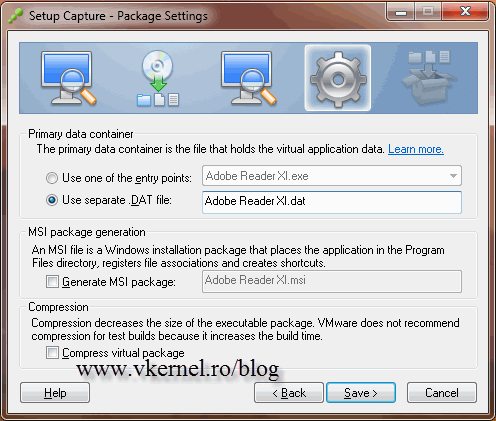
Choose what entry points will be used to hold the application data. I will go with the defaults here again. We also have the option to create an MSI file so we ca deploy the application, but right now we don’t want that, we want to virtualize it. Click the Save button to start creating the project files.
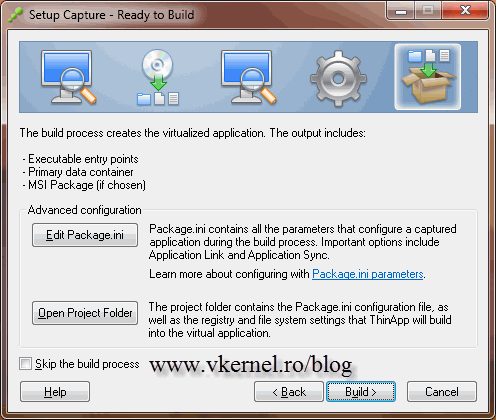
We have the option to edit the configuration file, but for now let’s just keep it simple. Click the Build button to start packaging the application.
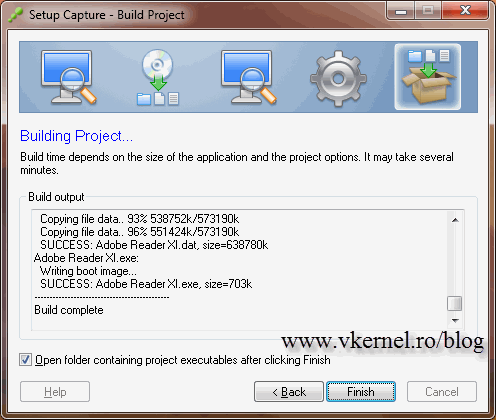
After a few minutes the build should be complete. Click Finish to close the wizard.
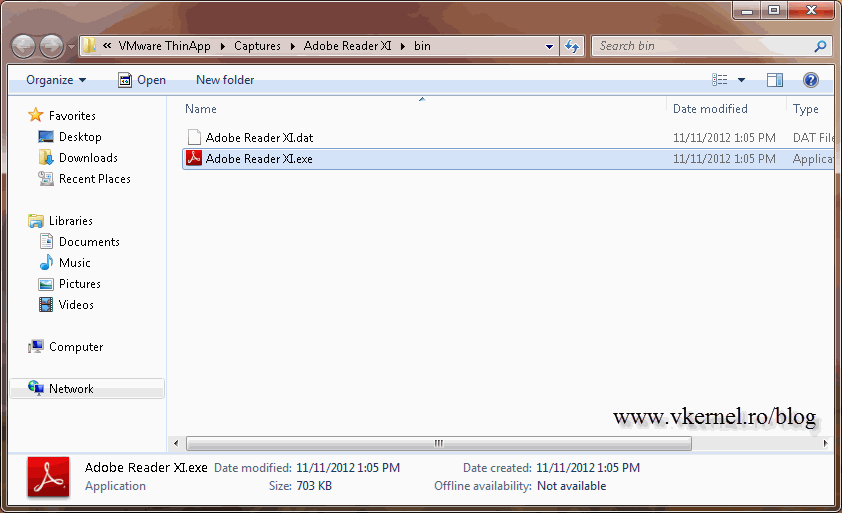
And here is the application. You can find the build directory on the box where you installed VMware ThinApp, Program Files (x86) > VMware > VMware ThinApp > Captures > Project Name.
I powered on a Windows XP x86 machine to test this. I accessed the shared folder where the application is located and launch it. And it opens.
Want content like this delivered right to your
email inbox?
