Installing the VMware vSphere 5.1 Web Client
Starting with VMware vCenter 5.0 there is a web client that let you manage your virtual infrastructure. Now with vCenter 5.1 that client is so enhanced that you can do all the stuff like you would in the vSphere client, and even more. For example if you want to deploy VMware vSphere Data Protection, you can’t use it with the vSphere client, only with the vCenter Web Client. I don’t need to say that if you want to access the infrastructure from the outside is easier, all you need is a web browser.
Minimum requirements to install the software are (taken from the VMware KB 2005083):
| Hardware | Requirement |
| Operating system | The vSphere Web Client requires a 64-bit operating system for installation. These operating systems are supported for the vSphere Web Client:Microsoft Windows Server 2003 Standard, Enterprise or Datacenter SP2 64 bit Microsoft Windows Server 2003 Standard, Enterprise or Datacenter R2 SP2 64bit Microsoft Windows Server 2008 Standard, Enterprise or Datacenter SP2 64bit Microsoft Windows Server 2008 Standard, Enterprise or Datacenter R2 SP1 64bit |
| Web browser | Microsoft Internet Explorer 7, 8, and 9. Mozilla Firefox 3.6 and later. Google Chrome 14 and later vSphere Web Client 5.1 requires Adobe Flash Player 11.1.0 or later to be installed with the appropriate plug-in for your browser. |
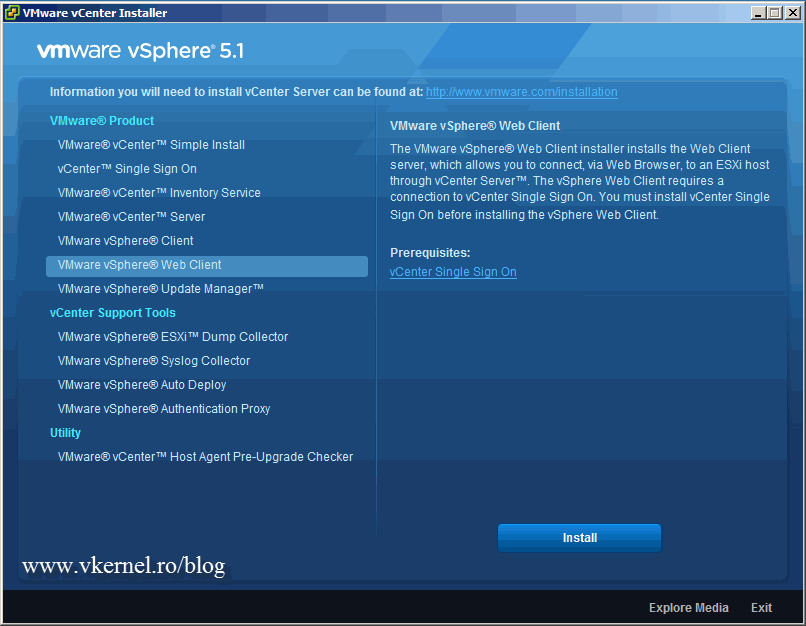
Before you begin with the installation make sure Single Sign On (SSO), Inventory Service and vCenter 5.1 are already present in your network. Now that everything looks good, mount the VMware vCenter ISO image, go to the VMware vSphere Web Client menu and click Install. For this guide, I will install the Web Client service on a different server that the vCenter server.
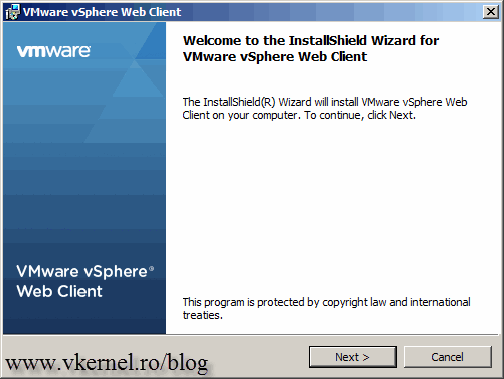
Click twice on the Next button to skip the Welcome screen and the Patent Agreement screen.
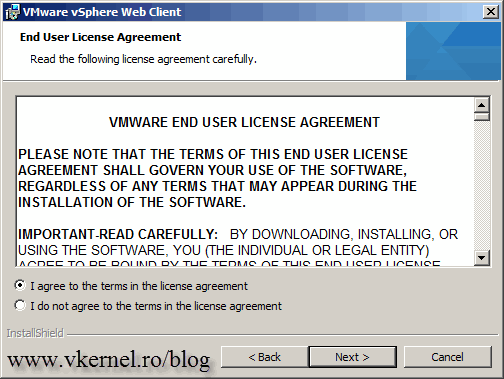
Accept the EULA and continue.
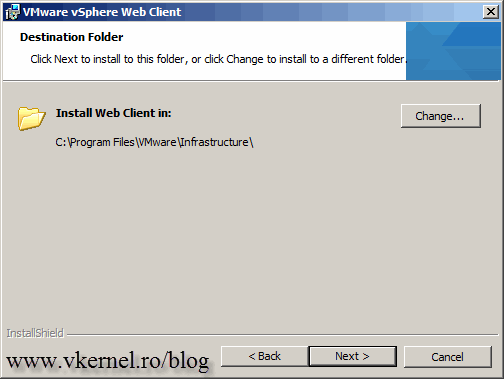
Change the installation path, if the default one does not suits you.
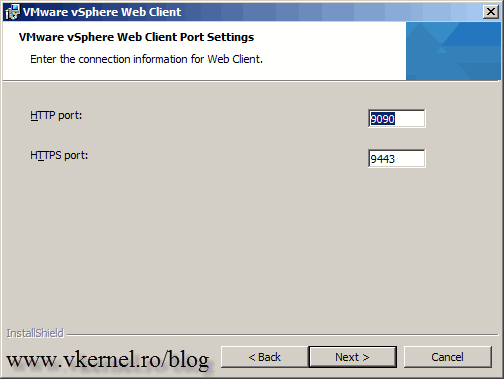
Leave the port as they are and continue the wizard.
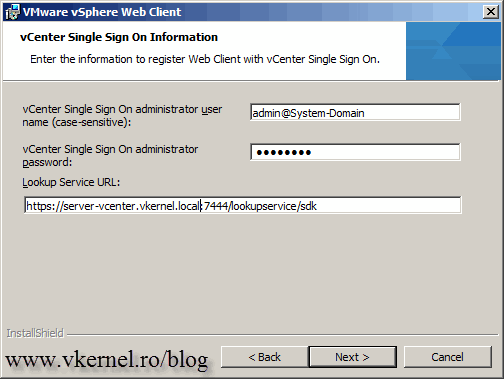
Here is the tricky part, you have to remember your SSO admin password from when you installed the service. Now that you know what it is, type it in the vCenter Single Sign On Administrator password box. In the bottom box where it says Lookup Service URL, replace <SSO Machine FQDN Or IP> with your FQDN of your SSO server. If you were to install the Web Client server on the vCenter server, the FQDN will be automatically completed here.
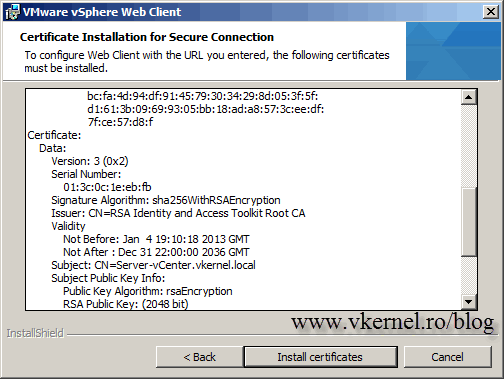
The certificate from the SSO server needs to be installed on the Web Client machine, so click the Install Certificates button to continue.
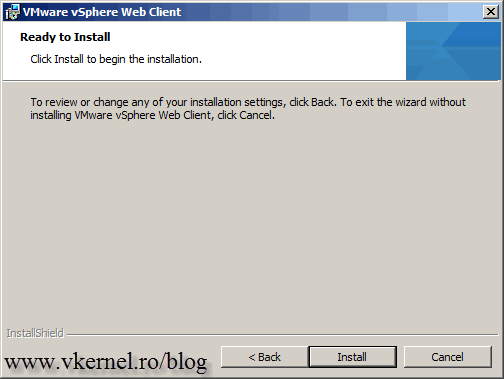
On the last screen of the wizard click Install to proceed with the installation.
If the installation succeeded, click the Finish button.
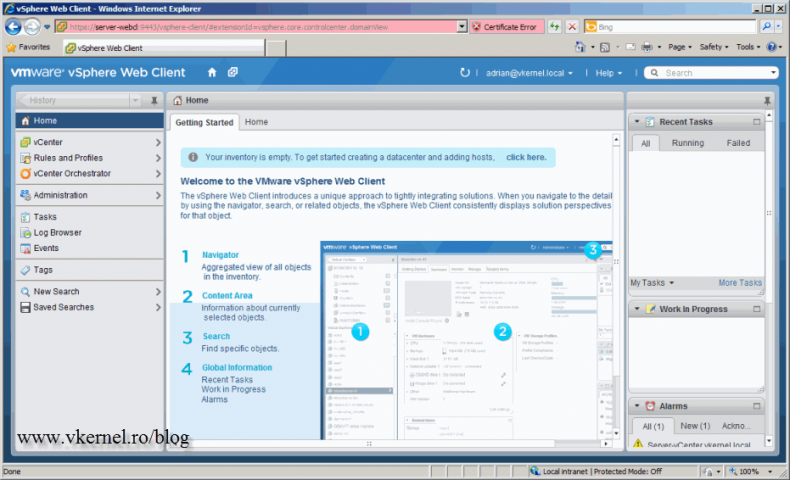
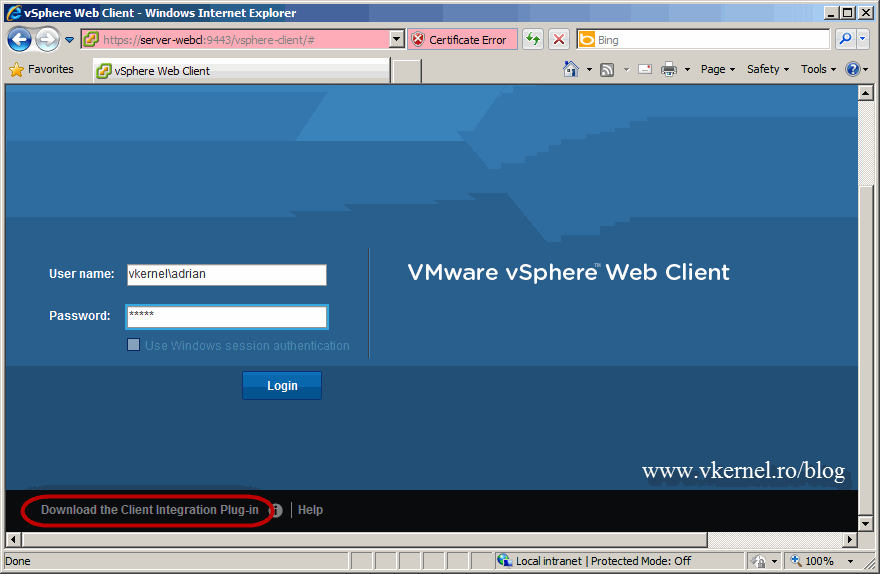
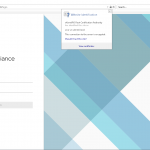
You can launch the VMware vSphere Web Client from the Start Menu > All Programs, but that beats the purpose of a web client. From a remote machine open IE (with Adobe Flash Player plugin installed) and type the FQDN or Netbios name of the VMware vSphere Web Client server in the form https://Server FQDN:9443/vsphere-client. You can also use the IP address of the server. When the address is found you will get a certificate error page. Click Continue to this website (not recommended) to pass the warning; this is because the certificate is self-signed and is not trusted. I have guide on how to replace the self signed-certificate for the VMware vSphere Web Client, but never tested on 5.1 version. I will update this post after I test and see if it works, ’till then you are free to try it for yourself and let me know in the comments section how it works.
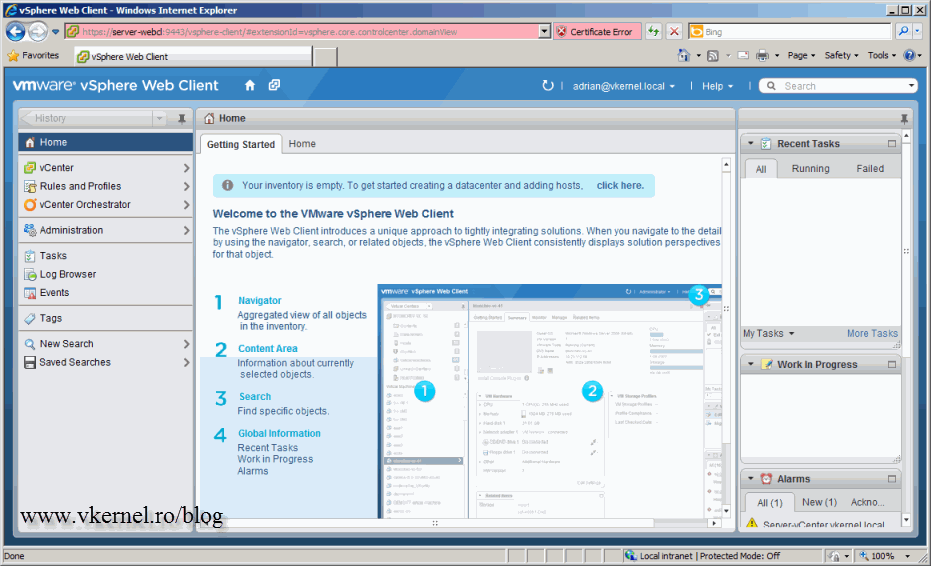
Log in using your credentials to get access to the management console. To be able to use the option Use Windows Session Authentication you need to install the Client Integration Plug-In by clicking the link at the bottom of the page (Download the Client Integration Plug-In) and follow the on-screen instructions.
Now you can manage all you VMware vCenter infrastructure from a web browser, and all you had to install was Adobe Flash Player and the Client Integration Plug-In.
Want content like this delivered right to your
email inbox?
