Installing System Center Data Protection Manager (SCDPM) 2012
The new version of DMP brings us a new interface, and new goodies; backups are going faster, we have centralize monitoring, remote console, role based administration and other new and improved stuff. For full details about what’s new please visit this site. In this guide we are going to take care of the installation of DPM 2012 using a remote SQL database. Installing DPM 2012 with a local database is a piece-of-cake, and everyone can do it without a hassle.
Before we move forward you need to know the prerequisites of DPM 2012, so here they are:
| DPM Roles | Operating System |
| DPM Server | Windows Server 2008, Standard and Enterprise editions
Windows Server 2008 SP2, Standard and Enterprise editions Windows Server 2008 R2, Standard and Enterprise editions Windows Server 2008 R2 SP1, Standard and Enterprise editions |
| DPM Remote Administration | Windows 7Windows VistaWindows Server 2008 R2Windows Server 2008 |
| DPM Central Console | Windows 7Windows Vista |
| DPM Database | SQL Server 2008 R2, Standard or Enterprise Edition, 64-bit version |
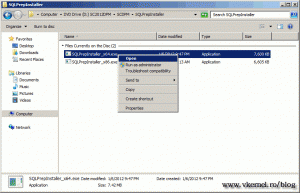
As you can see in the prerequisites DPM 2012 supports only SQL server 2008 R2, and you need to have Reporting Services configured too. For this lab I have a Domain Controller running 2008 R2 SP1, a SQL server 2008 R2 Enterprise, and a Windows 2008 R2 system where DPM 2012 will be installed. Before we start with the actual installation we need to prepare the SQL server for DPM, so mount the DPM ISO on the SQL server (you’re using virtualization, right ?) and browse to SCDPM > SQLPrepInstaller. Here execute SQLPrepinstaller_x64.exe.
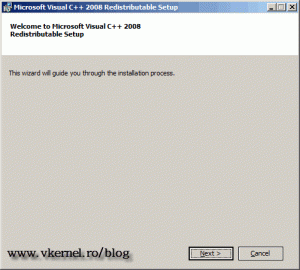
Install the Visual C++ 2008 Redistributable package by following the wizard.
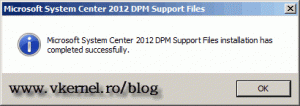
A message is displayed when the installation succeeded.
Before we go on, verify that the SQL service is running under a domain user account, and the SQL Agent is started and set as automatic start mode. In my example here I created a domain user account and all the SQL services are running under that account, which means the DPM installation should go smoothly.
If your SQL service is not running under a domain user account you will have an error message during the DPM prerequisites check.
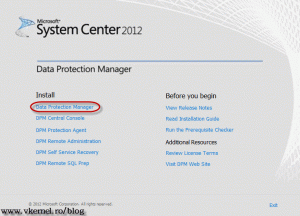
After we configured the SQL server, we can start the DPM 2012 installation, so log on to the server and fire up the wizard. On the splash screen click the Data Protection Manager link. Wait a minute so the wizard prepares the installation of DPM.
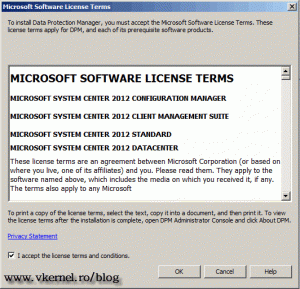
Accept the EULA and click OK.
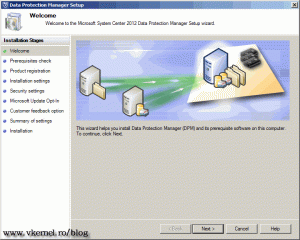
Click Next to skip the Welcome screen on the DPM 2012 installation wizard.
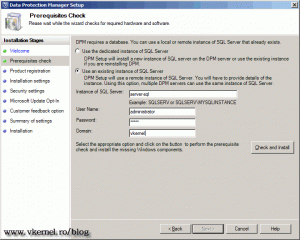
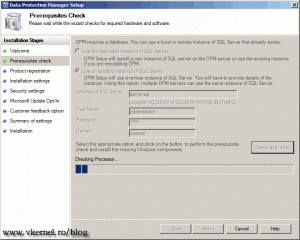
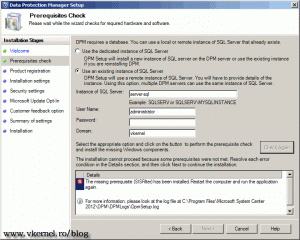
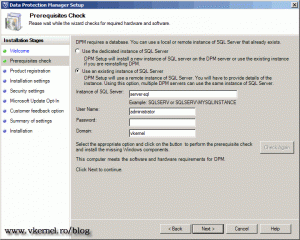
On the Prerequisites Check page choose the second option to use an existing instance of SQL server. Complete the boxes and click the Check and Install button.
After the prerequisites are installed a reboot is required, so go ahead and reboot the server then start the installation again. Follow the exact same installation steps as before.
Now that all the prerequisites are met, we can continue with the installation, so click Next.
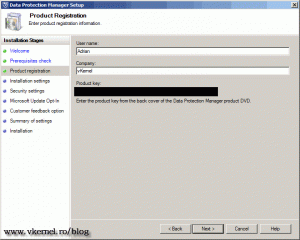
Enter the product registration information and continue the wizard.
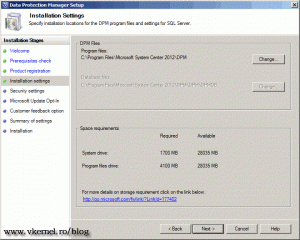
If you don’t want to install DPM on the C drive you can change the path by clicking the Change button. For this example the default path is just fine for me.
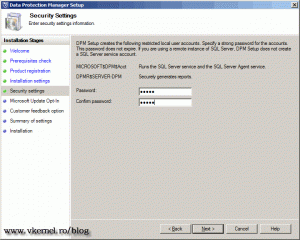
Provide a password for the local user account that DPM 2012 will create on the SQL server.
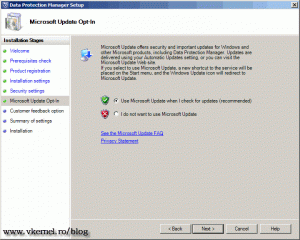
Select the option Use Microsoft Update when I check for updates, to patch the DPM product, then hit Next.
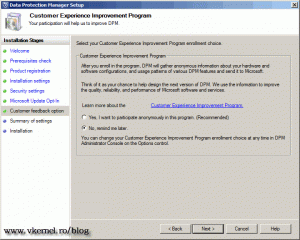
Since this is a lab environment I will choose not to participate on the CEIP program.
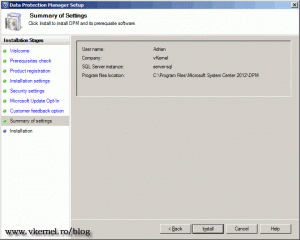
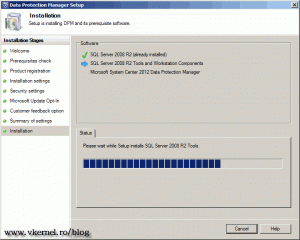
Click the Install button to start installing DPM 2012. This is going to take quite some time, so be patient.
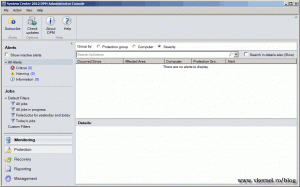
After the installation is finished, you can launch the DPM 2012 Management Console from the desktop icon.
Want content like this delivered right to your
email inbox?
