Backup Exchange 2010 Mailbox Databases with DPM 2012
Because you don’t want to lose your users mailboxes in the case of a server crash, you started thinking about backup. If DPM 2012 is your way to go, then read on, and I’ll show you how to backup those Exchange Mailbox servers. Using DPM you will have continuous protection of your data because transaction logs are continuously synchronized to the DPM server, every 15 minutes (this can be increased). When changes are made to the database, the DPM agent identifies which blocks have changed, and sends just the updated blocks or fragments to the DPM server. One more thing, DPM uses VSS (Volume Shadow Copy Service) for backups, meaning your Exchange Mailbox transaction logs will be automatically purged into the database.
You can also backup-up older versions of Exchange using DPM, but for this demonstration I will user Exchange 2010.
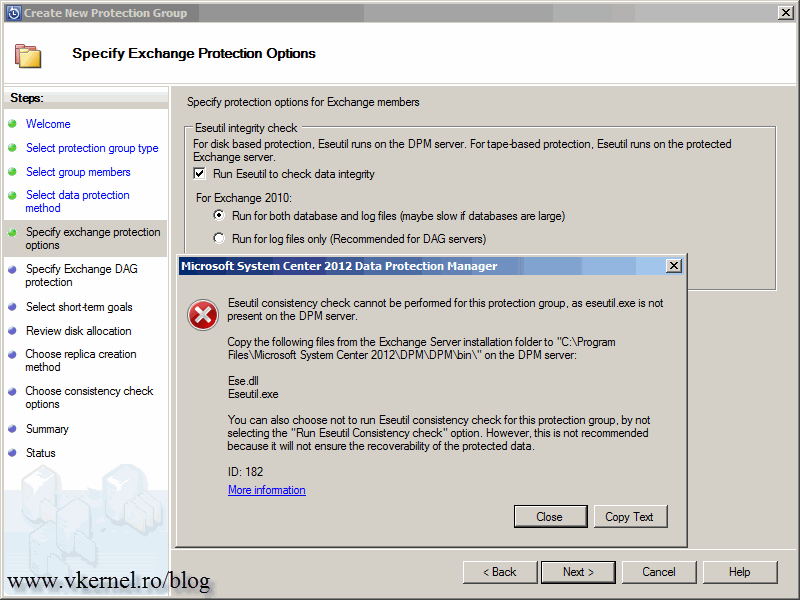
Before we actually start backing up those Mailbox servers we need to copy the eseutil.exe and ese.dll files on the DPM server, or an error message is displayed if we opt to check data integrity.
Browse to one of your Exchange Mailbox servers in C:\Program Files\Microsoft\Exchange Server\V14\Bin\ and copy those two files on your DPM server in C:\Program Files\Microsoft System Center 2012\DPM\DPM\bin\; assuming that C:\Program Files is your install directory. If the Exchange Mailbox servers are updated, you will have to come are update the two files on the DPM server. To get read of this head ache create a hard link.
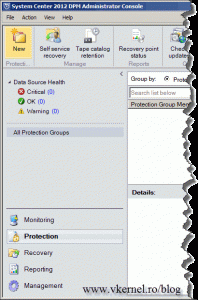
Also make sure the DPM agents are installed on your Exchange Mailbox servers. Now that everything is in place let’s do some work; and first we need to create a Protection Group. Go to the Protection section in the DPM console (on the Wunderbar) and click the New button from the ribbon.
Click Next to skip the Welcome screen of the wizard.
Select what type of protection group you want to create. Because we want to backup Exchange, and Exchange runs on a server platform, we need to go with the Servers option.
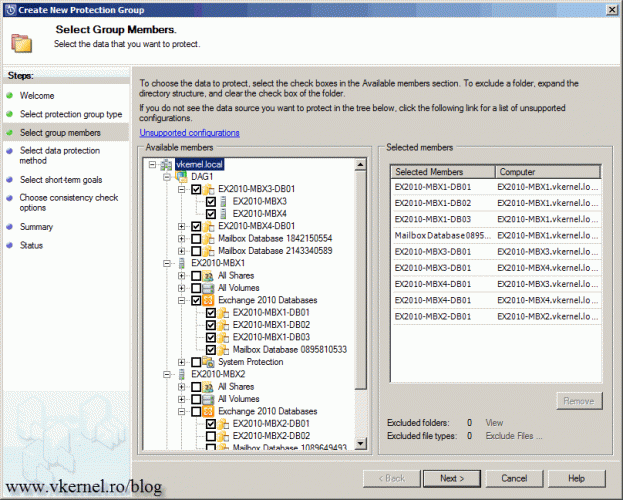
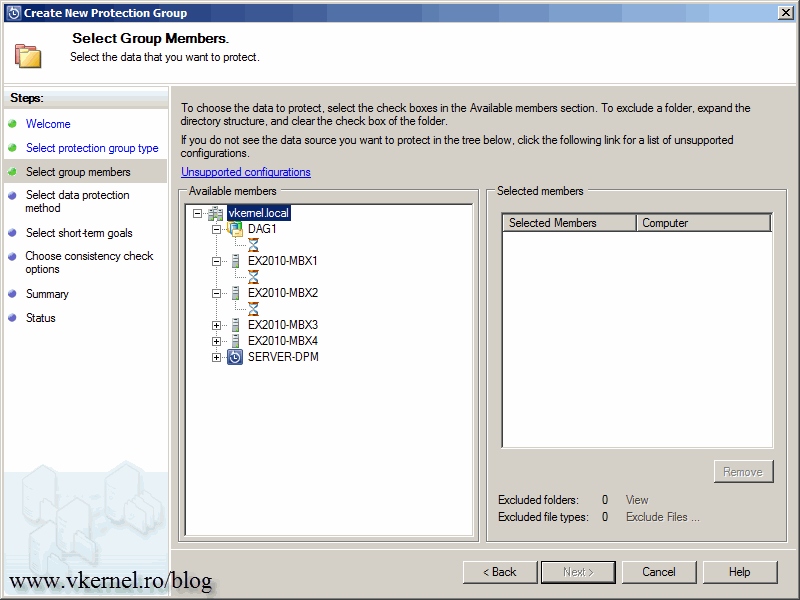
Expand the server list and choose which database(es) you want to backup. If you have an Exchange DAG configured you can backup up that too.
If you don’t see any servers in the list is because you don’t have any DPM agent installed on them. Go ahead and install the DPM agents on those servers then start this wizard again.
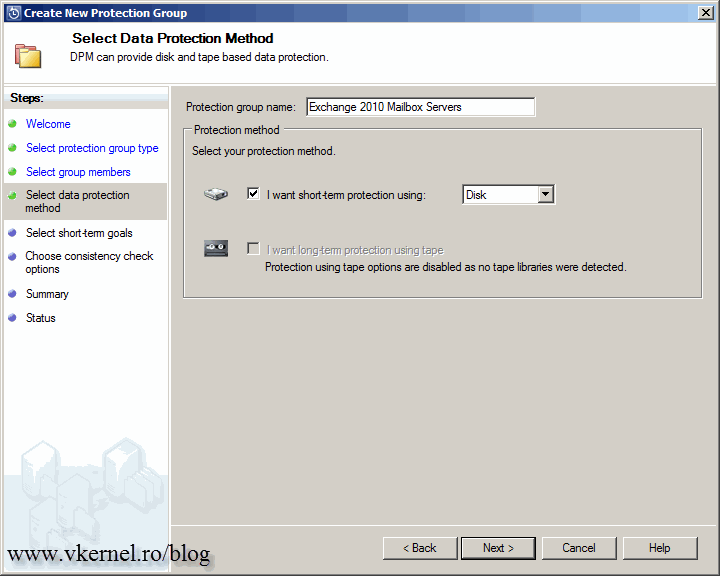
Give the protection group a name and click Next. The long-term protection is enabled only if you have at least one tape device installed on the DPM server.
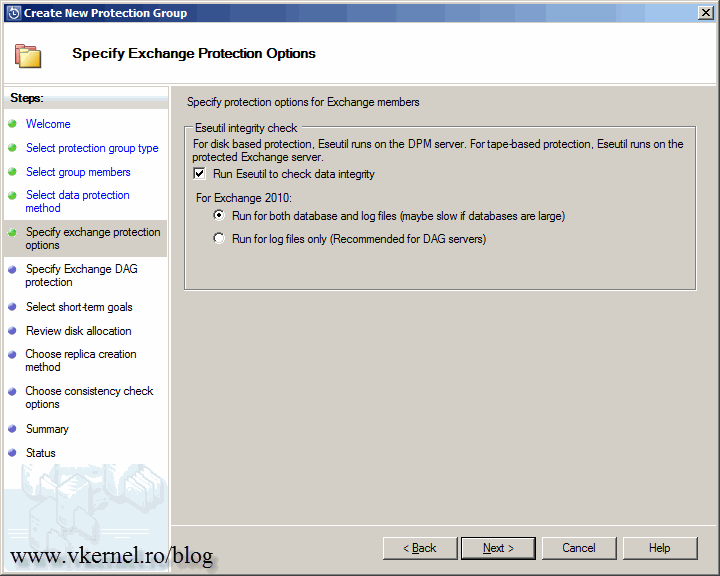
I recommend you run Eseutil to check data integrity. Again this is available only if you copied the eseutil.exe and ese.dll files on the DPM server (see above).
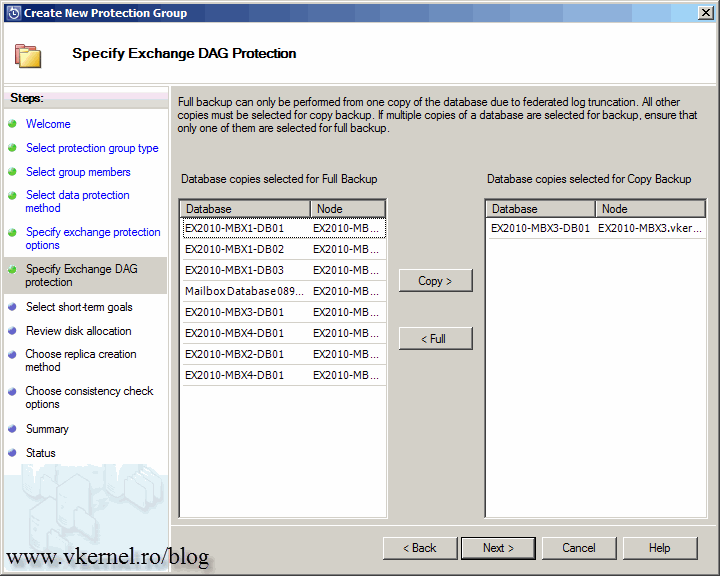
Select the databases you want for full backup and express copy backup. If you want to have copies of the same database select the database from the left and hit the Copy button. You can’t use a stand alone MB for copy backup.
Specify the retention range and the synchronization frequency. By clicking the Modify button you can change the Express Full Backup scheduler.
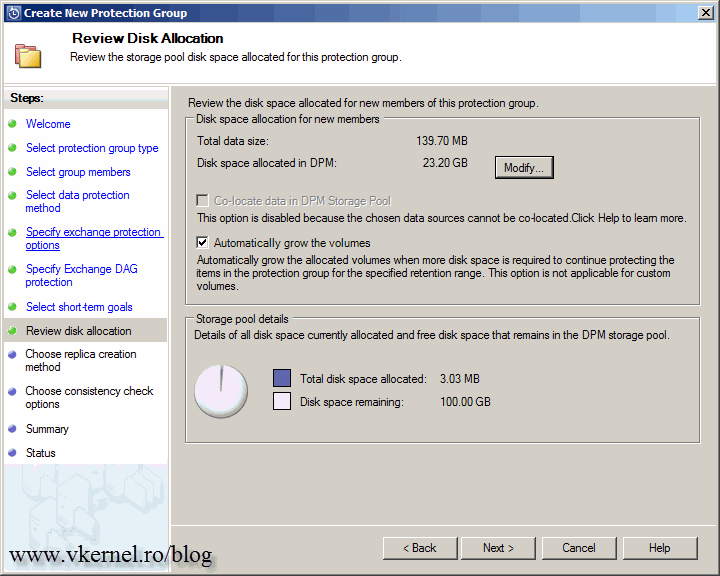
On the Disk space allocated in DPM section you can see how much space DPM will allocate in the storage pool. You can modify this by clicking the Modify button. For a calculation of how much space you need to allocate on the storage pool see this Microsoft Technet post.
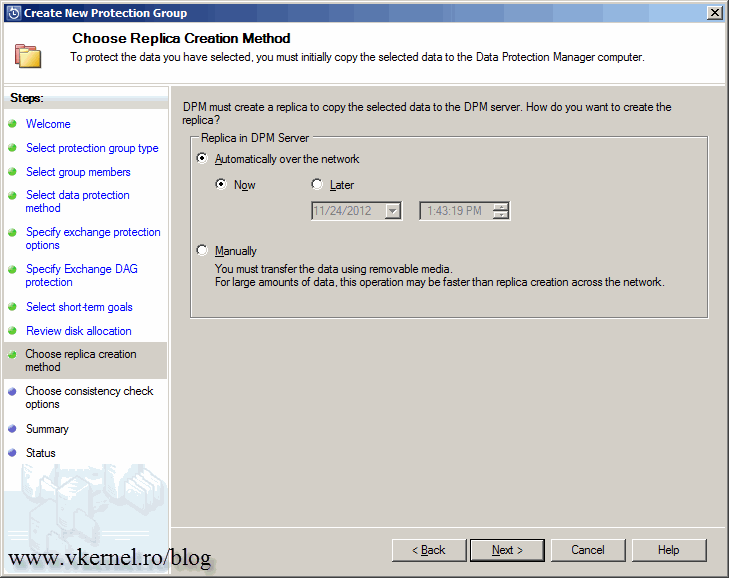
If you have limited bandwidth you should choose to replicate data manually, if not select the Automatically over the network option. Using the automatic option you have two choices, now or using a schedule date. I’m going with the defaults here.
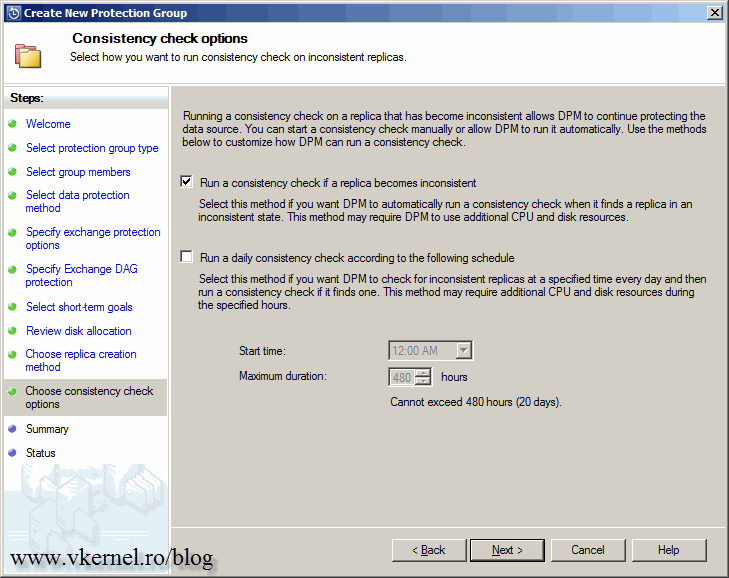
You can set DPM to check for data inconsistency, automatically or scheduled. It depends on your hardware, because the automatic method (Run a consistency check if a replica becomes inconsistent) will use some additional CPU.
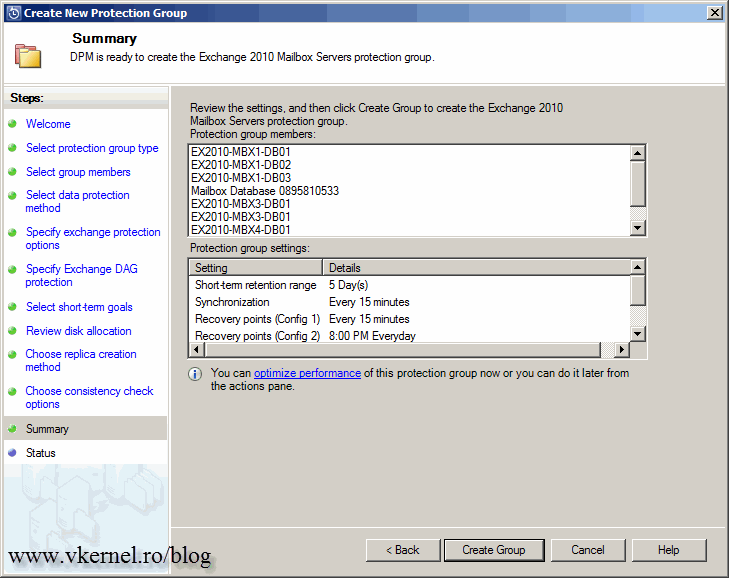
On the Summary page review the tasks then click the Create Group button.
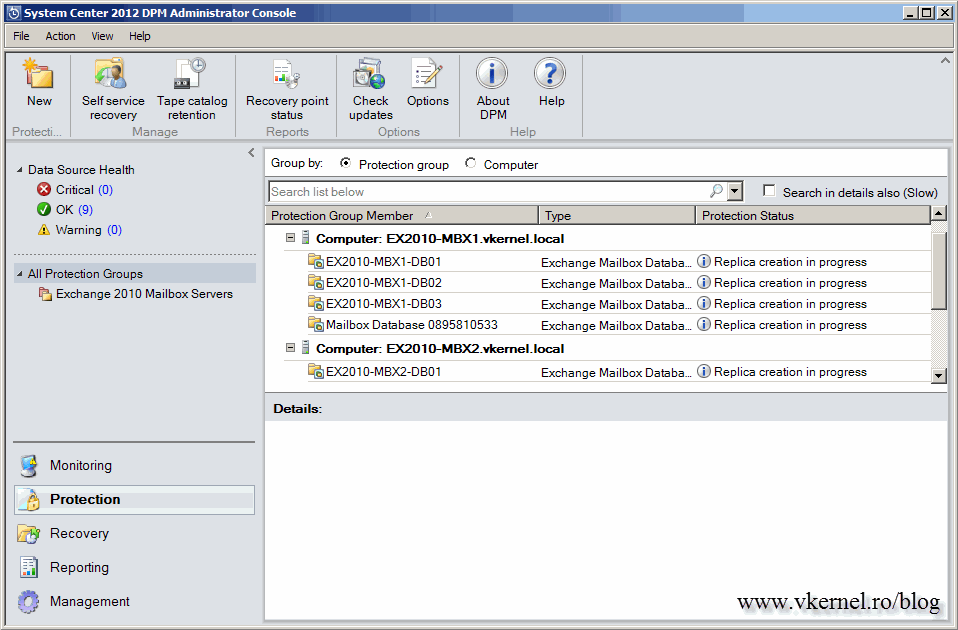
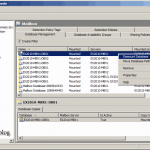
Now DPM will immediately start creating replicas, and if all succeeds you should have green check marks. Your Exchange databases are now protected.
Want content like this delivered right to your
email inbox?
