Installing and Configuring NFS on Windows Server 2012/R2
There are times when you need to access some Windows shares from Linux machines, or systems that have some Linux variations. A few methods exists on how you can do this, and NFS (Network File System) is one of them. NFS exists for a long time in Windows, starting with server 2003, and it’s still here in server 2012/R2. By sharing a folder using the NFS protocol, Linux users can map that share on their systems and use it as a central location for their documents. The only downside of using NFS is that you can’t have that granular control on those shares like you have in Windows, but usually read-write and read-only are enough.
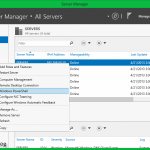
Let’s begin by installing NFS on Windows, so open Server Manager, go to Manage and click Add Roles and Features.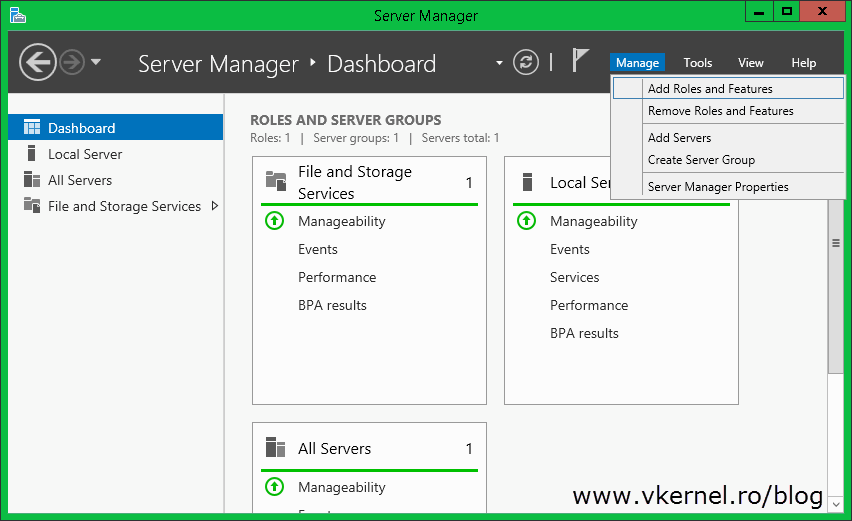
Follow the wizard until you reach the Server Roles page. Here check the Server for NFS box under the File and Storage Services > File and iSCSI Services. You might also want to enable the File Server Resource Manager role if you want use some advance features of NFS.

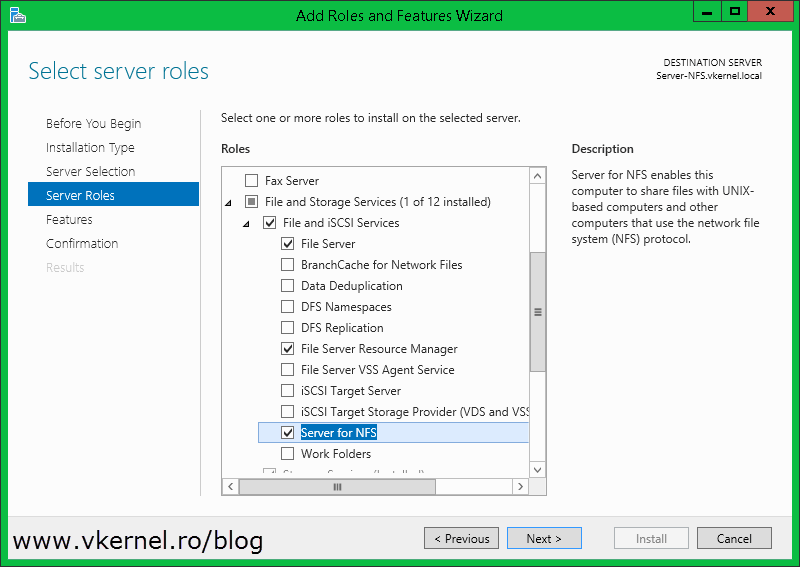
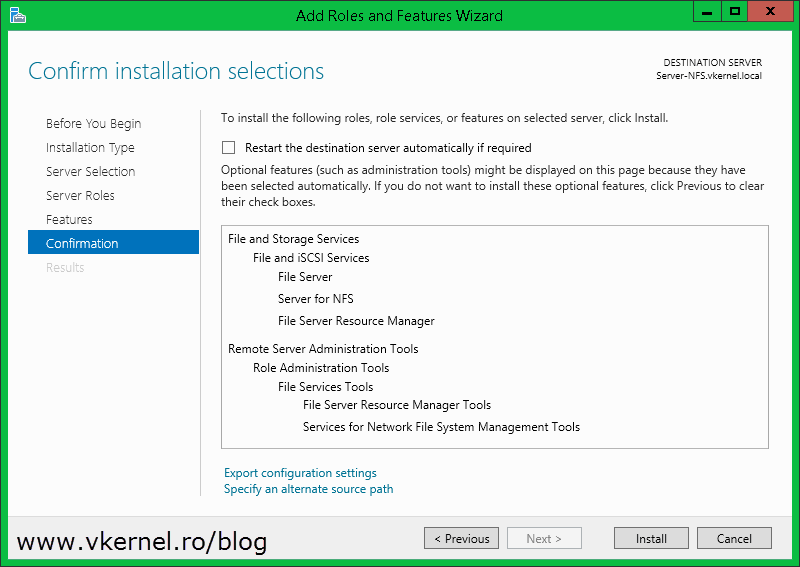
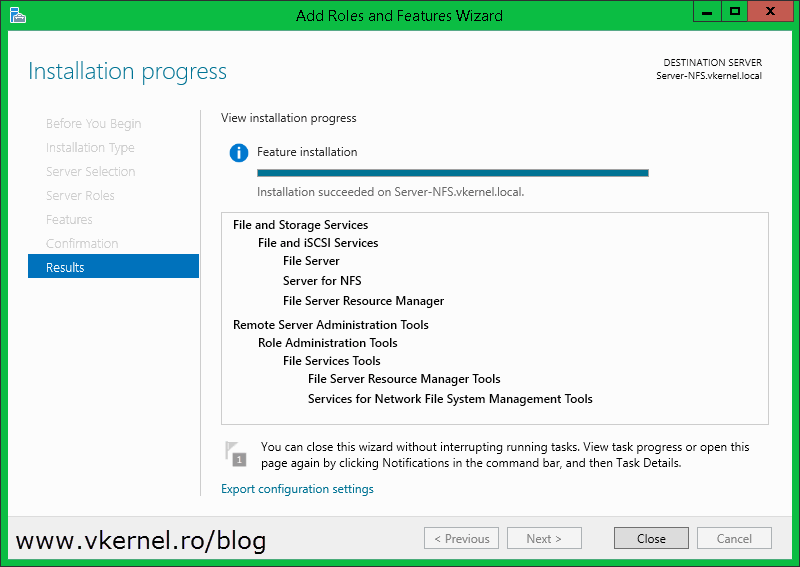
Click Install to begin the installation.
If you want to do this using PowerShell, use the following command:
Add-WindowsFeature 'FS-NFS-Service'
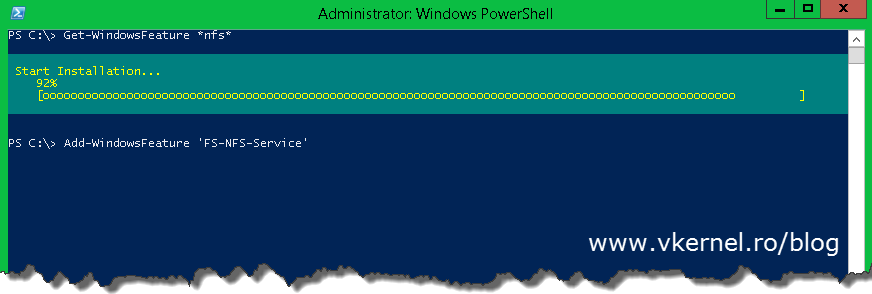
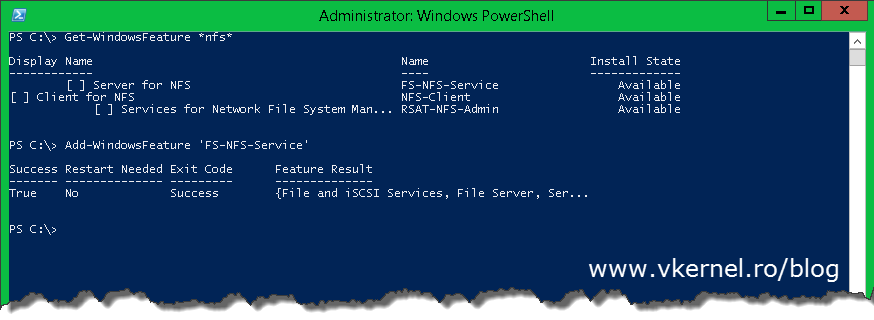
Using this command will also install the File Server Resource Manager role. Right now we are ready to share a folder using NFS, and there are three methods to do this: the classic one, the wizard one and the PowerShell one.
Configuring NFS shares using the Manage NFS Sharing option
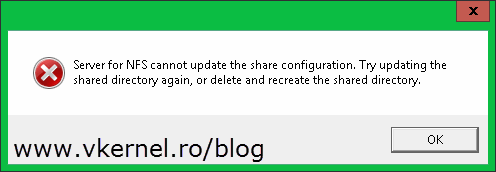
As a tip, before we get started, do not name your directory that you want to share ‘NFS Share‘, or you will get an error when configuring permissions:
“Server for NFS cannot update the share configuration. Try updating the shared directory again, or delete and recreate the shared directory“
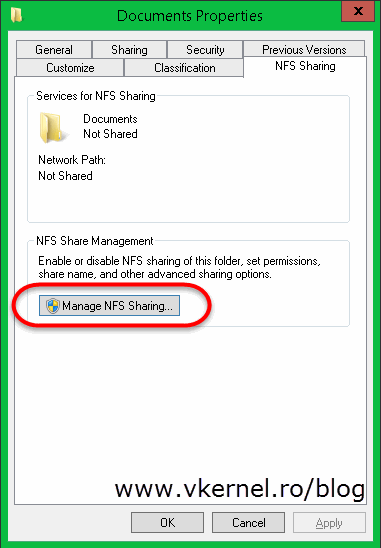
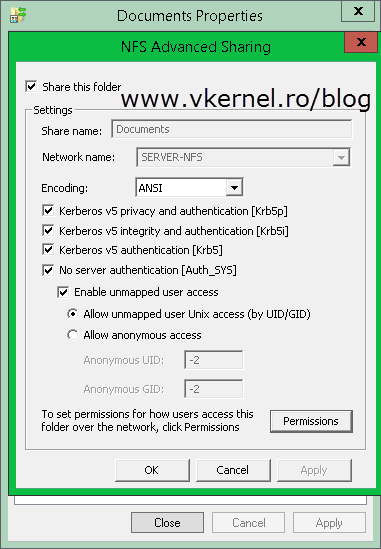
I found this during my testing, and I taught, why not share this with you! Now open the properties of a folder you want to share using the NFS protocol and go to the NFS Sharing tab. Here click the Manage NFS Sharing button.
On the new window check the Share this folder box. Now all of the other options and settings are available and ready to be configured. If you want to change the proposed share name which is the name of the the folder, you can do this from the Share Name box. Among the authentication options you can choose Kerberos v5 [Krb5] which uses the Kerberos v5 protocol for authentication, Krbv5i which provides integrity checking to verify that authentication data has not been altered, and Krb5p which provides privacy (new addition for Windows Server 2012). Unmapped user access is useful for scenarios where integration doesn’t occur between the clients accessing the shares. Unmapped user access has other two options: anonymous and unmapped user access. With unmapped user access, the server for NFS creates custom SIDs that correspond to the UIDs and GIDs for the UNIX accounts accessing the share. If you are using anonymous you need to put the power of Windows Firewall in place to deny access to the NFS service from all but the required IP addresses or subnets. Usually you don’t have to change these settings and just go with the default ones.
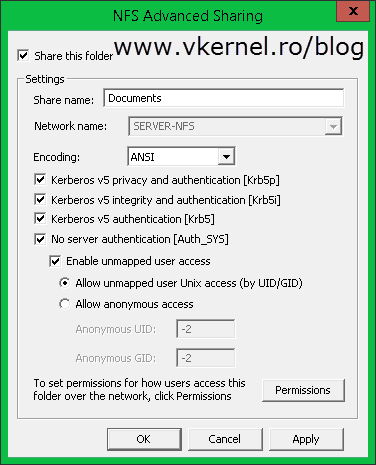
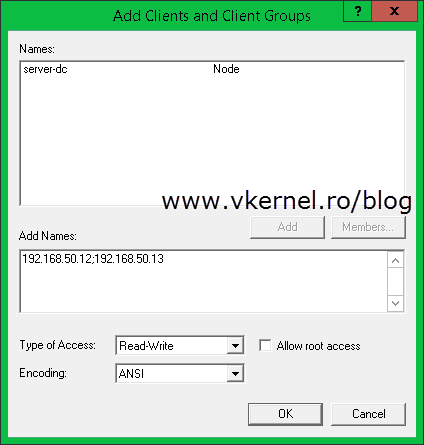
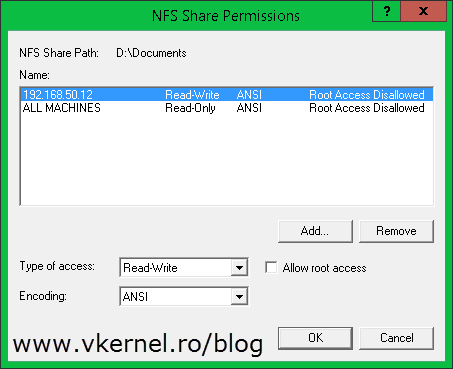
For more advanced share permissions click the Permissions button. This is where you can allow or deny computers form the network to connect to the NFS share, and where you set the access type for those computers. To allow them to connect, click the Add button, and in the Add Names box type the name or IP addresses of the clients you want to be able to connect to the share. You can add multiple clients at once, just separate them with a semicolon (;). Leave the type of access to Read-Write because this will be controlled using NTFS permissions anyway.
When you add multiple clients in the list and separate them with a semicolon, make sure no spaces exist in front or after that semicolon, or you will get an error message that then name cannot be resolved. Long story short… no spaces are allowed in that list.
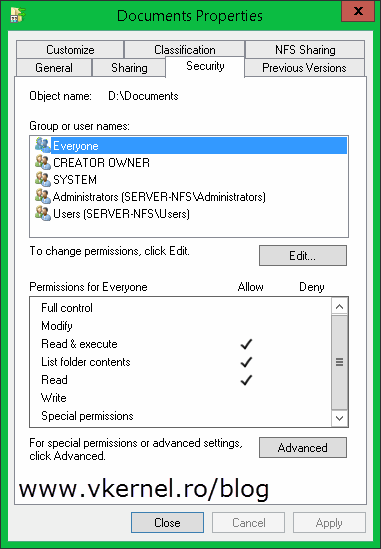
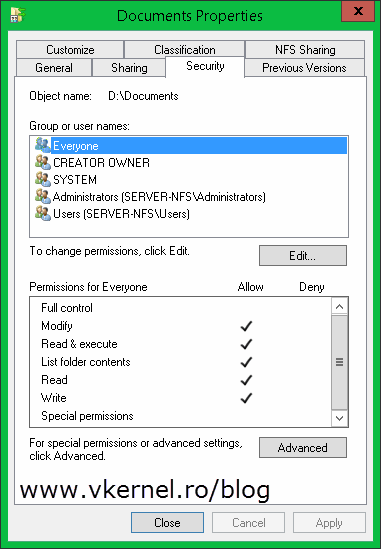
Before you map this from a Linux client you need to set the proper NTFS permissions, or the client will not be able to read the share even tough is in the IP allow list. Switch to the security tab and add Everyone with the default permissions. If you want clients to be able to modify or write in this share, set the permissions to Modify and Write. The final access on the share is determined by both, the NFS permissions and the NTFS permission; the most restrictive permission wins. For more information on how NFS access works over NTFS permissions read this Microsoft Technet article.
Configure NFS shares using the Server Manager Wizard
This method is not valid for Windows operating systems older than server 2012. For those, you need to use previous method. Now open Server Manager, go to File and Storage Services and here click on Shares.
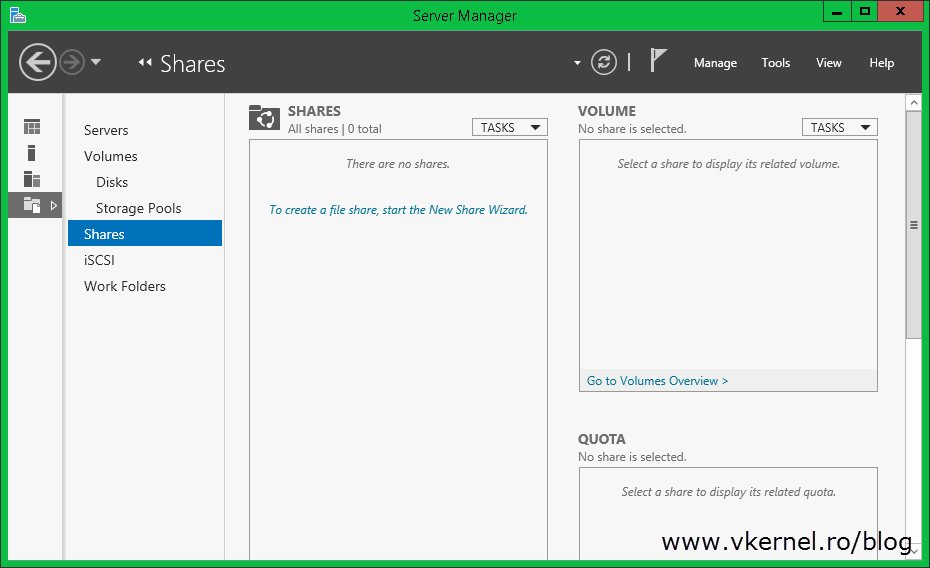
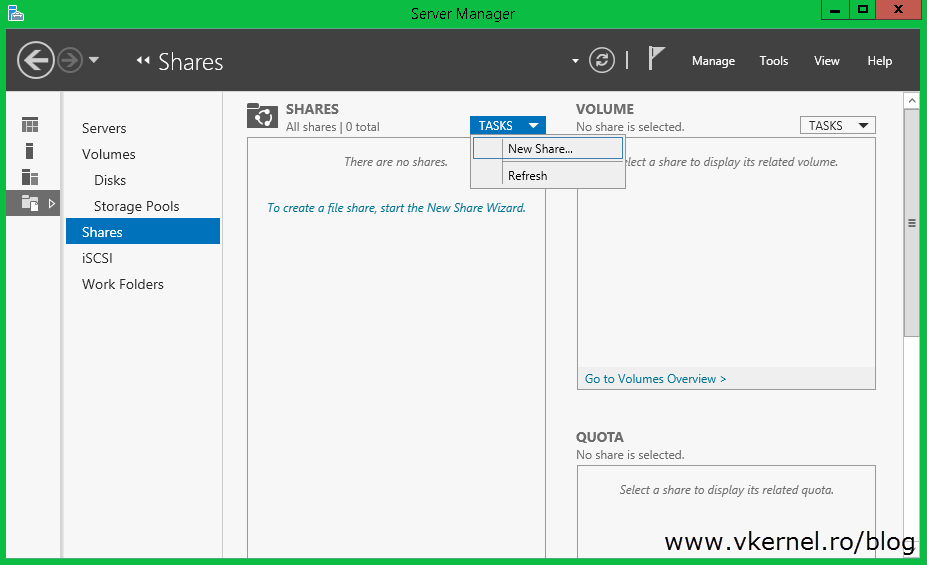
From the Shares section click Tasks > New Share.
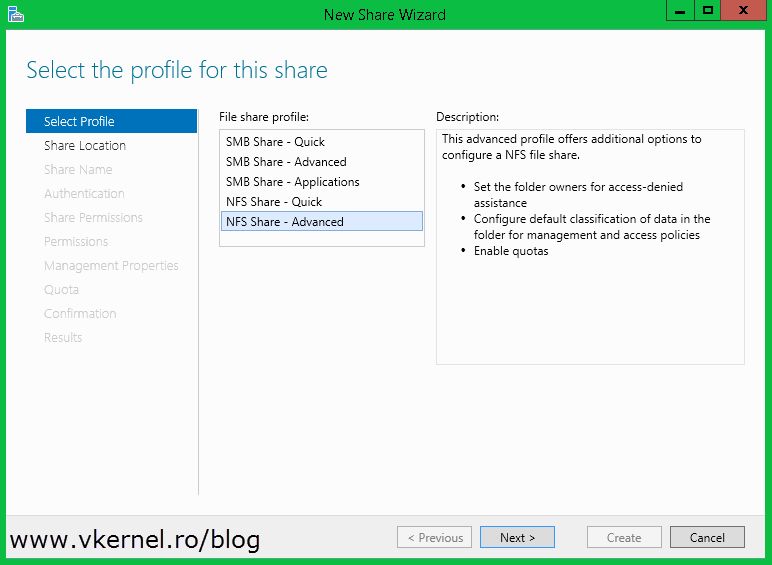
The New Share Wizard opens. On the first screen select NFS Share – Advanced; because going with NFS Share – Quick we don’t get all the options and goodies.
Here is where you provide the share location. You can share the an entire volume by selecting it under the Select by volume section, or you can share a specific folder, by using the Type a custom path radio button.
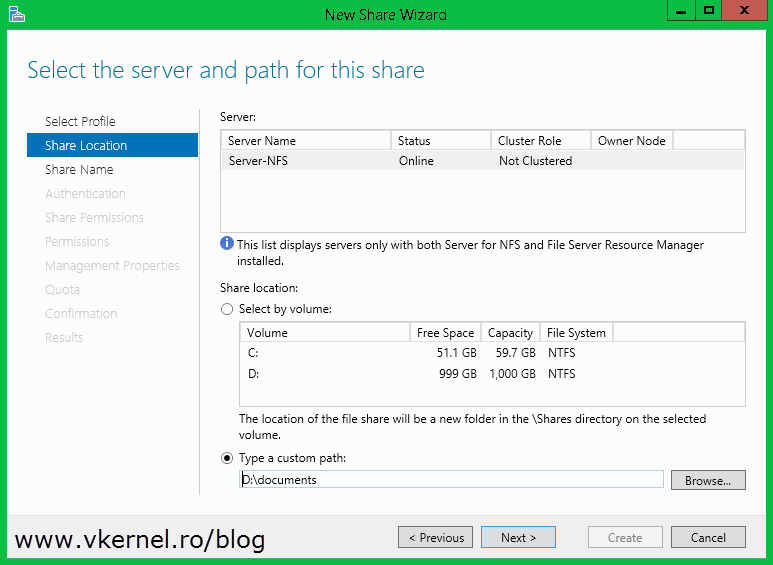
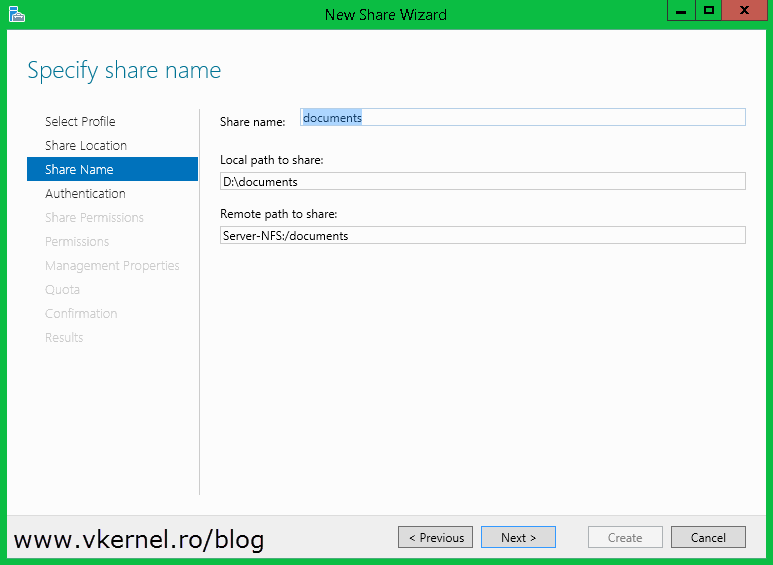
In case you want to change the proposed share name, you can do it here from the Share name box. The remote share path will be automatically modified/completed for you.
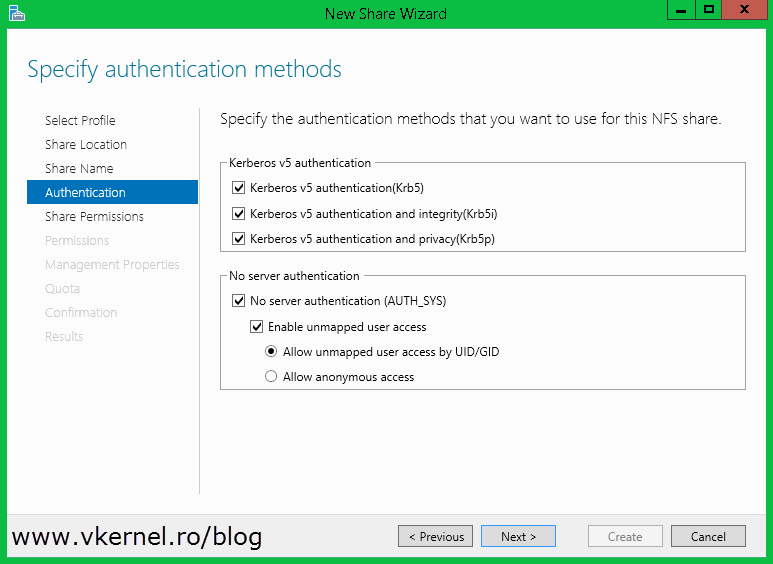
On the Authentication page, chose the authentication protocols you want to use for this share then click Next.
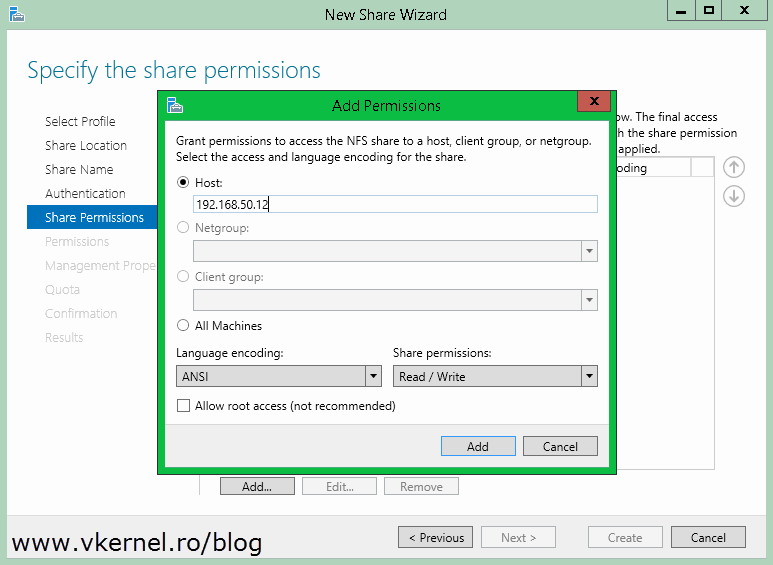
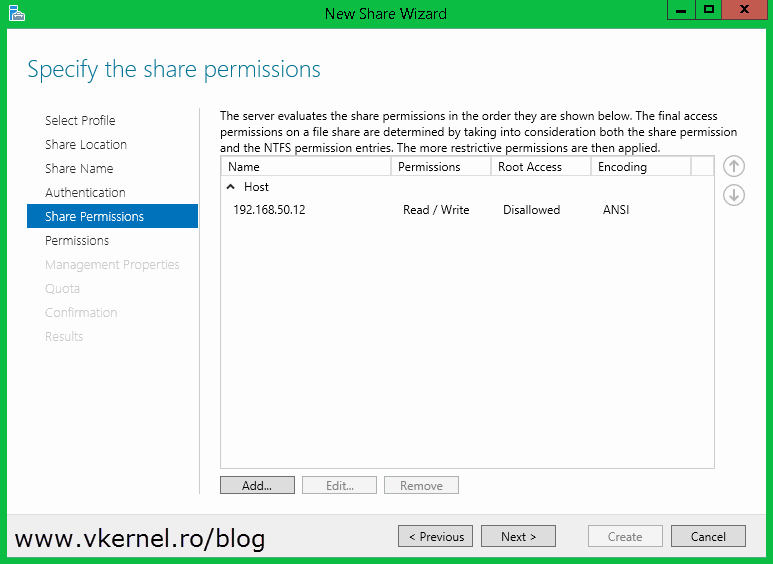
Click the Add button to open the Add Permissions window. In the Host box, type the IP address or IP addresses for those Linux machine(s) that connect to this share.
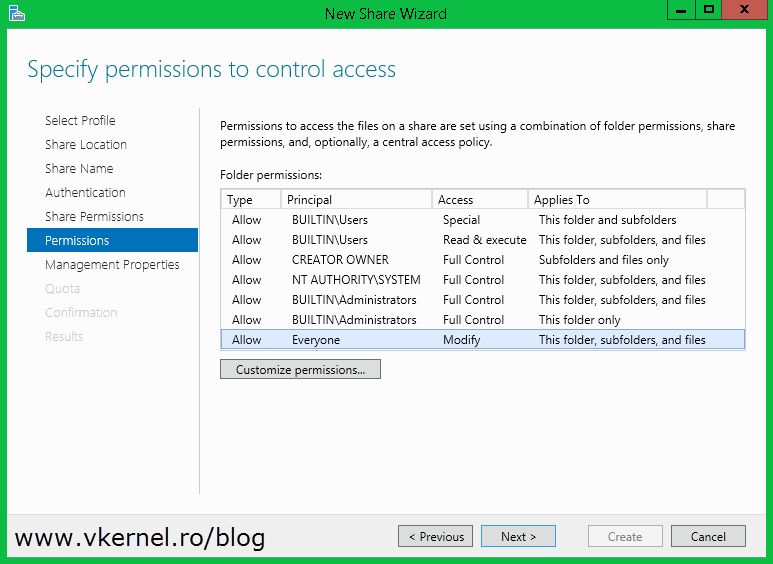
And here are the NTFS permissions for this folder. As you can see the Everyone group is already in the list with Modify permissions. If you just want Read permissions for this share, select the Everyone group and click the Customize Permissions button.
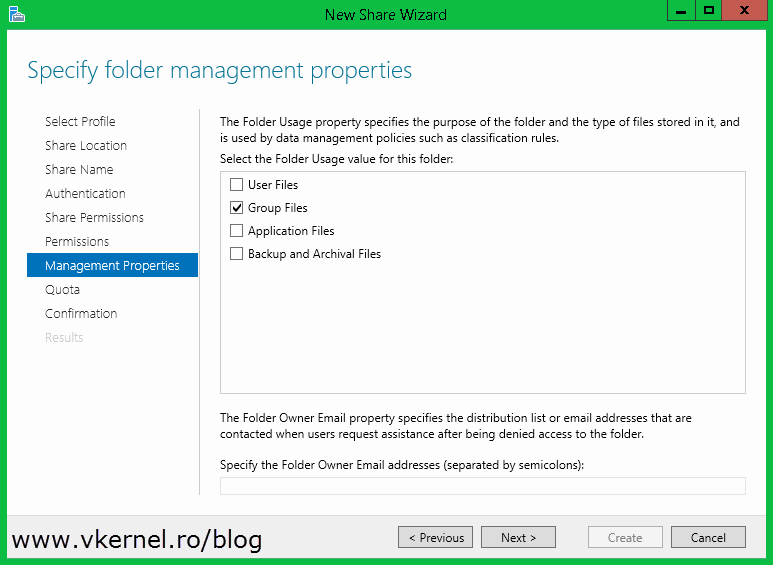
On the Management Properties page, you are given the option to select what type of files are kept in this shared folder; for data management policies.
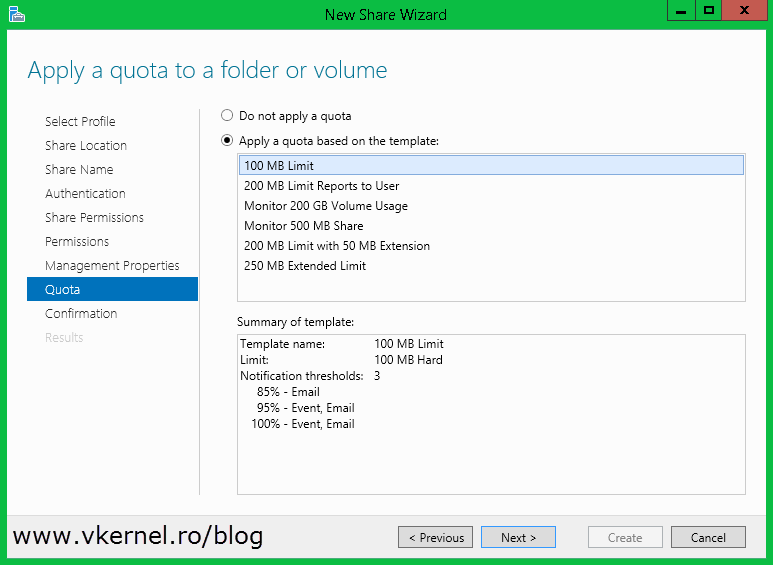
From this page you can set a quota for the folder. In case the already available quota templates are not good for you, no worries, you can customize the quota or create a new one after the folder is shared using the File Server Resource Manager console.
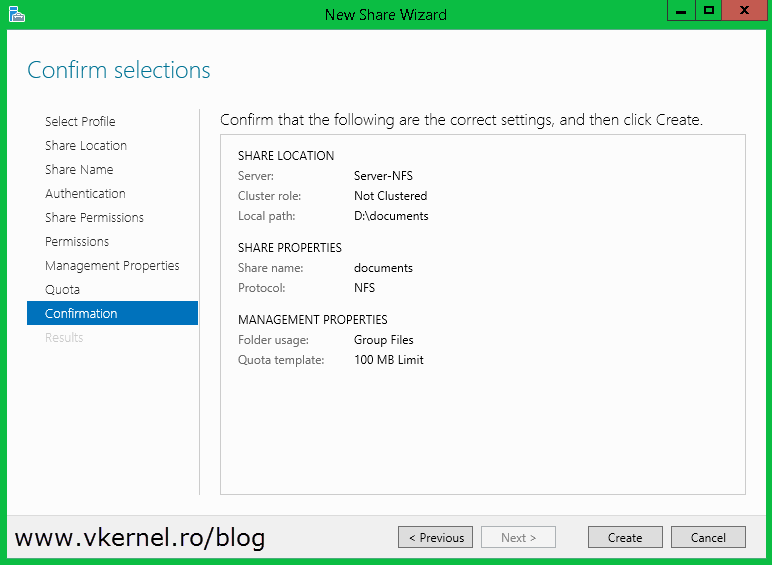
Click Create to share this folder using NFS.
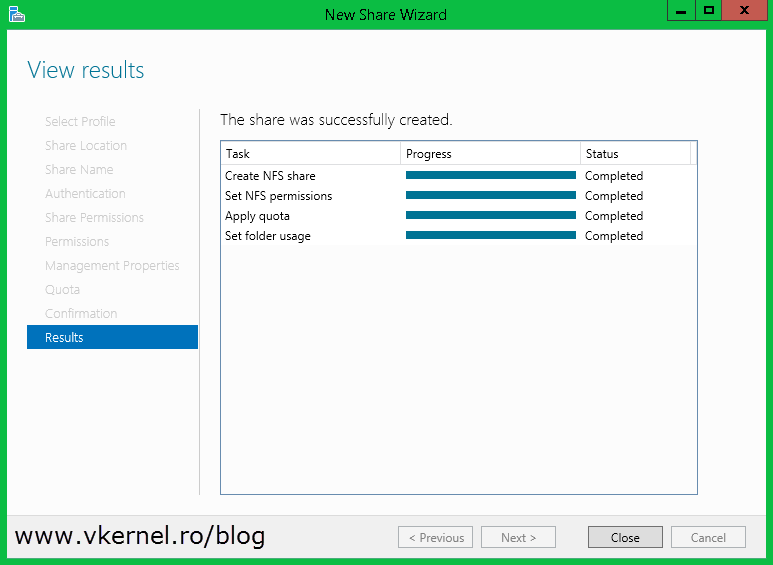
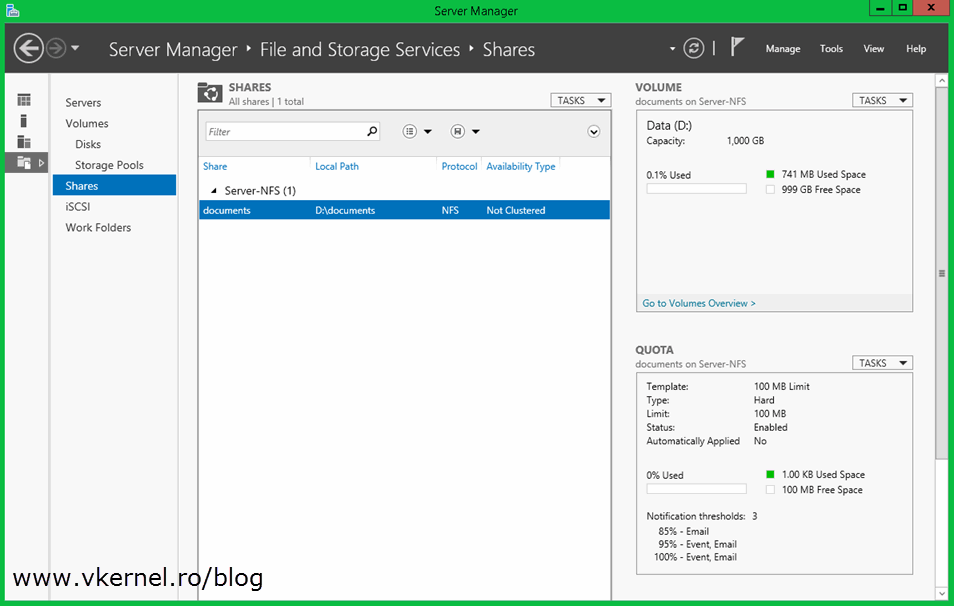
At the end you should have some nice graphics that tells you how much space is used on the share and how is the quota limit staying (if you applied one). And that’s it, your folder is shared using the NFS protocol.
Configure NFS shares using PowerShell
Just in case you are a scripting person, here is a simple PowerShell line that enables NFS sharing on a folder with the default settings:
New-NfsShare -Name "YOUR SHARE NAME" -Path "YOUR FOLDER PATH" -AllowRootAccess $false -Permission ReadOnly -Authentication all

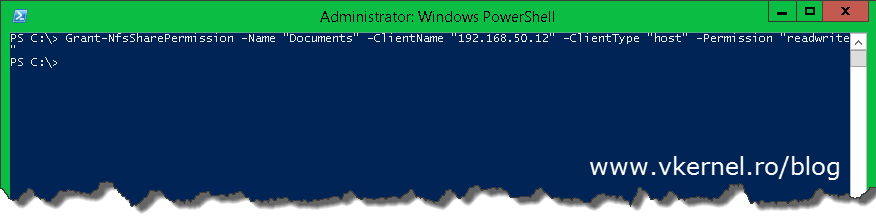
You can also put ReadWrite for everyone but is better to do this on a per machine basis, and here is how:
Grant-NfsSharePermission -Name "YOUR SHARE NAME" -ClientName "YOUR LINUX CLIENT IP" -ClientType "host" -Permission "readwrite"
Now that the share permissions are in place, the next step is to configure the NTFS permissions. Follow this Microsoft Technet article on how to do it using PowerShell, or if you are in a hurry use the GUI to test this. Again, between the share permission and NTFS permissions, the one that is more restrictive wins. That’s why I set the share permissions to Read-Write so I can control the effective permissions trough NTFS.
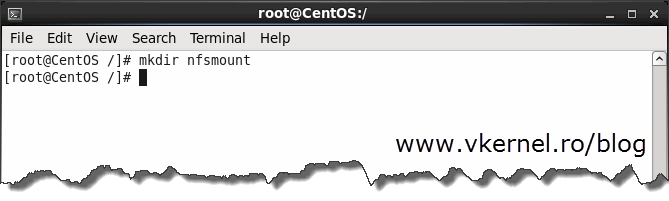
Now log in to one of your Linux clients and open a terminal with root permissions. Go to your favorite path and create a new directory here using the mkdir command. This is needed in order to mount the Windows NFS share.
mkdir YOUR DIRECTORY NAME
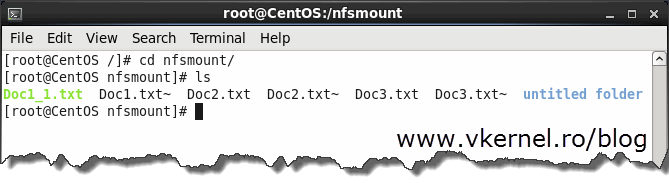
To mount the NFS share to the directory that was just created use the following command:
mount YOUR NFS SERVER:/YOUR NFS SHARE DIRECTORY /YOUR MOUNT FOLDER

And here it is, the Windows share mounted on a Linux client. As you can see the client has Read-Write permissions, since it’s able to create files and folders in this share.

To make the mount permanent you will have to edit your /etc/fstab file, if not, the share will be un-mapped after reboot and you will have to use the mount command again.
This is all there is. Use whatever method you are more comfortable with because they all have the same result.
Want content like this delivered right to your
email inbox?
More similar articles
 Adding and removing the GUI in Windows Server 2012
- Migrating the WSUS database from WID to SQL Server
- Building a three-tier Windows Certification Authority Hierarchy
- How to enable WinRM (HTTP) via Group Policy
- Bulk import computers into the MDT Database using PowerShell
- Manage Roles and Features remotely on Windows Server 2012


Is it possible to mount a nfs shares version 4 created from a VNX storage to Windows 2012 ?
Used the mount command in windows, but it is getting mounted as nfs v3 only. How we can change the version to version 4 ?
Hi,
You need to check version 4 on your 2012 Server. It’s in the NFS settings.
Server for NFS cannot update the share configuration. Try updating the shared directory again, or delete and recreate the shared directory“
How can resolve this is problem ?