Creating a Windows Server 2012 Failover Cluster
Creating a Windows 2012 Failover Cluster is not much different from the 2008 R2 version, but I created this guide anyway for those of you that are new to server 2012. To create this cluster I will use the StarWind iSCSI SAN software, since I don’t have Fiber Channel at home. If you are using an older version of the StarWind iSCSI SAN, you will be able to create the cluster but with errors on the storage side, because of the updated SCSI-3 Persistent Reservation in server 2012. We are going to create and active/passive Failover Cluster. This means we have one node that is holding the applications/services for the end-user, and another one which is in stand-by mode. If the active node crushes the other one, the passive node takes charge. With Windows server 2012 you can have up to 64 nodes in the cluster, compared with Windows server 2008 R2 where you could have only 16 nodes. Bellow is the configuration that you need to have in order to complete this; off course both nodes are joined to a Windows domain. The heartbeat and iSCSI networks need to be on separate switches or VLANs, because of the hight traffic.
| Node1 | Node2 |
| Network 1 (LAN) – 192.168.50.10/24 | Network 1 (LAN) – 192.168.50.11/24 |
| Network 2 (iSCSI) – 10.0.0.10/24 | Network 2 (iSCSI) – 10.0.0.11/24 |
| Network 3 (Heartbeat) – 1.1.1.1/24 | Network 3 (Heartbeat) – 1.1.1.2/24 |
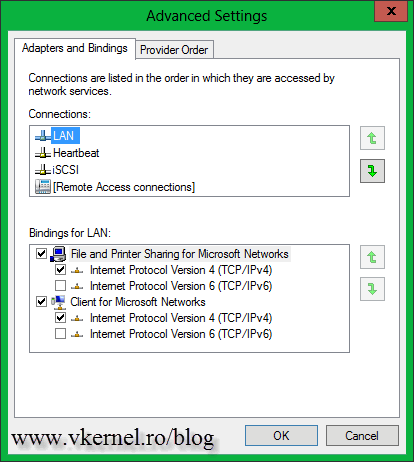
After you assigned the IP addresses to every network adapter verify the adapters order in the Advanced Settings Connections window. Go to Network Connections click Advanced > Advanced Settings and make sure that your LAN connection is the first one. If not, select it and press the up arrow to move the connection to the top of the list.
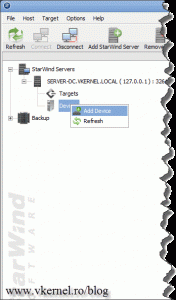
Use PING and verify that you have a response on every network adapter, if not troubleshoot. Do not create the cluster if you don’t have connectivity on one or more adapter(s). Before we begin creating the cluster we need to provision the storage. I’m going to create a volume for data and another one for the quorum drive using StarWind iSCSI SAN. Connect to the service, then right-click Devices and choose Add Device.
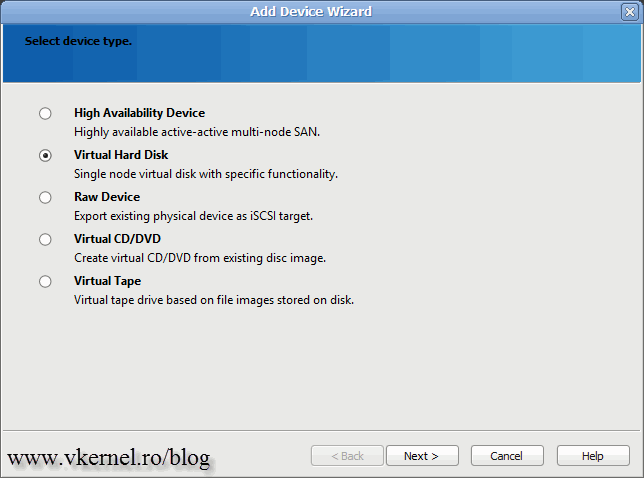
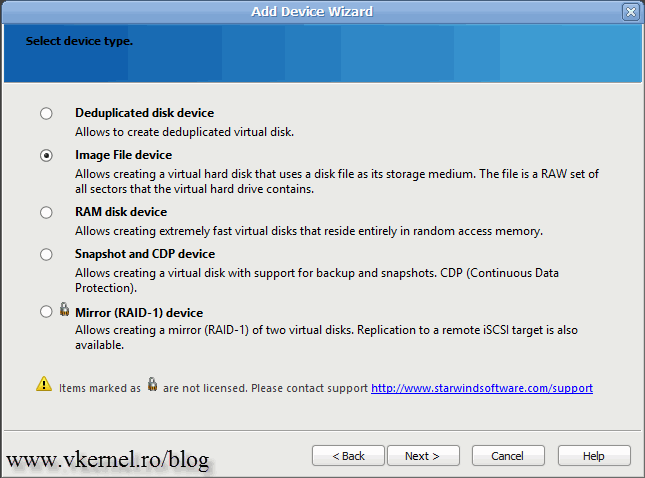
Select Virtual Hard Disk > Image File device > Create new virtual disk. If you want to put this in a loaded production environment you would select Raw Device, so the cluster storage will sit on a physical hard drive, not on a virtual file that emulates a drive. For that I recommend you get in touch with the storage vendor so they can tell you what is good and what is bad. For this exercise however, we are going with an emulated disk.
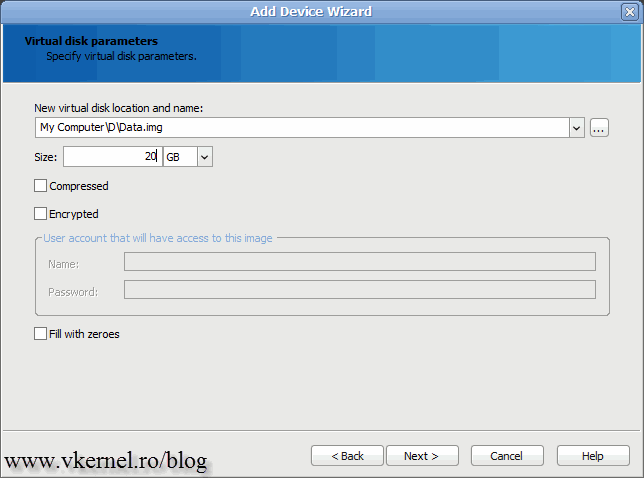
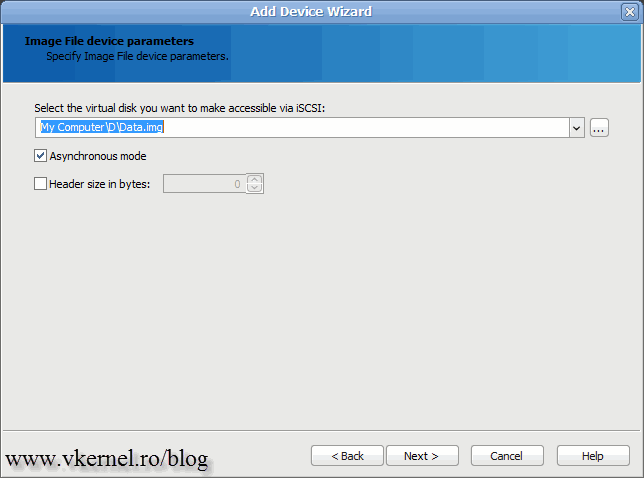
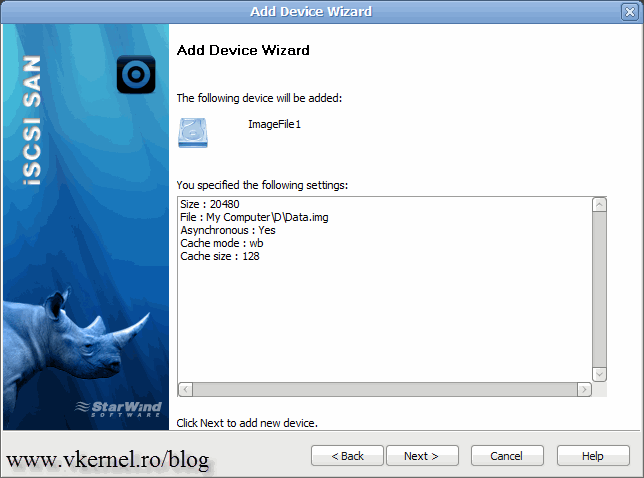
On the Virtual disk parameters window, provide a path and a name for the virtual disk then give it a size. Continue the wizard using default settings.
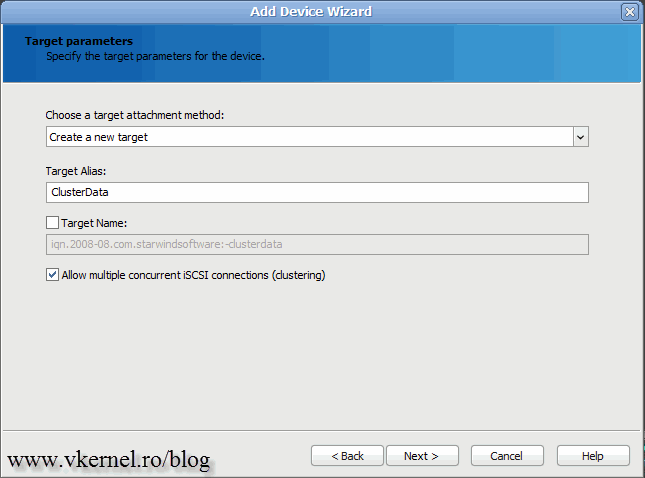
Here type a name for the Target Alias and make sure you check the box Allow multiple concurrent iSCSI connections (clustering).
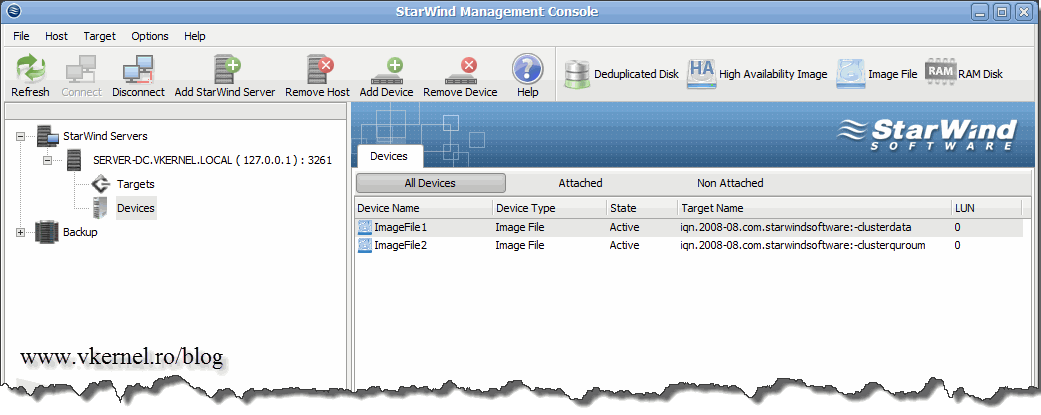
Repeat this operation and create another virtual disk for the quorum drive. The size of it must be more than 600 MB; usually I make this 1 GB, and I’m good-to-go.
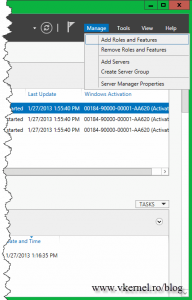
It’s time for us to install the Failover Clustering feature on the hosts that we want to participate in the cluster. I opened Server Manager on another server in the network, added the two nodes to the console, and now I’m going to install the this feature remotely on those hosts. Go to Manage > Add Roles and Features.
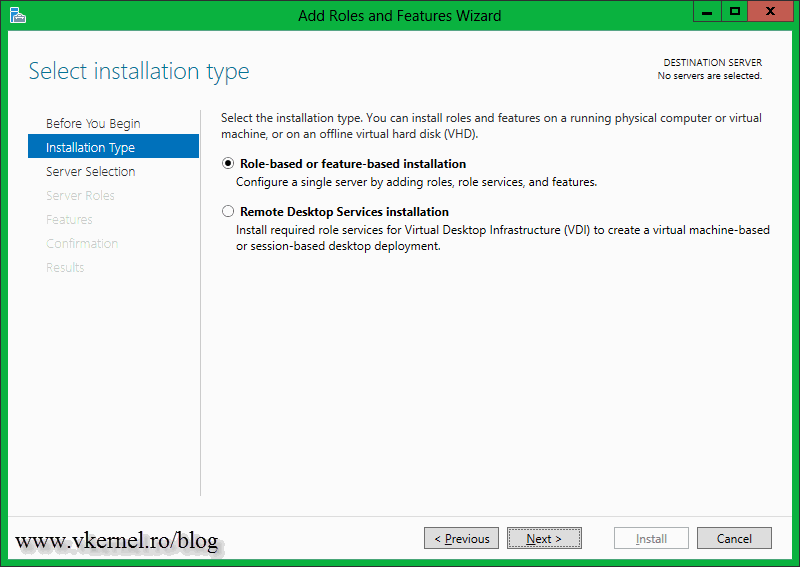
Select Role-based or featured-based installation and click Next.
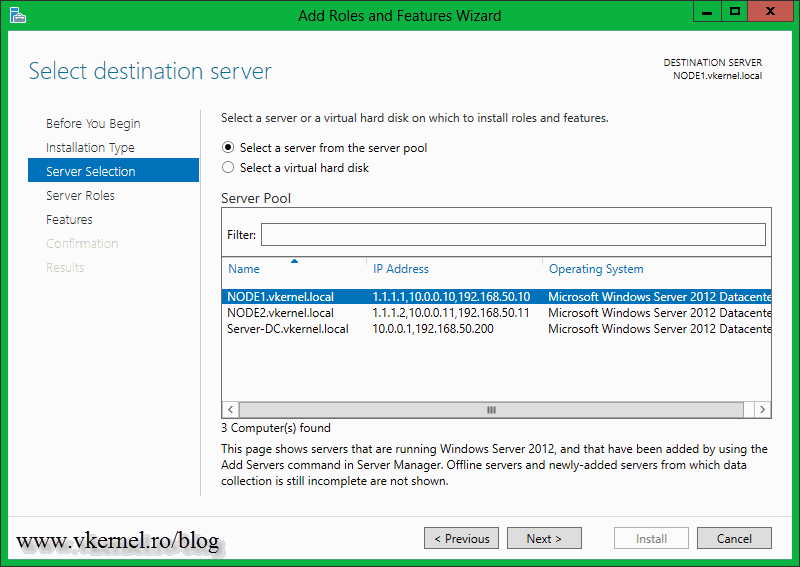
From the list I will select Node1 since this is one of the servers that is participating in the cluster. To bad we can’t select more than one server in this list, meaning we need to come back later for the other one.
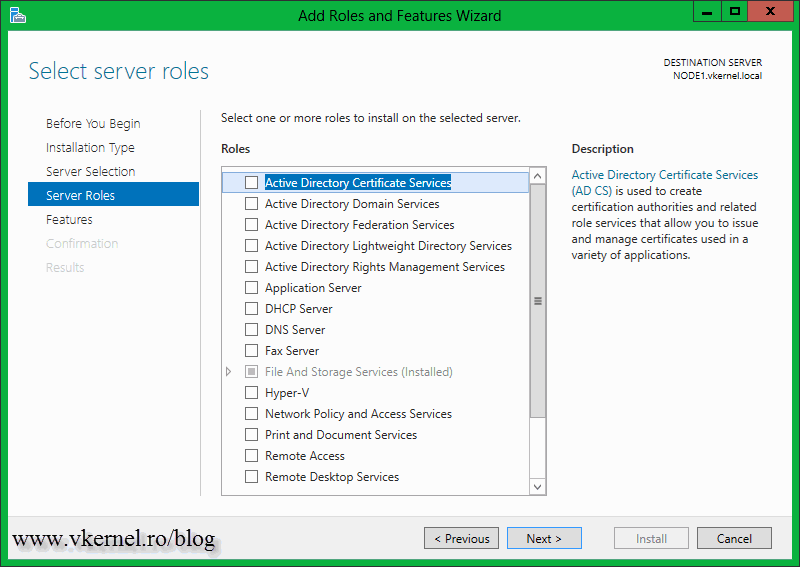
Don’t select anything here, just move forward with the wizard.
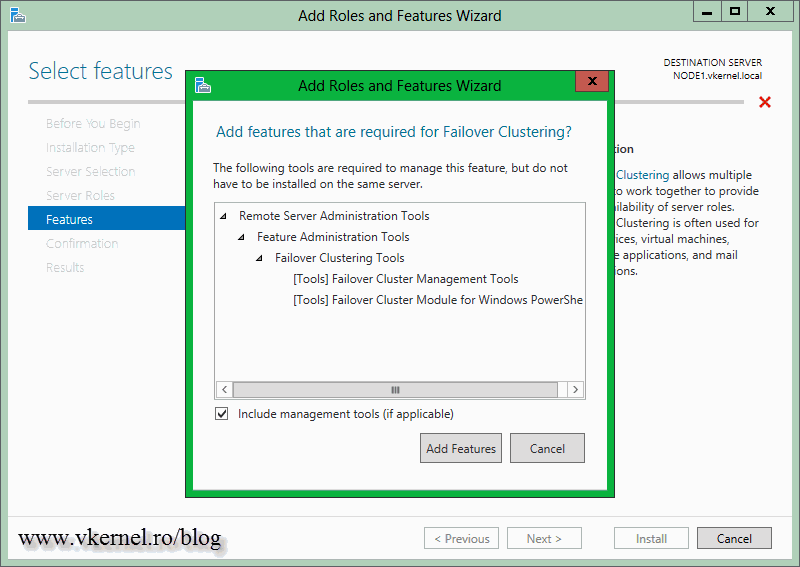
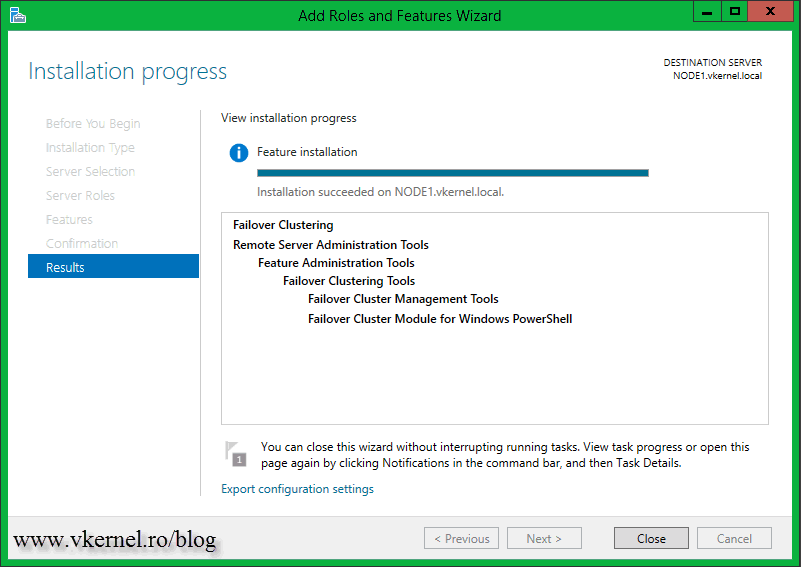
On the Features list, check the box next to the Failover Clustering. Click Add Features on the window that pops-up.
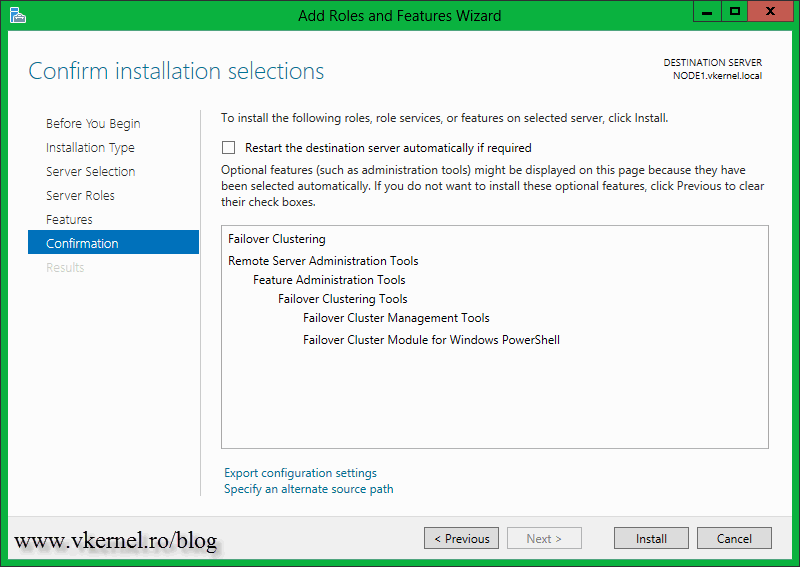
Click the Install button to begin the installation.
Repeat this operation for the other node that will participating in the cluster.
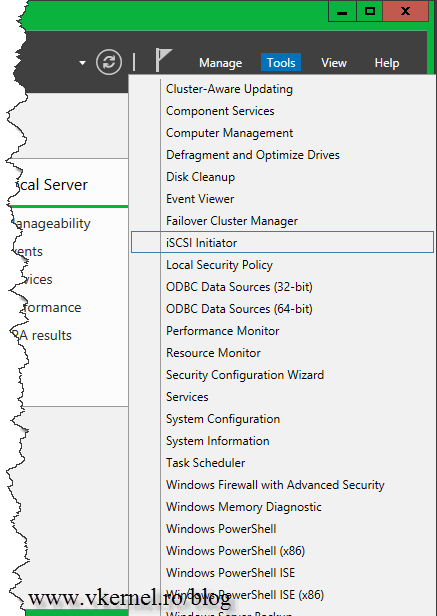
Since we are using iSCSI storage, we need to make it available to those node clusters. For this operation we will need to log in on every node and open the iSCSI Initiator. This can be done from Server Manager > Tools > iSCSI Initiator.
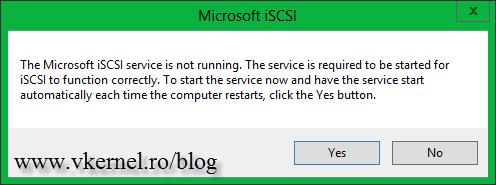
Click Yes on the window that pops-up, to start the iSCSI initiator service.
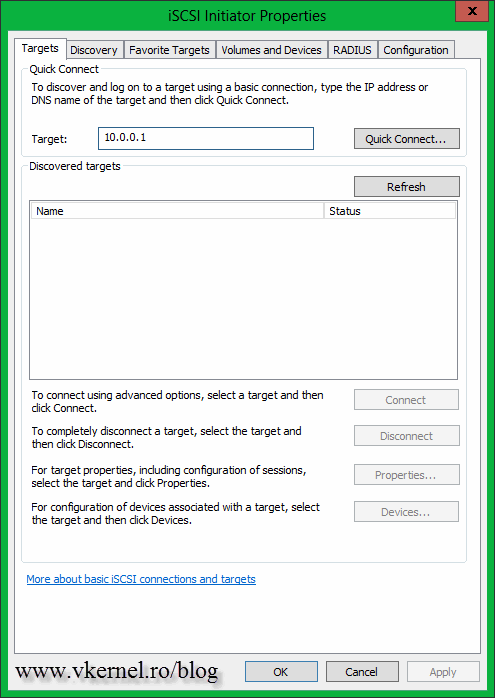
In the Target box type the name or IP address of your iSCSI target. This is the host where the StarWind iSCSI SAN software is installed. Click Quick Connect after you put the target address in the box. The targets are discovered and all we have to do now is connect to them. Select the targets one by one and click Connect then Done. Close the iSCSI Initiator Properties window; click OK.
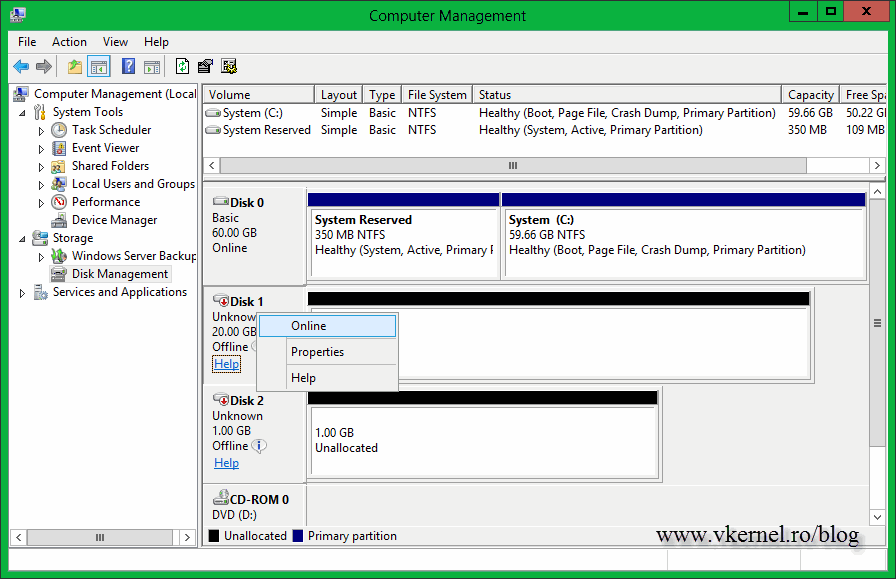
Repeat the operation on the other node(s). Now that we have the storage connected, we need put the disks online and create volumes. This is done from the Computer Management console (Server Manager > Tools > Computer Management). Once opened, go to Storage > Disk Management. As you can see the disks, which are virtual disks but are presented as local storage to the server, are offline. To put the disks online, right-click them one-by-one and choose Online, then another right-click and choose Initialize Disk.
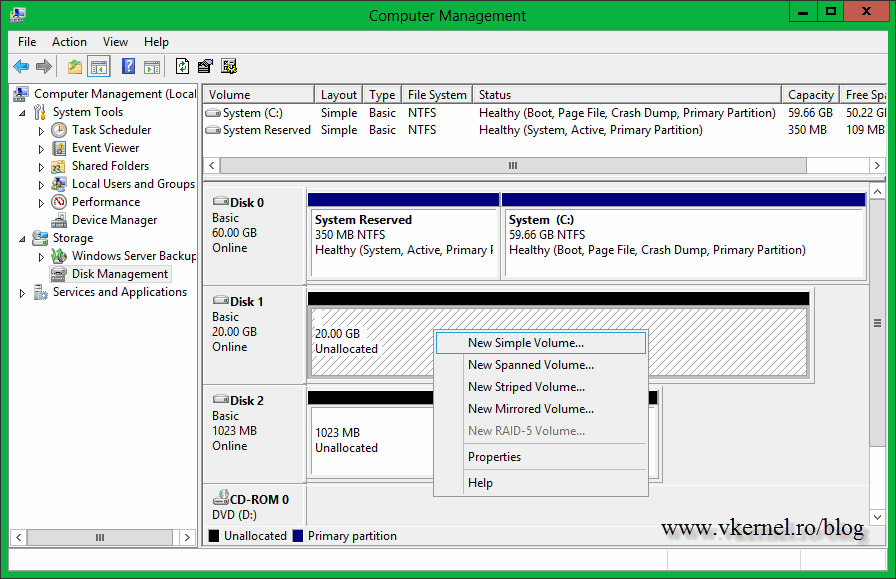
To create a volume just choose New Simple Volume and follow the wizard using default setting.
Do this for the rest of the node(s), but DO NOT put the disks online on those nodes, because disk corruption may arrise.
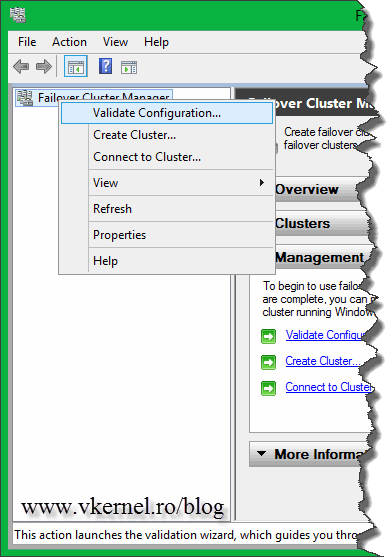
Right now I think we are ready to validate the cluster configuration. Open the Failover Cluster Manager console from Server Manager > Tools > Failover Cluster Manager, right-click Failover Cluster Manager and choose Validate Configuration.
Add the servers that you want them to participate in the cluster to this list by clicking the Browse browse button and search for them in AD. You can also type their name in the Enter name box and hit ENTER.
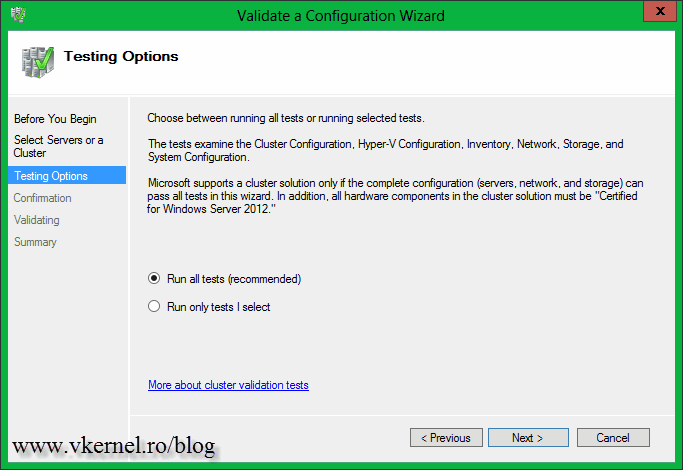
Select the option to run all tests, then click Next twice.
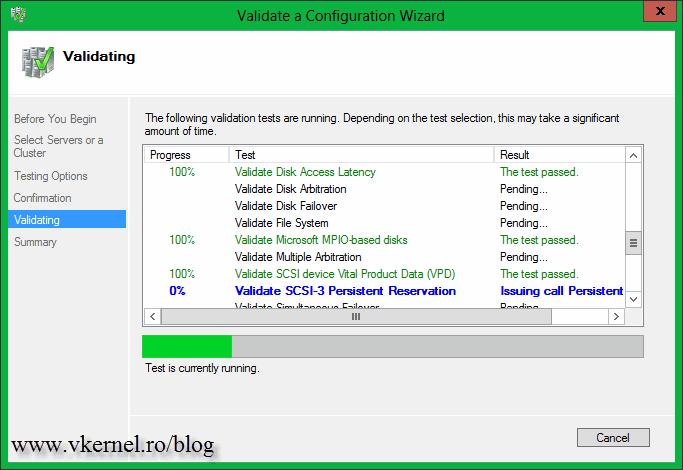
This operation can take from a few seconds to a couple of minutes. If you get any warnings or errors, fix them before continuing. Now that we passed the validation configuration tests, it’s time to create our Windows 2012 cluster; finally. Just leave the box Create the new cluster now using the validated nodes checked and click Finish.
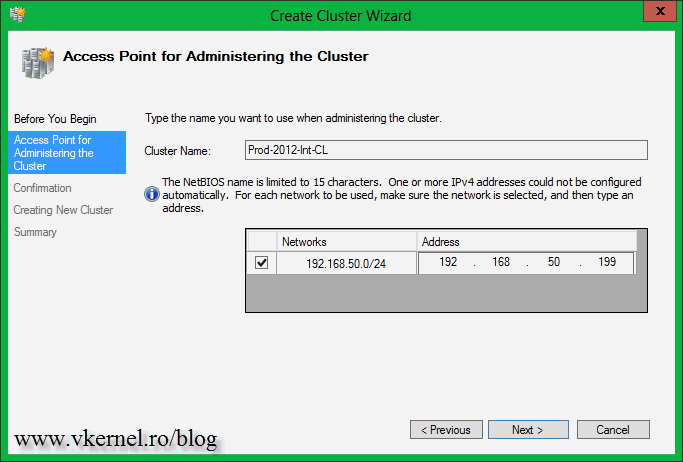
The Create Cluster Wizard Wizard pops-up. On the Access Point for Administering the Cluster page, type a name for the cluster and an IP address. I recommend you use a static IP even if you have DHCP implemented in your network.
This will create a computer account in AD. For this operation to succeed you need to have the proper permissions on the OU or Container where your accounts are created. I’m doing this using the domain admin account, meaning I have all the rights I need in AD.
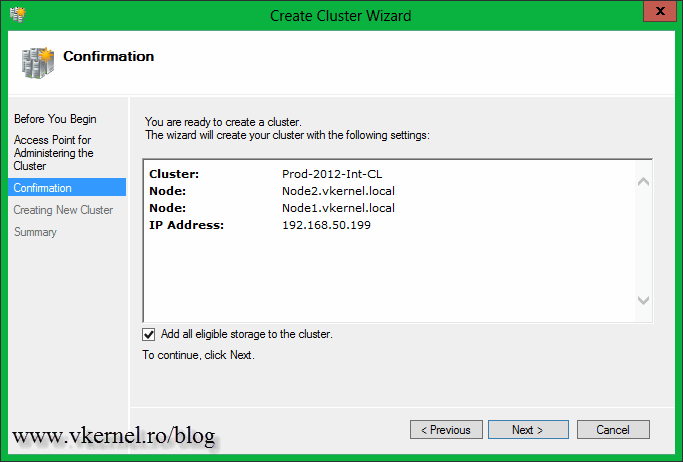
On the Confirmation screen just click Next to start creating the cluster.
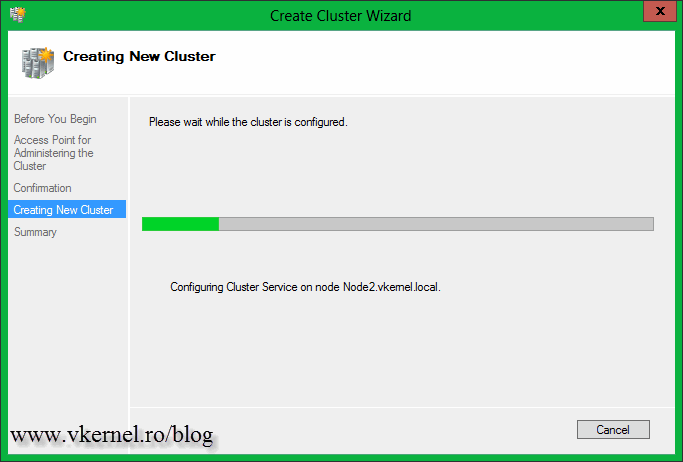
The operation will take a few seconds to complete.
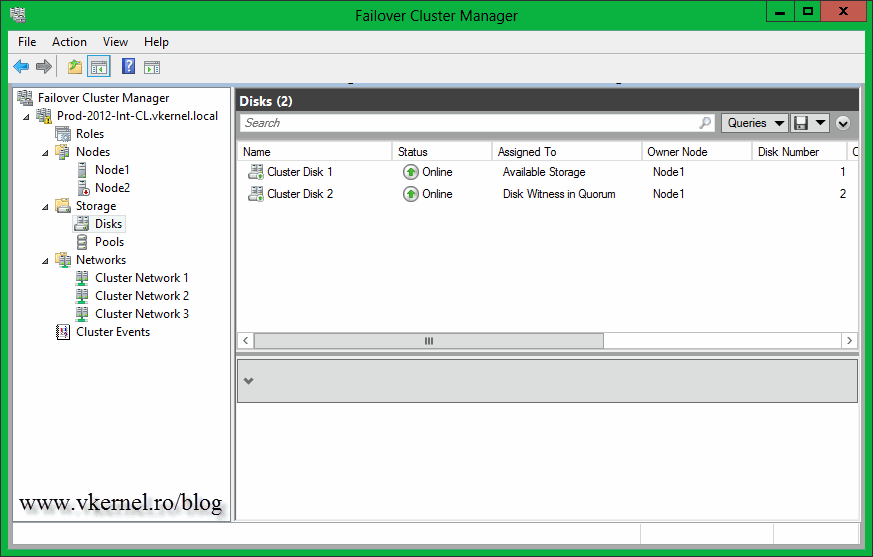
At the end you should have a good-working Windows 2012 Failover Cluster; and looks like the wizard choose the right drive for the quorum.
To test, just power off the active node (Node2 in my case) and see if cluster resources are failed over to the other node. When i did this, the Failover process took not more that 2-3 seconds. Pretty impressive, I might say.
Want content like this delivered right to your
email inbox?


Hi Adrian,
Thanks for the steps. Can you also advise more on this scenario
I’m trying to build a storage failover server with 2 machines configured with 2012 R2.
I have both machines shared out their virtual disk via iSCSI .
In general, both machines can access respective shared virtual disk.
Validating test for failover cluster show success with only ip address warning.
However upon the cluster creation (with success), all the iSCSI connection dropped and fail to reconnect.
I tried to restart the machine and it come with incomplete communication with FO cluster … If I destroy the cluster and after disable and reenable the virtual Disk, the connection re-established without error
Do you have any hint /advise I should be looking into ?
Thanks
Is the iSCSI network on a separate wire ? I hope is not communicating on the management network.
Hi,
Yes, iSCSI is setup on a difference subnet (with no DNS registration etc)
Btw, just to clear up another point, there is no additional iSCSI storage devices attached, the LUN share out is from the 2 machine itself. The machine is configured with hardware RAID 6.
The LUN needs to be seen by all the servers that are participating in the cluster. If you have local storage it won’t work.
Hi,
I did create a separate RAID(HW) on each machines and share out with iSCSI to itself and to the other host.
Under File Storage Services –> Disk, I did manage to see the same LUN being shared between both machine via iSCSI.
Failover Verification process seems to recognise it too (but not after the cluster is created)
Could that be, the failover detected the local storage and disable it iscsi share or was this some sort of MS2012 feature to ensure the non supported way is disable ?
Thanks
I don’t know what you are doing there, but the story is simple. You have two Windows servers and one storage (third server or a storage device – NAS, HDD Enclosures). You configure the iSCSI initiator from the two Windows servers to connect to the storage. After you see the storage presented to the two servers you start configuring the cluster. You can’t create a cluster from local hard drives. Let me know how it works or if you need further help.
Thanks,
Adrian
Yes, I separated the networks (lots of traffic arrived, even for my small lab environment)
MS says client for MS Networks component and File and Printer Sharing should stay enabled on
the adapter for the private network (heartbeat traffic between nodes)
(Source: MOC 20412B 11-14), for SMB I assume.
Got that with the iSCSI target name now :), thanks
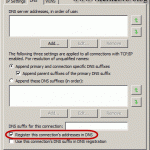
very helpful, thanks. is it ok / best practice to remove dns registration for heartbeat + iscsi networks, as well as client for MS networks and File and printer sharing?
Hi,
Yes you can do that, but if you configured your iSCSI initiator to connect to the target by name, you can’t. And one other thing, I hope you separated the traffic between these networks, especially the iSCSI and management/VM network.