Configure the iSCSI Initiator on Windows 2008 R2 Server Core
When you need to add additional storage to your Windows Core server, you usually shut it down and add the extra drive; for those that are using DAS (Direct Attached Storage), off course. Now its time to add that storage, but you run out of SATA/SAS slots on your server main board. In this kind of situations iSCSI comes to the rescue, because is a cheap and reliable technology; and let’s say you can’t afford a SAN. In this guide I’ll show you how to configure the iSCSI Initiator on a Windows 2008 R2 Server Core, since we don’t have a shortcut somewhere on our desktop or menu. Damn…we don’t even have a menu or desktop on Server Core! To open the iSCSI Initiator Properties just type iscsicpl on the terminal.
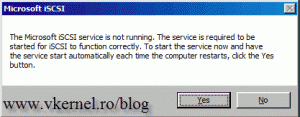
As soon as you press Enter a confirmation dialog opens informing us that the iSCSI Initiator service needs to be started. Press Yes to start the service and put it in Automatic mode, so every time the server boots up the iSCSI service starts too.
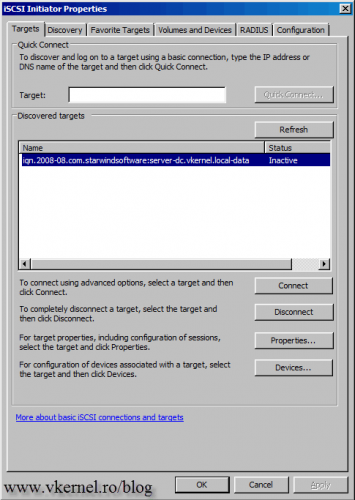
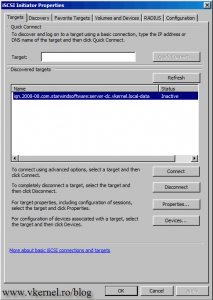
Now we get the iSCSI Initiator Properties where we can type the FQDN, NetBIOS or IP address of the iSCSI Target.
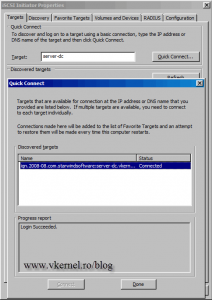
Let’s add a target and see how it works. I will add a 50 GB drive on my Server Core trough iSCSI. I the target box I will type the name of my iSCSI Target and click the Quick Connect button.
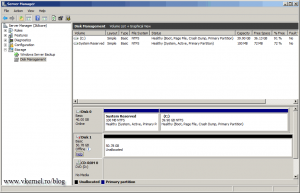
Now if we use a remote Server Manager console we can see the new drive, and we can format it just like a SCSI or SAS drive.
Want content like this delivered right to your
email inbox?


nice tutorials overall. thank you !
i found the vmware part very useful for someone who knew only the name of the application before reading your site 🙂