Upgrading VMware vCenter 4 to vCenter 5
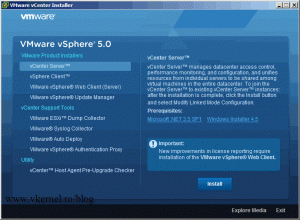
I know you are happy that you got the approval to upgrade your VMware Infrastructure, but before anything happens you need to upgrade your vCenter servers. In this guide I’m going to show how it’s done, and for the lab setup I have a vCenter Server 4.1 that is using a remote database hosted on a SQL Server 2008 Enterprise. All servers are part of a Windows domain. First I recommend you back up your database and the vCenter server, so in case things go wrong you don’t lose your VMware Infrastructure. To start, mount your vCenter 5 ISO, and on the splash screen click vCenter Server on the left then the Install button. Normally you will want to run the Upgrade Checker by clicking the vCenter Host Agent Pre-Upgrade Checker button first to see if your environment can be upgraded. Since I know that my environment supports this upgrade, I’ll just skip this step.
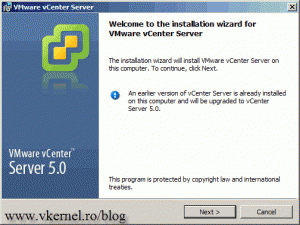
As soon as the wizard loads, you will be notified about an earlier version of vCenter Server installed on the server. Click Next to continue.
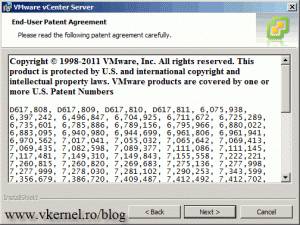
On the End User Patent Agreement page click Next.
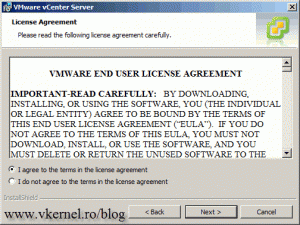
Accept the EULA and continue.
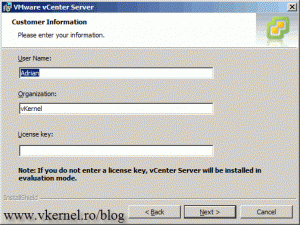
Complete the boxes on the Customer Information page. You don’t have to put the license key right now, you can also license vCenter Server after the installation is complete.
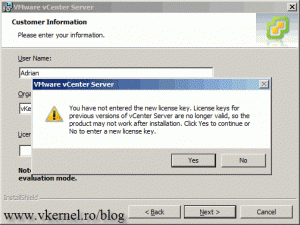
If you don’t enter a license key now a warning box appears informing us that the previous license, in our case the vCenter 4.1 license, is not valid for this version. Just click YES to continue.
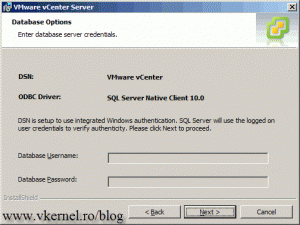
Because I am using Integrated Windows Authentication, the connection to the SQL server is done using the logged on user, which is a domain admin user account. If you are using SQL authentication provide the database user name and password and click Next.
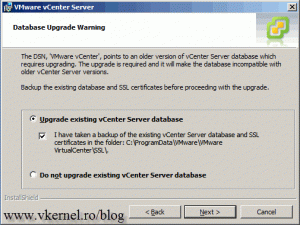
Here select the first option Upgrade vCenter Server database then check the box to confirm that you backed up the database and the SSL certificates.
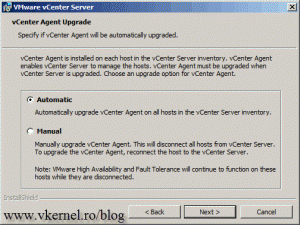
For the sake of this example I will choose Automatic and let the wizard upgrade all the vCenter Agents on all ESX hosts connected to this vCenter instance.
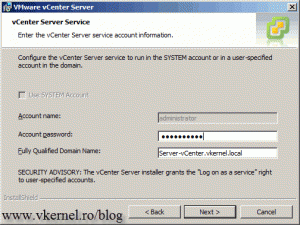
Provide the password for the service account that vCenter service will run under, and click Next to continue.
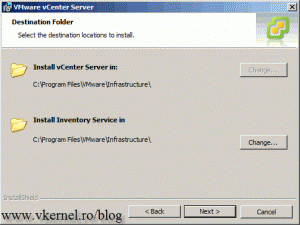
As you can see the vCenter Server installation path cannot be changed, so the only path that you can change is the Inventory Service.
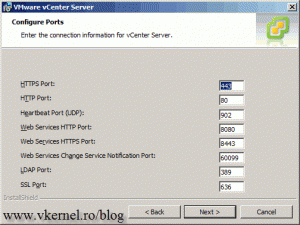
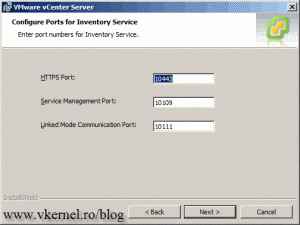
Leave the default ports and click Next.
The same here, leave the defaults and continue.
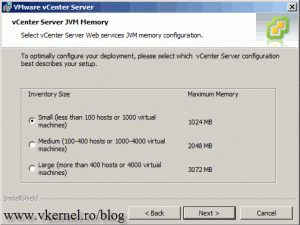
Here choose the Inventory Size that corresponds to your environment. For this example I will go with the first option.
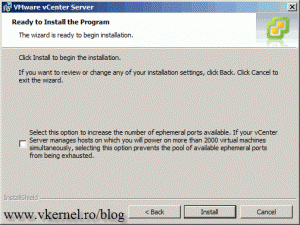
At the last wizard screen click the Install button to start upgrading the vCenter server.
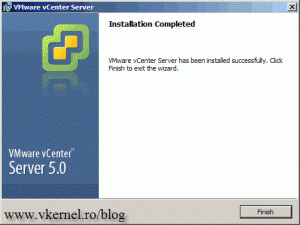
If everything went well, you will be notified at the end of the installation with a successful screen. Click Finish to close the wizard.
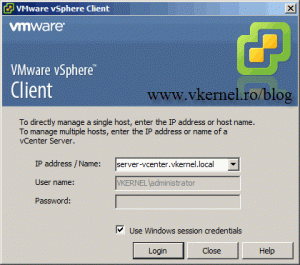
Now open the vSphere client and connect to the vCenter server.
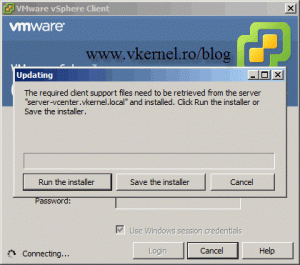
As soon as you click the Login button the update window appears to upgrade the vSphere client to version 5. Click Run the Installer button, to start downloading the necessary files for the upgrade.
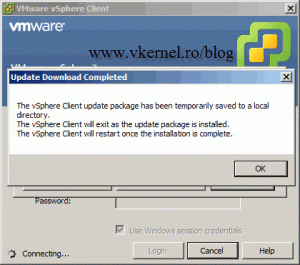
Don’t be scared about the message after the download is completed, just click OK. Is just telling you that all the necessary files for the upgrade were saved on a temporary folder.
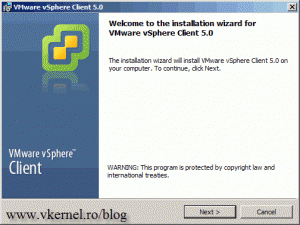
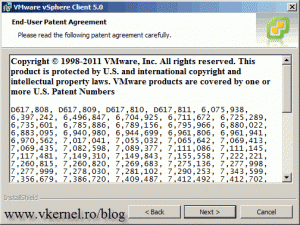
At the first screen of the vSphere Client wizard click Next twice to skip the Welcome screen and the End-User Patent Agreement screen.
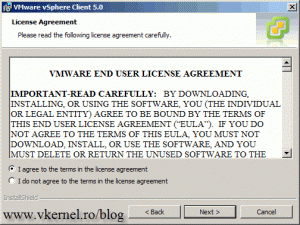
Accept the EULA and continue.
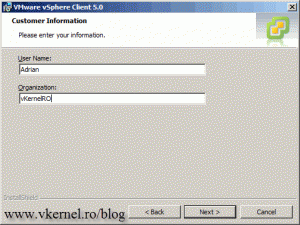
Complete the Customer Information and click Next.
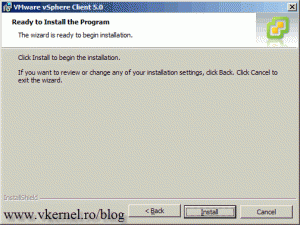
At the Ready to Install the Program screen click the Install button.
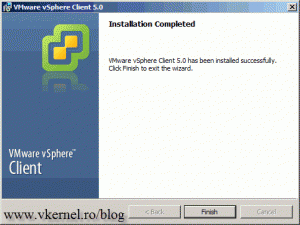
Click Finish at the end of the installation.
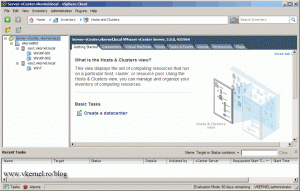
Now connect to your vCenter server and see if everything is how is supposed to be. All ESX hosts should be connected to the infrastructure and their agents upgraded.
Want content like this delivered right to your
email inbox?
