Installing Microsoft System Center Virtual Machine Manager (SCVMM) 2008 R2
If you are reading this post that means you have a bunch of Hyper-V Servers you need to centralize, create reports and monitor. Microsoft System Center Virtual Machine Manager (SCVMM), part from System Center family can help you with that. You can manage multiple Hyper-V Servers, clone virtual machines on those servers, and more. Not only that but you can manage even VMware ESX Servers. The version of SCVMM that I’m going to install is 2008 R2, but soon we are going to have a new version out since 2012 is in beta.
To install SCVMM 2008 R2 you need to have a Windows domain, because in a workgroup environment is not going to work. Bellow I typed some minimum prerequisites needed for SCVMM 2008 R2:
Processor Pentium 4, 2 GHz (x64)
RAM 2 GB
Hard disk space (with a local SQL Server 2005 Express Edition database) 10 GB
As the OS requirements you need to have Windows Server 2008, or 2008 R2 for the VMM Server service. You need to install a couple of other software like .NET Framework 3.0, Windows AIK, but these are part of the installation process if you don’t have them on your machine.
For a full list of prerequisites go here (hardware & software requirements) and here (OS requirements). All my machines in this lab are using Windows Server 2008 R2 SP1.
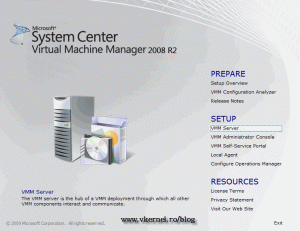
Log on to your SCVMM server to start the installation. On the initial screen click VMM Server.
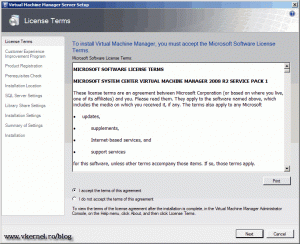
The first screen of the setup is the EULA; read it and accept the EULA to continue.
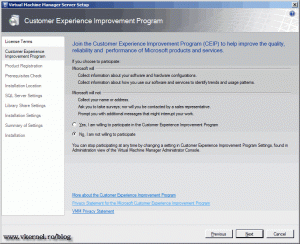
If you want to improve Microsoft products you can participate on their CEIP program, by sending some information about your hardware and system configuration. I am choosing not to, for this example.
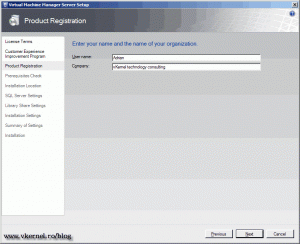
Type a user name and a company to register the product.
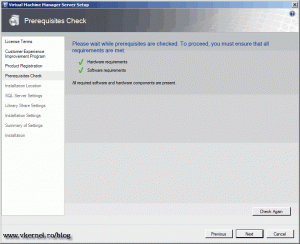
If your system passes the hardware and software requirements you should have green check boxes.
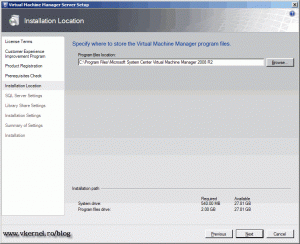
If you are happy with the installation path, click Next to continue, if not click the Browse button and select a different path.
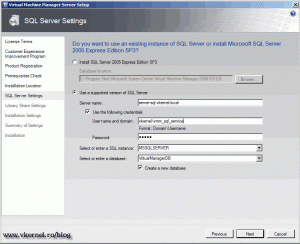
For small environments you can go with the first option Install SQL Server Express Edition SP3, but if you have more than 20 hosts to manage go with a full version of SQL Server. I happen to have a full version of SQL Server 2008 in my lab so I’ll go with the second option. The SQL Server service need to run under a domain account; is not going to work under the local system account.
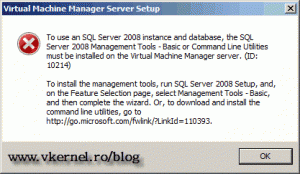
If you choose to go with the second option too, first you need to install the SQL Server Management Tools – Basic on the VMM server, or you will get an error message. Complete the connection details and click Next to continue.
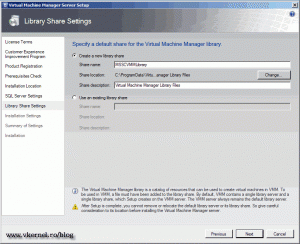
A VMM library is where all ISO images and templates are kept. You can give your library a name, or go with the defaults.
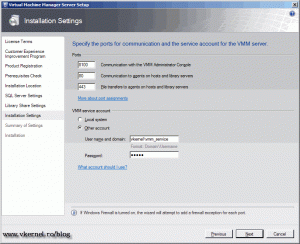
I recommend you leave the ports alone, but for the VMM service account you should use a dedicated account. Just create a simple domain account and add it to the local Administrators group on the VMM Server.
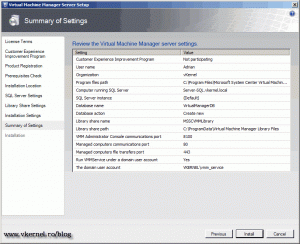
On the Summary screen click the Install button to start the VMM installation.
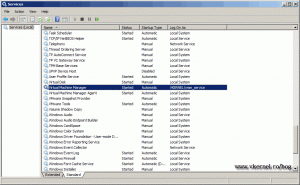
When the installation is completed you have the option to check for updates. Click Close. Now verify if the service is started by opening the Services console.
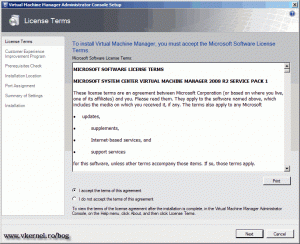
If everything is OK, we can continue with the administrator console installation, because we need a console to connect to the VMM service. You don’t have to install the console on the VMM server, you can install it on a Windows Vista or 7 client. In this case however I’m going to install it on the VMM Server. To get started on the SCVMM splash screen click VMM Administrator Console to stat the wizard. Read and accept the license agreement, then click Next to continue.
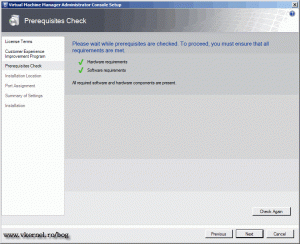
After you skip the CEIP program, the wizard starts checking if all the prerequisites are installed.
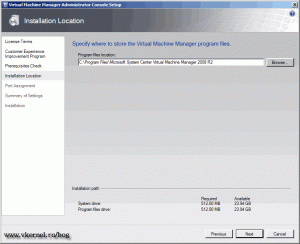
Choose the path to install the application. If you are OK with the default path click Next to continue.
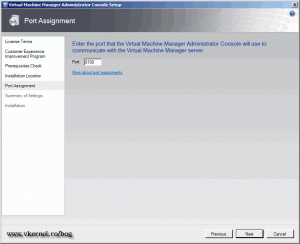
This is the default port used to connect to the VMM service. Do not change it, just click Next.
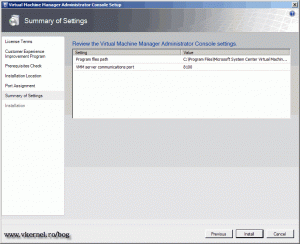
On the Summary screen click Install.
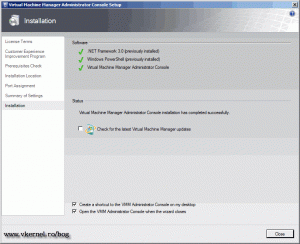
At the end you can check for updates, create a shortcut on the desktop for the administrator console, or you can open it. Choose to open the console and click the Close button.
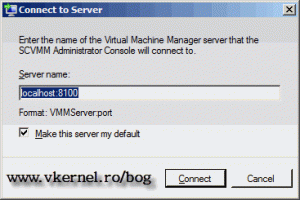
Type the server name and port to connect to. If you followed along, no changes are necessary on this box.
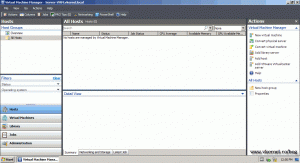
And voila, the SCVMM console is ready for action. All you need to do now is add some Hyper-V or vSphere Servers to the console for management.
Want content like this delivered right to your
email inbox?
