Deploying Windows 7 with WDS and MDT 2010 – Part3
Welcome to the third part of deploying Windows 7 with WDS and MDT 2010. In the first two parts I showed you how to install WDS and MDT 2010, how to import a clean image of an operating system into MDT and how to create a task sequence. In this part we are going to deploy that clean image of Windows 7 to a workstation, then capture the system and import that capture in MDT 2010 for mass deploy.
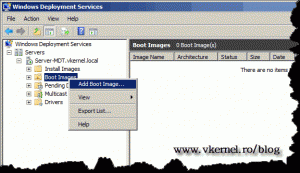
Since we already have the boot images created for us by the MDT wizard when we updated the Deployment Share, we can start importing those images, or at least one of them in our case into WDS. By importing that image into WDS, clients will be able to boot from that image and connect to our Deployment Share and proceed with the installation. Now open your WDS console right-click the Boot Images folder and choose Add Boot Image.
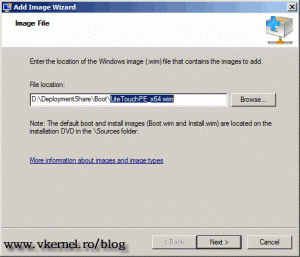
Browse for the boot image, which is located in the Boot folder of your Deployment Share. Select the x64 image (LiteTouchPE_x64.wim), since we are deploying a 64 bit operating system. If a 32 bit operating system is deployed choose the x86 image.
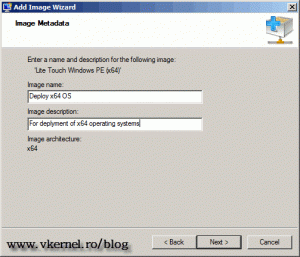
Give the boot image a name and description then click Next.
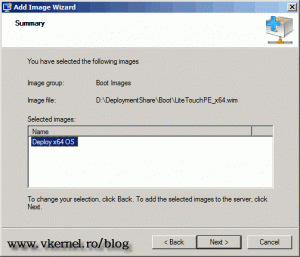
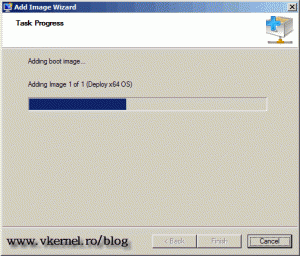
On the Summary screen click Next to import the image in WDS.
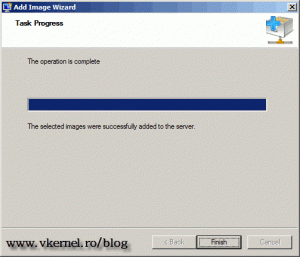
When the operation completes click Finish.
Now we have a boot image in our WDS server,
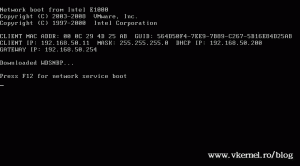
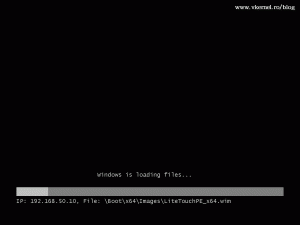
is time to power on a client and force him to boot from the network.
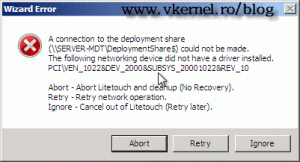
After it boots you might get the error message “A connection to the Deployment Share … could not be made…The following networking device did not have a driver installed”. This is because the network drivers are missing from the WinPE boot image for that specific network card you are having on the workstation(s). To solve the error and continue with the deployment, follow this guide.
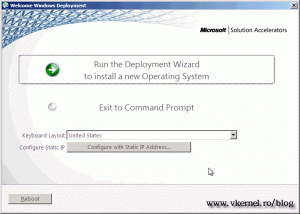
If everything is in order click the button Run the Deployment Wizard to install a new Operating System.
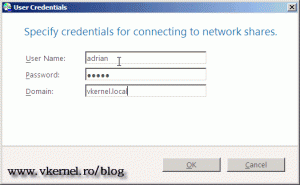
Provide the credentials to connect to the Deployment Share.
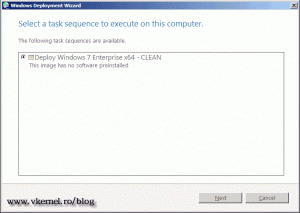
Select the task sequence from the list and click Next.
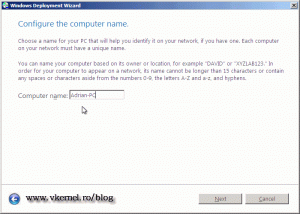
Type a name for the computer and continue.
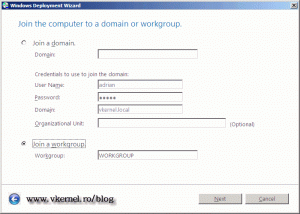
Leave the option not to join the computer to the domain.
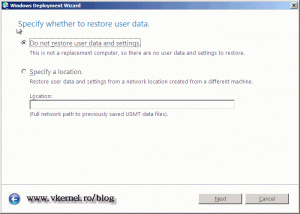
Since this is a new system we don’t have any user data to restore, so click Next to continue.
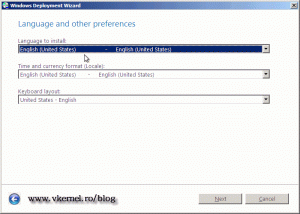
Choose your language and other preferences and click Next.
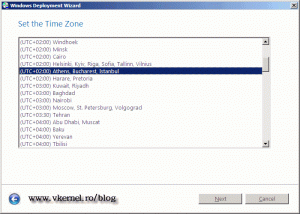
Select the time zone and continue.
We don’t want BitLocker to encrypt our drive, so leave the defaults here.
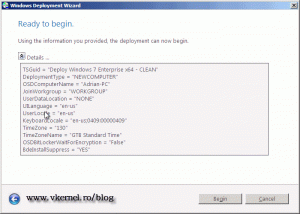
On the Ready to begin screen click the Begin button to start the deployment.
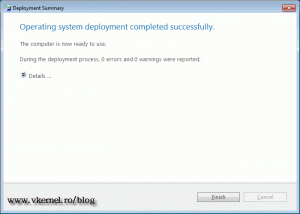
If the deployment was a success no error should appear on the Deployment Summary screen.
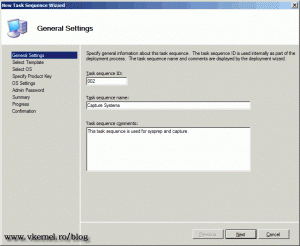
Now that we have our system up and running, is time to prepare the environment for capturing the system, and for that a new task sequence needs to be created. On the Task Sequence folder in MDT, create a new task sequence.
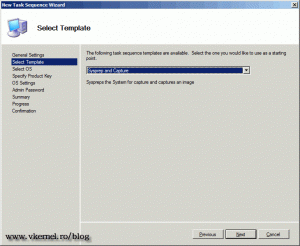
On the Select Template page we need to select Sysprep and Capture.
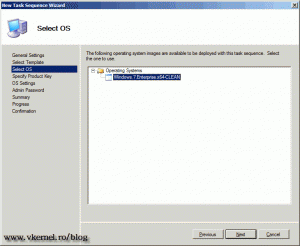
I don’t know why we need to choose an operating system here, but if we don’t we can’t continue. Finish the wizard using the default settings.
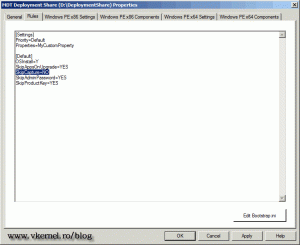
No we need to verify that our rules allow capture. Right-click the Deployment Share and choose Properties. On the Rules tab ensure that SkipCapture is set to NO (SkipCapture=NO).
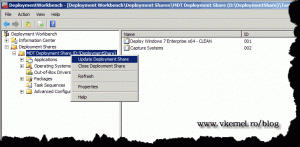
Like I told you, before anything happens in MDT the Deployment Share needs to be updated, so right-click it and choose Update Deployment Share. Use the default settings on the Update Deployment Share Wizard.
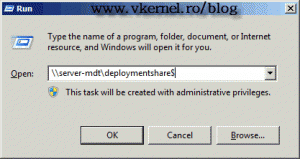
On the client side we need to install the proper drivers for the system and the necessary software. This is just my way to do things, but if you want, you can install drivers and software during the deployment process. I’ll show you in a future post how to do that. For this example let’s install Adobe Reader and Open Office, so our package won’t be so big. After the software and drivers are installed is time to capture the system, create an image of it, then import the image in MDT 2010. For that go to Start > Run, and type the path to your deployment share.
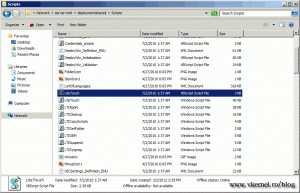
Go into Scripts folder, and here double-click the LiteTouch.vbs file.
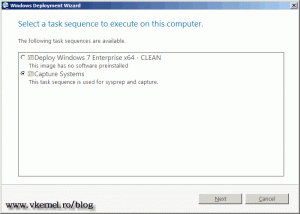
On the Windows Deployment Wizard select the Capture Systems task sequence.
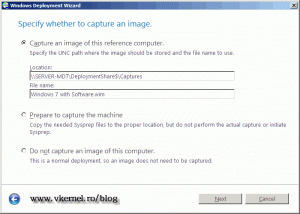
Here choose the first option Capture an image of this reference computer since we want to image the system. The default path is fine for me; if you have a share on a file server in your network and want to save the image there, just type the path to that share in the Location box. Give the image a name, then click Next to continue.
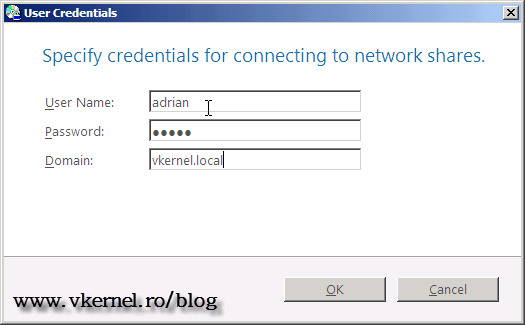
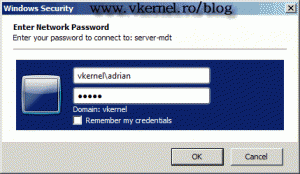
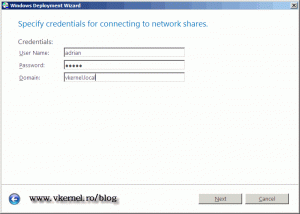
Provide the credentials to connect to the network share. I am using my Active Directory account which is member of Domain Admins group, so I have full access anywhere on this domain.
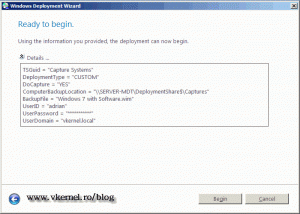
When you’re ready, click the Begin button to start capturing the system.
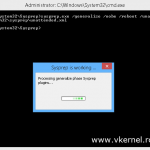
The system will be syspreped, then it will reboot into WinPE environment and start creating the image. The operation will take some time, and depends of the amount of software you installed on the system.
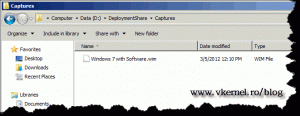
After the imaging process is done, if you take a look in the Captures folder on your Deployment Share you can see the system image uploaded and ready to be imported in MDT. We will deploy this image in the next part, so bye-bye for now.
Want content like this delivered right to your
email inbox?




Adrian, I followed your Part 1 to Part 3 (also completing the WDS Configure post).
Questions:
1. When I use the boot.wim (created in the WDS Configure Post), it works – goes through a basic clean install.
What was this step prepared for?
2. When I use the wim configured in Part 3, I am stuck at the Windows start logo. I have tried a clean DC, MDT install several times and on separate boxes and get the same stuck at the Windows Start logo.
Why is this?
Thanks,
Hi,
Number one is for you to deploy a clean image of Windows. You can also use the installation DVD, but it’s faster over the LAN.
For point number two it might be a drivers problem, MDT version (if you try to deploy Windows 10) etc. Integrate your drivers in the boot image and update your software to the latest builds.
Let me know how it works.
Problem solved.
Just change the CustomSettings.ini and Bootstrap.ini files for your deployment share to this values:
CustomSettings.ini
[Settings]
Priority=Default
Properties=MyCustomProperty
[Default]
OSInstall=Y
SkipAppsOnUpgrade=YES
SkipCapture=NO
SkipAdminPassword=YES
SkipProductKey=YES
BootStrap.ini:
[Settings]
Priority=Default
[Default]
DeployRoot=\\SEA-DC1\DeploymentShare$
Hi,
Sorry for the delay, I’ve been very busy,but I’m glad you worked this out. Cheers
Hi, I am trying to make a capture. But have some troubles. I have opened Lite Touch.vbs -> made a choice in Task Sequence menu, but after clicking Next button, there is no choice Capture Image. Just Credentials. Where could be a problem? Thank you
I have successfully capture reference computer and deployed image on many model and it worked.
After long time i had to amend the image to include some applications, so i captured the image again. While deploying the image , now all of sudden when Setup is preparing computer for first use”….then i get the Error message stating “The Computer Restarted unexpectedly or encountered an unexpected error. Windows installation cannot proceed. To install Windows, click OK to restart the computer and then restart the installation”.
what could go wrong, i am unable to debug.. There are various articles where it says to execute Shift F10 and follow few steps but how do i execute them during deploying Windows 7. Can you please advise
the computer restarted unexpectedly or encountered an unexpected error
Hi,
Don’t make a habit of deploying a captured image than recapture it again just for a few apps. You can sysprep a system three times, then you need to install from scratch. Why didn’t you used the Applications folder to add an application then put it in the task sequence? Try to deploy the image before you install those applications if you backed it up somewhere, if not try a clean install. To execute Shift F10 you will need to pause the deployment is every step of the wizard is automated. Let me know how it goes.
This is the fix:
Edit your Bootstrap.ini to look like this:
Change your DeployRoot setting as follows. Change your server name to it IP address.
Example:
DeployRoot=\\TechnicianPC01\DekstopEngineering
to
DeployRoot=\\192.168.0.7\DesktopEngineering
Of course you will have to use your own information, but this will fix it….
I have the same problem. I enter the network path for the share then my username and password but it doesn’t take. I have the correct network drivers as I am given a command line window if I select cancel and from there, I can do a net use and map the drive. Any ideas?
Since you tell me that you can connect to the network, verify that in the Bootstrap.ini file you put the right account that has the right permissions on that share. Test with a domain admin account, if you can, just to see that it works.
Thanks, very usefull. I had a problem in step wit pxe booting – it coudn’t connect to TFTP….
This was the decision: http://support.microsoft.com/kb/977512
step : Provide the credentials to connect to the Deployment Share.
I type user and pass domain, but invalid credentials : the network path was not found.
I don’t understand, it’s user and pass ?
Like it says in the article, you may not have the proper network drivers in the boot image, meaning you don’t have an IP so you can’t connect to the Deployment Share. Verify that you have an IP address, if not put the driver in the boot image.
Let me know how it works out.