Activating a 2008 R2 Remote Desktop License Server
You installed the RD Session Host role on one or more servers, and make your users happy, especially those working from distance; you manage to reduce hardware, cooling and storage costs by using multiple sessions on a single server. And as you know you have 120 days, after which a license needs to be installed if you want to continue using those multiple sessions on a single server.
To license those sessions you need to have at least one RD Licensing server in your network, a proper license key from Microsoft and an internet connection. The connection to the internet is not mandatory, you can activate the license server by talking with a Microsoft representative over the phone, and they will give you the activation serial after you prove to them that you own a valid license. This is needed if the License server is in a secure environment where a connection to the internet is not possible. In this guide I will show yo how to activate it using the internet.
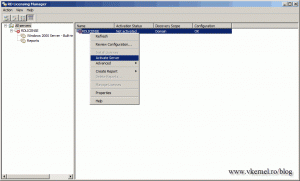
To start open the RD Licensing Manager by either using the link from Start > Administrative Tools > Remote Desktop Services > Remote Desktop Licensing Manager or just type licmgr.msc in the Start menu. As you can see the License server is not activated because it has a red X mark and well…it says Not Activated. To activate it just right-click the server name and choose Activate Server.
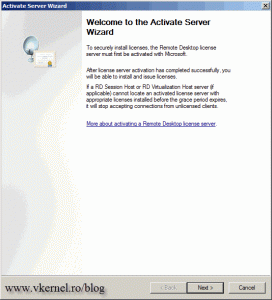
Click Next to skip the Welcome page of the Activate Server Wizard.
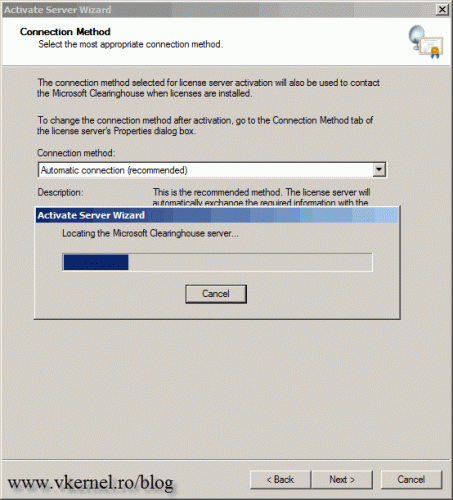
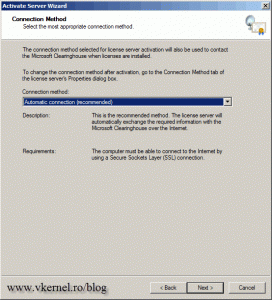
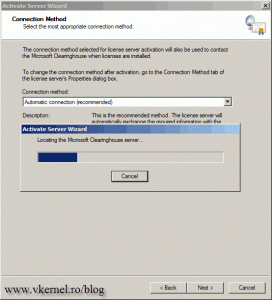
Now we have three options to activate the License server and the best and recommended one is by using the automatic method. By using this one the wizard will contact the Microsoft Clearinghouse and activate itself, so you don’t have to copy and paste serial numbers. If you don’t have an internet connection on the network where the License server is located use one of the other two methods.
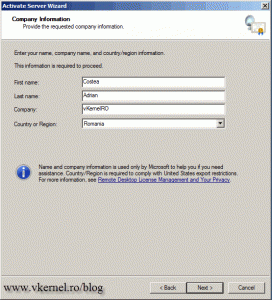
After the Microsoft Clearinghouse is contacted you will need to complete some fields before you can continue.
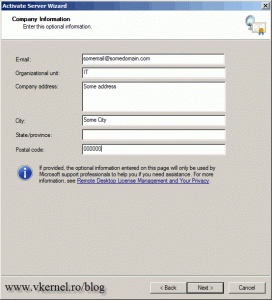
Again complete the fields and click Next.
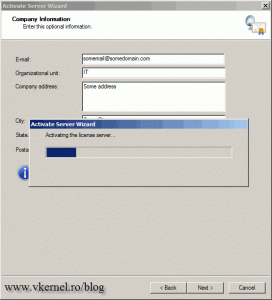
As soon as you click Next the wizard contacts the Microsoft Clearinghouse again, for activation.
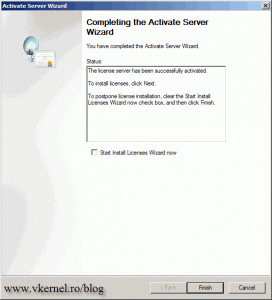
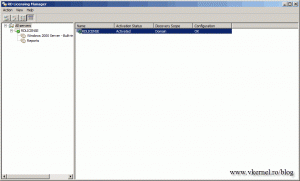
If successful you will be notified in the wizard, and in the RD Licensing Manager the status of the server should be Activated. Clear the Start Install Licenses Wizard now because I want you to see the server being activated. We will install licenses in just a moment.
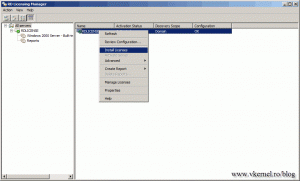
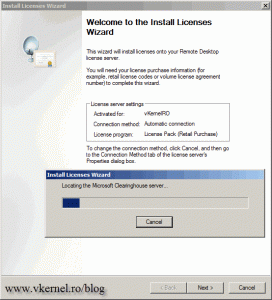
Now, to install licenses on the server just right-click its name and choose Install Licenses.
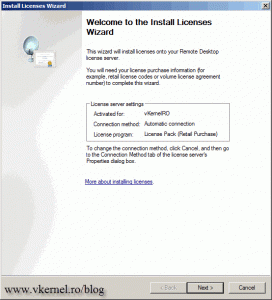
Click Next to skip the Welcome screen and let the wizard contact the Microsoft Clearinghouse.
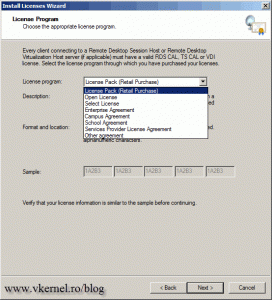
From the drop-down box choose the type of license you own and click Next. Since I have a Campus Agreement I will select this and continue.
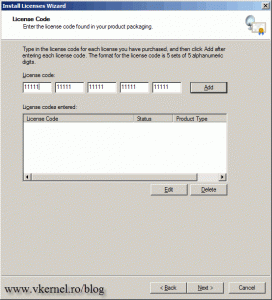
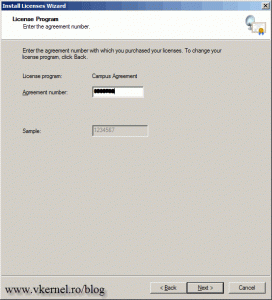
If you have a Retail serial number just type it in the License Code boxes and click the Add button; but if you have an agreement like me, just type the agreement number and click Next.
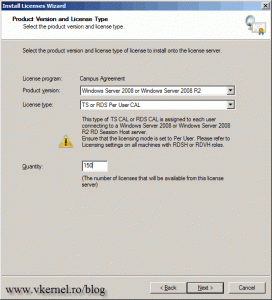
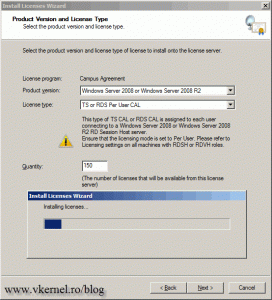
Choose the product version and license type, then provide the license quantity. As soon as you click Next the wizard again, contacts the Microsoft Clearinghouse to verify the serial/agreement number and if everything is OK it will install those licenses on the License server.
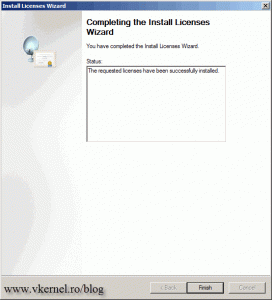
Click Finish to close the wizard.
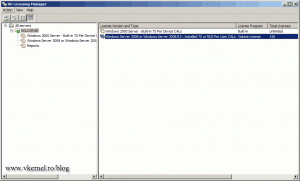
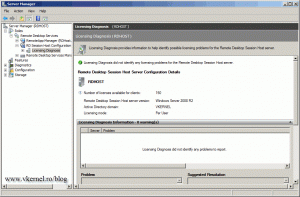
Now the License server is activated with licenses installed, ready to serve the clients. If you go to one of your RD Session Host server it should report the number of licenses from the License server.
Want content like this delivered right to your
email inbox?
