Request and install SAN certificate in Exchange 2010
If you want to get rid of those annoying certificate warnings, and be trusted every time a client opens Outlook or OWA, you need to install a proper certificate on you Exchange server(s). There are to ways to do this job, using Exchange Management Console, or using Exchange Shell, and because I’m a good guy I’ll show you both methods.For this example I will use my internal Windows CA, witch works very well not just for internal users but for mobile users too, if those users have the root certificate installed. You can read this post for more info about installing Certification Authority on Windows. Off course a commercial certificate is the preferred method if you have a lot of mobile users. For this scenario I am using Exchange 2010 SP1, witch is installed on a single forest/domain environment, and all the roles are on the same box.
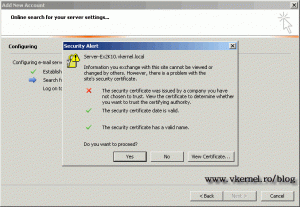
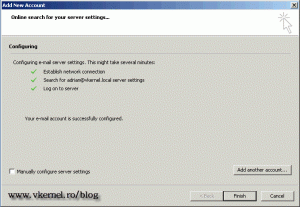
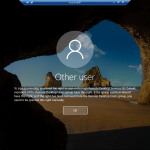
This certificate error should disappear for outlook users,
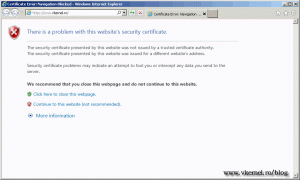
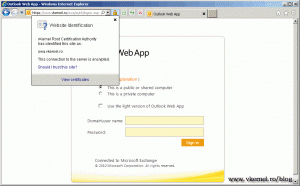
and for OWA users, when we reach the end of this guide, so let’s get to work.
To start open your Exchange console and click Server Configuration. Here right click the server name and choose New Exchange Certificate.
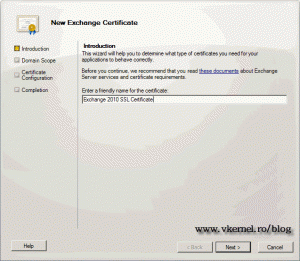
Type a friendly name for the certificate and click Next to continue.
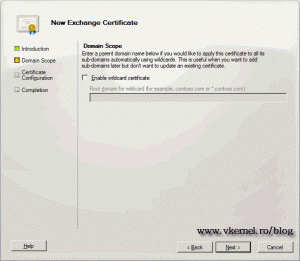
Do not check the box Enable wildcard certificate because we are requesting a SAN (Subject Alternative Name) certificate. With a SAN certificate you can protect multiple domain names, witch is needed in our case.
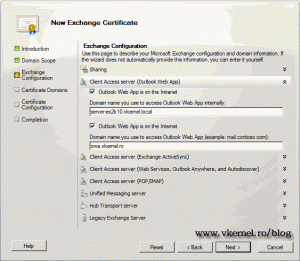
Here we need to complete the required information for the certificate, like Outlook Web App (former Outlook Web Access), Exchange Active Sync, POP, IMAP etc. Here I am using a public domain name so external user can access OWA from the internet.
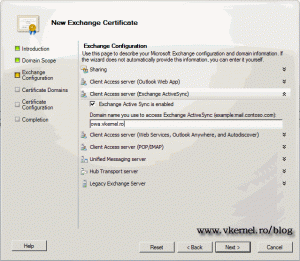
Configure the Active Sync domain name.
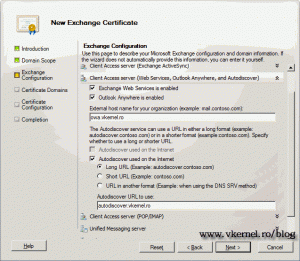
For Outlook Anywhere I am using the public domain name, so users can configure they Outlook mailboxes without knowing the name of the server or other administrative configurations. All they need to remember is their mail address and password.
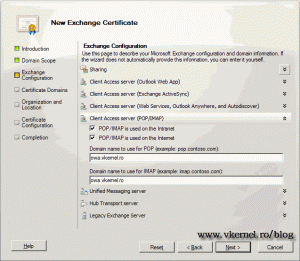
If you still need to use POP or IMAP services in your environment, type the FQDN where users can reach these services.
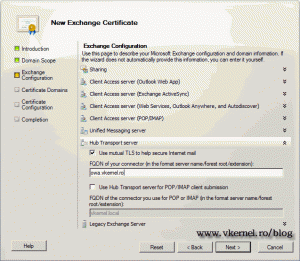
We need to provide the FQDN for the Hub Transport server, since it requires SSL.
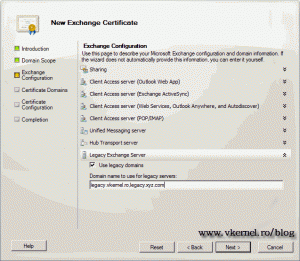
The legacy option is for those that are still using Exchange 2003 in their environment and want to transition to Exchange 2010. Configure the legacy names and click Next.
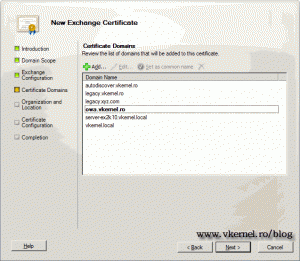
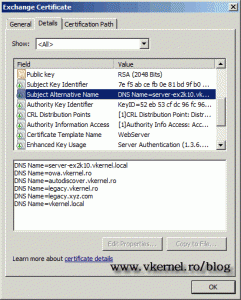
Review the list of domains and click Next if everything is in order. You can add additional domain names if you want by clicking the Add button.
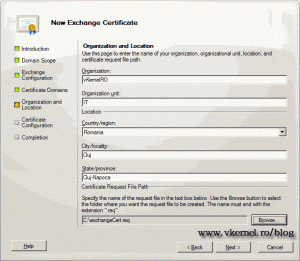
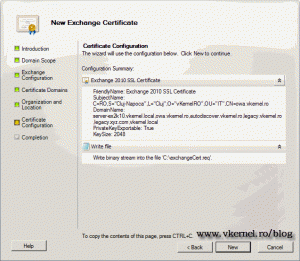
Complete the certificate information; provide a path to save the request and click Next to continue.
Click the New button to create the request file.
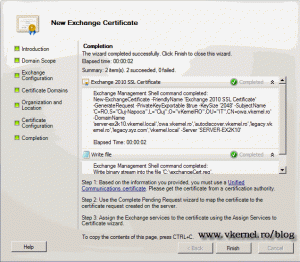
If everything worked out well you should have only green check boxes. Click Finish to close the wizard.
You can do all this with Exchange Shell using commands similar to the ones bellow. Just replace the FQDN with yours.
$Cert = New-ExchangeCertificate -FriendlyName 'Exchange 2010 SSL Certificate' -GenerateRequest -PrivateKeyExportable $true -KeySize '2048' -SubjectName 'C=RO,S="Cluj-Napoca",L="Cluj",O="vKernelRO",OU="IT",CN=owa.vkernel.ro' -DomainName 'server-ex2k10.vkernel.local','owa.vkernel.ro','autodiscover.vkernel.ro','legacy.vkernel.ro','legacy.xyz.com','vkernel.local' -Server 'SERVER-EX2K10'
Now the request is in a variable ‘$Cert’. The next step is to take the value in this variable and put it in a file.
Set-Content -path "C:ExchangeCert.req" -Value $Cert
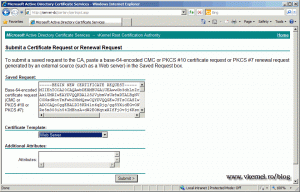
To request the certificate from our internal CA, open IE and type http://servernam/certsrv, where servername is your CA. Here click Request a certificate > Advance certificate request > Submit a certificate request by using…, and paste the generated certificate request data into the form, choose Web Server from the list. Click Submit to make the request.
You can open the certificate request file ‘.req’ using notepad
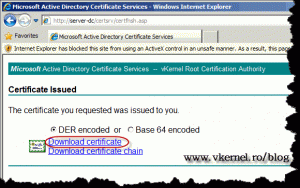
The Certificate Issued page appears. Click Download Certificate to save it.
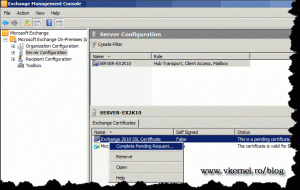
On the Exchange server right click the new certificate and choose Complete Pending Request.
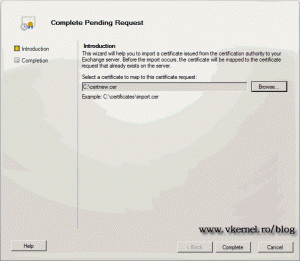
Click the Browse button and select the certificate we just downloaded from the internal CA web page, then Complete.
The certificate is now installed with it’s private key.
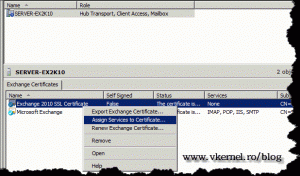
We need to assign services to our new certificate so those services can be trusted by clients. Right now the old (self signed) certificate is assigned to all Exchange services. Right click on the new certificate and choose Assign Services to Certificate.
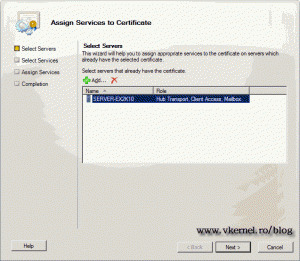
Just click Next in this page to continue.
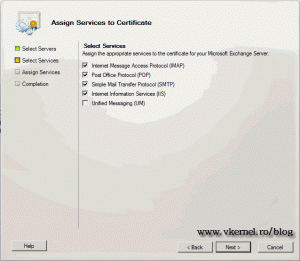
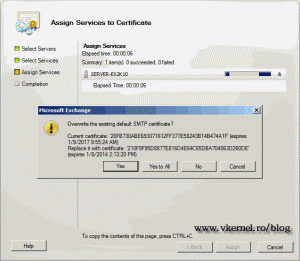
Select the services you with to assign to the certificate and finish the wizard. Choose Yes to All to overwrite the self signed certificate.
The same result is achieved using Exchange Shell.
To import the certificate in Exchange
Import-ExchangeCertificate -FileData ([Byte[]]$(Get-Content -Path c:certnew.cer -Encoding Byte -ReadCount 0))
and to assign services to a new certificate
Enable-ExchangeCertificate -Thumbprint 'certificate thumbprint' -Services IIS,SMTP,POP,IMAP
To find the thumbprint for the certificate just open it form Exchange Certificates, go to Details tab, and drill down until you find the thumbprint option.
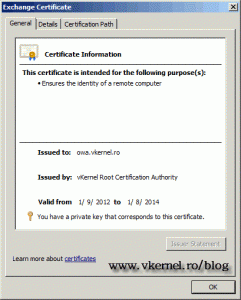
The lest step is to verify our certificate. Let’s see it in OWA from an external client,
and in Outlook 2010.
Want content like this delivered right to your
email inbox?
