Publish secure (HTTPS) Web Site with TMG 2010
OK, you are lucky, you have a TMG 2010 server as a firewall in your company. You now need to publish a web site, maybe your company web site, to the internet using SSL/TLS. In this guide I’m going to show you how to do it using an internal CA. I talked about internal Certification Authorities in this post, for more information. If the site you need to publish is not just for company employees, a commercial certificate is need (from Verisign, Comodo etc), or clients will get a certificate error.
For this lab I have a DC that is also running the Enterprise CA, a TMG 2010 Server and a Web Server running IIS 7.5. The TMG and the Web Server are already joined to the domain.
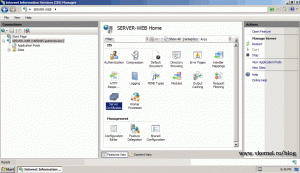
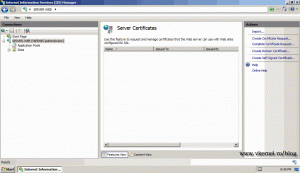
To start we need to request a certificate , so we can secure the website. Open your IIS console, click the server name then double click Server Certificates.
If you want to create a request for a commercial certificate, you need to click the Create Certificate Request link and follow the wizard. The steps are almost the same with the ones we are going to perform next, just that you don’t get to select the CA, instead you save the response in a file. Later you open this file using notepad, or other editor, and paste the content on the commercial CA web site. Since we are using the internal CA to request certificates, click the Create Domain Certificate in the Actions pane.
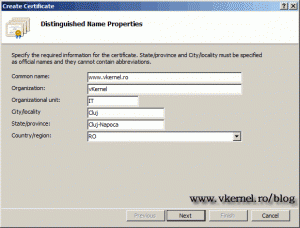
The most important box here is the Common Name . Here you need to type the FQDN of the web site witch is the name users are typing in their browsers to connect to the web site.
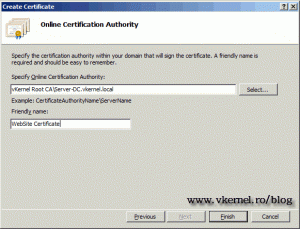
Select the internal CA by clicking the Select button, and give your certificate a friendly name, down in the box. Click Finish to send the request.
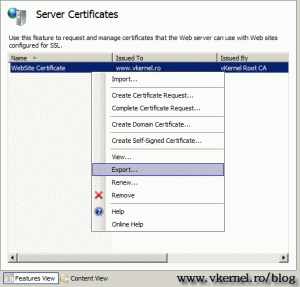
Next we need to bind the certificate to our web site, so the website can use SSL, then export the certificate and import it on the TMG Server. We are going to export the certificate first, since we are in the certificates screen. Right click the certificate and choose Export.
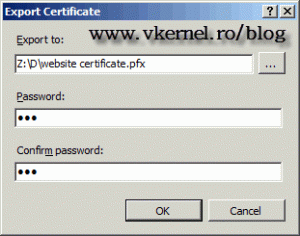
In the Export Certificate window, choose a path to save the certificate to, then type a password to protect the certificate. The path you choose here needs to be accessible from the network, because later we need to copy this certificate to the TMG Server; you can use a USB drive if it’s easier. This operation applies to a commercial certificate too, if you have one.
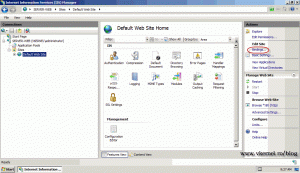
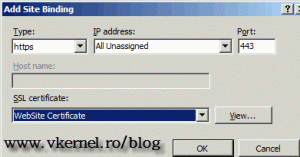
Now let’s add a https binding to our site. Expand Sites, click the Default Web Site and on the Actions pane click the Bindings link.
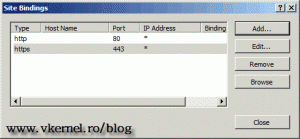
Here press the Add button, on the Type drop down box select https, then choose the certificate from the list, under SSL Certificate option. Click OK and Close.
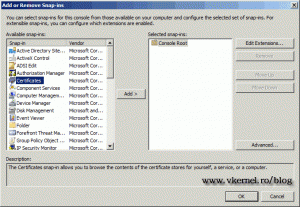
The easy part is over, the hard part comes next. Don’t be scared is not so hard once you understand the concept of publishing sites with TMG. Log on to your TMG server and do a Start > Run command; here type mmc and press ENTER. In the console that just opened, go to Files > Add/Remove Snap-in. In the Available Snap-ins select Certificates and click Add.
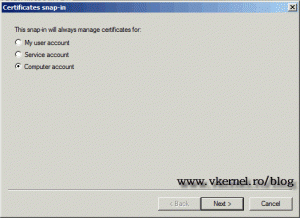
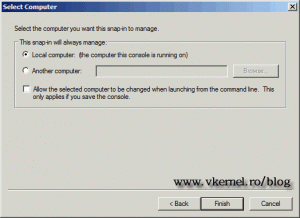
Choose Computer account > Local Computer.
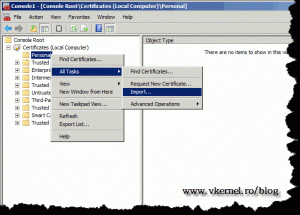
Click OK to close the Add or Remove Snap-ins window. In the local computer certificates store, expand Certificates right click the Personal folder, choose All Tasks > Import.
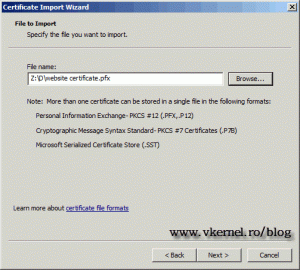
Here click the Browse button and select the certificate we exported from IIS. Remember when I told you to save the certificate to an accessible path for the TMG Server ?
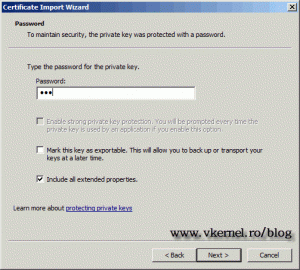
Type the certificate password and finish the wizard using default settings.
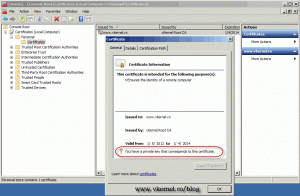
Now you can see the certificate in the Personal folder, and if you double click it you can see more details about the certificate.
If the certificate does not have a private key you will not be able to publish the web site, so be sure to check if it has one.
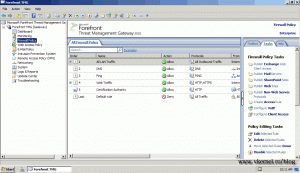
We have our certificates in place, we have the website configured for SSL, now we need to publish the web site so external users can access it. Open the TMG console, go to Firewall and on the Actions pane click Publish Web Sites.
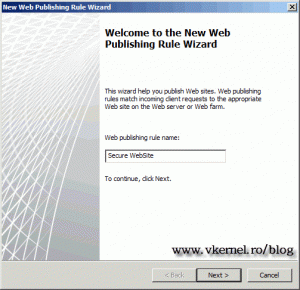
Give the rule a name and click Next.
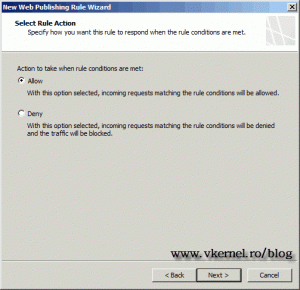
Since we want to allow traffic to our web server leave the Allow button selected.
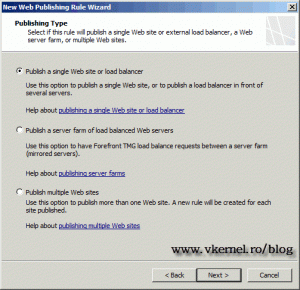
We just have a single website, so go with the defaults.
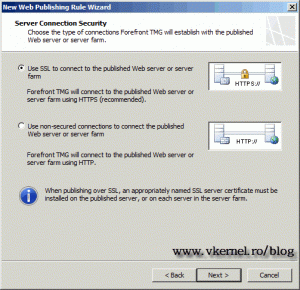
Because we are publishing a secure web site, select Use SSL to connect to the published Web server or server farm and click Next to continue.
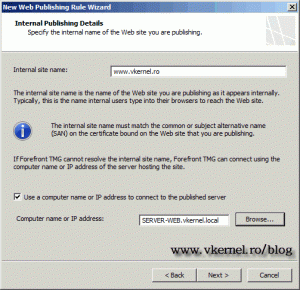
In the Internal Site Name type the name of the site used internally by the users. Usually I type the external name, because I don’t want users to remember two site names; The external site name is the same with the internal one in my networks. Make your decision then check the box Use a computer name or IP address to connect to the published server and type the IP address or the the name of the Web Server.
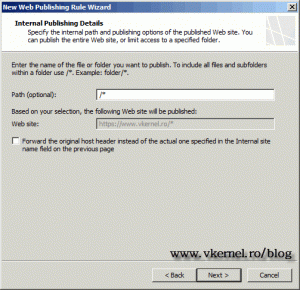
In the Path box put a forward slash followed by an asterisk “/*” to publish the whole web site.
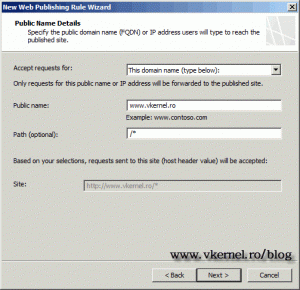
On the Public Name box type the name that visitors will use to connect to the web site. This must be a FQDN.
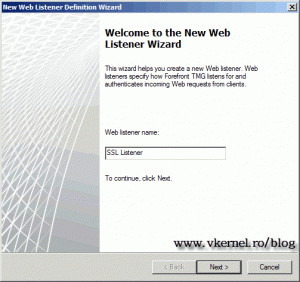
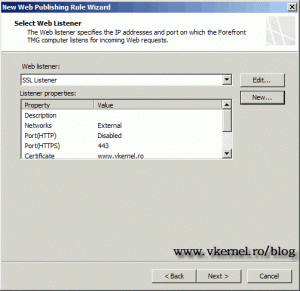
Now we need to create a so called Listener, because the default one is an HTTP listener, and we need one that listens on HTTPS traffic. With this listener we tell TMG that all traffic matching the FQDN in the certificate needs to be processed. Click the New button and a new wizard will open. Give the listener a name and click Next to continue.
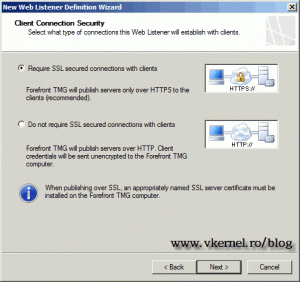
On the Connection Security screen leave the defaults and continue.
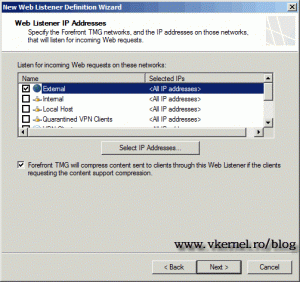
Select External and click Next.
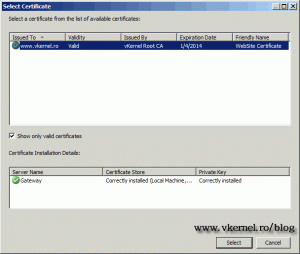
Click the Select Certificate button and select the web certificate.
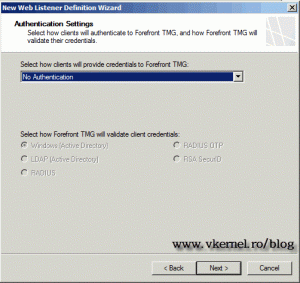
On the drop down box choose No Authentication, because we want everyone to be able to browse the website. Finish the wizard using default settings.
We now have a HTTPS listener with a proper certificate. Click Next to continue the publishing wizard.
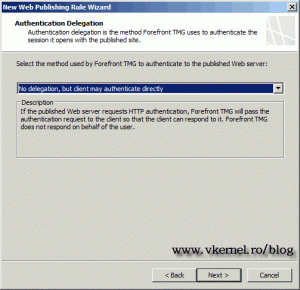
Here select No authentication, but clients may authenticate directly.
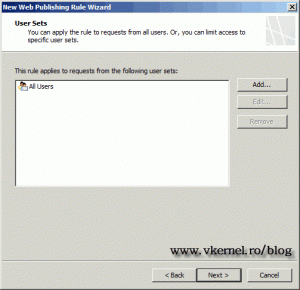
If you want to be more granular of who can access the web site you can remove the All Users group from here and add the users you want.
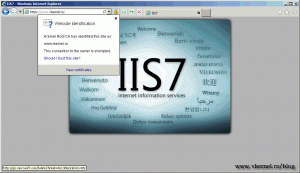
Apply the TMG rule by clicking the Apply button. Too see if it works, open a web page from an external client and type the web site address.
External clients need to have the root certificate of your internal CA installed, or they will get a certificate error message.
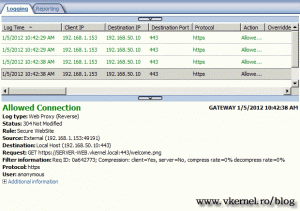
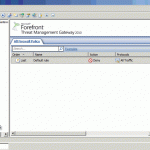
In TMG logs, we can see the web site is allowed and the rule is working great.
Want content like this delivered right to your
email inbox?
great works
i did all this config but the internal site Server.Domain.Local and the public name http://www.AnoterDomain.Com so i put the public in Certificate when i test rule i got this error and user can’t open form outside?
“” Time reported by the Microsoft Forefront TMG Firewall Service: 0.003 seconds
Testing https://www.adatum.com:443/
Category: Destination server certificate error
Error details: 0x80090322 – The target principal name is incorrect.
Action: Go to http://go.microsoft.com/fwlink/?LinkId=115965 “”
any suggestion plz ?
Hi,
Is the certificate trusted by your external clients and by TMG? You need to install the web certificate on the TMG server too. I recommend you deploy an internal Enterprise CA.
your post is fantastic i tried it on one website, but in my case i have two websites configred on one webserver, if you can tell me how to publish thm through tmg. Thank you very much
Well… it’s a little bit complicated but I’ll try my best in a short version until I finish the article. I’m preparing one on how to publish multiple secure websites with TMG (don’t know when is going to be ready). OK, first you need to give the web server two IP addresses (multi-netting) because SSL is limited per IP. You need to do the same for your TMG server (external network; talk to your provider to give you a second IP). When you create the listener you need to bind an IP to a certificate, not the all external network (Click the Addresses button then select “Specified IP addresses on the Forefront TMG computer in the selected network”). Choose the IP for the certificate. Do the same for the other certificate, but select the second IP.
Thanks for passing by, and hope this helps