Converting UEFI + GPT Windows Server to Hyper-V VM
Since Hyper-V supports generation two virtual machines which run on UEFI BIOS, the steps in this article are not needed anymore only if you explicitly want to convert the BIOS and partition type to the older versions. All we have to do now is follow step one of this article and convert the physical server into a virtual file (VHDX) then mount it on a generation two Hyper-V virtual machine.
There are times when you need to take your Windows Server UEFI physical machine and convert it into a virtual one to play around with it in your lab. So you take the Disk2VHD utility, convert the machine, then attach the resulted VHDX file to your new Hyper-V VM in the lab. Very soon you realize that this is not working and all you get is a white cursor blinking on a black screen.
This type of conversion is currently not supported with Hyper-V, and in order to make it work -so we can test those machines before doing critical changes to them in production-, we need to do a workaround. Practically we are going to convert the GPT partition that we get in the VHDX file into a MBR one, then fix the boot record on the destination guest OS.
In order to do all this we are going to need a few things, and the first one is to have an ISO image of Windows 10 or Windows Server (2012 and newer) that we are going to mount on the destination Hyper-V VM to fix the boot record of the guest OS. The second thing is a Windows 10 workstation where we are going to manipulate the VHDX file that will result after the physical machine conversion. This can be your own day-to-day station or a VM that you use for testing stuff.
If the server is joined to an Active Directory domain, make sure you create a local administrator account, or reset the password of the default Admin account before running the Disk2VHD utility so you can have a back door just in case your cached domain credentials will not work anymore on the destination VM.
1. Converting the UEFI physical machine to a VHDX file
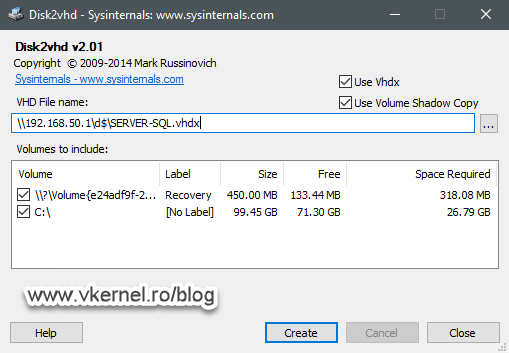
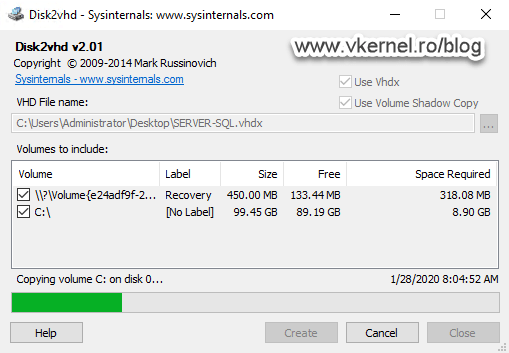
Logon to your production UEFI machine and launch the Disk2VHD utility. Provide the path where the VHDX file should be saved, if the default one does not work for you then select what disks to convert. Since I only have the system disk, I will go with the defaults here. When you are ready, click the Create button to begin the conversion.
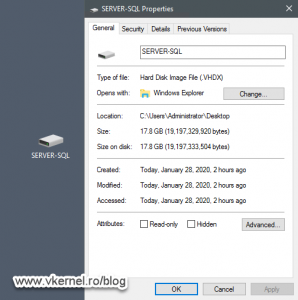
Depending on the size and speed of your disks, this operation can take quite some time. In the end we should have our VHDX file created and ready for the next operation.
2. Converting the GPT partition inside the VHDX to MBR
Right now, the partition inside the VHDX file is in GPT format. To make it work in a VM it has to be converted to MBR, and to accomplish that we need that Windows 10 station to mount the VHDX file. Practically we need a system that can recognize the VHDX format, and a Windows 10 OS is the perfect fit here.
Now that we have the station where to mount the virtual disk, we also need a third-party disk utility for the conversion. I have found a free utility that I am going to use for this demonstration and it’s called Aomei Partition Assistant. Download the software from their web-page then install it.
Be aware that if you are using a server OS for this procedure, the free version of Aomei Partition Assistant is not going to work on a server platform.
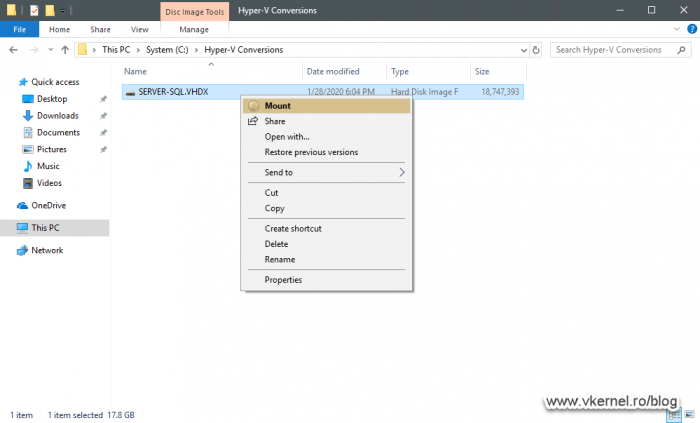
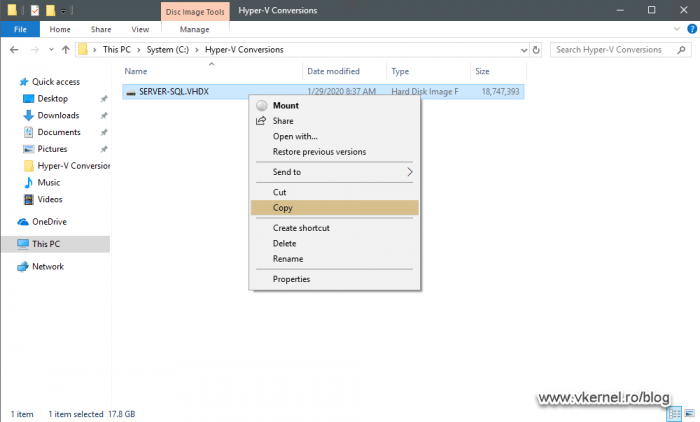
Copy the VHDX file from the physical server to the Windows 10 station then right-click it and choose Mount.
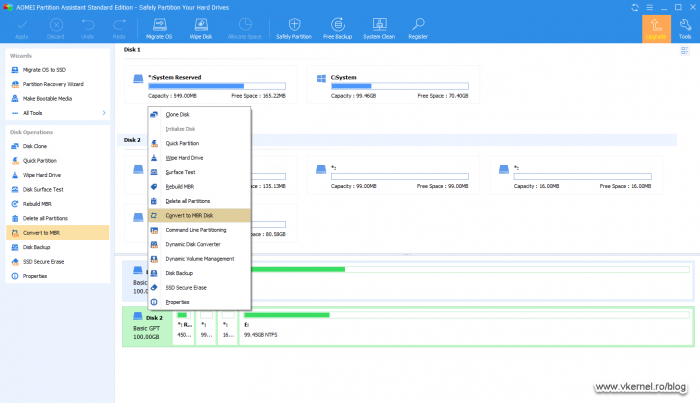
If we now open the Aomei Partition Assistant utility we can see our disk, our VHDX disk listed in the application main screen, and we can also see that it has a GPT file system. To change that, we can either right-click the disk and choose Convert to MBR or click the option from the Disk Operations area.
If you want to, you can delete the boot and the recovery partitions that were brought with the VHDX file during conversion and merge them with the system partition because we are not going to use them anyway. As you will see later on, we will make the system partition the active/boot one.
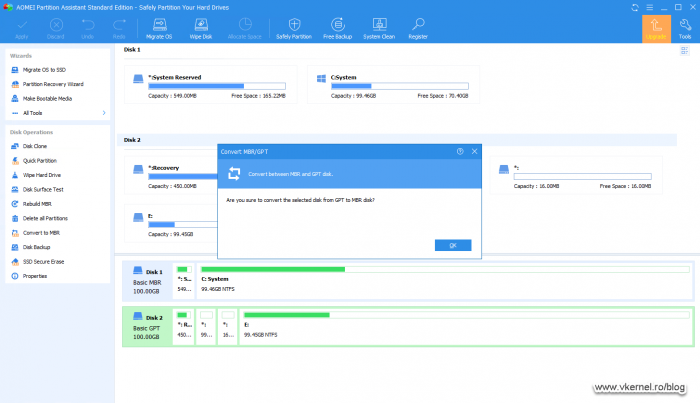
On the message that pops-up asking if you are sure you want to do this, just hit OK.
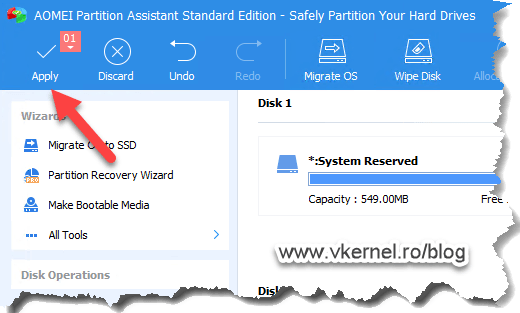
To commit the changes, go in the upper left corner and click the Apply button.
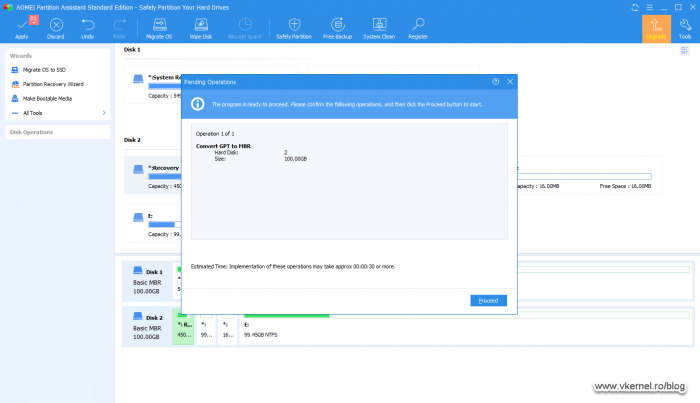
On the window that pops-up, hit Proceed then OK.
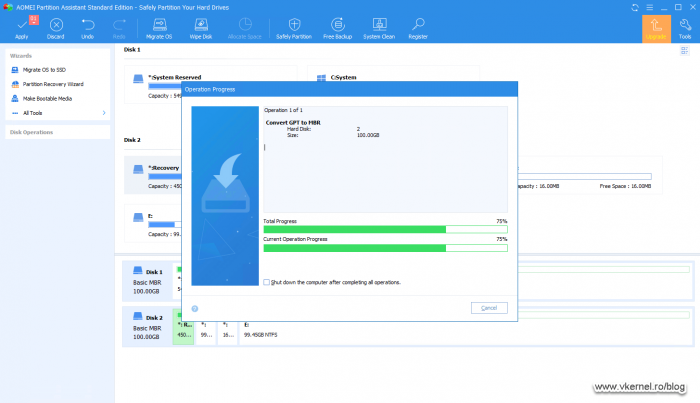
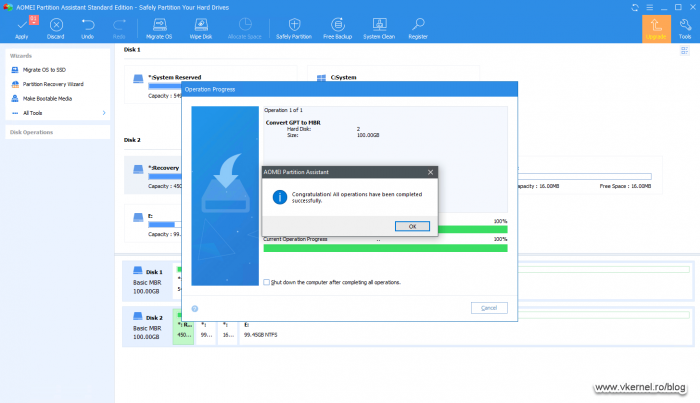
The operation will only take a few seconds, and if completes successfully we will get a congratulations message.
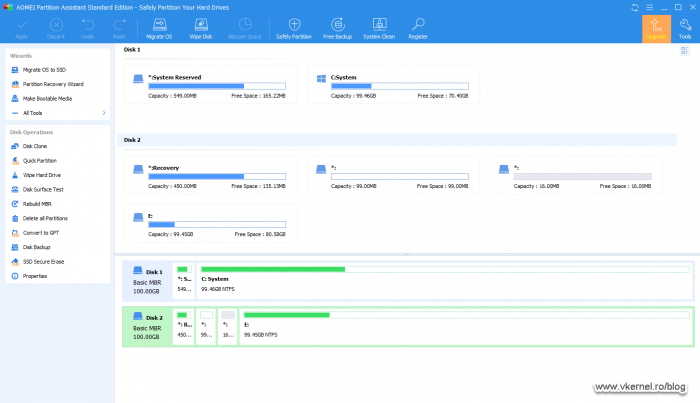
Now if we take a look at our VHDX disk in the application’s console, we can see that it shows as MBR which is exactly what we wanted.
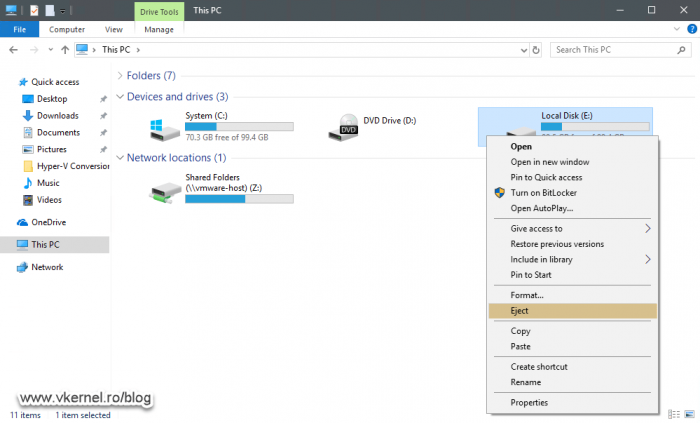
The last thing we need to do here is open File Explorer, right-click the mounted VHDX disk and choose Eject. This will free the VHDX file so we can copy it on our Hyper-V host.
3. Creating the Hyper-V VM and fixing the boot record
3.1. Creating the virtual machine
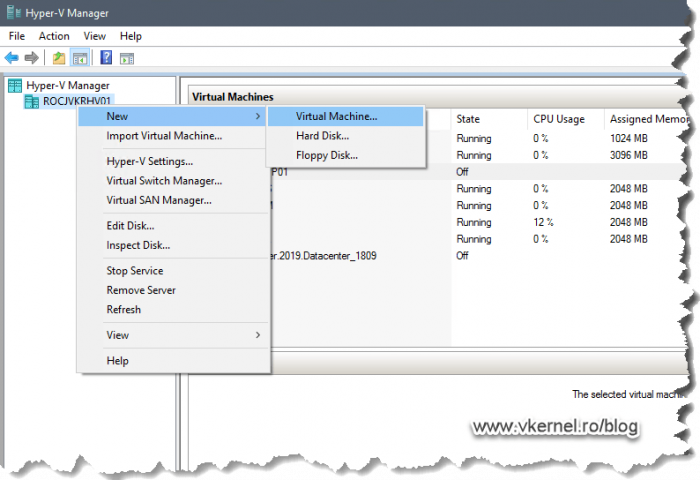
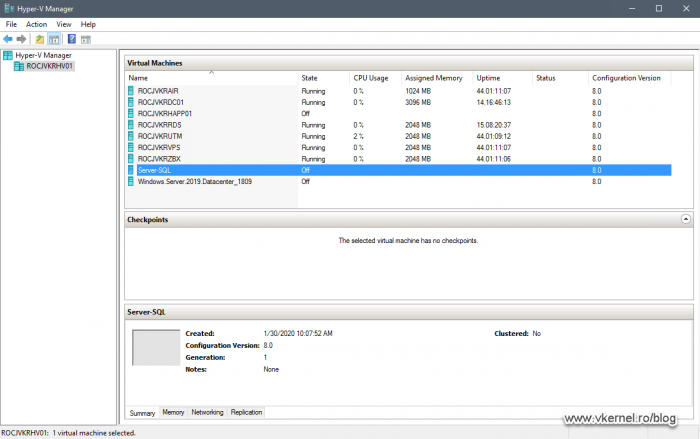
On your Hyper-V host, open the Hyper-V Manager, right-click the server name in the console and choose New > Virtual Machine.
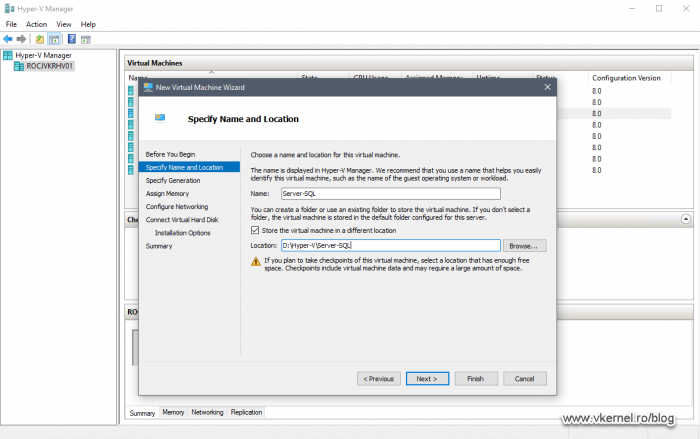
The New Virtual Machine Wizard will open, and once we pass the Before You Begin screen, we are given the option to name our virtual machine and specify a location for its files. Name the VM, provide the storage then click Next.
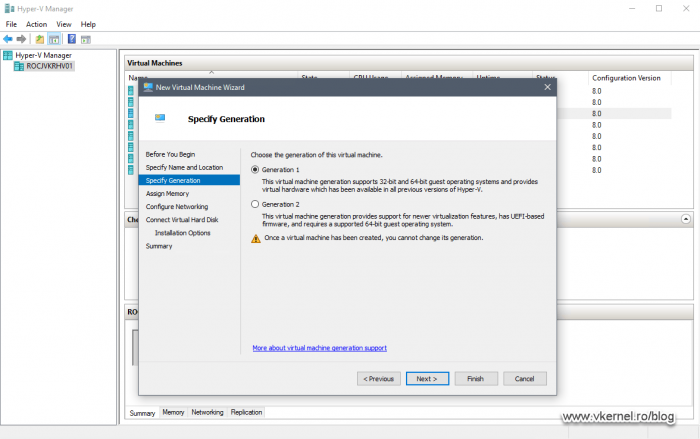
As the VM generation goes, we need a Generation 1 VM, so leave the defaults here and continue the wizard.
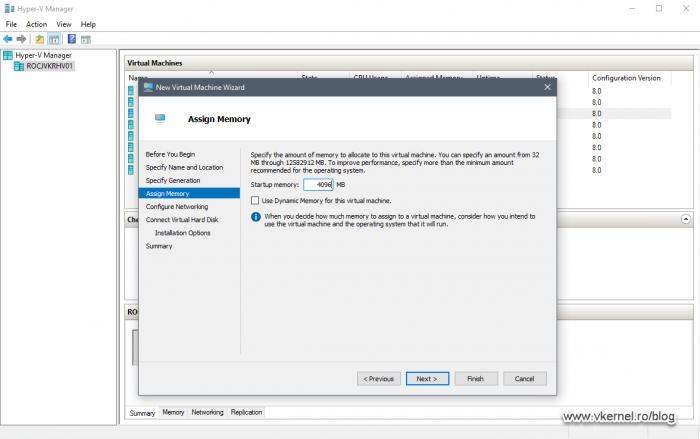
Depending on how much resources the guest needs, make sure you assign the proper amount of memory so the OS does not need to use the swap file.
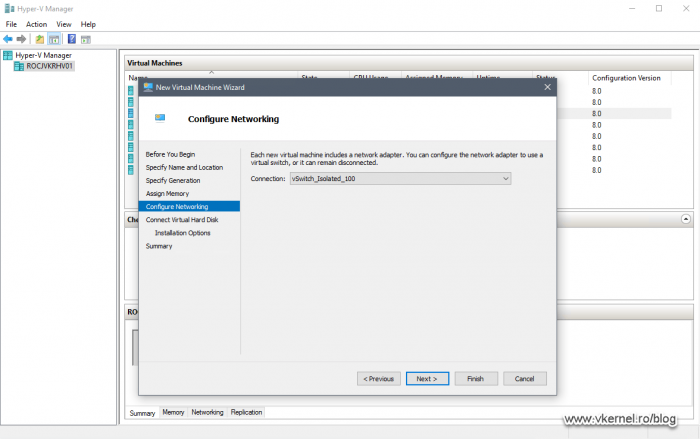
Since the guest that will run in this VM will have the same name as the physical host, we need to make sure the two will not run in the same broadcast domain/VLAN in order to avoid a duplicate name in the network. Since this is a lab, it is isolated from the production network, and I guess yours is too.
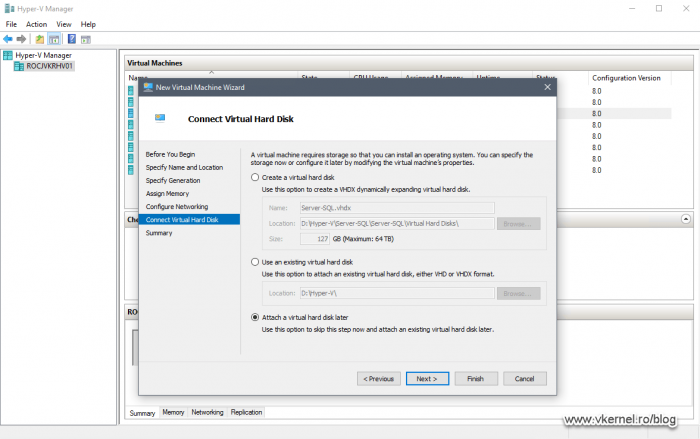
In the Connect Virtual Hard Disk screen we are going to choose the bottom option because we already have a virtual disk, -the VHDX file we just converted- which we are going to attach it later. If you are wondering why am I not going with the second option, well…because I like the Hyper-V Manager to create the VM folder first, then I will copy the VHDX file in this folder. Select the option Attach a virtual disk later then click Next.
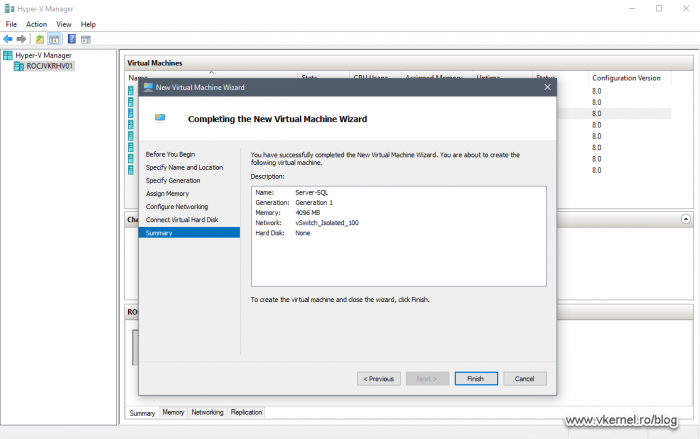
In the Summary screen click Finish to create the virtual machine.
After a few seconds our virtual machine is created in a power off state, but remember, without a disk. So let’s add our VHDX disk that we converted and work on it so much.
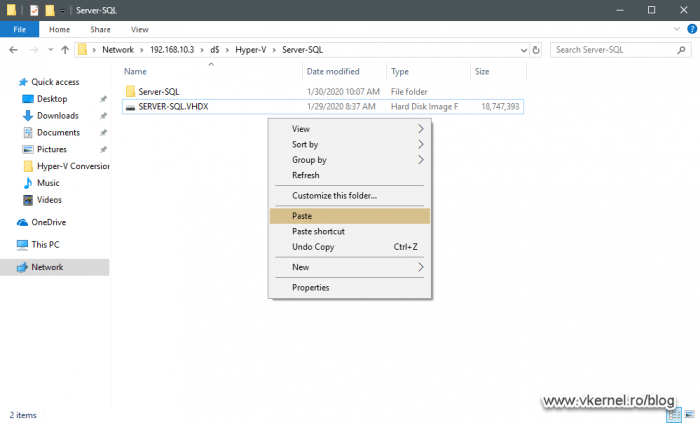
Using the network (UNC path), copy the converted VHDX file from the Windows 10 station to the VM folder, or whatever is the location where you keep you Hyper-V virtual disks. Me personally, I keep all the VM files in the same folder.
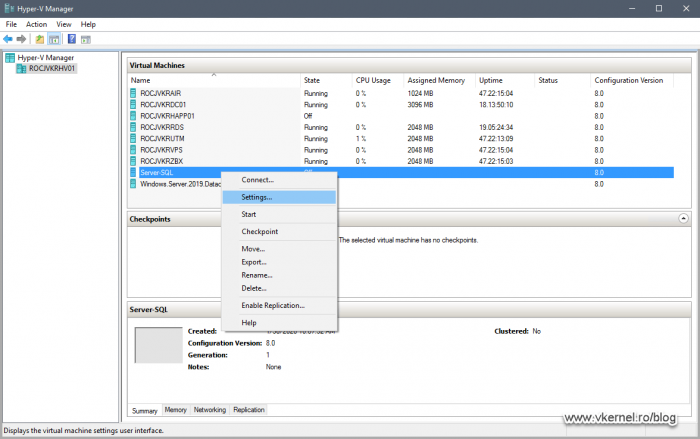
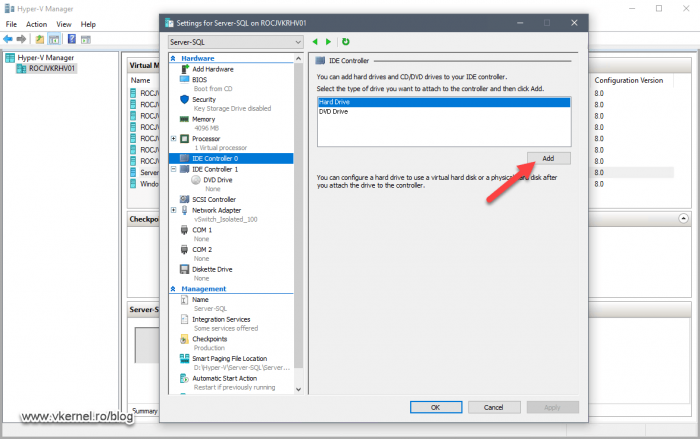
Now let’s add this virtual disk to our newly created virtual machine. Going back to our Hyper-V Manager console, right-click the VM then choose Settings.
Select IDE Controller 0, then click Add.
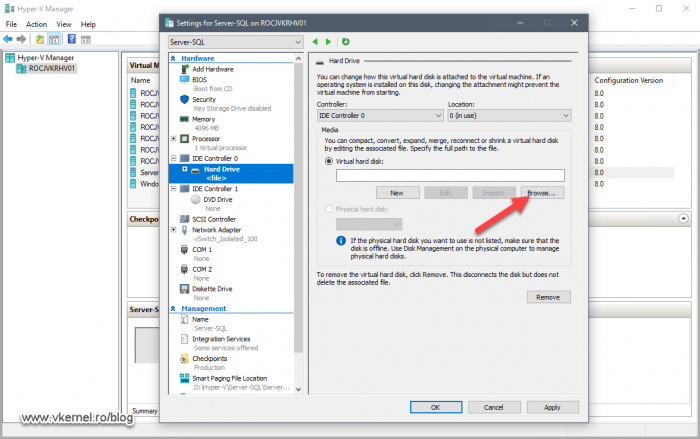
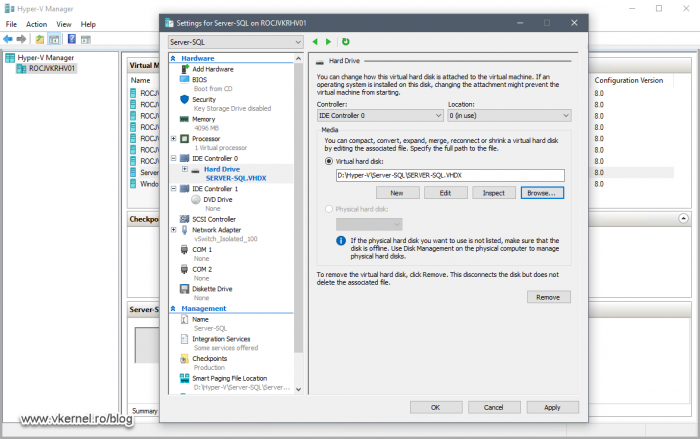
Using the Browse button, search for the VHDX file and attach it to the VM.
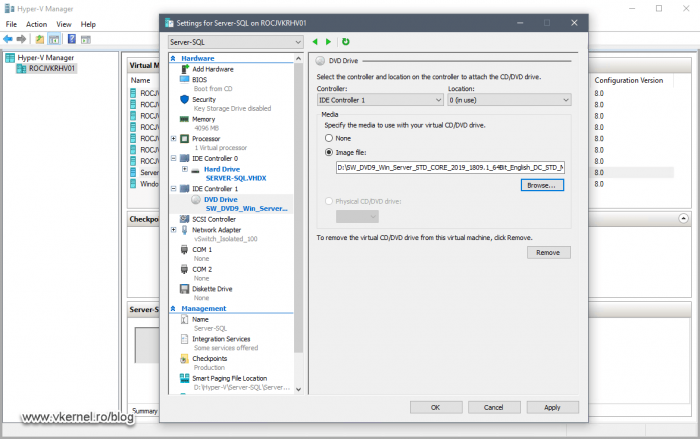
Don’t click OK just yet because we also need to attach a Windows Server or a Windows 10 ISO to boot from it and fix the guest VM boot record. Select the DVD drive, then using the Browse button attach the ISO. Click OK.
3.2. Booting the virtual machine
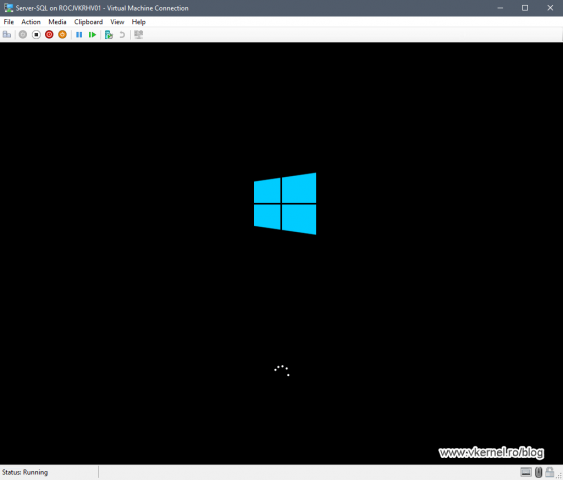
Power on the VM and boot from the ISO image.
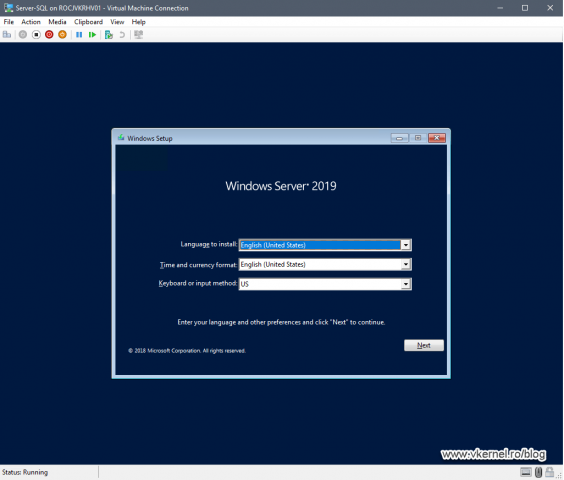
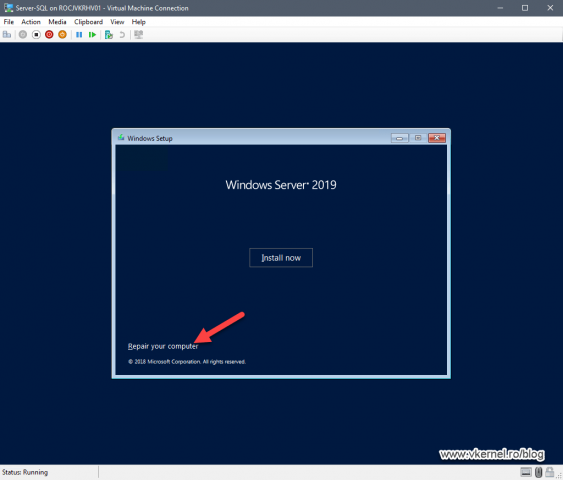
Click Next on the first installation wizard screen then on the second one click the Repair your computer link.
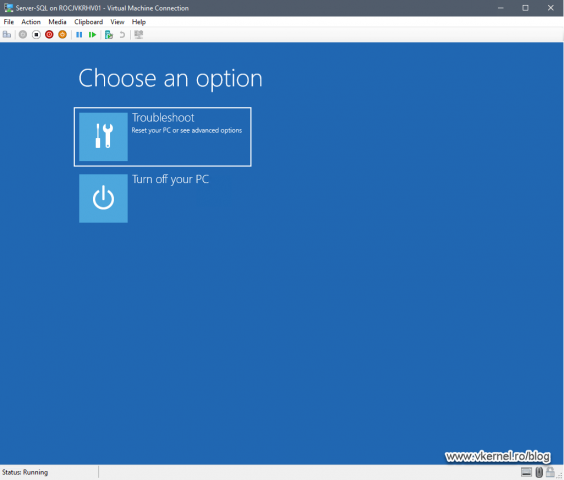
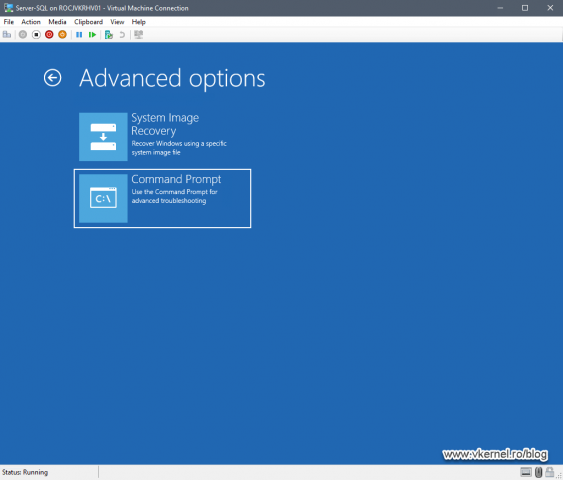
Select Troubleshoot then Command Prompt.
3.3. Fixing the guest OS Boot Loader
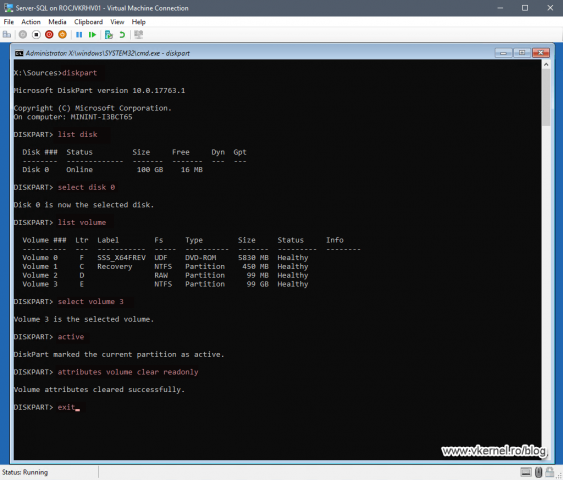
In order to make the virtual machine bootable and fix the blinking cursor problem, we will have to issue some series of command lines in the Command Prompt window that opens up. The first set of commands are to select our disk and partition where the Windows OS resides, make it the active one and prepare it for the next operations.
If you did not deleted the boot and recovery partitions when we converted the GPT partition to MBR, you will see them here. If that’s the case, just ignore them for now and focus on the system partition/volume which should be the largest one in size.
diskpart
list disk
select disk <your assign disk number>
list volume
select volume <your Windows system partition>
active
attributes volume clear readonly
exit
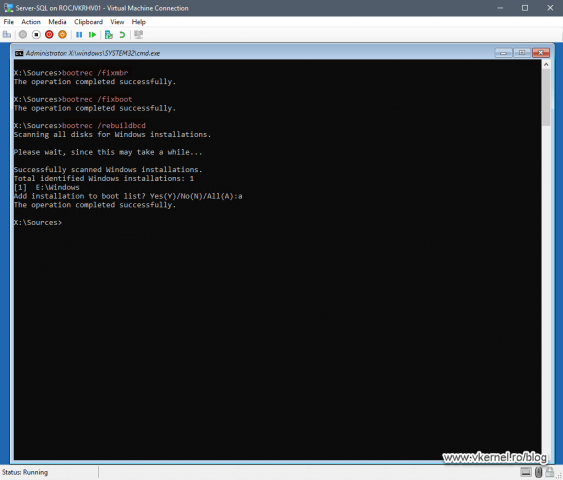
Now that we set up our partition, let’s fix the boot record so our system can load the OS, and for that we will have to type another series of commands:
bootrec /fixmbr
bootrec /fixboot
bootrec /rebuildbcd
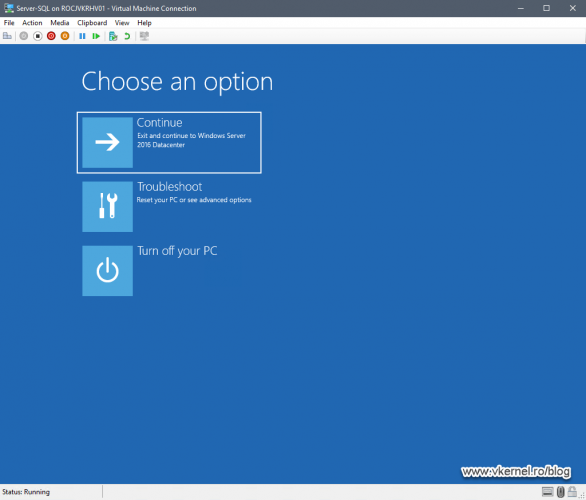
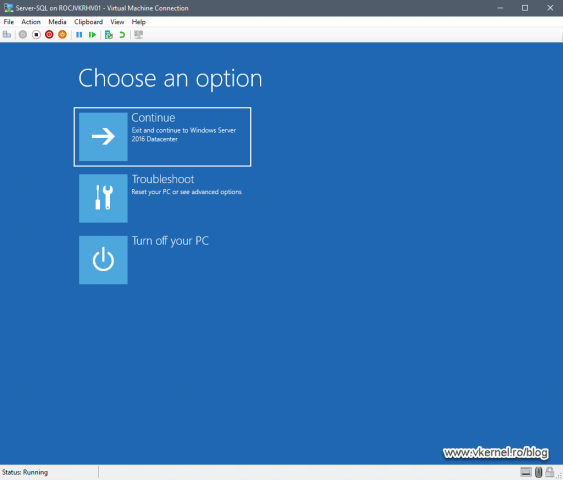
Once everything completed successfully, close the Command Prompt window and click Continue (Exit and continue to Windows Server…) to reboot the server.
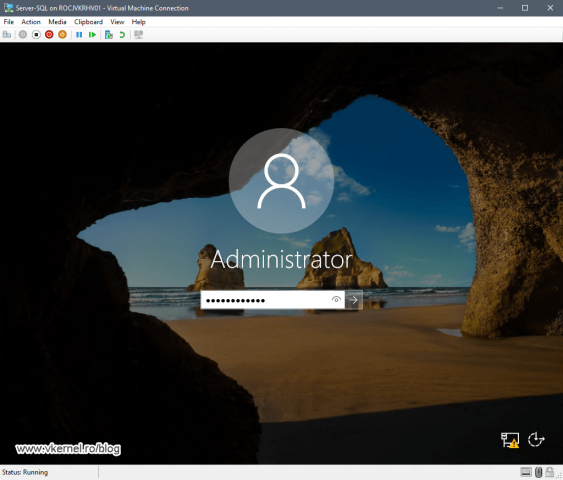
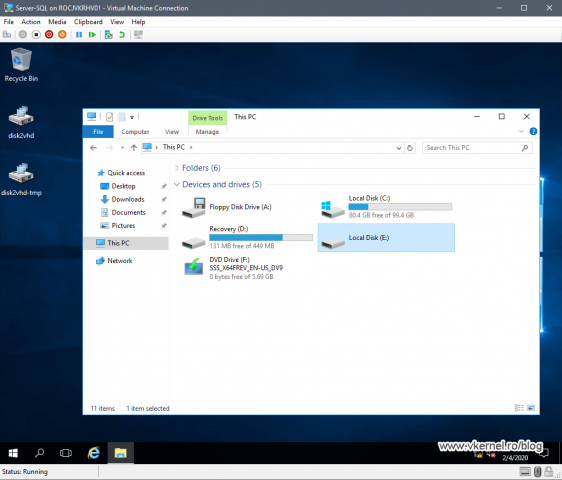
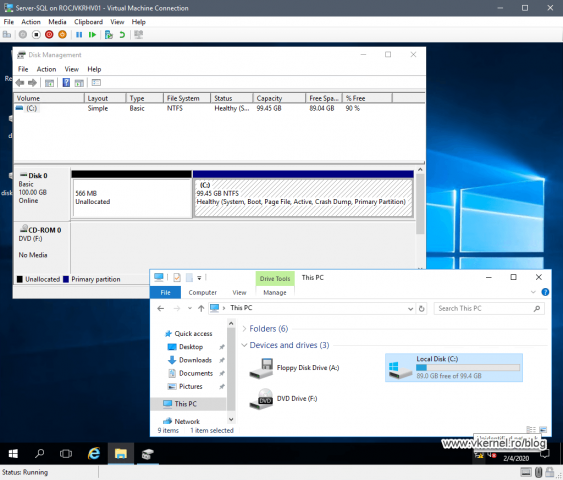
If you followed along, the OS should load with no problems whatsoever, but once you log in you might see the recovery and boot partitions presented in the Windows File Explorer if you did not removed them during the VHDX file system conversion from section two. If that’s the case, you can safely removed them now using the Windows Disk Manager since there are of no use.
Once we delete them, everything should be clean and working like in the production server.
4. Summary
In this article we looked at how to convert a UEFI physical machine to a Hyper-V virtual machine, and since there is no standard way of doing this, we had to improvise. This workaround is great when we want to replicate a production machine and put it in our lab to do some testing or see how it behaves after installing a critical application. I admit, it is a little work to be done, but is still better than recover form backup and explain the downtime.
Want content like this delivered right to your
email inbox?
I strongly disagree with your assertion that the VHDX file needs to be in MBR format in order to run in a VM as you stated it:
“Right now, the partition inside the VHDX file is in GPT format. To make it work in a VM it has to be converted to MBR”
A generation 2 Hyper-V VM is perfectly capable of running in UEFI/GPT mode. Almost all of which you are describing in this blog entry is therefore not necessary or at least has become obsolete with the introduction of generation 2 Hyper-V VMs.
Hi,
I agree, and thanks for the heads-up since keeping up with all the technology is not that easy. This give me a change to review my articles. I have put an update informing the community about it.
Much appreciate it.
Salut.
Iti multumesc pentru articol.
Ai facut un om fericit.
Radu.
Cu placere si ma bucur ca a fost de folos.