Creating a First Windows Server 2008 R2 Domain Controller
Installing a Domain Controller on Windows Server 2008 R2 is not much of a different than previous versions, this is for those that come from 2000 or 2003; what changed are the wizard steps, but the base is the same. Because this is the first domain controller in the forest/domain is going to be very easy. For this demonstration I already installed my Windows Server 2008 R2 system,and configured the networking part (IP addressing), like this:
C:\>ipconfig /all

Windows IP Configuration

   Host Name . . . . . . . . . . . . : Server-DC
   Primary Dns Suffix  . . . . . . . :
   Node Type . . . . . . . . . . . . : Hybrid
   IP Routing Enabled. . . . . . . . : No
   WINS Proxy Enabled. . . . . . . . : No

Ethernet adapter Local Area Connection:

   Connection-specific DNS Suffix  . :
   Description . . . . . . . . . . . : Intel(R) PRO/1000 MT Network Connection
   Physical Address. . . . . . . . . : 00-0C-29-75-4D-FA
   DHCP Enabled. . . . . . . . . . . : No
   Autoconfiguration Enabled . . . . : Yes
   IPv4 Address. . . . . . . . . . . : 192.168.50.200(Preferred)
   Subnet Mask . . . . . . . . . . . : 255.255.255.0
   Default Gateway . . . . . . . . . : 192.168.50.254
   DNS Servers . . . . . . . . . . . : 127.0.0.1
   NetBIOS over Tcpip. . . . . . . . : Enabled
Just as a reminder…always use static IP addresses for your domain controllers, and since this is the first DC in the forest the DNS Server IP should be the loopback address. That means that all DNS requests will be resolved by the DNS service on this server.
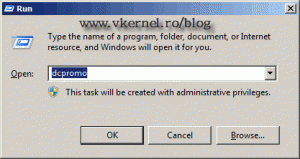
Now there are multiple ways for the installation to proceed, but I prefer the old one (less clicks). All you have to do is click Start > Run and in the box type dcpromo (from Domain Controller Promotion) and press ENTER or hit the OK button.
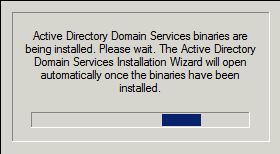
The system is now checking if all prerequisites are installed, if not it will install them automatically.
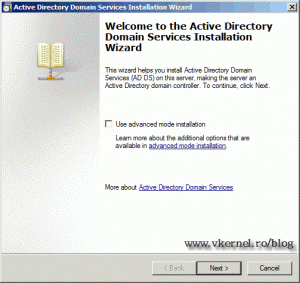
After the prerequisites are installed the Active Directory Domain Services Installation Wizard appears. We don’t care about the advance features right now, so just click Next to continue.
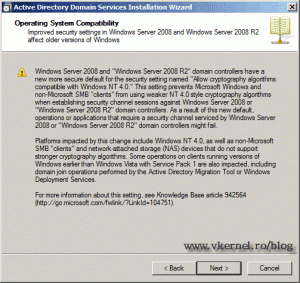
The second screen is telling us that improved security is made in this version of Windows, and older versions of Windows like NT might have some problems. For this lab we are OK, just click Next.
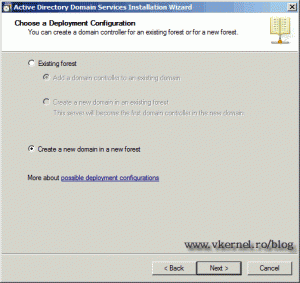
This is where all begins; we have two radio buttons on this screen Existing Forest, and Create a new domain in a new forest. If you already have a domain controller on your network, the first one is your choice (not our case), and the second one is for those that are installing a brand new domain controller. As you might guest by now the second one is the one that we are going to choose, so click the second option Create a new domain in a new forest and hit the Next button.
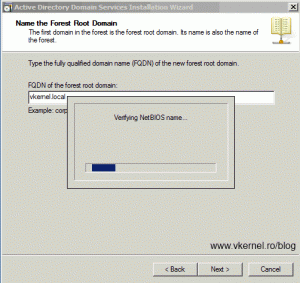
In the Name the Forest Root Domain screen we need to type the FQDN of our domain. In my case I will type vkernel.local. Alway put a FQDN in the box and not just a simple name like vkernel or microsoft.
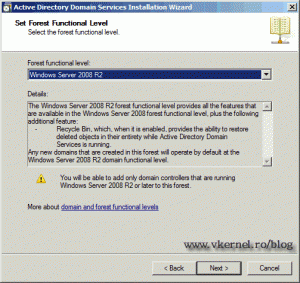
After it verifies that the name is unique in the network, we need to set a Forest Functional level on the next screen. Here click the drop down box and select Windows Server 2008 R2 so we can take advantage of all the new features included in this version of Windows.
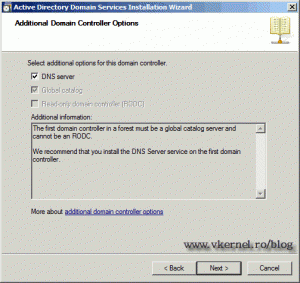
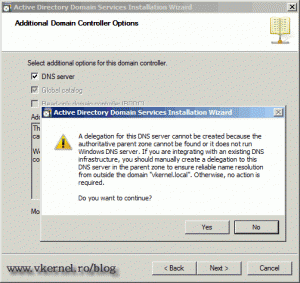
In the Additional Domain Controller Options screen we have only one option that we can modify, the DNS server; but we are not going to, because we have no internal DNS server in our network, and Active Directory cannot live without it. Leave everything as it is and click Next.
We are warned that a delegation for this DNS server cannot be created because the authoritative parent zone cannot be found or it does not run Windows DNS server. This is because it can’t find an authoritative DNS server with a zone (in my case) vkernel.local, witch is OK because this is going to be our first DNS server too. Just ignore the message and click Yes to continue.
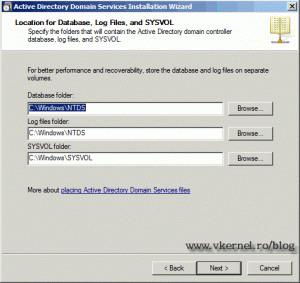
Here we choose where the Active Directory database and logs are going to reside. For now just leave the defaults and click Next.
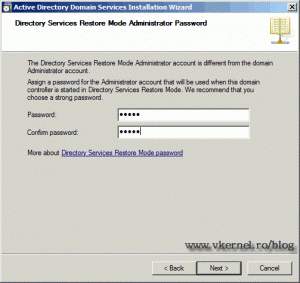
Now we need to set a password for the Active Directory Restore Mode, in case something happens with our database and needs to be restored. Put a strong password and click Next.
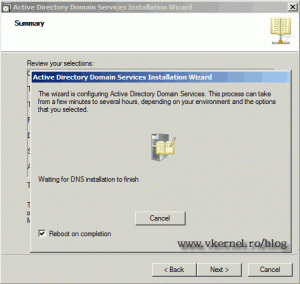
Click Next on the Summary page so the installation of Active Directory Domain Service will begin.
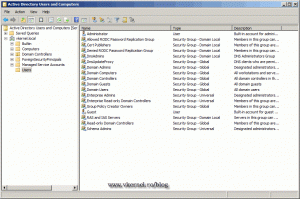
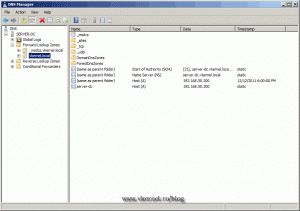
After restart we can verify if Active Directory and DNS services are installed and functioning. Go to Start > Administrative Tools > Active Directory Users and Computers, and DNS.
We are now done installing the first Domain Controller in the forest.
Want content like this delivered right to your
email inbox?
