Creating Standalone and Enterprise (EMS) TMG 2010 Arrays – Domain Environment –
OK, so you have your Microsoft Forefront Threat Management Gateway 2010 (TMG) protecting your services in the infrastructure, and is doing a pretty good job too. I agree with you, but this TMG server of yours can fail, and if it fails all those services will either get unprotected or users can’t access them anymore. To fix the problem or to prevent it from happening you can create a sort of cluster known as a TMG array by connecting two or more TMG servers together that operate as a single logical firewall. This way you have scalability, high availability and redundancy. TMG arrays come in two flavors: standalone and Enterprise Management Server (EMS). The first one (standalone) stores the array configuration on one of the TMG servers that you designate as an array manager, and the second one (EMS) stores the array configuration on a dedicated server. All this is good, but the bad news are… you need the Enterprise edition of TMG in order to create arrays. If you have the Standard edition it won’t work and the option to install EMS is grayed-out.

I know you are thinking right now:
– Why not install an EMS server and use the standard edition of TMG to create the array?
You can also try this, and it will work for one TMG server, but when you try to add the second one to the array, the Join an existing EMS-managed array (recommended) option is grayed out. All that is left is to create another array, but that’s not what you wanted right? Long story-short is that you can join to an array only one TMG server that runs the standard edition of the product, but you can have many enterprise TMG servers.
When you create arrays, the TMG servers can be part of a Windows domain or can be in a Workgroup environment. I’m going to use a domain environment for this article and threat the second one in a future article. Now let’s move on by
Creating a Forefront Threat Management Gateway 2010 (TMG) standalone array
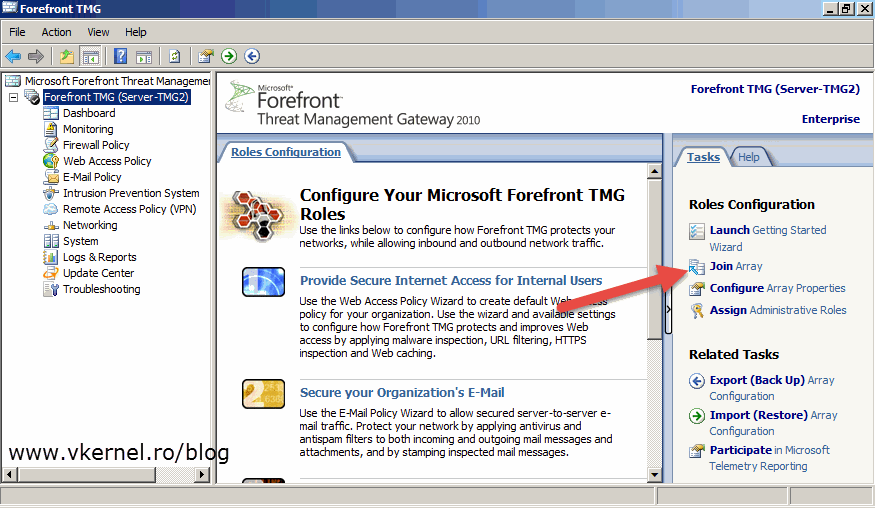
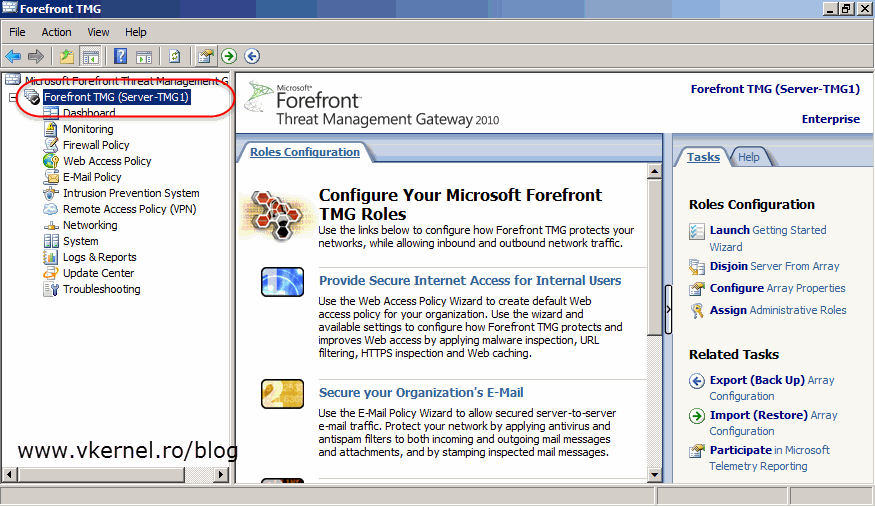
First, make sure that your TMG servers are all at the same patch level. Second, I presume you have at least two TMG servers installed and joined to a Windows domain, if not read this article on how to do it. Now open the TMG management console on one of the servers, click the server name, and from the Tasks pane click Join array.
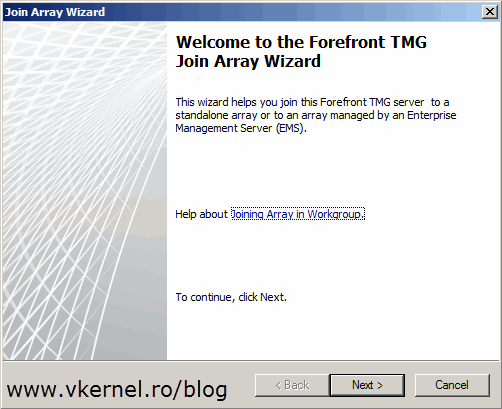
I’ve elected my second TMG server to do this because I want my fist one (Server-TMG1) to be the one that holds the array database. You will see in just a second what I mean, but for now just click Next to skip the Welcome screen of the Join Array Wizard.
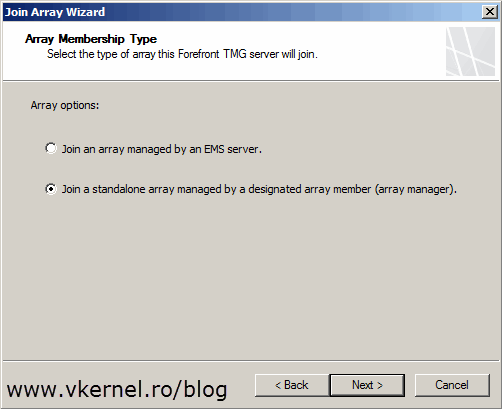
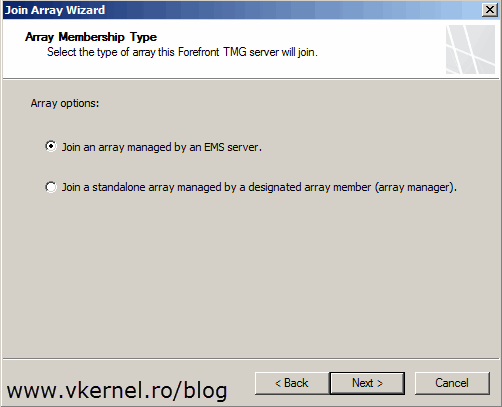
On the Array Membership Type page select the second option Join a standalone array managed by a designated array member (array manager). We’ll treat the first option on the second part of this article.
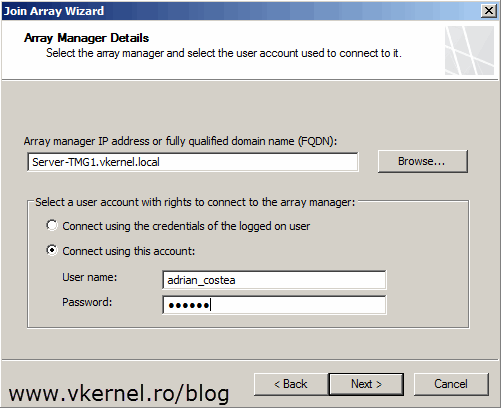
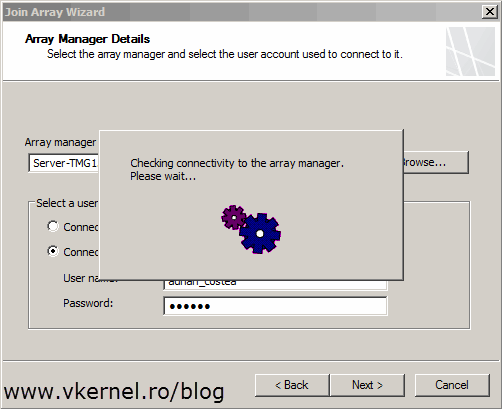
Here, on the first box, type the FQDN of your other TMG server you want it to be part of the array. The name you type here will be the server elected to be the array manager. I told you, I’m running the Join Array Wizard from my second TMG server (Server-TMG2) because I want my first one (Server-TMG1) to be the array manager. After this, provide an account to connect to the array manager. It can be a local account or a domain account, but it needs to have an administrator role on the TMG server; so you either add this account to the local administrators group on every TMG server, or you give him the administrator role from the Assign Roles tab in the TMG Properties window. Either way will work just fine, or… you can use the credentials of the logged on user if it has the rights I just talked about.
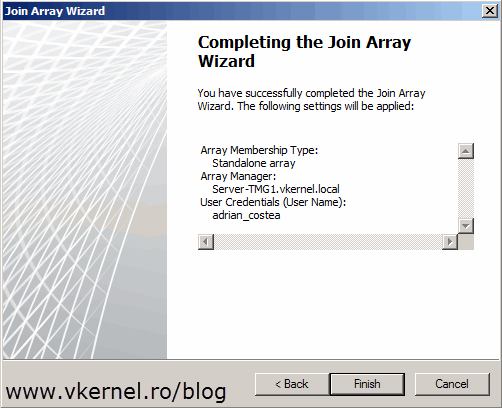
After the credentials are verified the wizard also checks the connectivity to the array manager, well… the future array manager. If everything turns out right, click the Finish button to create the array.
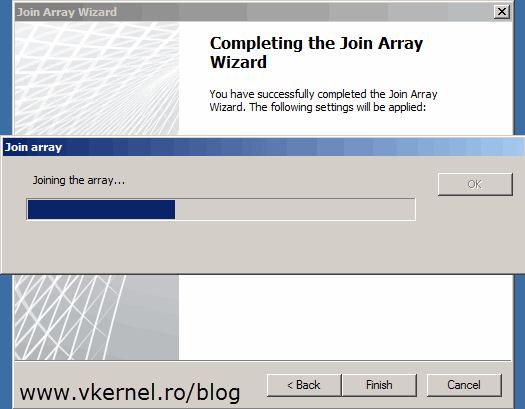
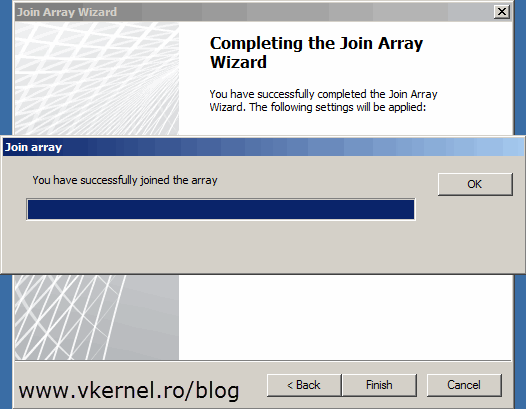
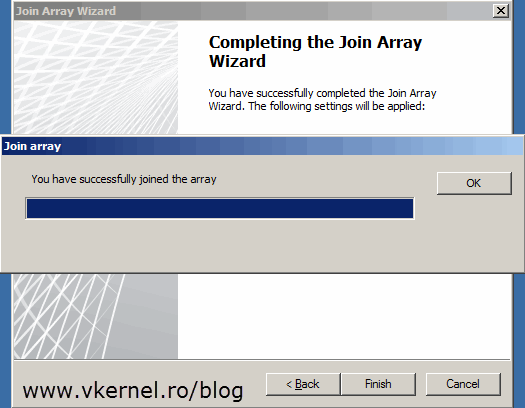
The process is going to take a while, so be patient. Click OK when done
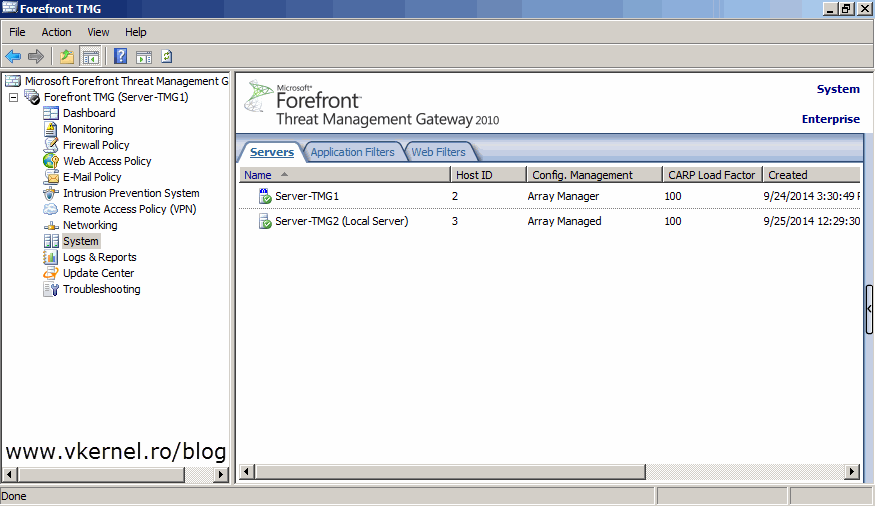
Now back to the console, the first thing you can see is different is that you are connected to the array manager, not to the local server.
If you drill down to the System object you can see who is the array manager and how is managed by it.
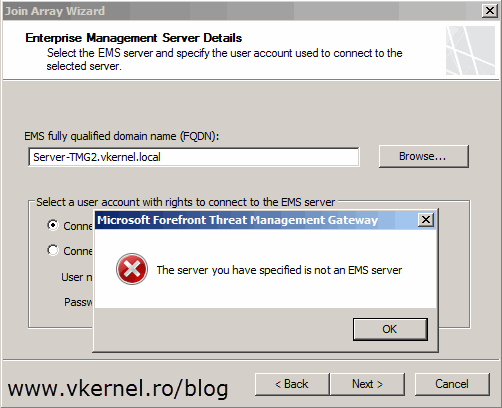
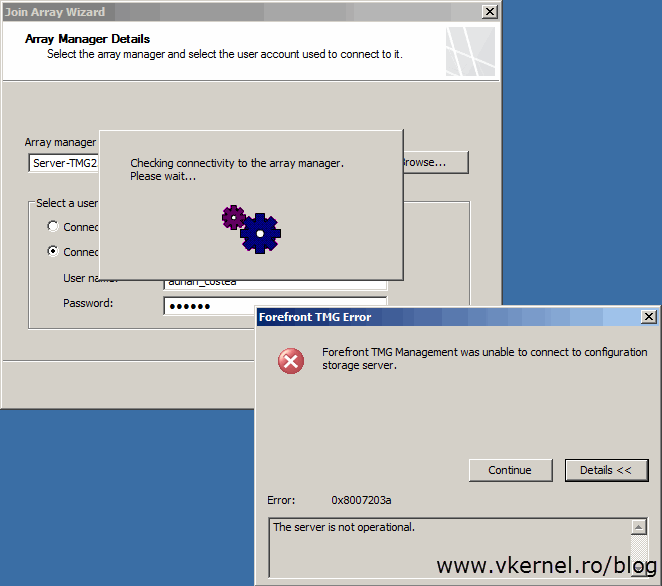
Have anther TMG server you want to join it to the array ? No problem, just retake the above steps and you are good-to-go. Make sure that during the wizard you provide the FQDN of the array manager on the Array Manager Details page, not another host part of the array or you will get an error message:
Forefront TMG Management was unable to connect to the configuration storage server. The server is not operational. Error: 0x8007203a.
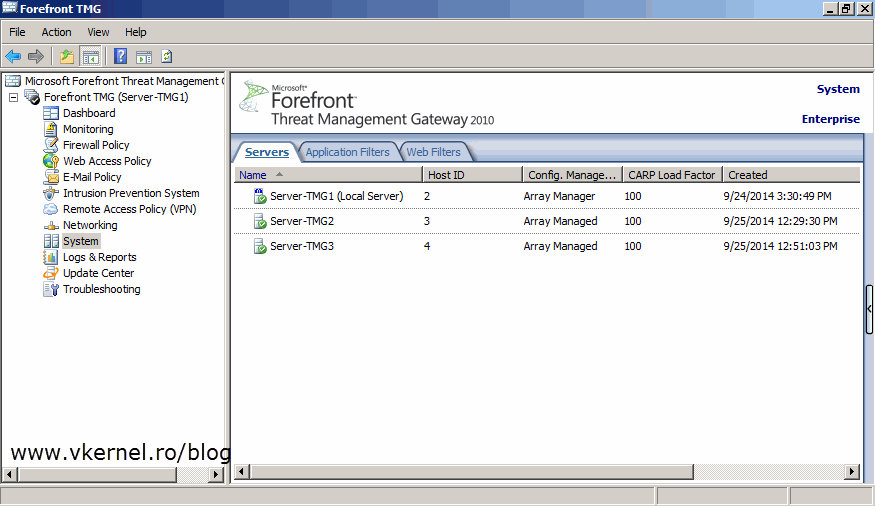
When done you can see the third or the fourth or the fifth host joined to the array.
From now on every time you create an access or publishing rule, they will be replicated to every TMG server that is part of the array. Pretty nice, but what’s next is nicer.
Creating a Forefront Threat Management Gateway 2010 (TMG) Enterprise (EMS) array
By having an Enterprise Management Server (EMS) you can create enterprise policies that apply to all the arrays managed by the same same EMS. I said arrays, because you can have many, not just one, compared to the standalone version, and every one of them can inherit those enterprise policies you create. The EMS server stores the TMG Array / Enterprise configuration in the local Active Directory Lightweight Directory Services (AD-LDS) instance database, which is installed along with the product itself. I know what you are thinking right now:
– What if the EMS server goes down ?
If that happens, your TMG servers will not shutdown or fail, instead, they continue to process rules based on the last configuration given to them from the EMS server.
To understand what I’m talking about, let’ get to practice, and to start let’s install our EMS server. For this you need a separate host, you can’t install EMS on a TMG server.
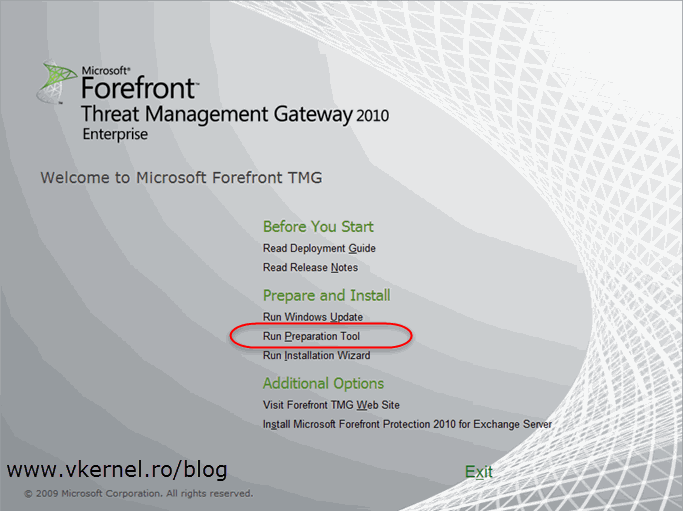
Mount you TMG ISO and from the splash screen click the Run Preparation Tool link.
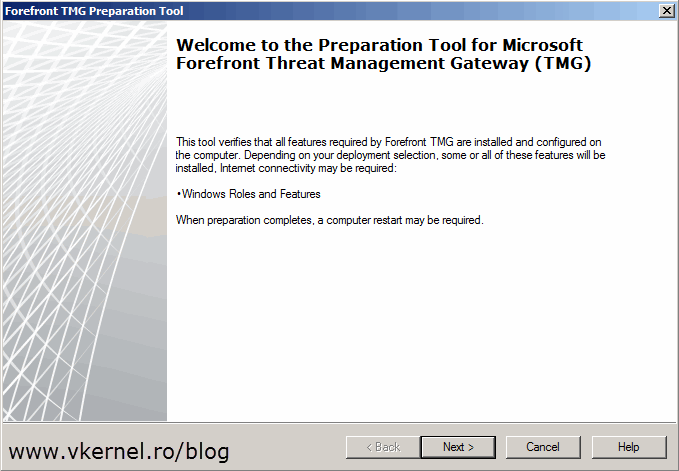
The Forefront TMG Preparation Tool wizard will open. Click Next to skip the Welcome page.
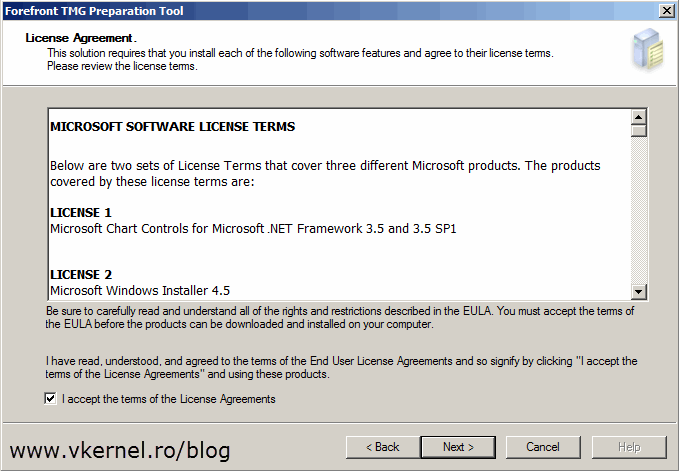
Accept the License Agreements and continue.
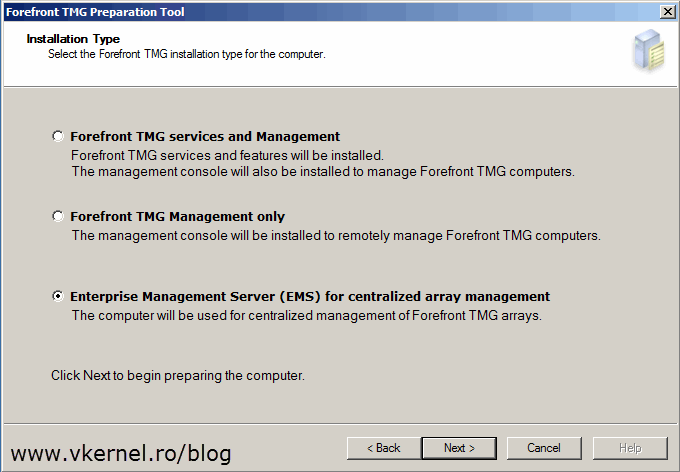
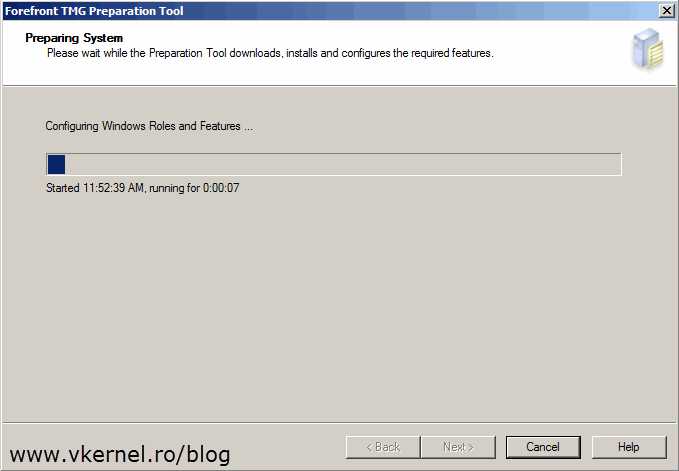
To prepare the environment for an EMS server choose the last option Enterprise Management Server (EMS) for centralized array management.Click Next.
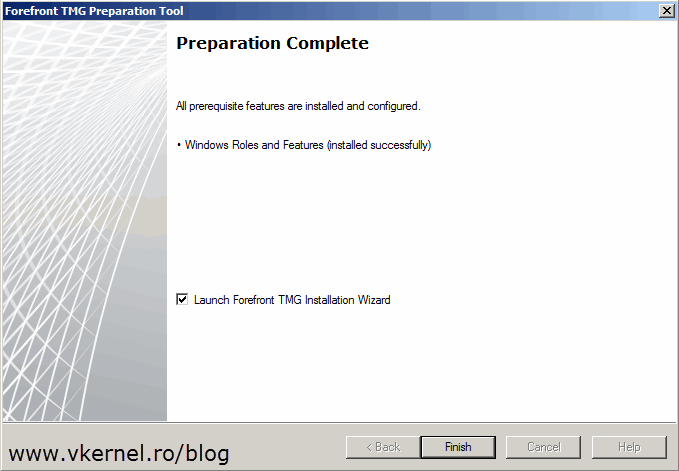
After the necessary roles and features are installed, you will get the option to launch the Forefront installation wizard. Click Finish to launch it.
A new installation wizard opens.
Accept the License Agreements then click Next.
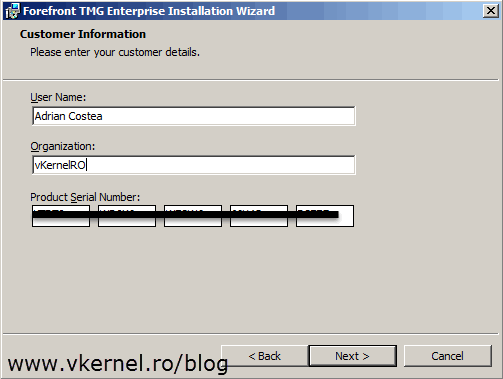
Complete the customer information and type the product serial number then continue the wizard.
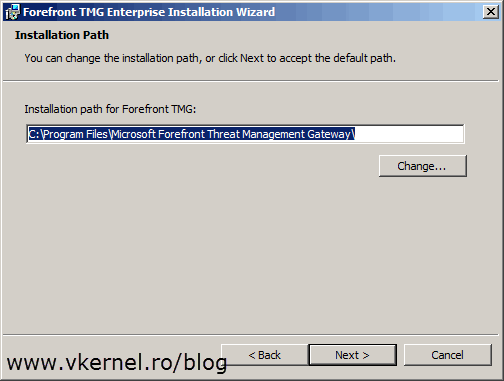
Usually you will leave the default installation path here, but there are situations when you install the product on another drive. Make your choice then click Next.
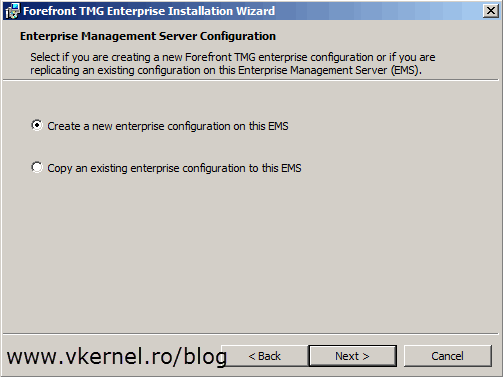
Since this is a fresh new installation, we don’t have another EMS to copy the configuration from, so leave the default option here and continue the wizard.
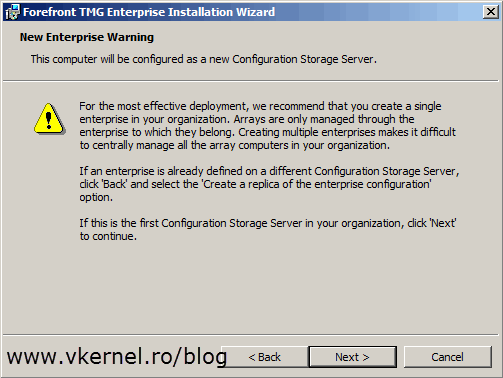
Here we have a warning that says it is recommended to have only one EMS server in the organization, because with multiple ESM servers it will be harder to manage all the arrays in the company.
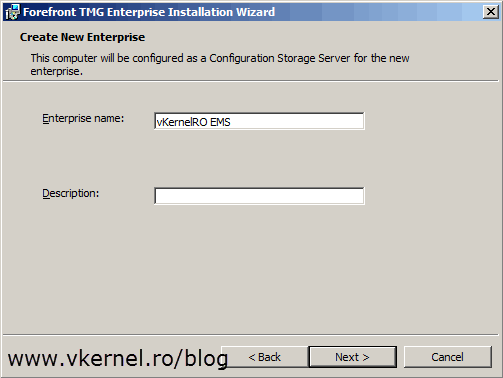
Name your enterprise then click Next.
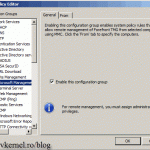
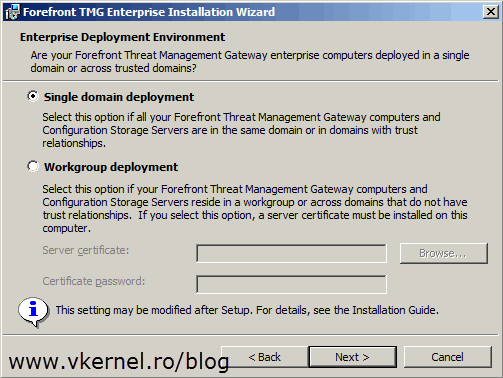
Leave the default selection here because we are deploying arrays in a domain environment.
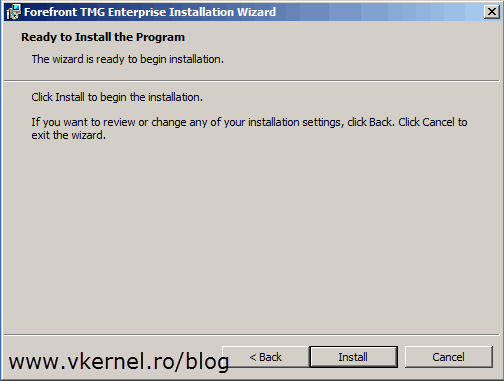
To begin the Enterprise Management Server (EMS) installation just hit the Install button.
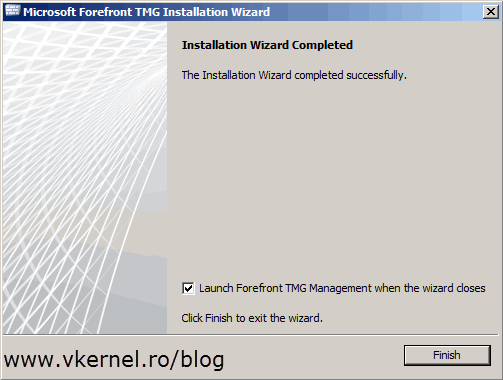
After a few minutes the final screen of the wizard appears. You have the option to close it and on the same time to open the Forefront console, which actually is the EMS console. Check the Launch Forefront TMG Management when the wizard closes box and hit the Finish button.

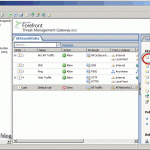
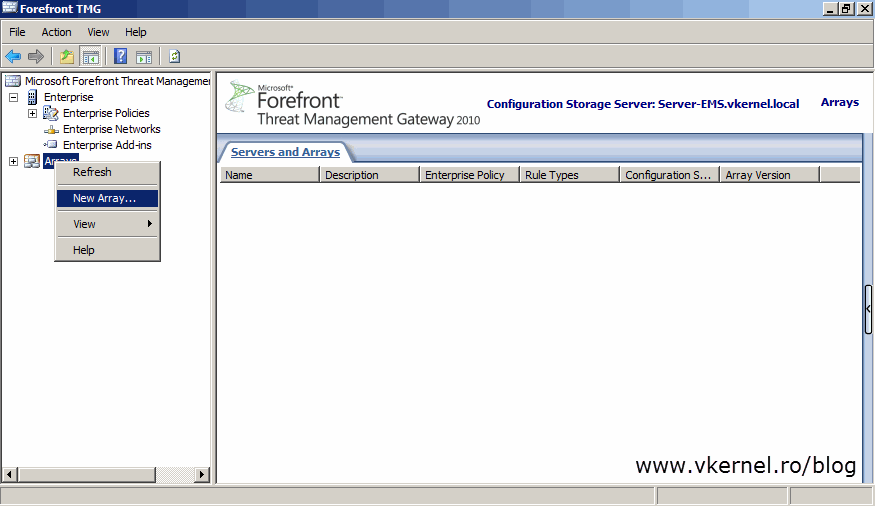
And here it is, the EMS console. As you can see there isn’t much you can do in it, but there will be after we create an array, so let’s get to it.
Right-click Arrays and choose New Array. Ohhh… and by the way, arrays can also be created using the Join Array Wizard from the TMG server(s). I’ll show you later.
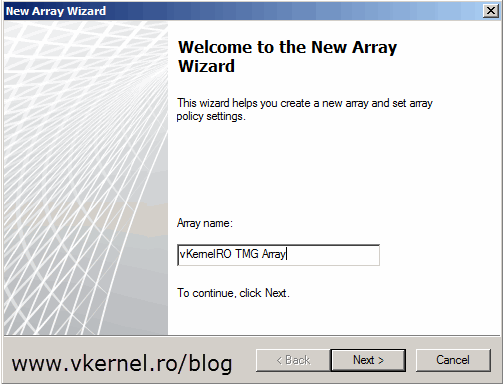
Type a name for the new array then continue the wizard. This is just a descriptive name and does not involve crating DNS records or other stuff.
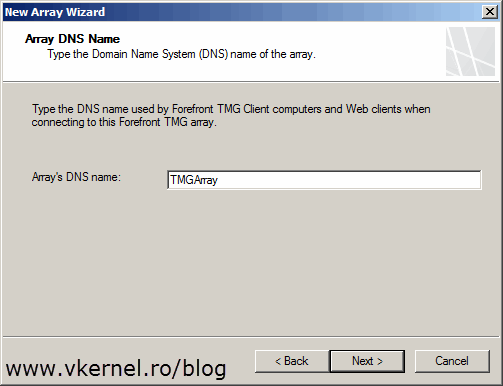
On this page however, the name you type in the Array’s DNS name should have a DNS entry crated on your DNS server zone. It needs to resolve to the EMS server IP address.Try not to put any spaces in the name.
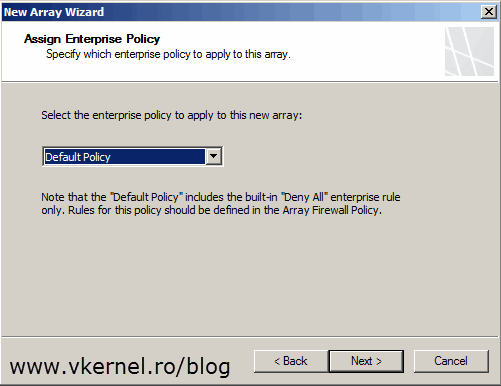
Here you choose what enterprise policy you want to apply to this array. Since this is a brand new installation the only availabe policy is the default one. Click Next.
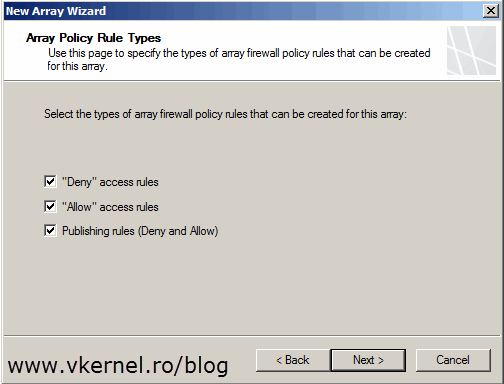
Select what type of firewall policy rules can be created on this array. If you uncheck for example “Deny” access rule, you can’t create any firewall rules that will deny access.
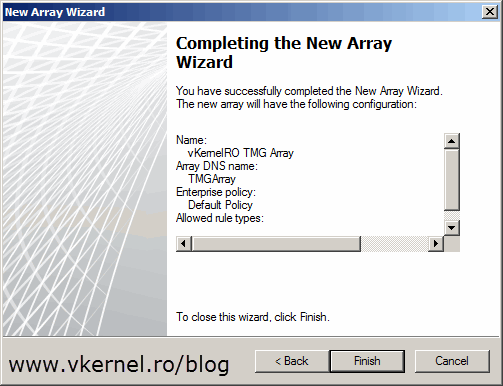
At the Completing the New Array Wizard page click Finish to start creating the array.
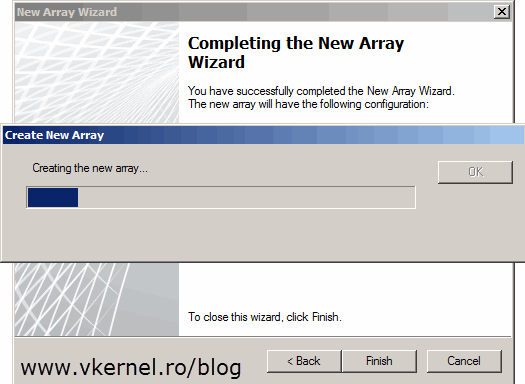
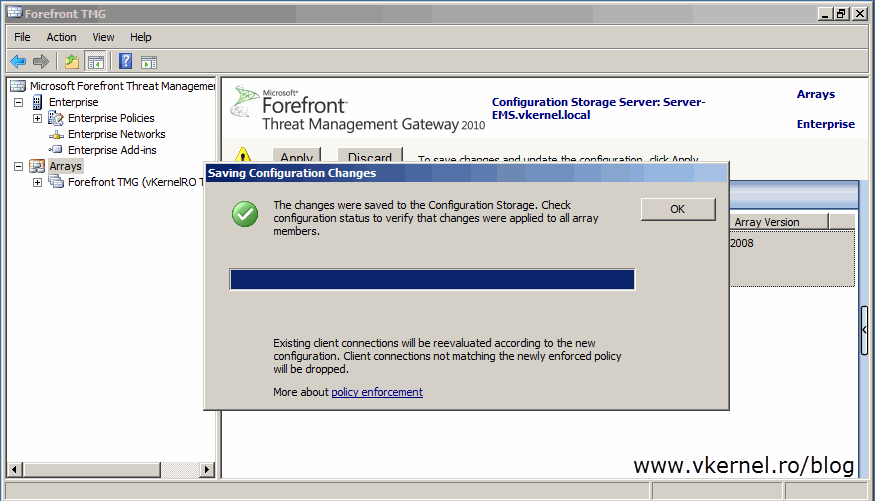
The process will take a few seconds and at the end just click OK to close the wizard.
To commit all the changes click the Apply button from the EMS console.

After expending the array you can see that it looks exactly like a TMG console interface, which is helpful.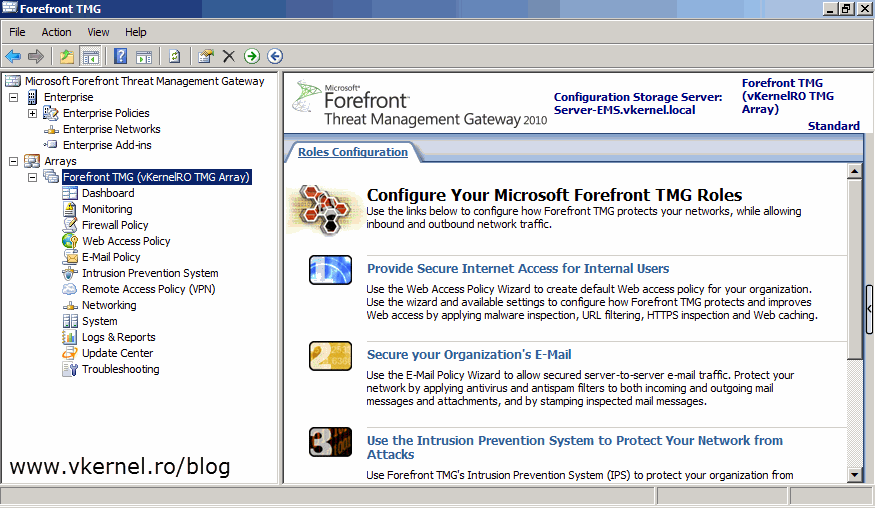
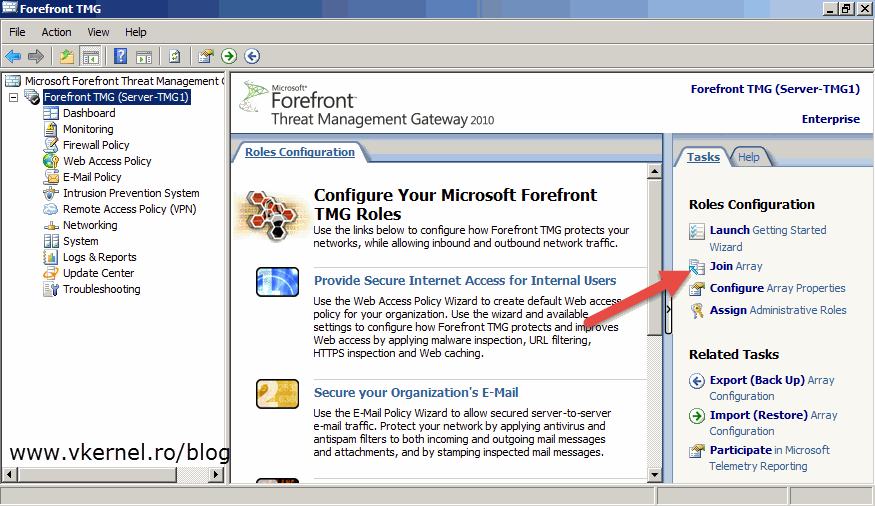
Now it’s time to add servers to this array, but don’t try to find the option here on the EMS console because there isn’t any. Adding servers to the array is done for the TMG servers themselves, so go to one of those servers and open it’s console. From the Tasks pane click the Join Array link.
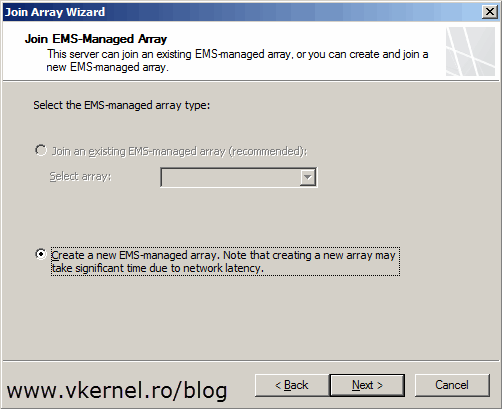
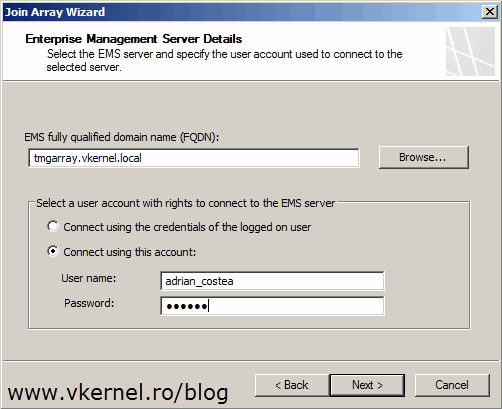
Since we have an EMS server, leave the default selection here and continue the wizard.
Here type the FQDN of your EMS server or your array name.
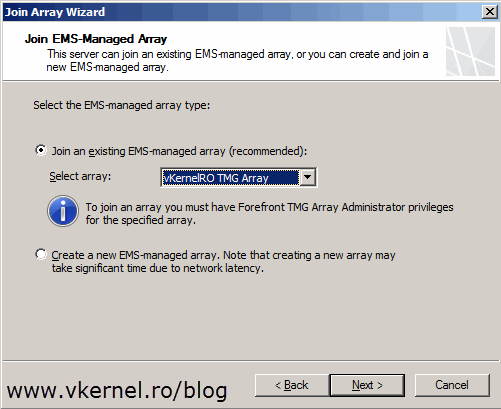
The existing arrays are automatically presented to you on this page, and since we have an array already created we are going to leave the first option selected. As you can see and as I’ve said before, arrays can be created directly from this wizard too not only from the EMS server. Feel free to test this in your test environment.
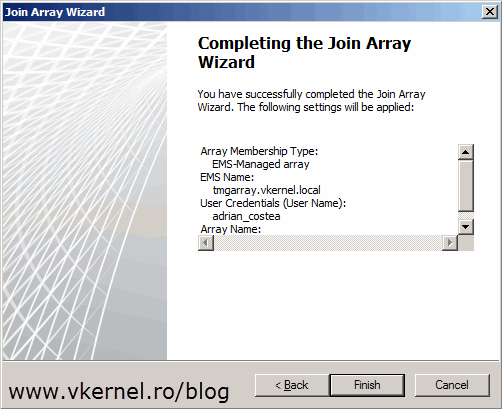
Click the Finish button to join the array.
The process will take a few minutes
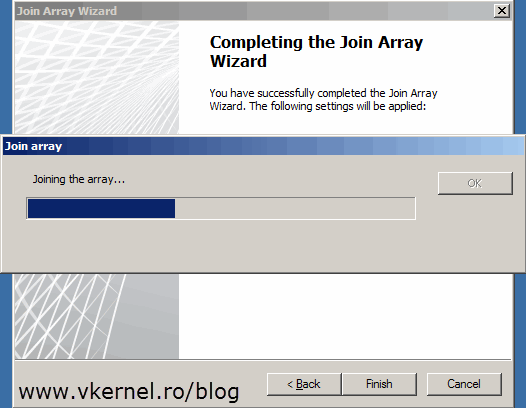
but at the end you should see your server joined to the array. You can also see that the console changed, you don’t have the standard TMG console anymore. Now go ahead and repeat these steps for the other TMG servers you want to be part of the array.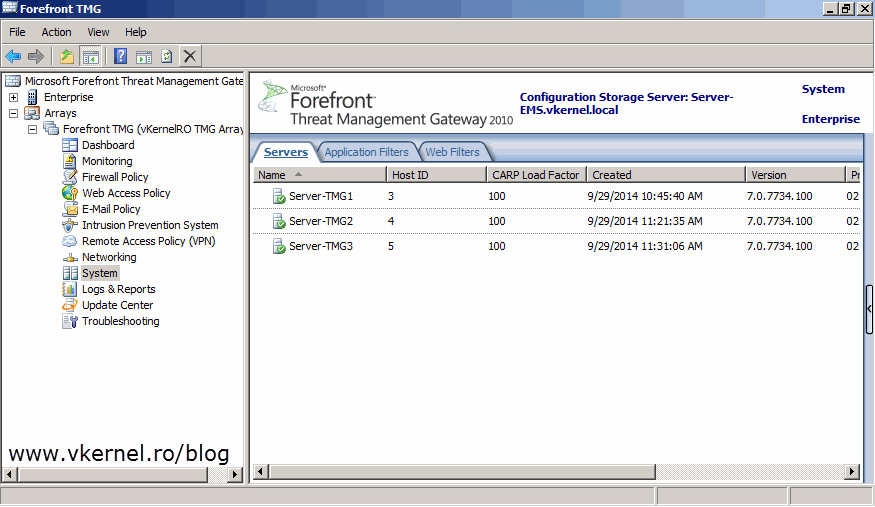
You need another array? No problem, just go ahead and create it, then join some TMG servers to it.

After all this, there are a few optional things that need to be done, and the first one is to define your enterprise networks. Enterprise networks are defined for use by all TMG servers and arrays within an organization. So let’s say you have three locations, and each location is using a different network subnet. Then each of these subnets could be defined within EMS as Enterprise networks. This makes it easier to create rules that apply to traffic to and from these networks and also ensures that any changes made to the networks are applied globally across all TMG servers. The second thing is to configure your enterprise network rules. These rules describe the relationship (Route or NAT) between various networks.
I’m not going to start configuring networks right now, this is a new idea for a new article. Until then, best of luck.
Want content like this delivered right to your
email inbox?
More similar articles
 Configuring TMG 2010 with a single network adapter (Proxy mode)
- Publishing Multiple HTTP Web Sites with TMG 2010
- Publishing Exchange 2010 Outlook Anywhere with TMG 2010
- Configure TMG 2010 for certificate request from internal CA
- Configuring a PPTP Site to Site VPN with TMG 2010
- Publish Outlook Web App (OWA) with TMG 2010