Setting up a Windows Server as an iSCSI Target Server
Right before Microsoft released their first iSCSI Target server, every time we wanted to build a Hyper-V or VMware cluster environment we had to deploy some very expensive or open source iSCSI Target software in order to build that infrastructure. They work great, but building an iSCSI Target using a Windows Server, it’s way easier and faster, and the integration with Active Directory really helps. Beside its Active Directory integration it also offers data deduplication, thin provisioning, disk agregation, storage spaces and many other benefits.
The first Microsoft iSCSI Target server was available as a download for Windows Server 2008 R2, but starting with server 2012 this comes as a build-in feature. Just in case you don’t know, an iSCSI Target server offers the possibility to allocate its local configured storage to a remote host over the network. So let’s say you have a backup server and you need more space but cannot add any extra drives anymore in this server. That being the case, you build a Windows iSCSI Target server on which you add the extra drives, configure the iSCSI Target -as shown in this article- then from the backup server you connect to the iSCSI Target and get the configured disks trough the network. Easy right?
The real benefit of an iSCSI Target comes when building clusters, because as you probably know, a cluster needs access to a central storage so that every node/server in that cluster can see the same disks/volumes.
1. Installing the iSCSI Target Server role
The installation is straight forward and all we need to do is open Server Manager and go to Manage > Add Roles and Features. Since we are not deploying a Remote Desktop Services farm, we are going with the default option in the installation wizard, which is Role-based or feature-based installation.

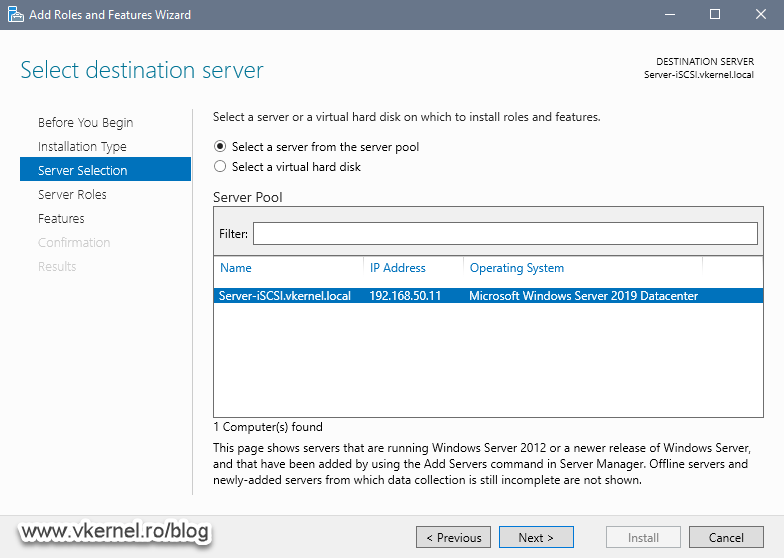
Select the server from the list on which you want to install the iSCSI Target role then click Next.
From the Server Roles page, expand File and Storage Services > File and iSCSI Services then check the box next to iSCSI Target Server. In the window that pops-up click the Add Features button to continue.

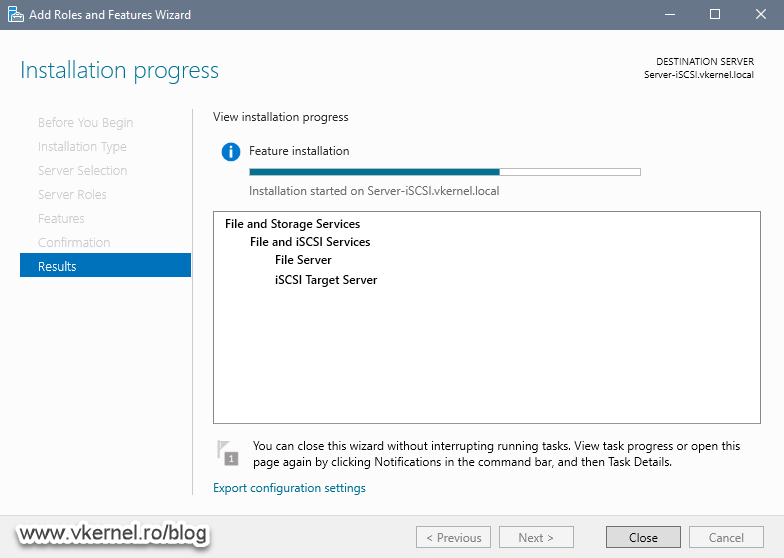
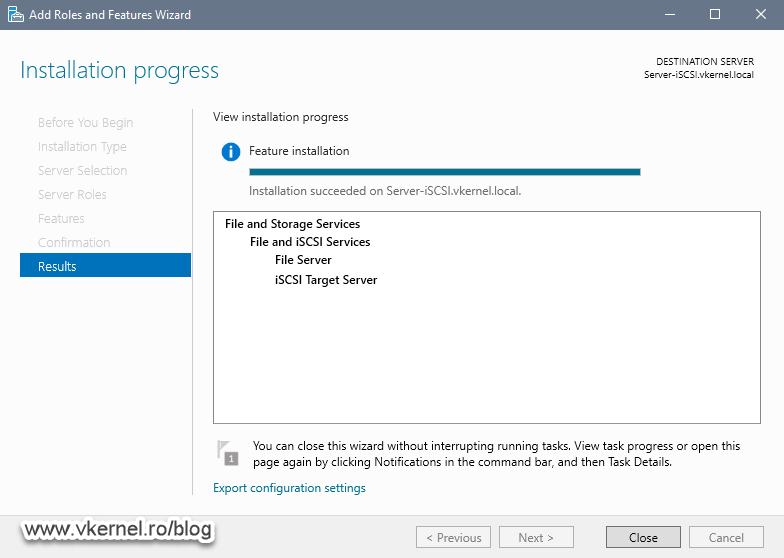
In the Confirmation screen, review the settings then hit the Install button to begin with the role installation. After a few minutes, our installation should show as succeeded.
2. Creating an iSCSI Target
Now that we have the iSCSI Target Server role installed, it is time to configure it, but before that, we need to make sure that we have a place to put the iSCSI file resulted after the configuration. This file, which is actually a .VHDX virtual disk file, will hold all the data from clients connecting to our iSCSI Target.
Mount your disks or SSD drives into the server, configure the RAID level you need for your data either using the built in card or using Storage Spaces, then create a volume for use.
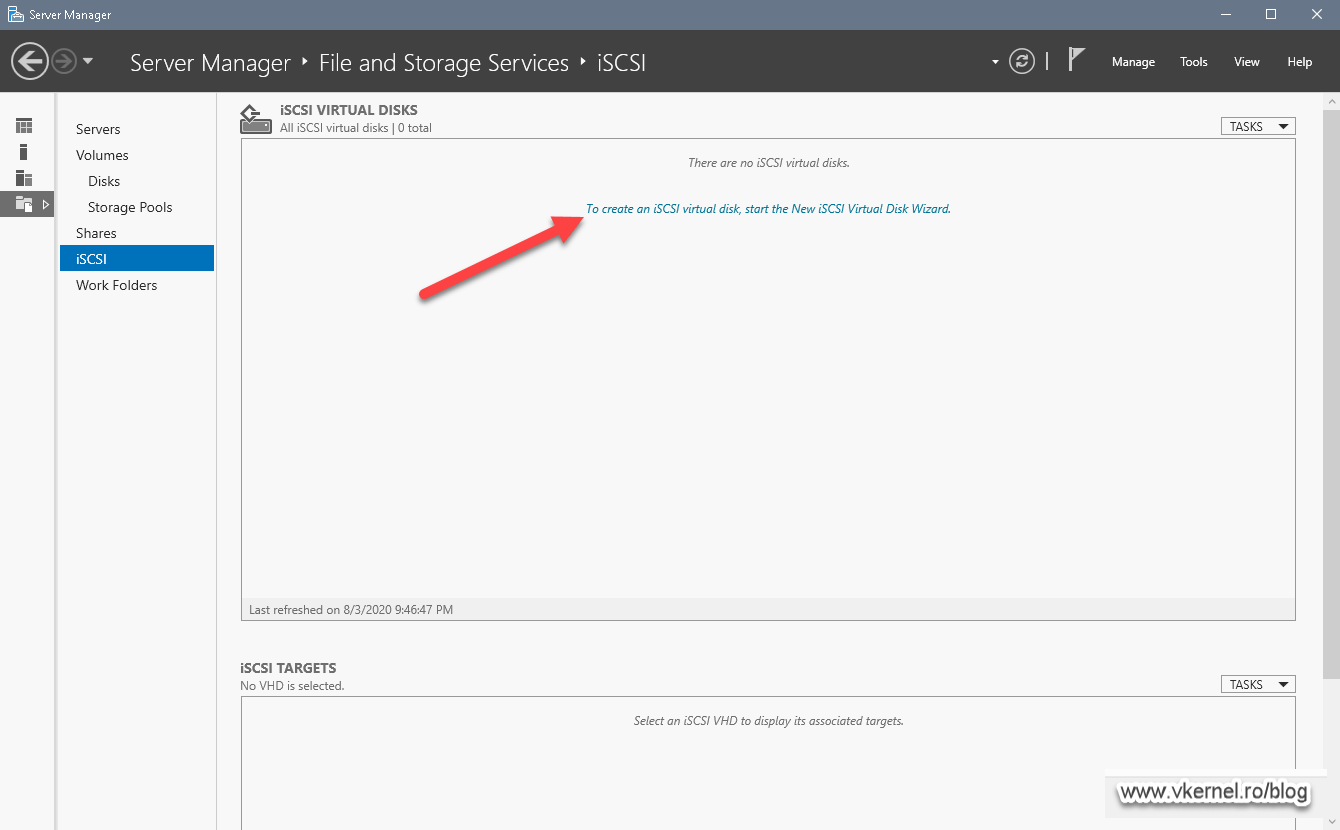
Once we have the storage in place, click the File and Storage Services item in Server Manager then go to iSCSI and click the link To create an iSCSI virtual disk, start the New iSCSI Virtual Disk Wizard. This will open the New iSCSI Virtual Disk Wizard.
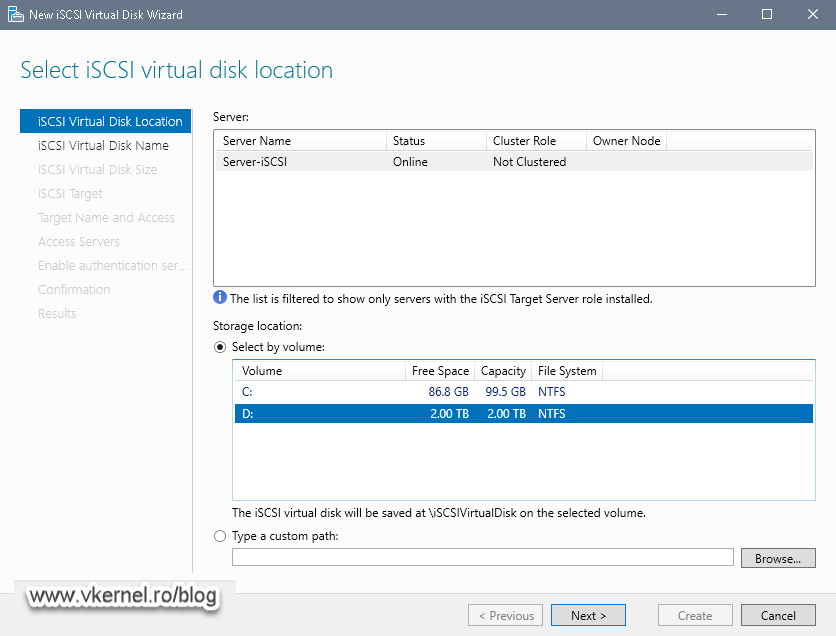
From the Storage Location section, select the volume we just created moments ago so we can put the iSCSI virtual disk on it. If you have a different preference, you can also choose a custom path where to save the virtual disk file by using the Browse button.
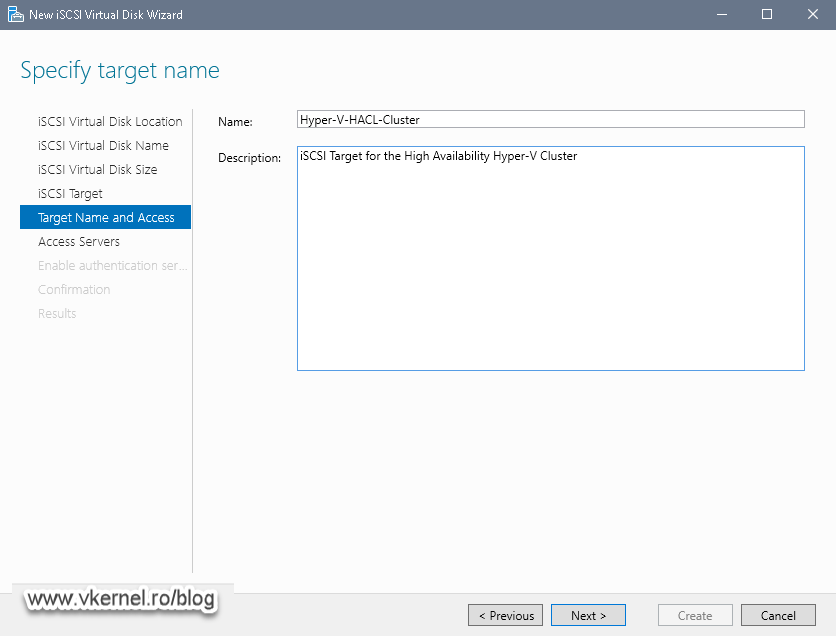
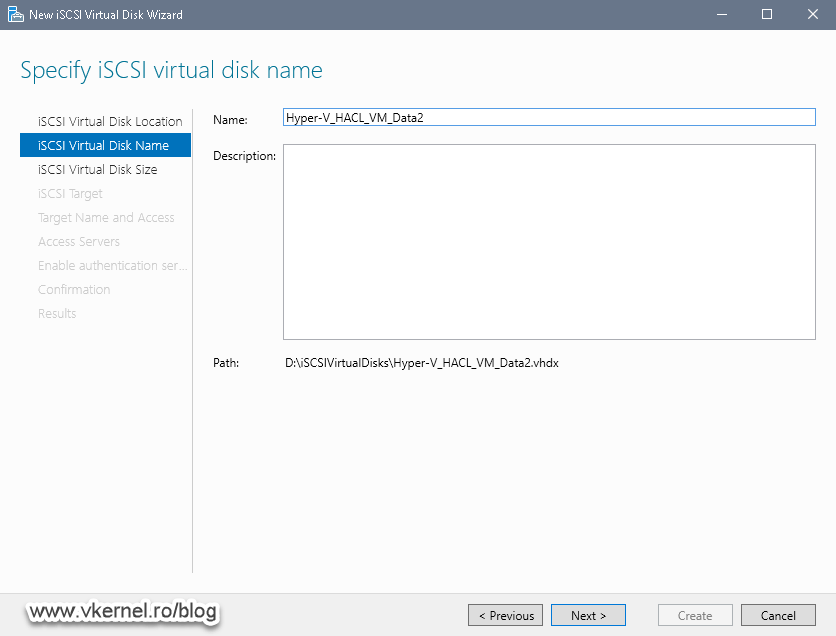
Provide a name and description for the virtual disk then click Next.

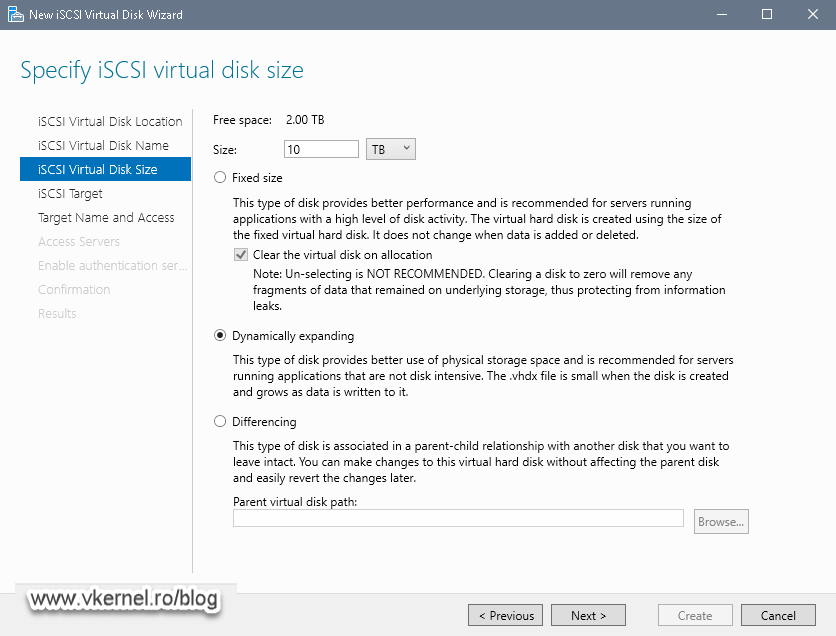
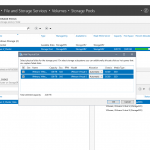
In the iSCSI Virtual Disk size screen we have a few options to choose from:
Fixed size – Using this option we can only create a virtual disk at the maximum size of our volume which is shown at the top, in the Free space line.
Dynamically expanding – This option will let us go over the maximum size of our volume -also called over-provision-, but with a cost. We need to monitor very closely the volume where the virtual disk sits because if it fills up, the services that depend on this virtual disk will stop. Imagine a Hyper-V Cluster running out of space because the virtual disk cannot grow anymore since it reached the volume maximum size. The VMs running on this cluster will crash and eventually stop, making services unavailable.
Differencing – This option is rarely used since it depends on a master virtual disk. By choosing this option we are actually going to create a child virtual disk that links to a master one. Imagine this like you have a VM running on snapshots.
Choose the option that fits your environment then click Next.
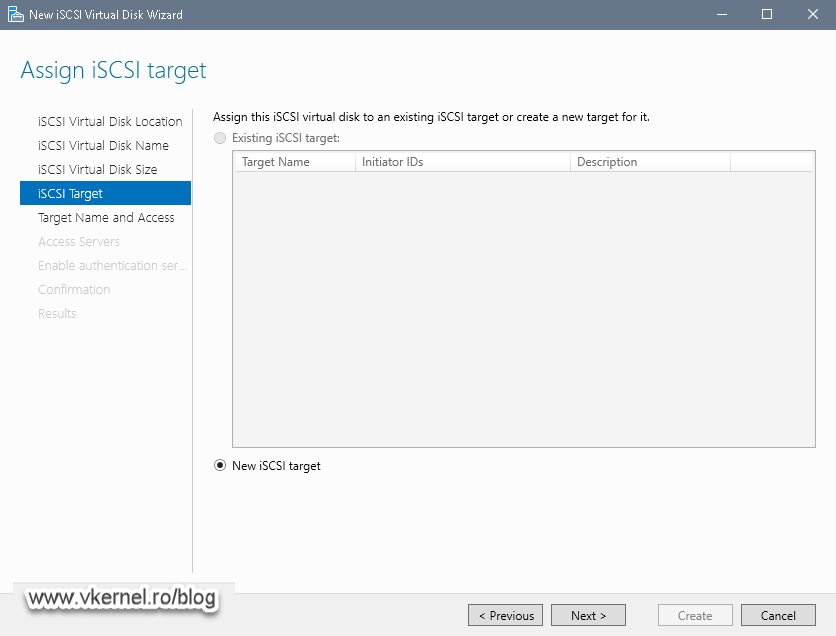
Since we don’t have any iSCSI Targets created, the only option we can choose here is to create a new one, so hit Next.
Type a name and description for the iSCSI Target and continue the wizard.
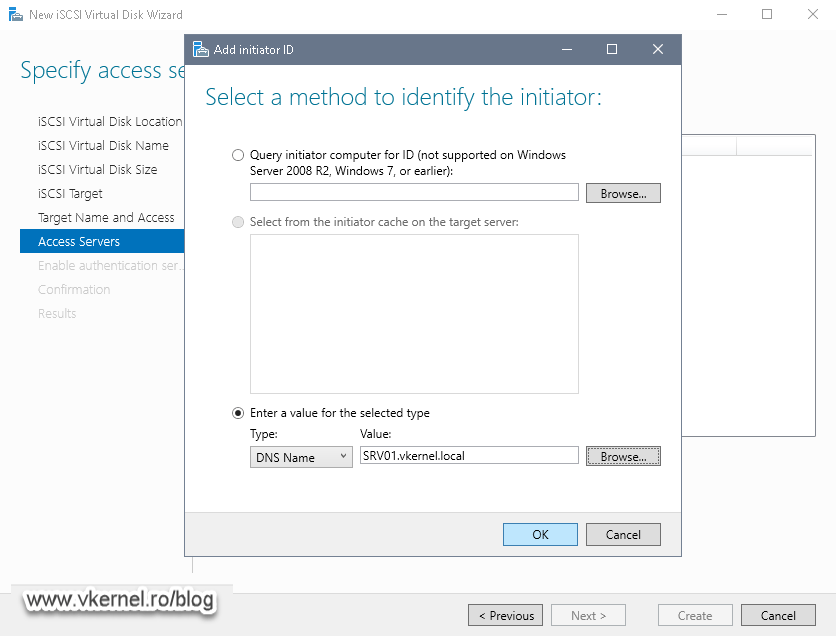
Here is where we allow which iSCSI initiator or client can connect to this iSCSI Target and we have to add at least one client in order to pass this wizard screen, so click Add then provide an IP Address, IQN (iSCSI Qualified Name) or DNS Name from one of your clients. A client here represents the machine that later on will connect to this target. If right now all you are interested in completing this wizard and create the iSCSI target, you can just put a bogus IP address and you are good to go, then later on come back, remove it and type the real one.
If the clients are Windows machines and joined to an Active Directory domain, all you have to do is put the DNS Name(s) in the list.
TIP! Type the FQDN of the client and add it to the list and once the iSCSI Initiator service is started on the client (see section three), come back here and add the IQN since it was auto-discovered. Just an easier method then typing that long string of characters manually.

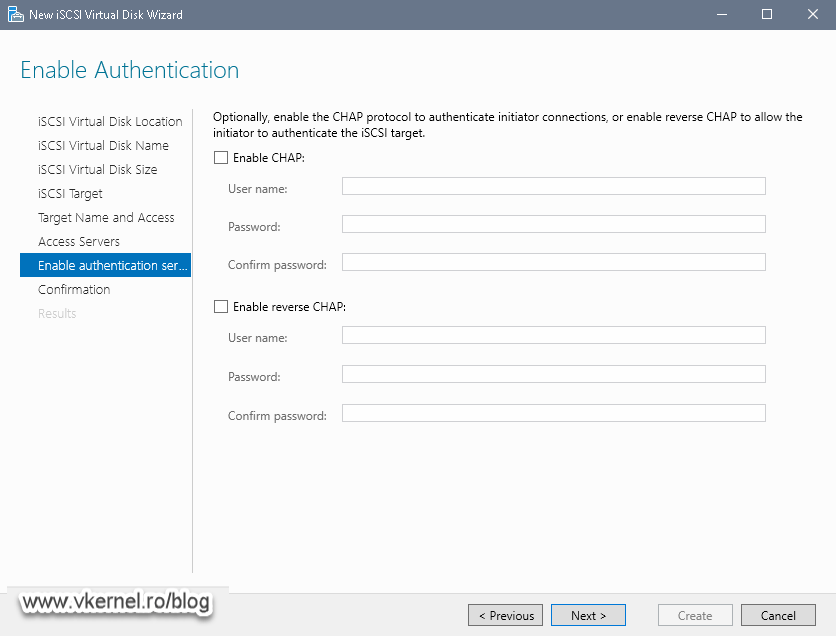
In this screen of the wizard is where we can configure authentication for our iSCSI Target, so even if someone knows the iSCSI Target address, in order to connect and see all the available disks, that someone will need to type in a username and password.
Enable CHAP – This will authenticate all incoming connections to the iSCSI Target. The iSCSI clients will need to know the username and password we type here in order to connect.
Enable Reverse CHAP – This will authenticate all outgoing connection from the iSCSI Target to the clients. In this case the initiator will authenticate the iSCSI Target.
For the sake of this example we are going with the defaults here and not require any authentication. In a future article I will detail all the configurations about this subject, but for now just click Next to continue the wizard.
In the Confirmation screen, review all the configured settings then click the Create button to create our first iSCSI target and virtual disk.

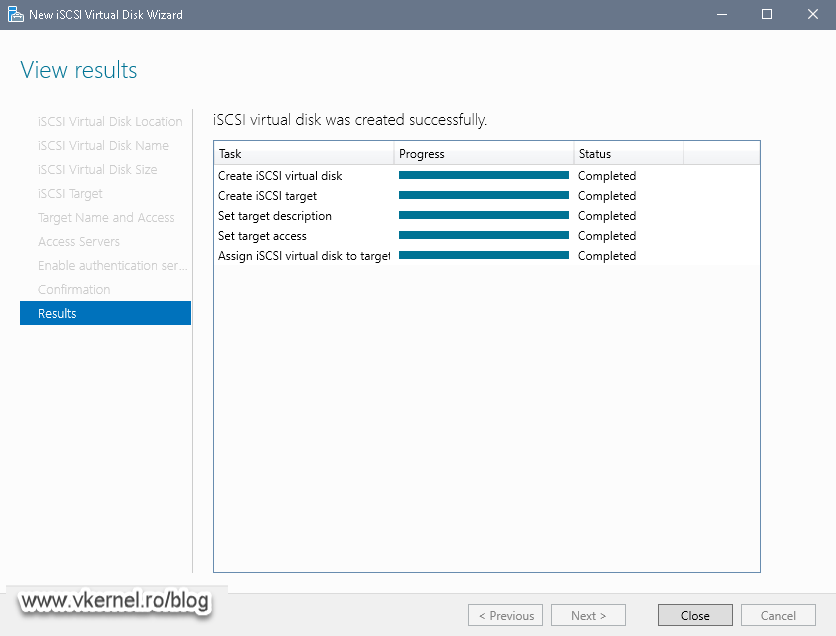
The entire process will take just a few seconds and all the tasks should be Completed successfully in the Results screen of the wizard.
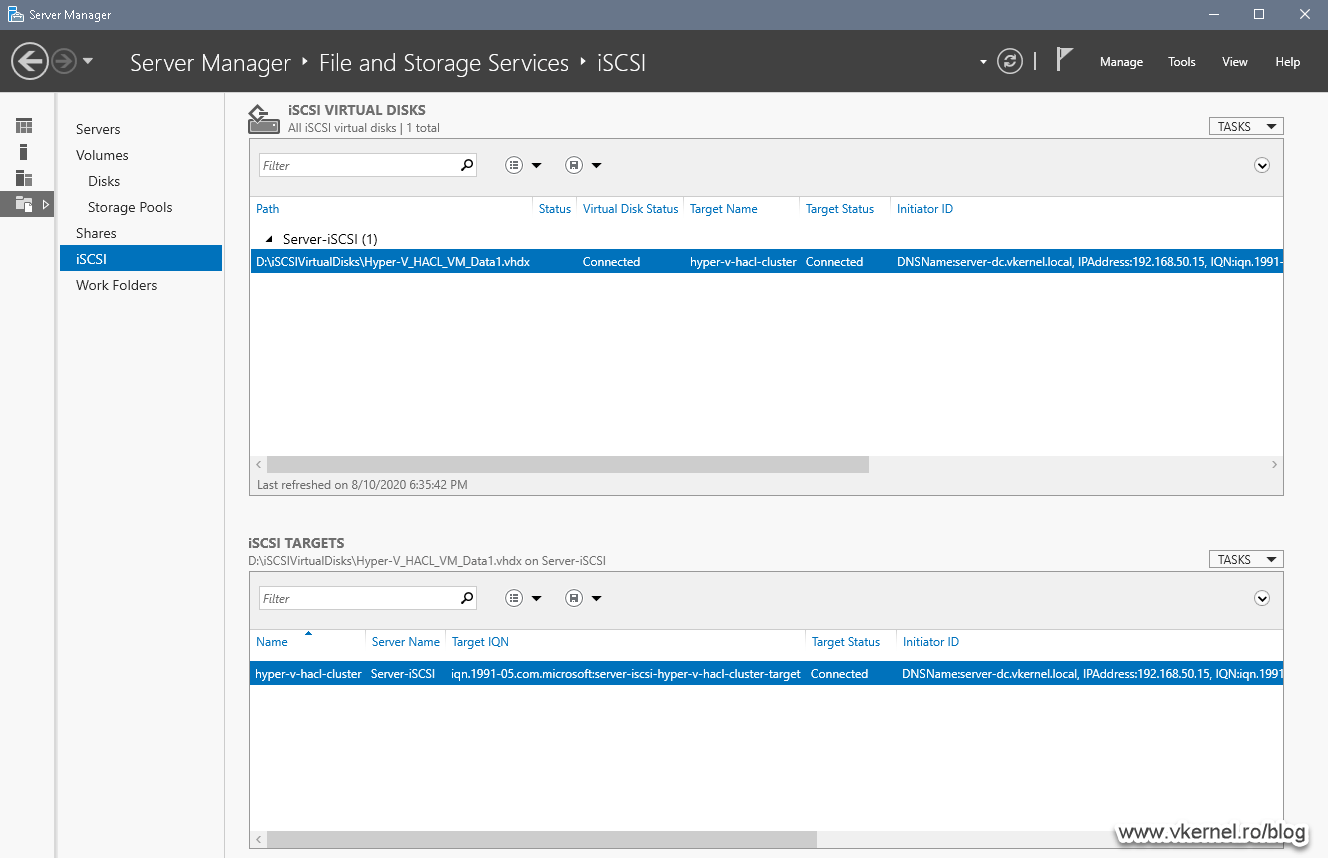
In the end we can view our iSCSI target and it’s disk(s) in the Server Manager console. Off course, they all show as Not Connected because we don’t have any iSCSI initiators connected to this target yet, but this is our next task.

3. Connecting iSCSI Initiators to the target
And we finally got to the point of connecting our clients or iSCSI Initiators to the iSCSI Target we just created. By the end of this section we should have a volume showing up in Windows Explorer which we can use to put our data.
On one of the Windows servers/clients click the Start Menu and search for iSCSI then hit Enter. You can also find the application in the Administrative Tools area.
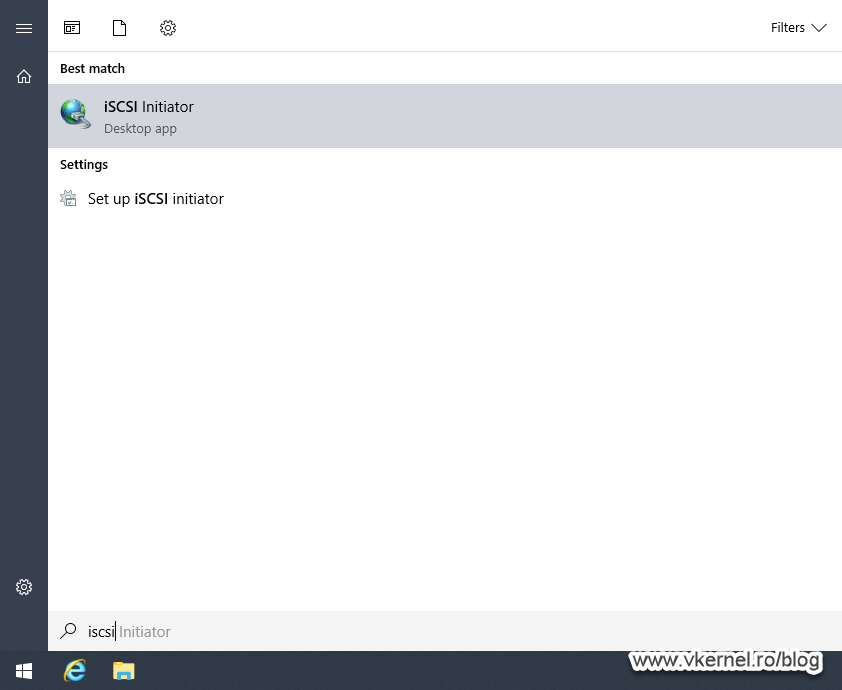
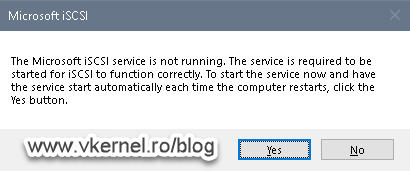
Right from the start, a window pops-up informing us that the iSCSI service needs to be started before we can configure it. Click Yes to start the service.
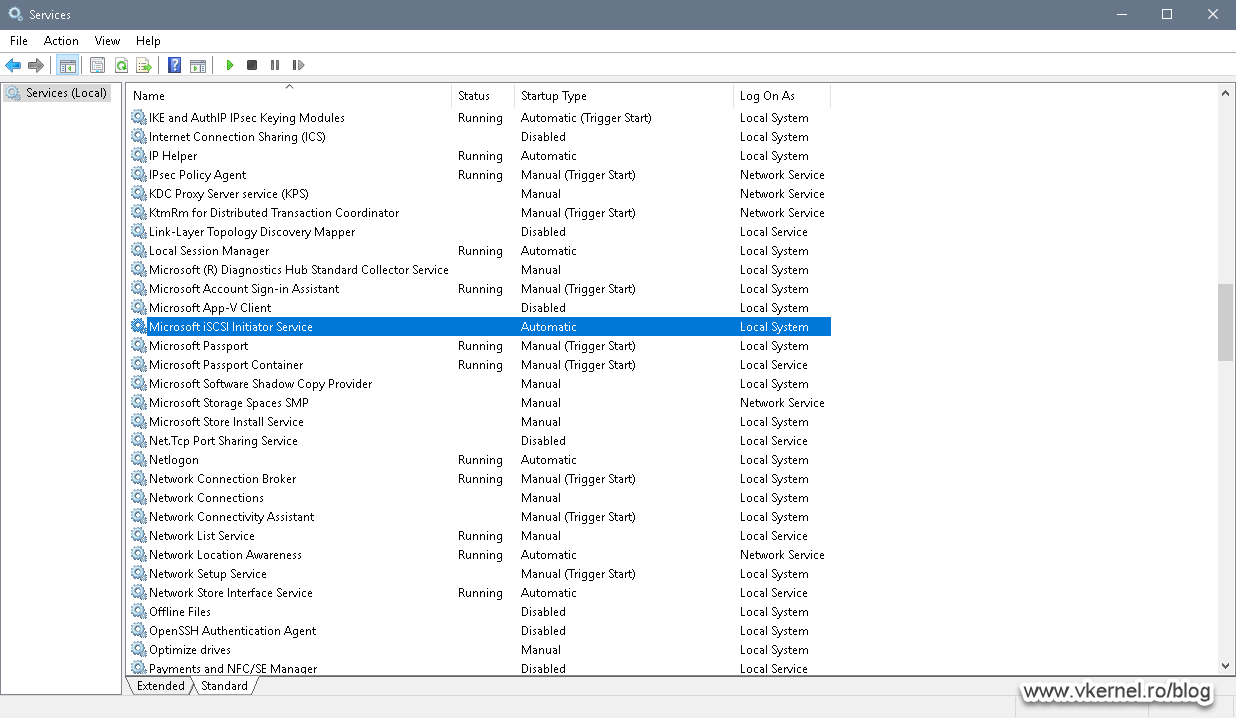
If we now take a look at the service, we can see that it’s running and set to automatically start with the system.
Once the iSCSI Initiator Properties window opens, go to the Discovery tab and click the Discover Portal button.
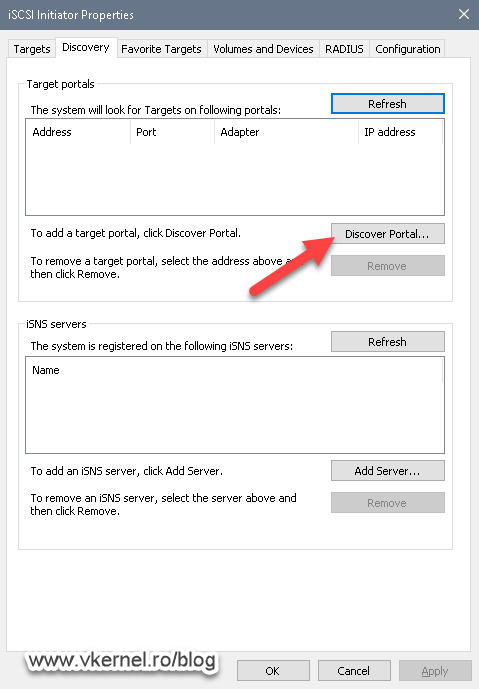
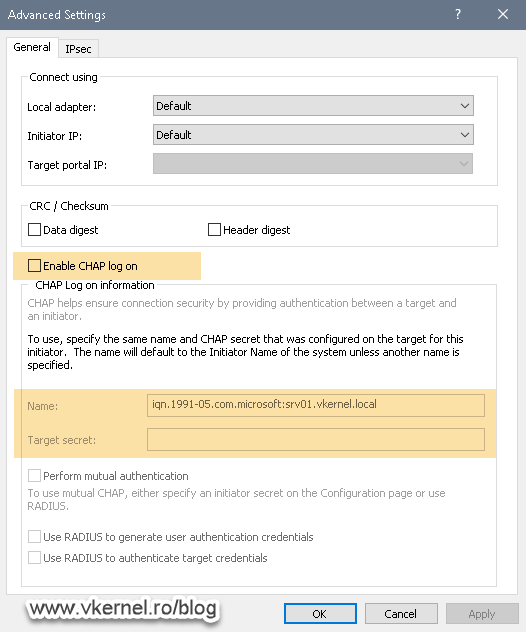
In the IP address or DNS name box of the Discover Target Portal window that opens up, type in the FQDN or IP address of your iSCSI Target. In case you configured CHAP authentication on the target, you will have to click the Advanced button here and provide the CHAP credentials.

Once we click the OK button, our target will be listed in the Target portals but also in the Targets tab. Remain on this tab because this is where the next configurations will happen.
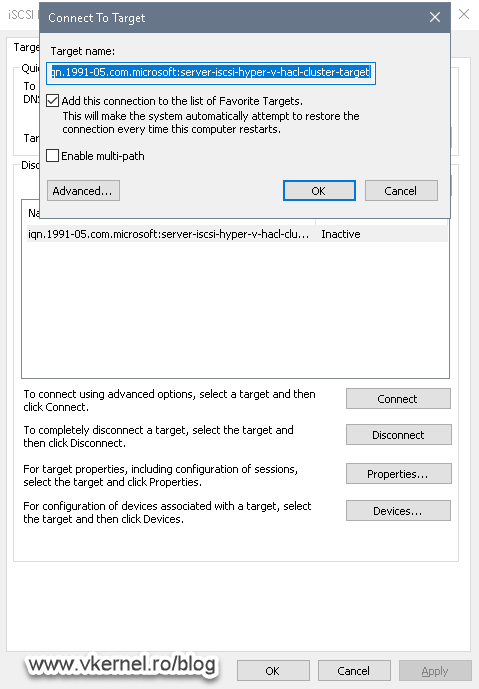
Select our target from the list and click the Connect button to open the Connect To Target window.
If we want our connection between the iSCSI initiator and the iSCSI Target to be persistent -auto connects after system reboot- then we need to tick the box Add this connection to the list of Favorite Targets. In case you have multiple network paths from the client to the target, you can check the box Enable multi-path so you can have a fault-tolerant connection between the two endpoints. We are going to skip this for now since it requires some extra features and hardware to be installed.
And again, for setting up CHAP, just click the Advanced button. Once you are done with the configurations, click OK to save them.
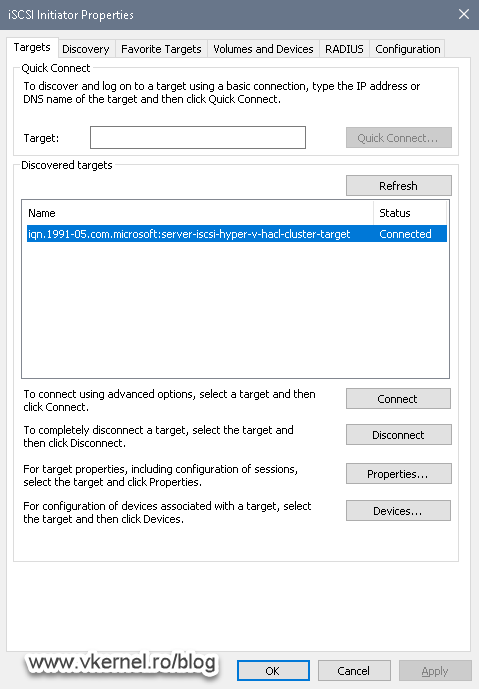
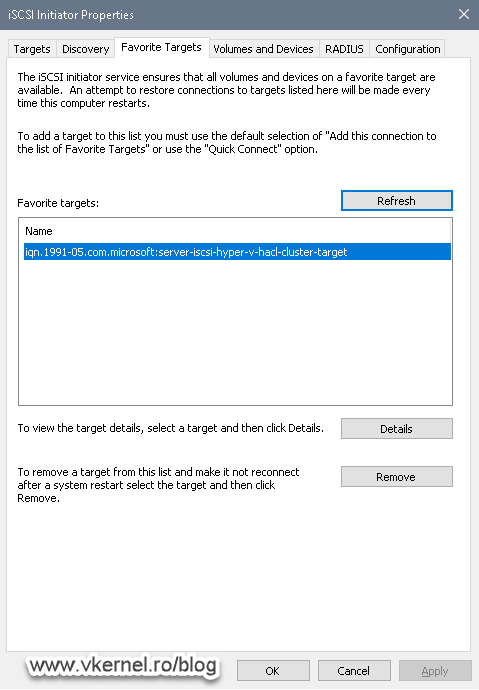
And there you have it, the iSCSI Initiator was successfully connected to the target and added to the Favorite Targets list for auto-connect after the system reboots.
If we now take a look in the Disk Management console we can see our iSCSI virtual disk present and ready to be used. All that we need to do here is format it and give it a drive letter.
At the end, we should have a nice and clean volume for our data, and every time we read or write this data it will happen through the network on the virtual disk on the iSCSI Target.
Looking at our iSCSI Target, we can see that now it shows as connected.
4. Adding more disks to the iSCSI Target
Very often, especially in a cluster environment, we will need to add more disks to clients either because we want to migrate the data to a new disk and decommission the old one, or because we just need extra disks for space increase. Whatever the case may be, adding disks to our clients trough our iSCSI connection it’s done in a few easy steps which we are going to take next.
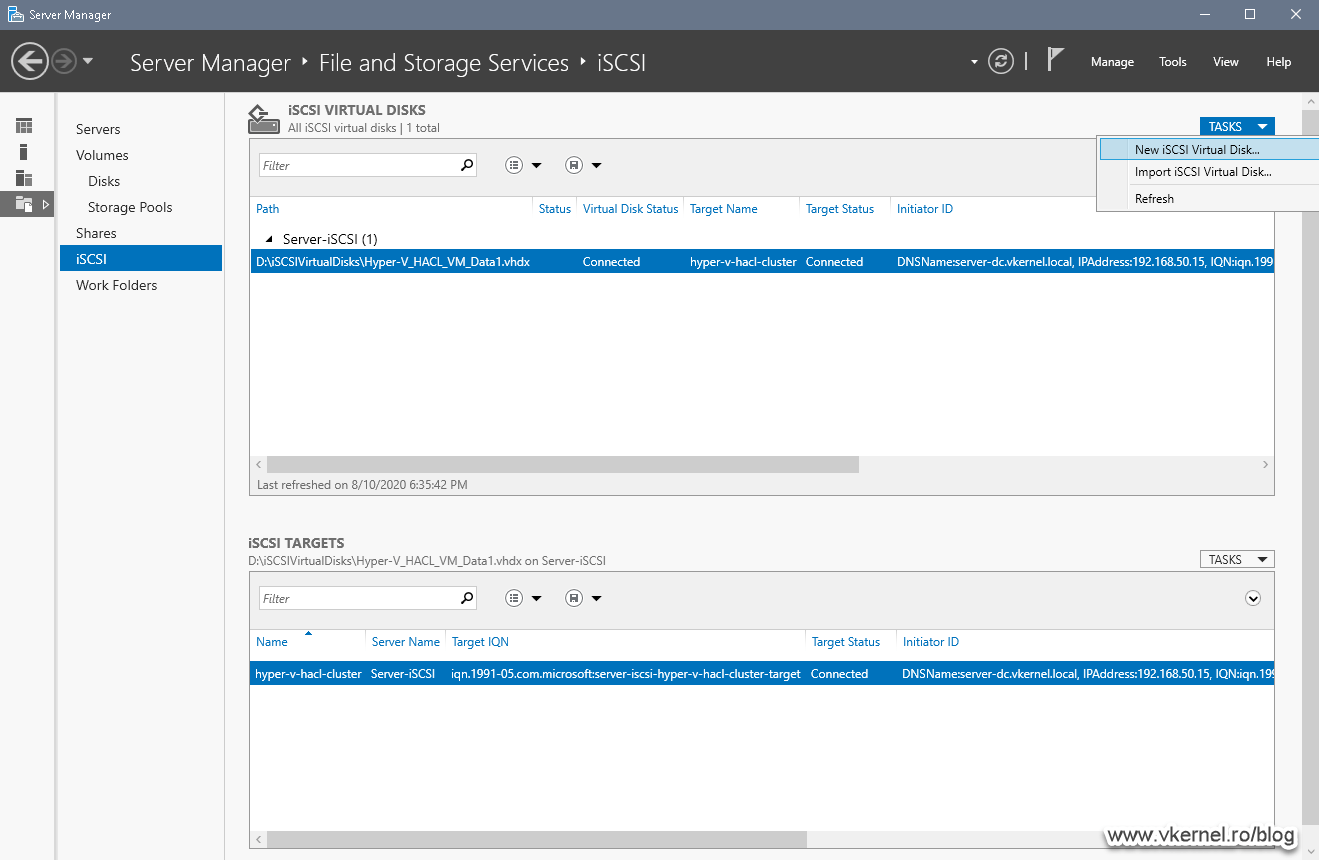
In Server Manager > File and Storage Services > iSCSI, click the TASKS drop-down box then New iSCSI Virtual Disk. This will open the New iSCSI Virtual Disk Wizard which now you are familiar with.
Select the volume or path where the virtual disk should be created then click Next.

Give the new virtual disk a name and continue the wizard.
You know the story here, and for a more in-depth explanation about what disk type you should choose, see section two. Choose the disk type and size then click Next.

Here, if we want this disk to be assign to the same iSCSI Target we created before, then all we need to do is go with the defaults, but if we want to attach it on a new target, then we will have to choose the second option and create a new iSCSI Target. Since we want to attache the disk to our existing iSCSI Target, leave the default option here and click Next.

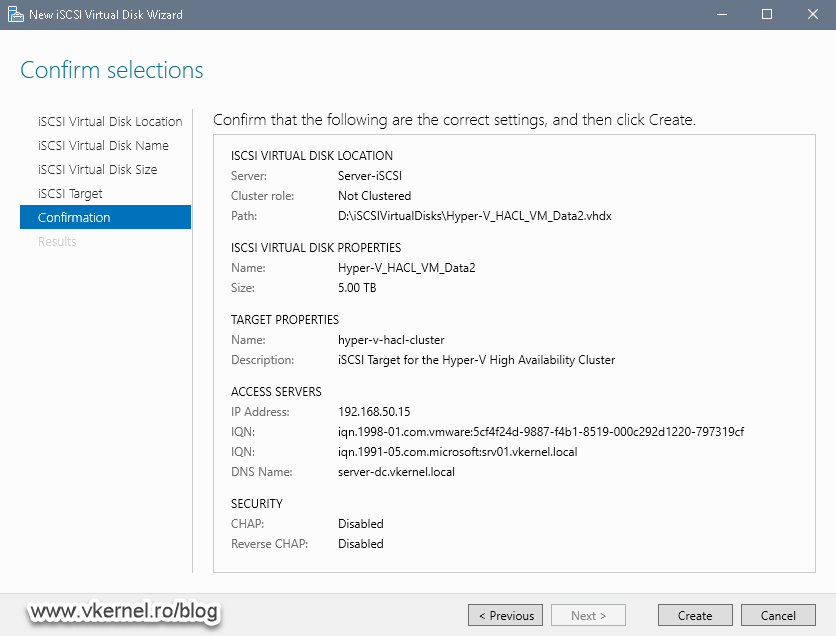
Review the settings, and if everything it’s all right, click the Create button to start creating our second virtual disk and assign it to our existing iSCSI Target.
After a few seconds all the tasks should be completed with no errors.

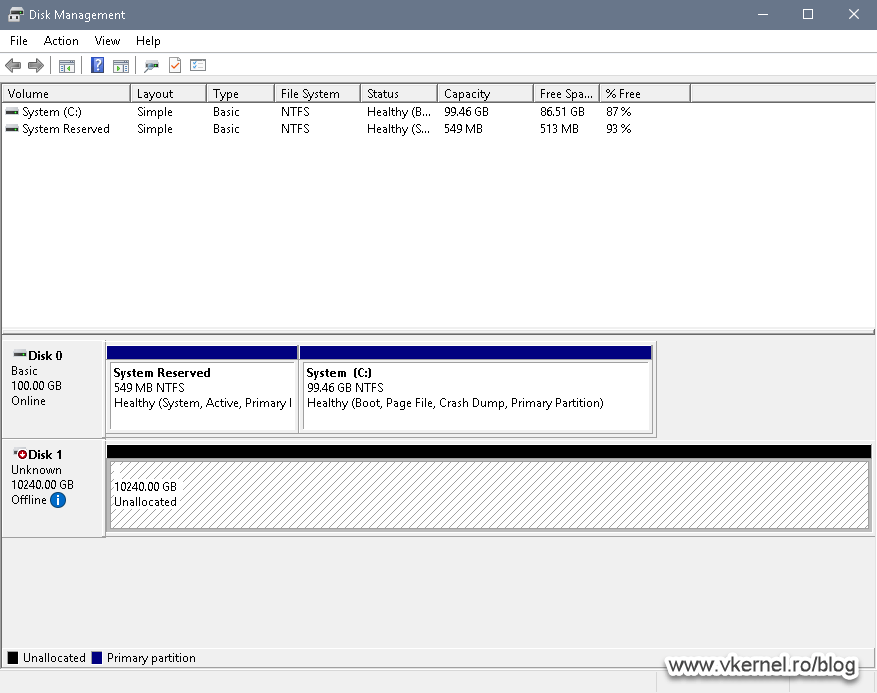
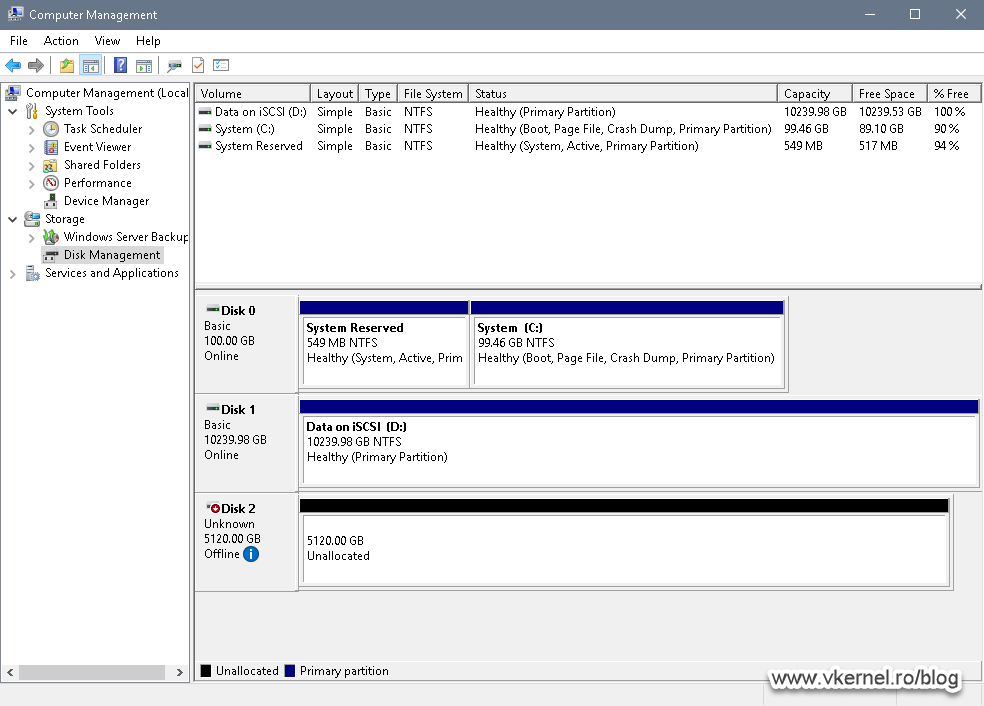
Moving on the client side, if we open the Disk Management console we should have our second disk available but offline. In case the disk does not show up, open the iSCSI Initiator application and refresh the connection.
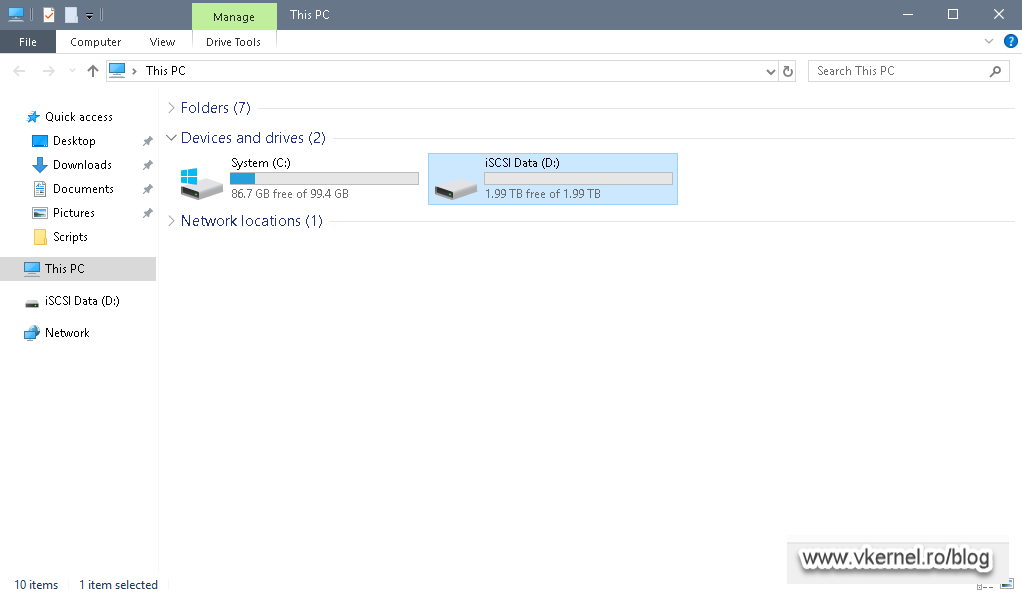
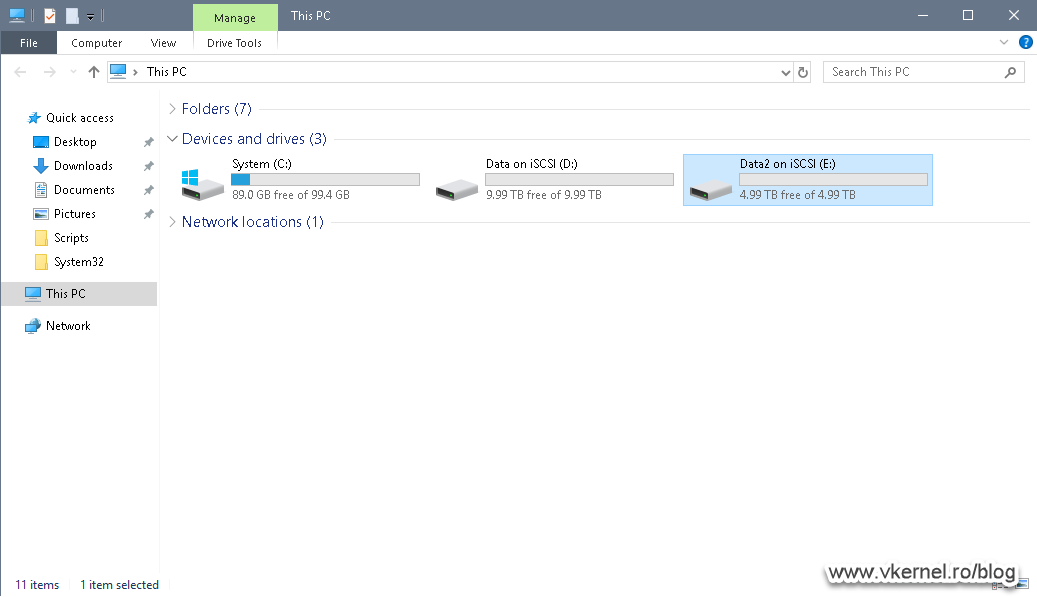
After formatting the disk and assigning a drive letter, our new volume will be available and ready to hold digital data.
5. Extending iSCSI virtual disks
As a last section of the article, I want to talk about how to extend our existing iSCSI virtual disks, because there will be times when the volume(s) will be running out of space. And yes, we can create another disk as we did a moment ago, but sometimes this approach is not suitable.
Extending an iSCSI virtual disk is done with a few easy clicks in the Server Manager console. Go to File and Storage Services > iSCSI and right-click the virtual disk you want to extend. From the menu, choose Extend iSCSI Virtual Disk.
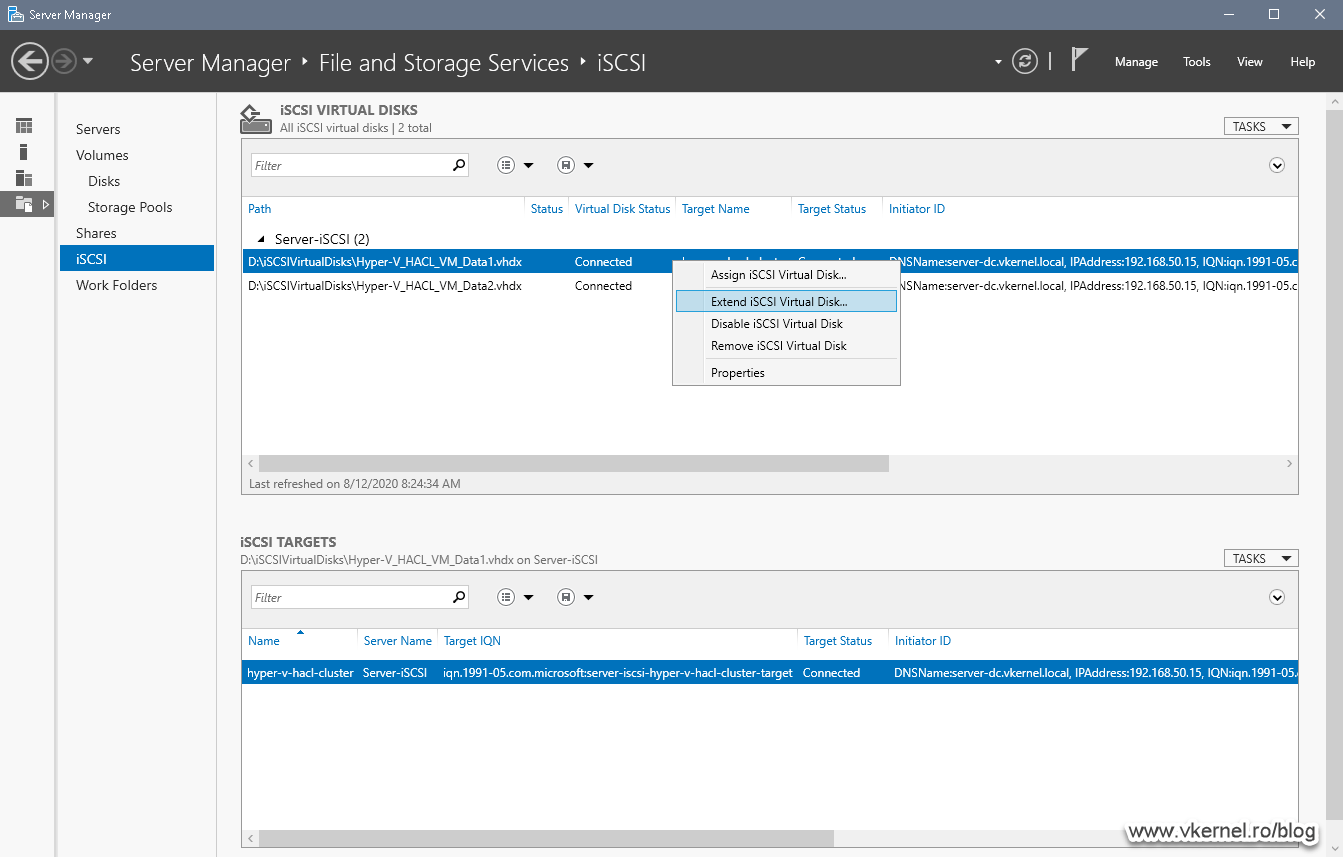
In the window that pops-up, type the new size that the virtual disk should have. The size that we type in the box it is going to be the final size of the iSCSI virtual disk. Click OK when done.

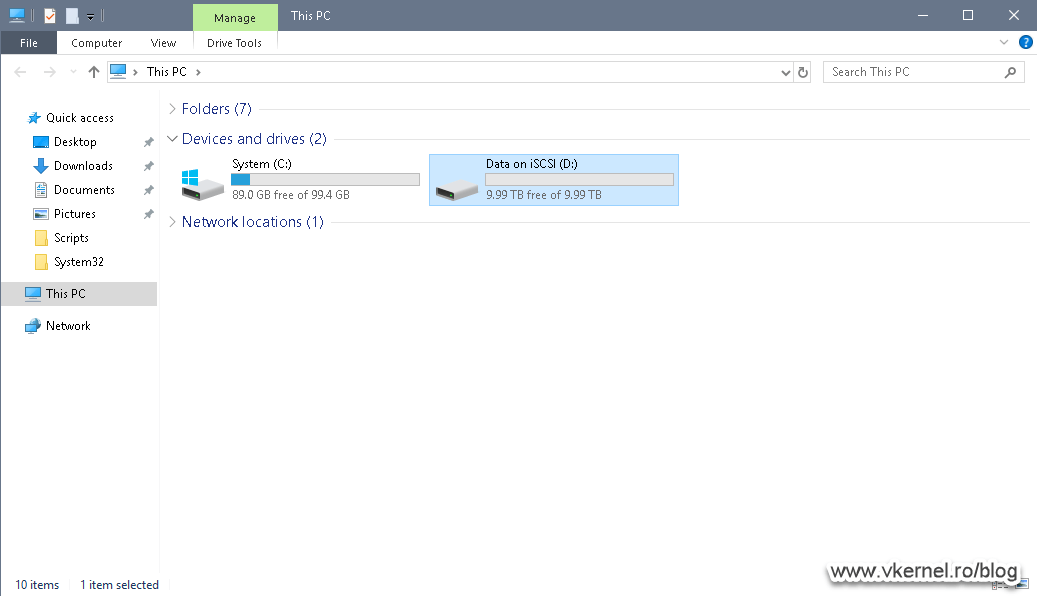
Instantly, the new size can be seen on clients connected to the iSCSI Target. The only thing left to do here is to extend the volume inside the OS.
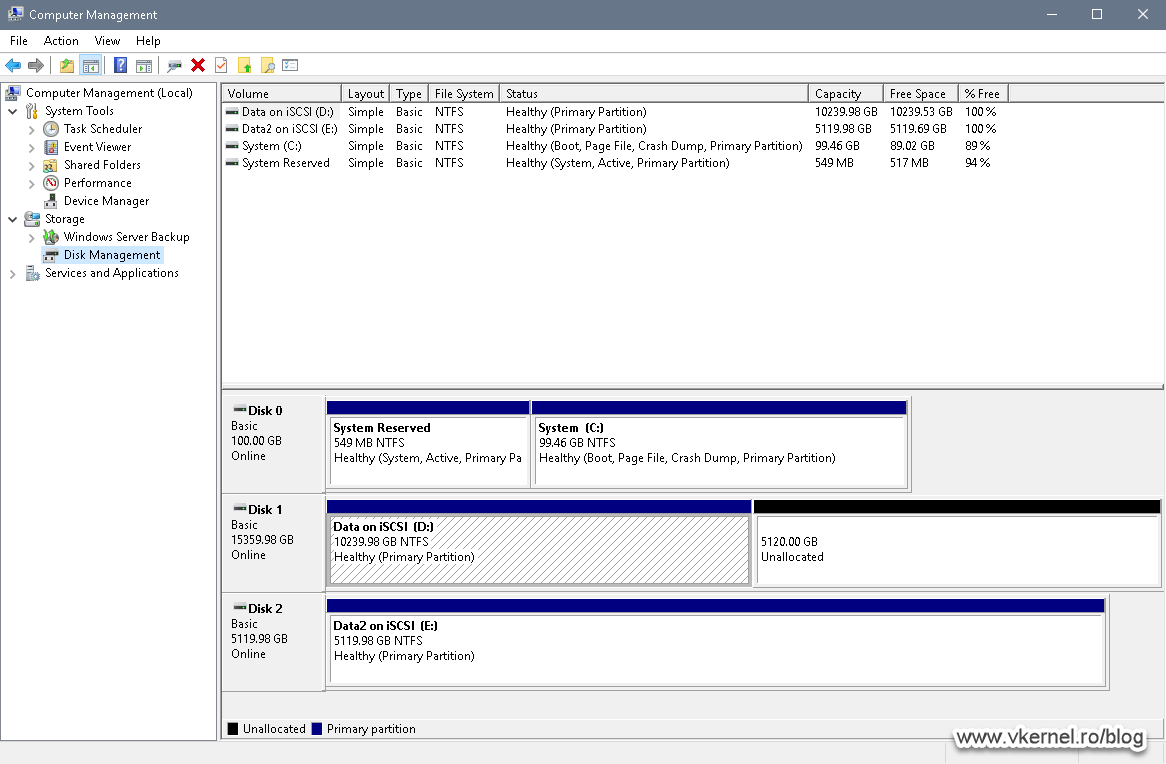
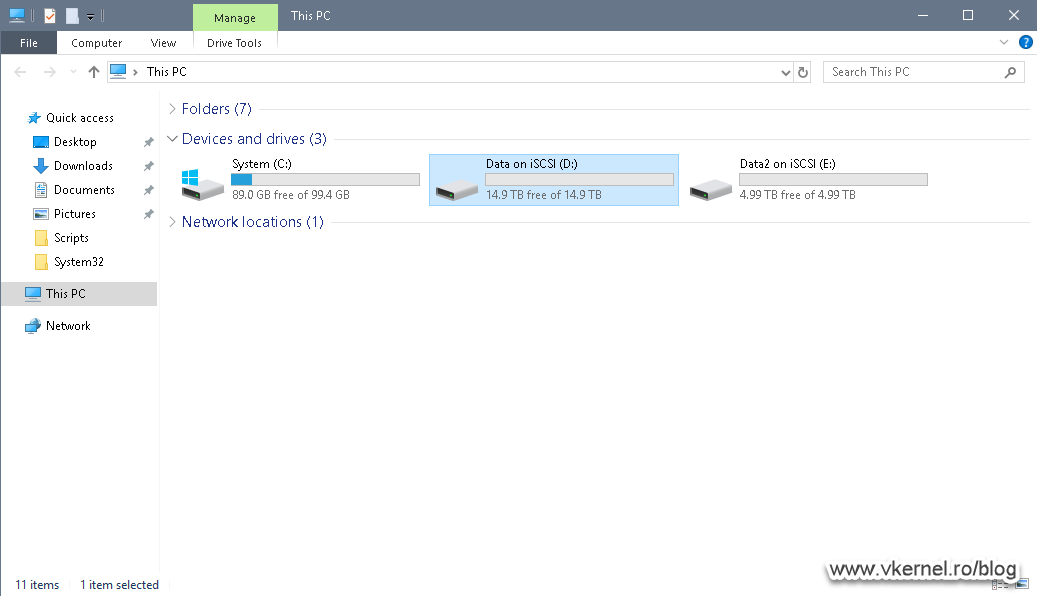
After extending the volume, the new size should be visible not only in Disk Management but also in Windows Explorer.

Summary
Working with the Windows iSCSI Target is crazy simple and I encourage you to use it especially in building your labs, because I know that in production most of you have dedicated hardware with their own iSCSI Target software. Even so, most of the iSCSI software is similar, so learning this will help you set up iSCSI from other vendors too.
What I really want Microsoft to include here are some built-in monitoring and alerting features because not everyone has dedicated software just for that. With this in mind, thanks for make it ’till the end.
Want content like this delivered right to your
email inbox?
More similar articles
 Step-by-step Hyper-V Storage Live Migration
- Creating and configuring Windows Domain Service Accounts
- Deploying and configuring the Remote Desktop Gateway Server Role
- Working with Storage Spaces in Microsoft Windows Server
- Blocking Remote Access for Local Accounts by Group Policy
- Build and run Windows Failover Clusters on VMware ESXi


Great article.
One question. We have ISCSI setup but we are having a problem. When the ISCSI target becomes unavailable the system connecting to it hangs. So we have host02 that is the ISCSI target that we do a backup to from host01. When host02 crashes host01 hangs. Is there any configuration we can do that would allow host01 to keep going if host02 goes down?
Thanks in advance for any attention to this and once again thanks for the great article.
Hi Christian,
Looks like you need some High Availability and this can be accomplished having multiple network paths to the iSCSI target and also some other iSCSI target server that “synchronize” with one another. It is a little bit complicated and costly.
How big is your network?