Creating an Offline MDT Deployment Media
Everything is working fine in your main office, you capture, you deploy, you migrate, but you have a bunch of small branch offices (10-20 PC’s) with limited bandwidth where you need to do the same thing. Well…you could just tell the people in those offices to leave their desktops and laptops on and deploy or migrate those over night, but still there are a lot of GB to transfer. The second thing is that not all of those workers can leave their laptops at the office, or they just don’t want to, who knows… An investment in a server is out of the question, maybe later. So how can you deploy using MDT those PC’s in those branch offices ? The answer is:
create a deployment media where you put all the operating systems, drivers, applications you need for those PC’s and use this DVD to deploy those systems. Now let me show you how to create this MDT media. I will use MDT 2013 for this demo.
I presume you have your applications,

your OS’s,

and your drivers imported in MDT. I recommend to be very granular and create a folder for every platform, OS type, OS version, because it will help you so much later on.

Besides those, I also presume you have your Task Sequences created and ready to rule.

Now expand Advance Configuration, right-click Selection Profiles and choose New Selection Profile. By creating a Selection Profile you control what’s included in the deployment media and what’s injected in the OS during the task sequence.

Give the Selection Profile a name and hit Next.

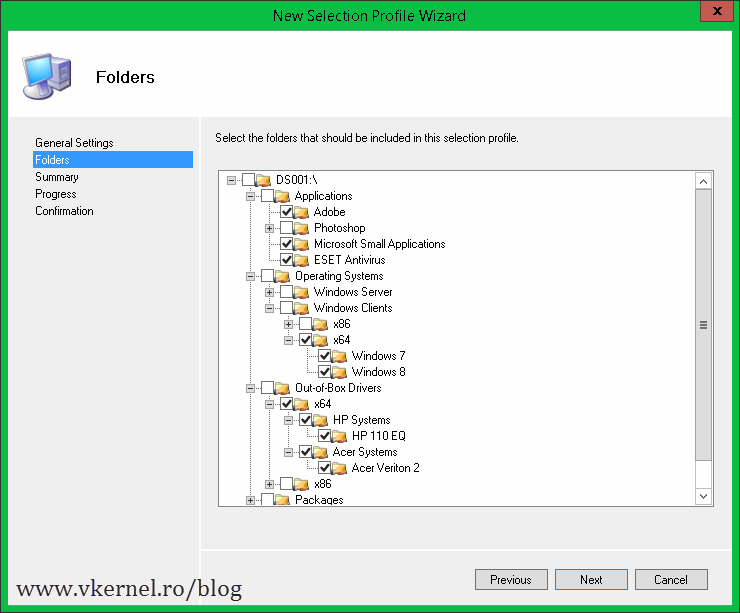
Here is the screen where you select what to include in the media. Now you see why I told you earlier to be granular with the folders. Since I want to deploy only Windows 7 and Windows 8 in those branch offices I will select only these OS’s and task sequences. If you select a root of the folder here and later on you create another folder under it in the Deployment Workbench and import OS’s, application, drivers or what have you, this folder (or subfolder we may cal it) will be automatically included in the selection profile.

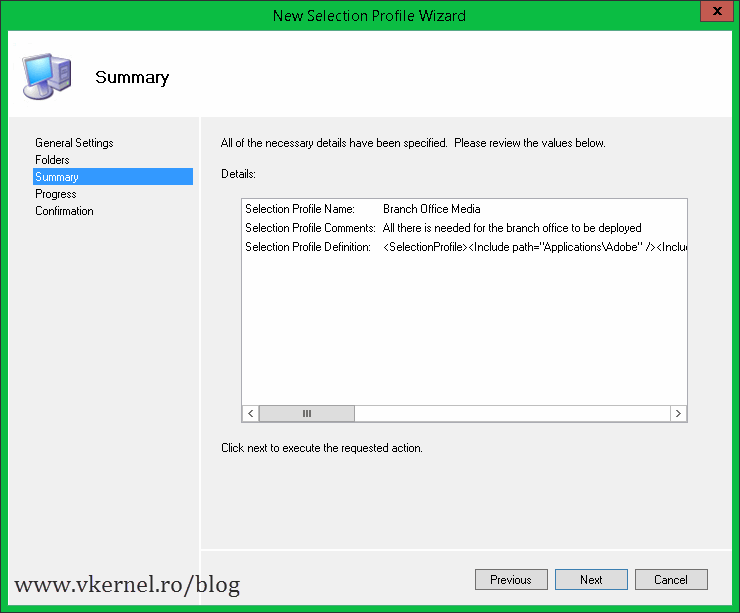
At the Summary screen click Next to save the changes, then hit Finish to close the wizard.
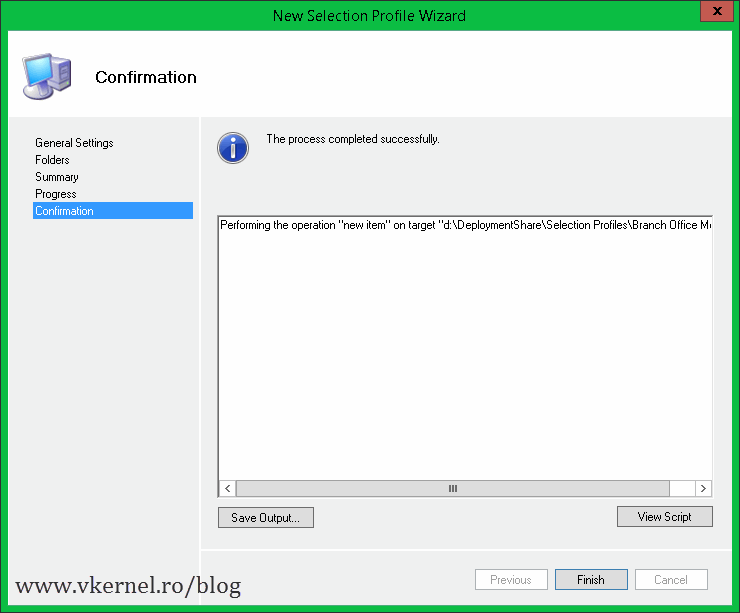
And a new Selection Profile is created.

If you forgot or you need to add a new task sequence later on, you can modify this Selection Profile by opening its properties.

Now that we have a selection profile for our branch offices computers it is time to create a deployment media. Right-click the Media folder and choose New Media.

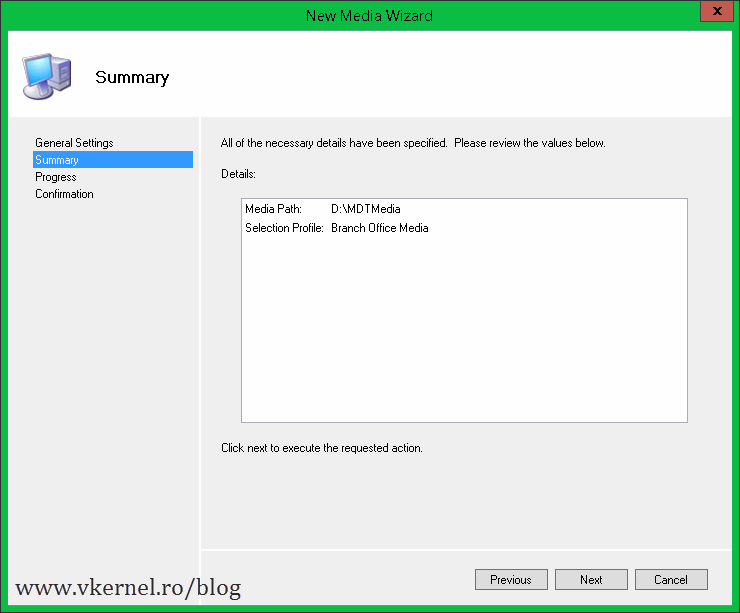
Give it a path where to save the media content but, do NOT, I repeat do NOT save it in your deployment share. The Selection profile drop-down-box is the important part here. If you click it, you should see the Selection Profile created earlier. Choose that and click Next.

On the Summary screen click Next and wait a few seconds for the wizard to finish

then close it.

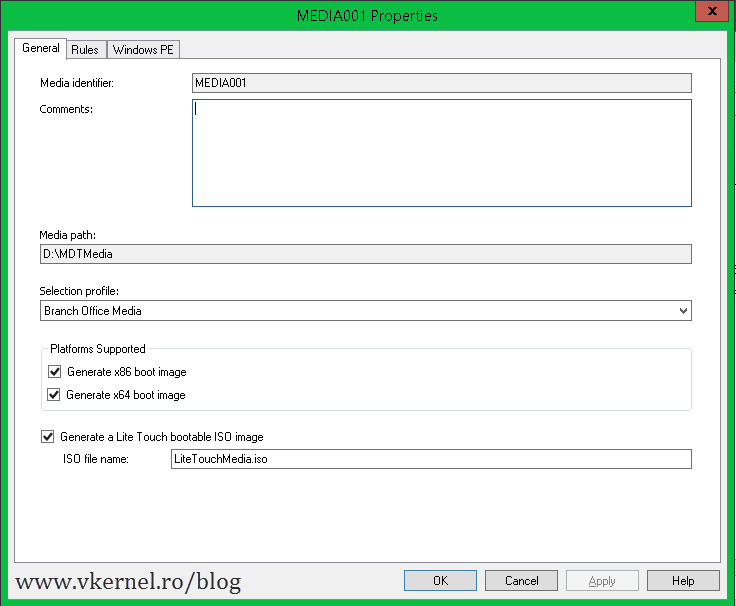
Now you should see the new media created, and if you right-click it and choose Properties, a window similar to the one from the DeploymentShare should pop-up.

The Rules tab is the more interesting one. Here you can use the rules just like in the DeploymentShare, to automate the OS installation.
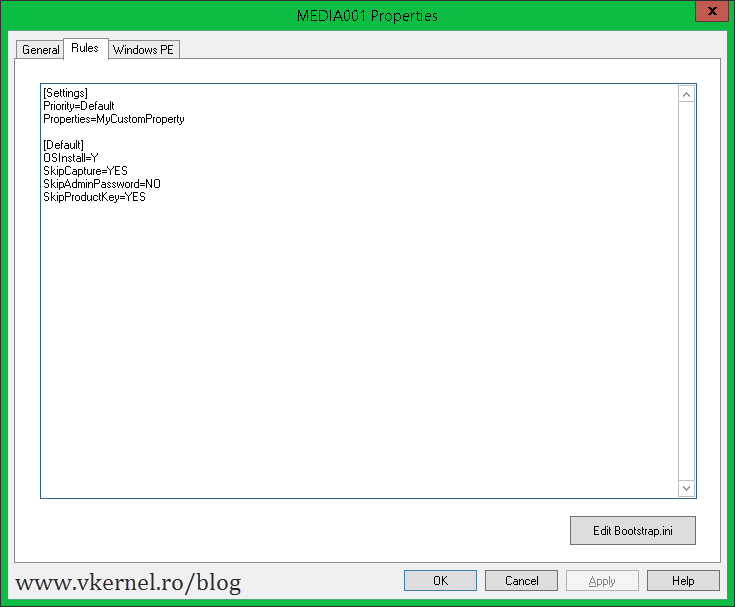
If you open Bootstrap.ini you can see that there is no root path specified, or credentials to connect to a deployment share. This is because WinPE has all the OS’s, drivers, applications on this media, so no deployment share is needed.

The folder specified during the wizard has the exact same structure as the DeploymentShare but if you take a closer look most of the folders are empty (operating systems, drivers, applications etc).

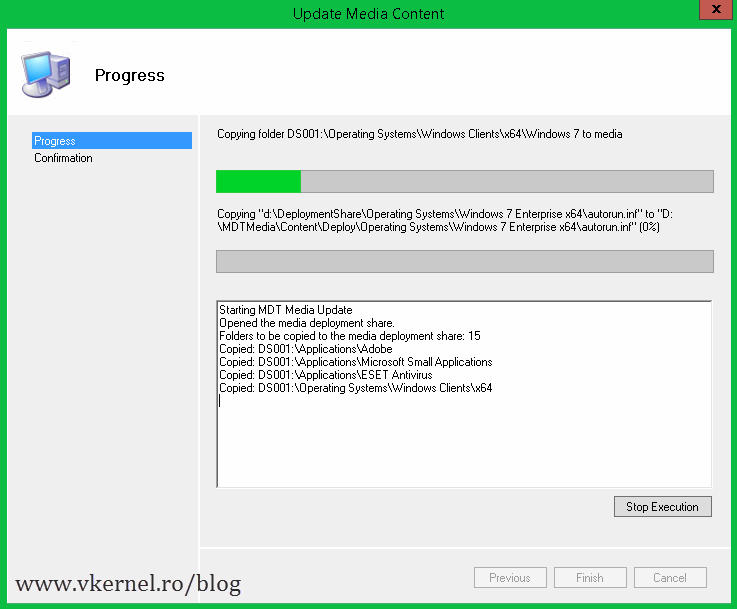
When you are done editing the rules and options click OK to close the media properties window than right-click the media from the Workbench and choose Update Media Content.

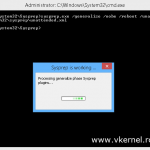
This will create an ISO image with all the OS’s, drivers, applications that you specified in the Selection Profile wizard. Depending on how many operating systems, applications, drivers you selected, the wizard can take a from a few minutes to a few dozen minutes to complete.
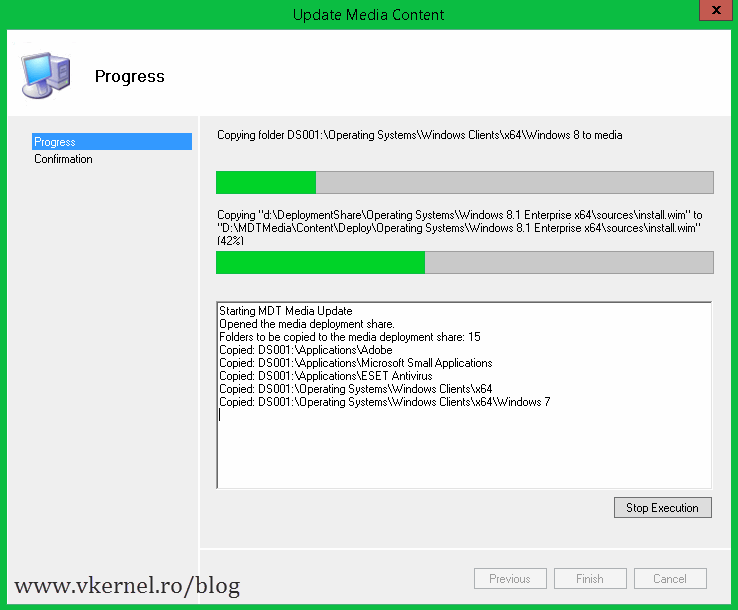
At the end hit Finish to close the window.

Now take a look in the root of the folder you specified during the media creation wizard (mine was D:\MDTMedia). You should see an ISO image created that has a few GB in size.

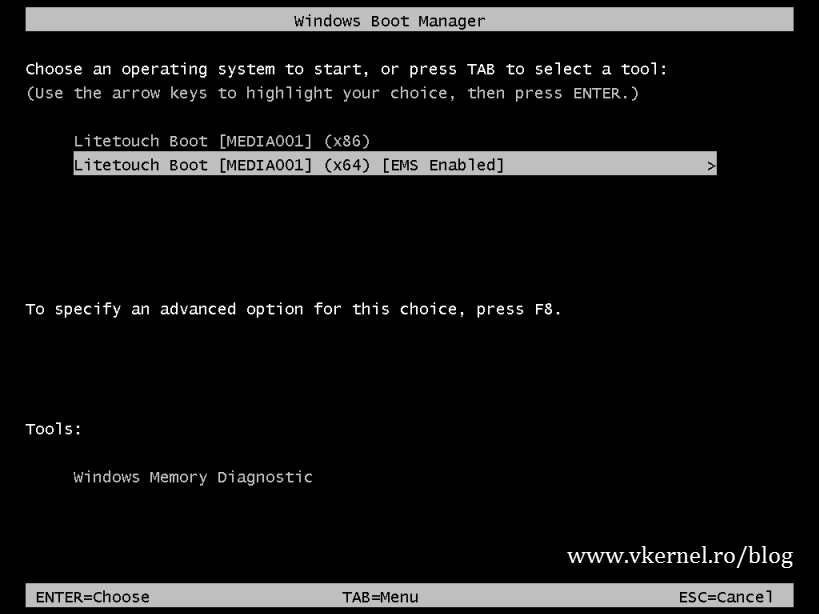
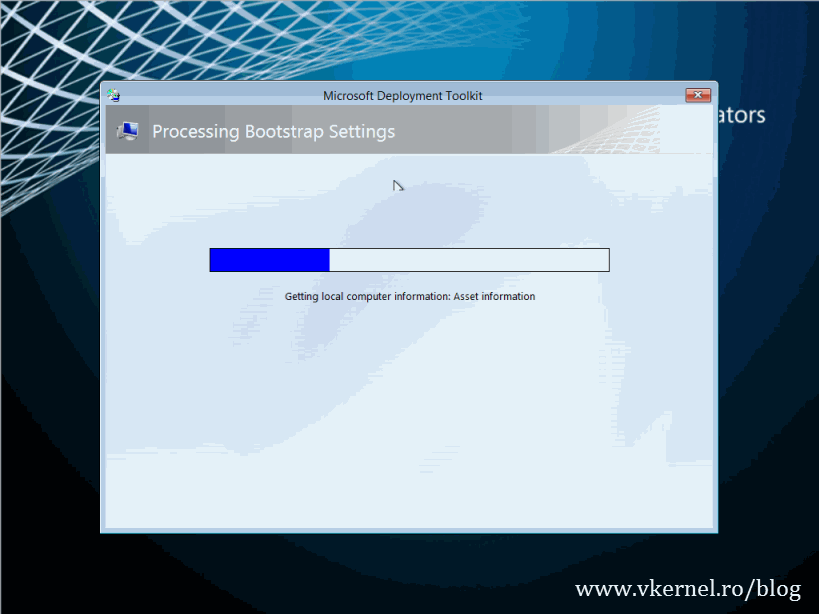
All you have to do now is burn this image to a DVD or Blue Ray media and boot the computers you want to deploy from this media. Select the type of platform and let it load the WinPE environment.
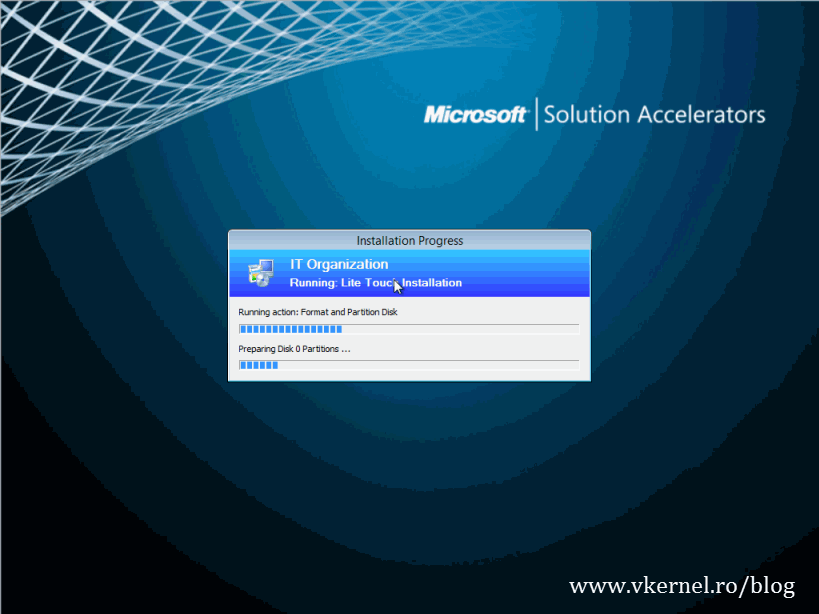
If you did not specified in the Bootstrap.ini to skip this part you will have to do it manually by clicking Run the Deployment Wizard to install a new Operating System.

Select your Task Sequence

and hit Next to begin the deployment.
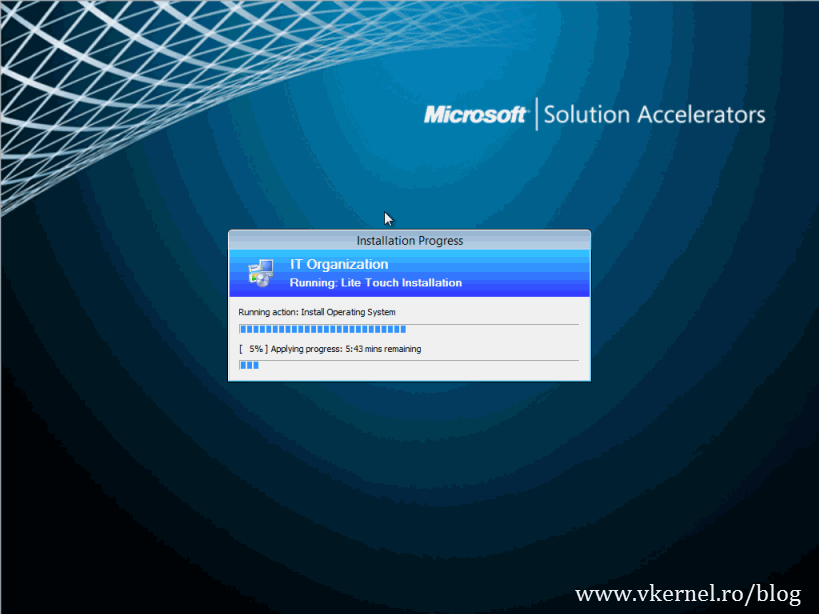
This is a neat feature of MDT and is heavily used in environments where booting from the network is not an option. Give it a try and see if it works for you.
Want content like this delivered right to your
email inbox?
More similar articles
 Installing and Configuring MDT with Windows 10 ADK
- Customizing the Default Local User Profile before imaging
- Integrating DaRT (8.x) with MDT (2013) and enable DaRT Remote Control
- Migrating from Windows XP to Windows 7 using MDT
- Adding drivers to WinPE boot image in MDT 2010/2012
- Sysprep and Capture a Windows Image with MDT 2012

Hello,
Can i include my additional files into scripts folder before creating the ISO file? I tried it but the wizard reverts the offline deploymentshare once i update the media content.
Hello
Thank you for your detailed instruction. I created the Media to do in-place upgrade from windows 7 to windows 10 from USB.
when I plug in the usb into a machine with windows 7 and run litetouch.vbs from within windows 7 machine in order to upgrade it to win10 , I get a pop up screen for credential to connect to deployment share. any IDEA why MDT is trying to connect to deployemtn share when it has everything locally stored?
Hi,
I guess you did not created an offline image. Make sure you are using the ISO created in the Media folder, not the light touch one created by the deployment share.
good one Adrian,
i followed these steps worked for me. but now i have 2 disks, 1st disk goes c: and i want 2nd disk as D:.
but my USB takes D:, so if i change drive letter via diskpart, then deployment fails. and so i cannot create 2nd disk with letter D:, as my D drive is usb, I install al my software at D:, so eventually they get installed on my USb drive.
its like “cutting a tree branch while sitting on it.”
Hi Adrian,
can we create BIOS image for old computer from EUFI configured server?
I have old computers that does not support UEFI while the MDT image was created to for UEFI capable computer.
On the old computer it keeps reboot after several second displaying windows 2012 logo, however it working fine on newer computers.
I think the problem is because old computer does not support UEFI, do you agree with this? Please advise.
Why not create the image from a VM and deploy using UEFI or normal BIOS. It doesn’t work mixing them up.
OK thanks for your advise I will try.
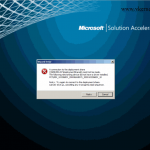
No matter what I do the system always asks which deployment share I want to use. I can’t get it to go past this screen. I’ve done it many times and it just won’t work. Any ideas why it’s doing this???
Usually this happens when you use a boot media instead of the offline deployment media. Just try it again from scratch and follow the article. It should work fine.
I have successfully created a bootable offline media (15GB) and loaded a computer from it, however, has anyone experienced no operating system found after MDT applies the OS and then reboots for phase 2? I have created and recreated the boot media even going as far to create boot partition that is fat32 format and an image partition that is NTFS. Any ideas? Very annoying.
Never had this problem but try by re-creating your task sequence, see if it works.
Hi Adrian,
I’m new to imaging and I have some questions related to this post.
I’m using MDT 2013 to build Win7 ZTI offline media in WIM format, and then copy the media to a bootable USB drive to build machines. We do not deploy operating system over network at all.
I cannot tell the difference between updating the Deployment Share and updating Media. As I said, we do not use network to deploy operating system at all, so
1. Is it still necessary to update the deployment share if I make changes to Out-Of-Box Drivers?
2. Do I have to configure Windows PE tab both in Deployment Share Properties and Media Properties?
3. Will update media update Windows PE as well?
Thanks so much for your time!
Fish
Hi,
If you only use the offline media to deploy, you only need to update the setting from the media. There is no need to configure the settings on the deployment share. Also when using an offline media make sure you have assigned the proper profile to your ISO in order to be updated with the proper settings, drives etc. Hope this answer your questions.
Thanks for your answer Adrian.
You’re more than welcome 🙂
Hello,
I am successfully deploying Win7E and Win8E from one USB drive. I have a separate USB for MS Surface tablets, because
they require a UEFI boot and my Win7E USB will not boot them. Every Panasonic and Dell I have all boot from the standard USB.
The Surface machines require FAT32 format and a separate boot wim from my NTFS USB. Is there a way to combine the two, and have two different boot wims. I know you can set up either an x86 or x64 boot menu, but I don’t think its possible to have the FAT32 and NTFS on one drive. Now that we’re looking into Win10, I am not sure yet whether I need even a 3rd type of USB or if I can just add the Win10 OS into my Win7E DeployShare and go that way. I can be more detailed if you need more info.
Basically I have a USB for my NTFS Win7E and Win8.1E deploy….and a 2nd USB for UEFI (FAT32).
Hi,
Yep, you are right, you can’t have FAT32 and NTFS on the same drive. It’s one or the other.
Adrian, not sure what happened but it seem that my post has disappeared so I’m going to repost in hopes that you can provide some feedback.
The problem I’m having is that the INSTALL group fails to run during imaging. I’m able to select my task sequence and start it but at 1%, it fails. I have already confirmed that the OS is referenced in the Task Sequence.
FAILURE 5624 – Failed to run the action: Install Operating System.
Could this be an issue with the customsettings.ini or Bootstrap file? and should “Deployroot=” property contain a path?
Thanks in advance!
Hi,
The previous comment did not disappear. I have to approve the comments in order for them to be posted on the blog; I like to keep it clean. With this I deleted your previous comment so we don’t have duplicates. Now back to the problem. This could be for various reasons, but what I will do is try the deployment on a VM. If it’s still not working remove everything from the customsettings.ini and deploy after.
Make sure you update the Deployment Share then the ISO image in MDT. If it’s still not working, regenerate the image from scratch. Let me know how it goes.
Thank you for the guide.
I followed the steps and burned the ISO to DVD, boot the DVD on the laptop and then get this at the first step to select a task sequence: “Bad Task Sequence Item (Missing OS)”. The Task Sequence is listed but when I select and click Next the message is displayed.
Any suggestions?
You’ve done something wrong. Try it one more time and you will see, it will work.
This tends to be an issue surrounding Selection Profiles (or just some unknown error during Offline Media creation). First, check that your Deployment Share does in fact, have the particular WIM your TS references. If it’s there, then make sure you have the same WIM selected in the selection profile you’re using for your Offline Media.